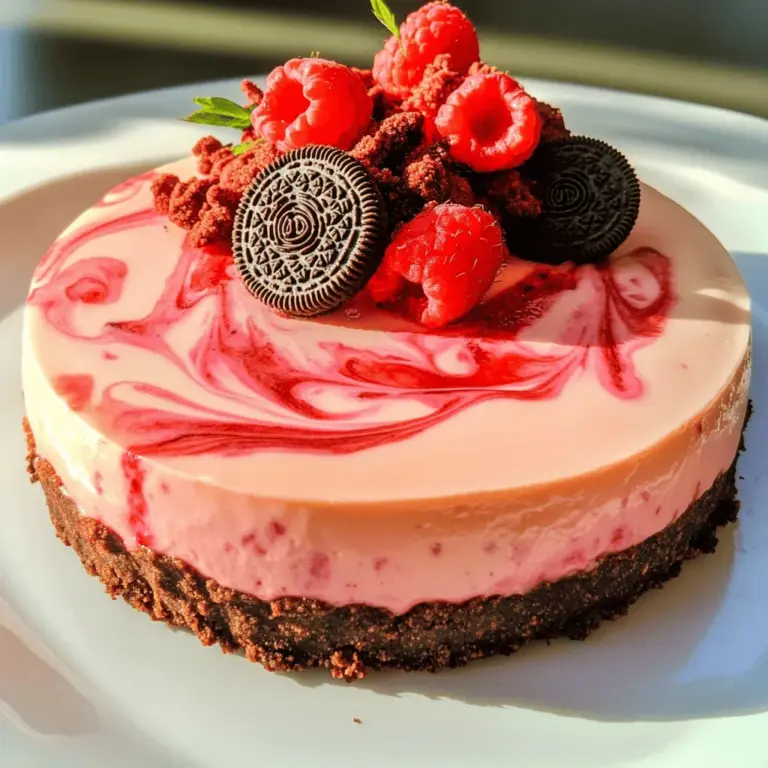
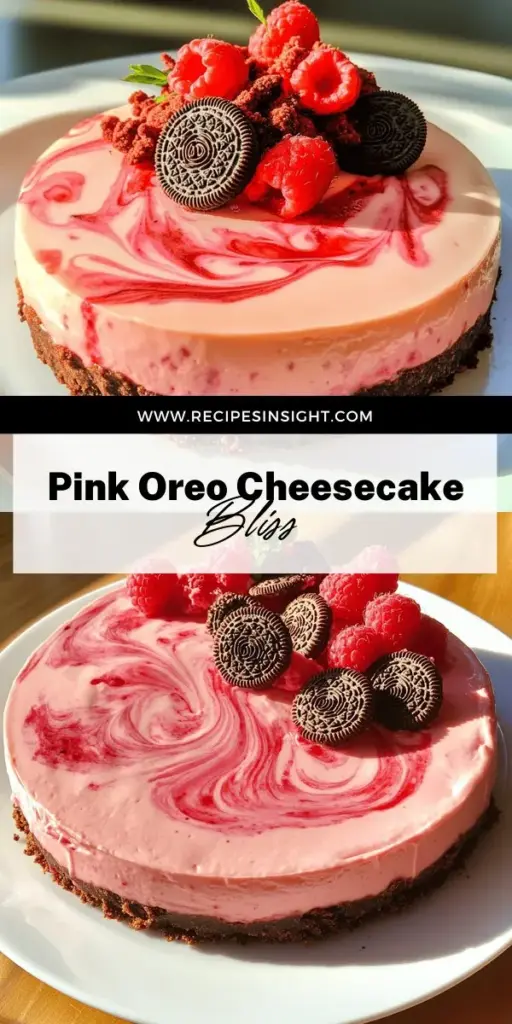
Are you ready to impress your friends and family with a fun treat? This Pink Oreo No-Bake Cheesecake is a breeze to make and tastes amazing! In just a few simple steps, you can whip up a creamy, dreamy dessert that not only looks good but also satisfies your sweet tooth. Let’s dive into this delightful recipe and get started on your new favorite dessert today!
Ingredients
Essential Ingredients for Pink Oreo No-Bake Cheesecake
To make this tasty cheesecake, gather these key items:
– 18 pink Oreo cookies (or regular if unavailable)
– 4 tablespoons unsalted butter, melted
– 2 cups cream cheese, softened
– 1 cup powdered sugar
– 1 teaspoon vanilla extract
– 1 cup heavy whipping cream
– 1/2 cup pink raspberry puree (fresh or frozen)
– Extra pink Oreos, crushed, for garnish
– Fresh raspberries, for garnish
These ingredients give your cheesecake its creamy texture and sweet flavor.
Optional Ingredients for Variation
You can change up the taste by adding:
– Different Oreo flavors like mint or vanilla
– A splash of lemon juice for a zesty kick
– Chocolate chips for extra sweetness
Feel free to mix it up based on what you like!
Tools Needed for Preparation
To help you create this cheesecake, you’ll need:
– A food processor for crushing cookies
– A large mixing bowl for the filling
– An electric mixer for beating the cream cheese
– A spatula for spreading the filling
– A 9-inch springform pan to hold the cheesecake
These tools make the process smooth and simple. For the full recipe, check this [Full Recipe].
Step-by-Step Instructions
Preparing the Crust
To start, you need to make the crust. First, get 18 pink Oreo cookies. You can use regular Oreos if you can’t find pink ones. Place the cookies in a food processor. Blend them until they become fine crumbs. Next, melt 4 tablespoons of unsalted butter. Add this melted butter to the cookie crumbs and pulse until mixed well. The mixture should stick together when you press it. Now, take a 9-inch springform pan. Press the crumb mixture into the bottom of the pan. Make sure to pack it down firmly. Put the pan in the fridge while you make the filling.
Making the Cheesecake Filling
Now, it’s time to prepare the cheesecake filling. In a large mixing bowl, add 2 cups of softened cream cheese. Use an electric mixer on medium speed to beat it until smooth and creamy. Gradually add 1 cup of powdered sugar while mixing. You want it to blend well. Next, stir in 1 teaspoon of vanilla extract. In another bowl, whip 1 cup of heavy cream until it forms stiff peaks. Gently fold the whipped cream into the cream cheese mixture. Do this carefully so it stays light and fluffy. Then, add 1/2 cup of pink raspberry puree. Fold it in gently to create a pretty marbled look.
Assembling the Cheesecake
Once your filling is ready, take the crust out of the fridge. Pour the cheesecake filling over the chilled crust. Use a spatula to smooth the top. Cover the cheesecake with plastic wrap and return it to the fridge. Let it set for at least 4 hours, or overnight for the best results. When it’s ready, carefully run a knife around the edges of the cheesecake. This helps to release it from the springform pan. Slice it up and serve it with crushed pink Oreos on top. Fresh raspberries make a lovely garnish too. For the full recipe, check back to ensure you haven’t missed any steps!
Tips & Tricks
Tips for a Perfect Cheesecake Texture
To get a smooth and creamy cheesecake, start with soft cream cheese. Cold cream cheese makes lumps. Let it sit at room temperature for about 30 minutes. Mix the cheesecake filling on medium speed. This avoids overmixing and keeps it airy. When you fold in the whipped cream, do it gently. This keeps the mixture light and fluffy.
Tricks for Whipping Cream Successfully
When whipping cream, start with a cold bowl and beaters. This helps the cream whip faster. Pour the heavy cream into the bowl and beat until soft peaks form. Then, keep going until you see stiff peaks. Don’t overwhip, or it can turn into butter. Use a spatula to fold it carefully into your cheesecake mixture.
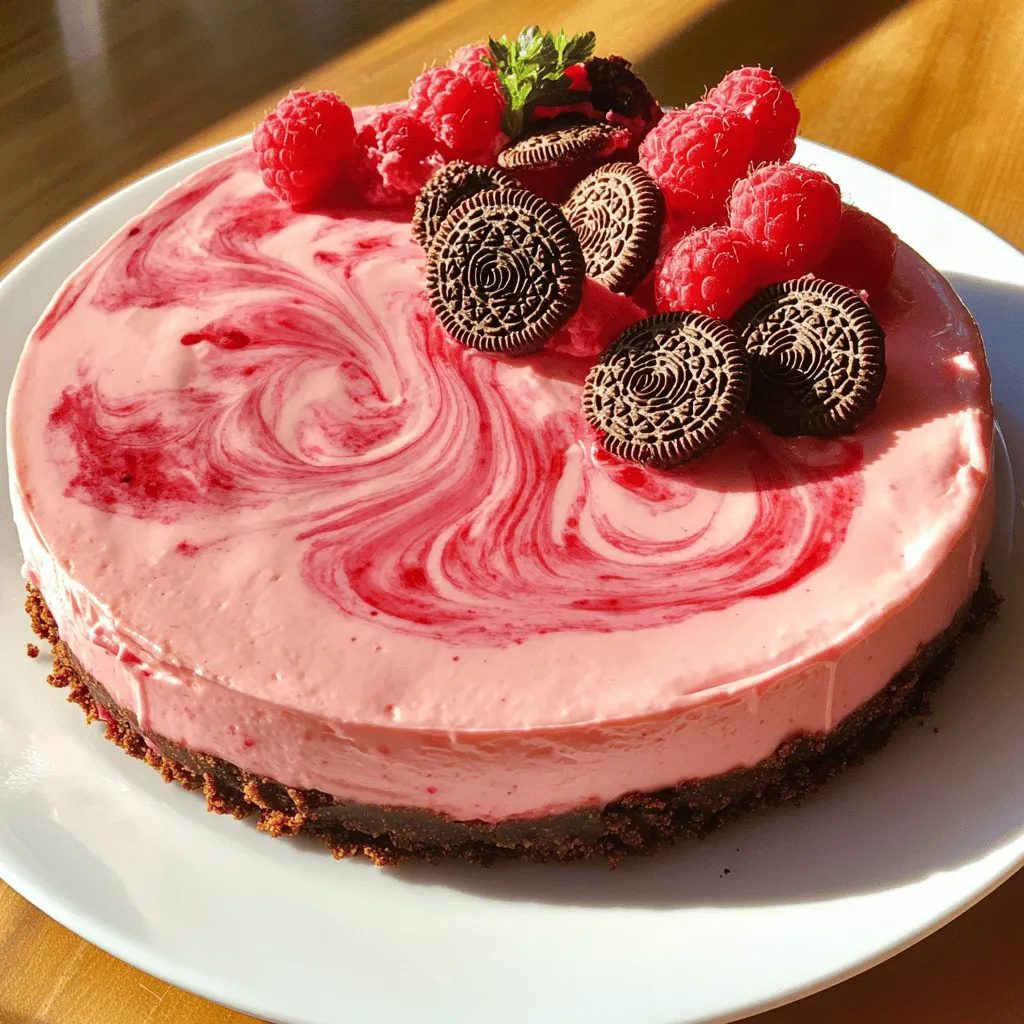
Garnishing Ideas for a Beautiful Presentation
Presentation matters! For a pretty look, use crushed pink Oreos on top. Scatter fresh raspberries around the cheesecake. You can also drizzle raspberry puree over each slice. This adds color and flavor. If you want a fun twist, try adding mint leaves for a pop of green. Enjoy making your cheesecake as beautiful as it is tasty!
For the complete recipe, check the [Full Recipe].
Variations
Alternative Flavors with Different Oreos
You can switch up the flavor by using different Oreos. Try mint or lemon Oreos for a fresh twist. Use chocolate Oreos for a rich chocolate cheesecake. Each cookie brings its own fun taste. Just follow the steps in the Full Recipe and enjoy your new flavor!
Incorporating Fruits for Added Flavor
Fruits add a nice touch to the cheesecake. Fresh strawberries or blueberries mix well with the cream cheese. You can also try peach or mango puree for a fruity surprise. Just blend the fruit into the filling or swirl it in. It makes each bite more exciting and colorful!
Vegan Options for No-Bake Cheesecake
You can easily make a vegan version of this cheesecake. Replace cream cheese with cashew cream or coconut cream. For the crust, use vegan cookies or graham crackers. Swap the heavy cream for coconut cream or a plant-based whipped topping. This way, everyone can enjoy a slice of this tasty dessert!
Storage Info
How to Store Leftovers
To store leftovers, cover the cheesecake with plastic wrap. Place it in the fridge. It stays fresh for up to three days. If you have cut slices, keep them in a sealed container. This helps prevent the cheesecake from drying out.
Freezing the Cheesecake
You can freeze this cheesecake for longer storage. First, let it cool completely in the fridge. Then, wrap it tightly in plastic wrap. After that, wrap it in aluminum foil. This prevents freezer burn. The cheesecake can last up to three months in the freezer. When ready to eat, thaw it in the fridge overnight.
Best Practices for Reheating (if applicable)
You do not need to reheat a no-bake cheesecake. It tastes best chilled. If it’s frozen, thaw it slowly. Avoid using a microwave, as it can change the texture. Enjoy it cold for the best flavor! For the full recipe, check out the details above.
FAQs
Can I use regular Oreos instead of pink?
Yes, you can use regular Oreos. They will still taste great. The color will change, but the flavor will remain delicious. If you want a pop of color, consider adding food coloring to the filling. This gives you the same fun look!
How long does the cheesecake need to set?
The cheesecake needs at least four hours to set. I recommend letting it chill overnight for the best texture. This wait helps the flavors blend well and makes slicing easier. A well-set cheesecake holds its shape perfectly when served.
What can I substitute for heavy whipping cream?
You can use coconut cream as a great substitute. It offers a nice texture and flavor. Another option is to use whipped topping, which is light and airy. Greek yogurt can work too, but it may change the taste slightly. Always choose what fits your diet!
For the complete recipe, check out the Full Recipe section.
This blog post showed you how to create a Pink Oreo No-Bake Cheesecake. We covered essential and optional ingredients, tools needed, and provided step-by-step instructions. I shared tips for texture, cream whipping, and garnishing ideas. We discussed variations, storage methods, and answered common questions.
Making this cheesecake can be fun and easy. You can always personalize it to your taste. Enjoy your sweet creation!
