Introduction
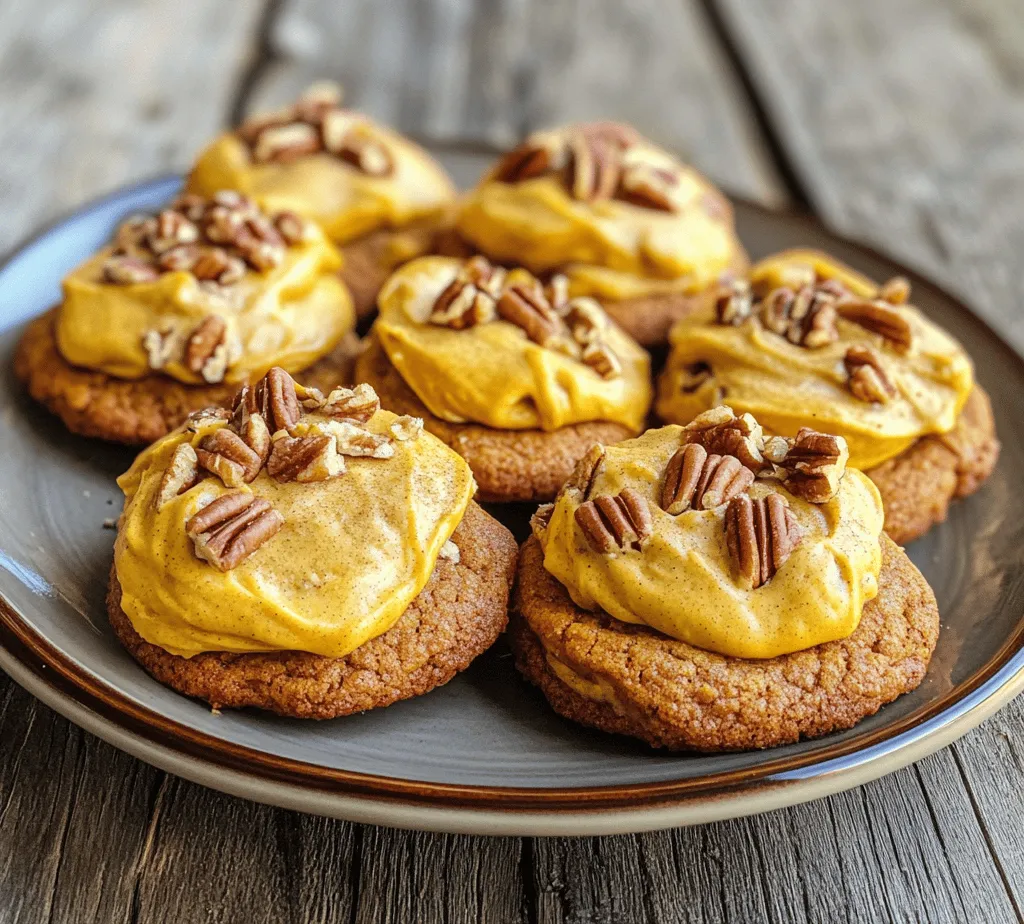
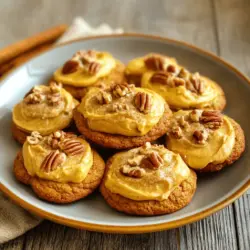
As autumn leaves begin to fall and the air turns crisp, pumpkin-flavored desserts become a beloved staple in many households. The delightful aroma of pumpkin spice wafting through the kitchen evokes feelings of warmth and nostalgia, making it the perfect time to indulge in seasonal treats. Among these, Pumpkin Bliss Cookies stand out as a charming and irresistible option. These cookies capture the essence of fall with their soft, chewy texture and delightful spices, while the crowning glory is the caramelized brown butter frosting, which adds a unique depth of flavor that elevates the entire experience.
The combination of pumpkin and brown butter is a match made in culinary heaven. The subtle nuttiness of the caramelized brown butter harmonizes beautifully with the warm spices, resulting in a cookie that is not only delicious but also comforting. Whether you’re preparing for a cozy family gathering or looking for a sweet treat to share with friends, these cookies are sure to impress and satisfy your cravings.
Understanding Pumpkin Bliss Cookies
So, what makes these Pumpkin Bliss Cookies truly special? It all begins with the infusion of pumpkin puree, which not only lends a rich flavor but also contributes to the cookies’ soft and tender crumb. The warm spices of cinnamon, nutmeg, and ginger bring an aromatic quality that perfectly captures the spirit of fall. Each bite is a delightful balance of sweetness and spice, making these cookies a perfect companion to a warm cup of tea or coffee.
The texture of these cookies is another highlight. They boast a soft, chewy center with slightly crisp edges, creating a satisfying bite that keeps you coming back for more. The use of quality ingredients is paramount in achieving the best flavor and texture. By choosing fresh pumpkin puree and high-quality spices, you ensure that every cookie is a celebration of fall’s bounty.
Ingredients Breakdown
Before diving into the preparation of Pumpkin Bliss Cookies, it’s essential to understand the key ingredients that contribute to their deliciousness. Each component plays a vital role in flavor, texture, and overall enjoyment.
– Pumpkin Puree: The star ingredient of this recipe, pumpkin puree adds moisture and flavor to the cookies. It is rich in vitamins and minerals, making it a nutritious addition. For those without access to canned pumpkin puree, homemade puree can be made by roasting and pureeing fresh pumpkins. Alternatively, butternut squash puree can be used as a substitute for a similar flavor profile.
– Brown Sugar vs. Granulated Sugar: In this recipe, a blend of brown sugar and granulated sugar is used. Brown sugar contains molasses, which contributes to a deeper flavor and moisture, resulting in a chewier cookie. Granulated sugar, on the other hand, helps with the cookie’s structure and adds sweetness. The combination ensures a balanced flavor and texture that is both satisfying and indulgent.
– Spices (Cinnamon, Nutmeg, Ginger): The warm spices are crucial for enhancing the overall taste of the cookies. Cinnamon adds a sweet warmth, nutmeg introduces a slightly nutty flavor, and ginger brings a subtle spiciness. Together, they create a harmonious blend that defines the essence of pumpkin desserts. Adjusting the ratios can allow you to customize the spice level to your preference.
– Optional Pecans: While not mandatory, the addition of chopped pecans adds a delightful crunch and a nutty flavor that complements the softness of the cookies. If you enjoy texture in your baked goods, consider incorporating pecans or your favorite nuts for an extra layer of flavor.
Preparing Pumpkin Bliss Cookies
With the ingredients in hand, let’s move on to the preparation of these delightful cookies. Follow these step-by-step instructions to ensure success in your baking endeavor.
1. Preheating the Oven and Preparing the Baking Sheet: Start by preheating your oven to 350°F (175°C). This step is crucial for achieving the perfect texture in your cookies. While the oven is warming up, line a baking sheet with parchment paper. This not only prevents the cookies from sticking but also makes for easy cleanup.
2. Creaming Butter and Sugars: In a large mixing bowl, combine softened unsalted butter with both brown sugar and granulated sugar. Using an electric mixer, cream the butter and sugars together until the mixture is light and fluffy. This process incorporates air into the dough, which is essential for creating a light texture in the finished cookies. Aim for about 3-5 minutes of mixing on medium speed.
3. Mixing in Wet Ingredients: Next, add in the pumpkin puree along with an egg and vanilla extract. Mix until fully combined. The pumpkin puree not only adds flavor but also keeps the cookies moist. Ensure your pumpkin puree is well-mixed into the butter-sugar mixture before moving on to the dry ingredients.
4. Combining Dry Ingredients: In a separate bowl, whisk together the all-purpose flour, baking soda, baking powder, salt, and your chosen spices. Gradually add this dry mixture to your wet ingredients, mixing on low speed until just combined. Be careful not to overmix, as this can lead to tougher cookies. The goal is to incorporate the dry ingredients without developing too much gluten.
5. Forming the Cookies: Once your dough is well-combined, it’s time to shape the cookies. Using a cookie scoop or a tablespoon, portion the dough onto the prepared baking sheet, leaving enough space between each cookie to allow for spreading. Aim for uniform sizes to ensure even baking. If desired, gently press a few pecans on top of each cookie for added texture and presentation.
Baking the Cookies
Now that your cookies are shaped and ready, it’s time for baking. Place the baking sheet in the preheated oven and bake for 10-12 minutes, or until the edges are set and the tops look slightly domed. The cookies will continue to firm up as they cool, so be cautious not to overbake them. A slight underbake will result in a chewy center, which is exactly what you want in a Pumpkin Bliss Cookie.
Once baked, allow the cookies to cool on the baking sheet for about 5 minutes before transferring them to a wire rack to cool completely. This cooling period is essential for setting the cookies’ structure while keeping them soft and tender.