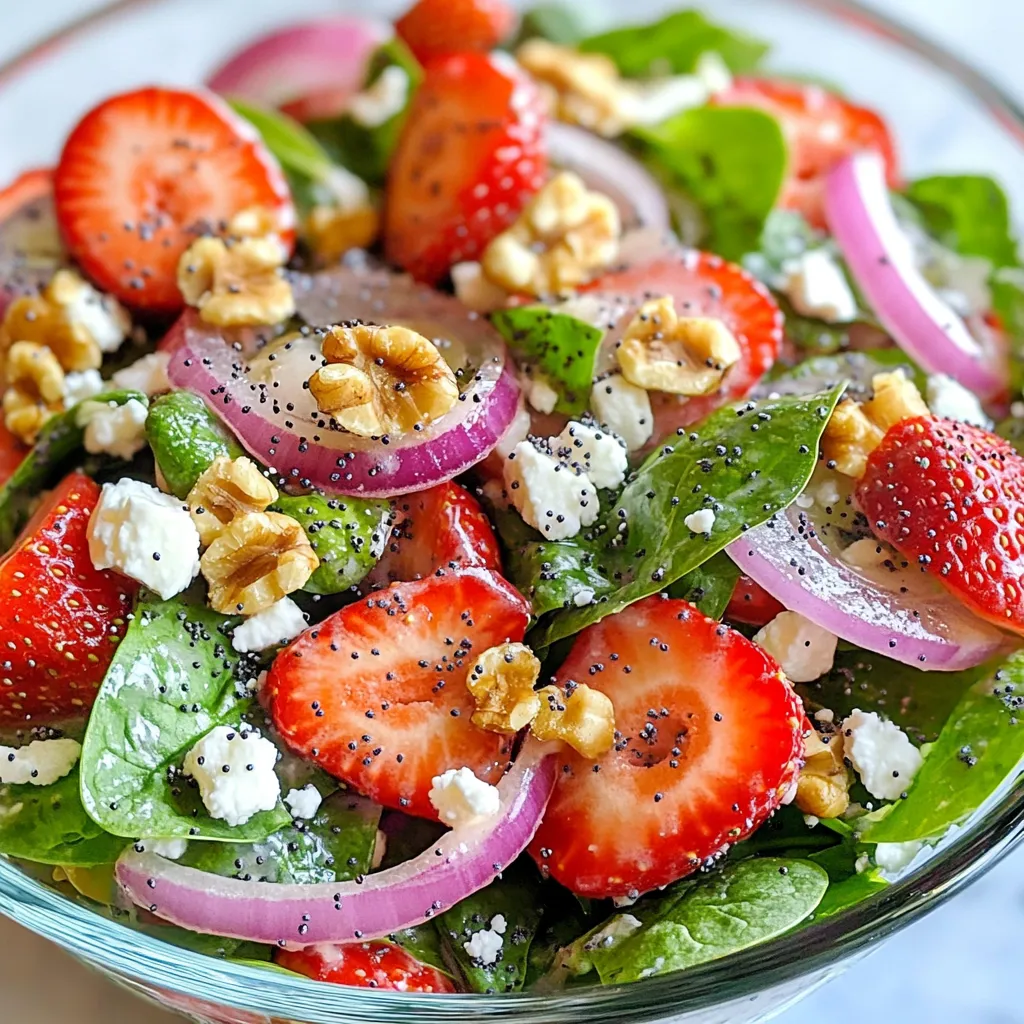
Strawberry Spinach Poppyseed Salad Fresh and Flavorful
Looking for a refreshing dish that bursts with flavor? My Strawberry Spinach Poppyseed Salad is just what you need! This

Looking for a refreshing dish that bursts with flavor? My Strawberry Spinach Poppyseed Salad is just what you need! This
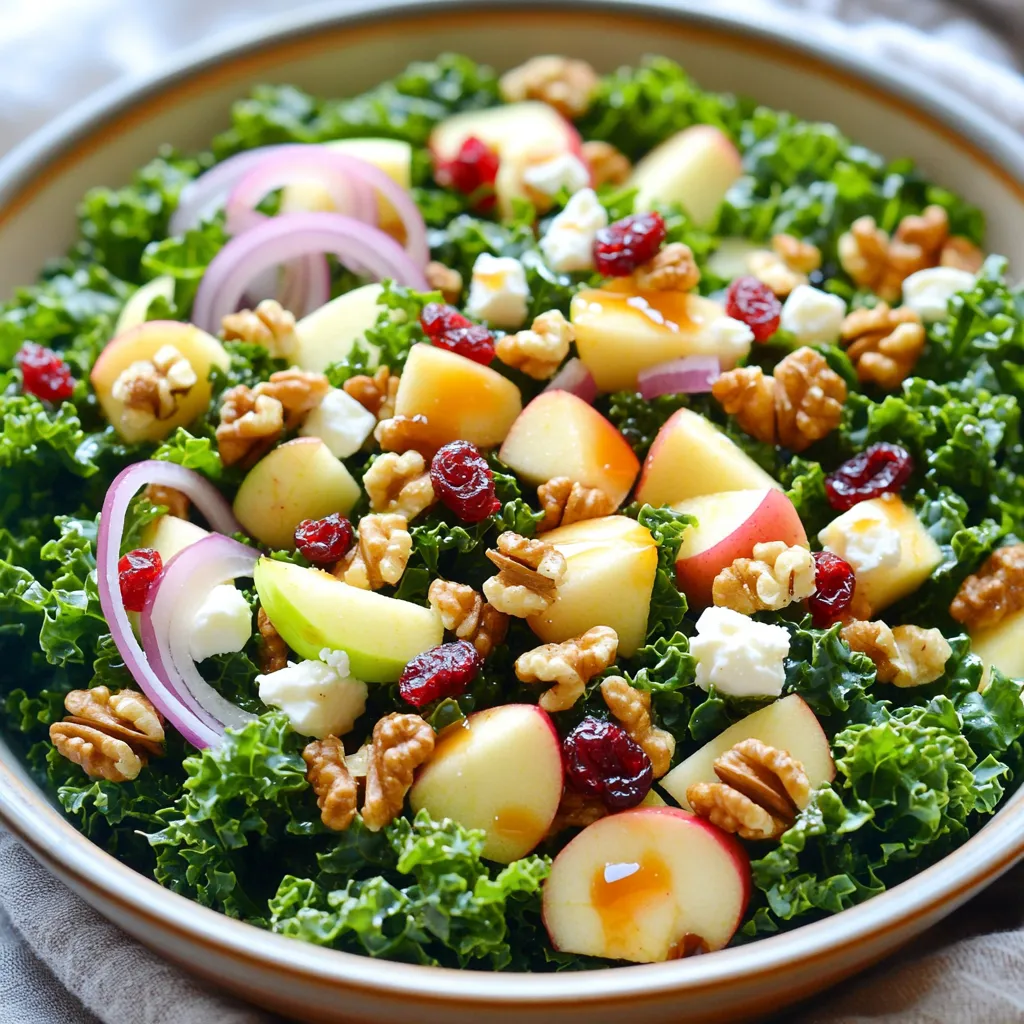
If you’re looking for a fresh and tasty salad, this Harvest Apple Kale Salad is perfect. Packed with crunchy kale,

Are you ready for a tasty treat? Air Fryer Jalapeño Popper Bites are the perfect snack for any occasion. These
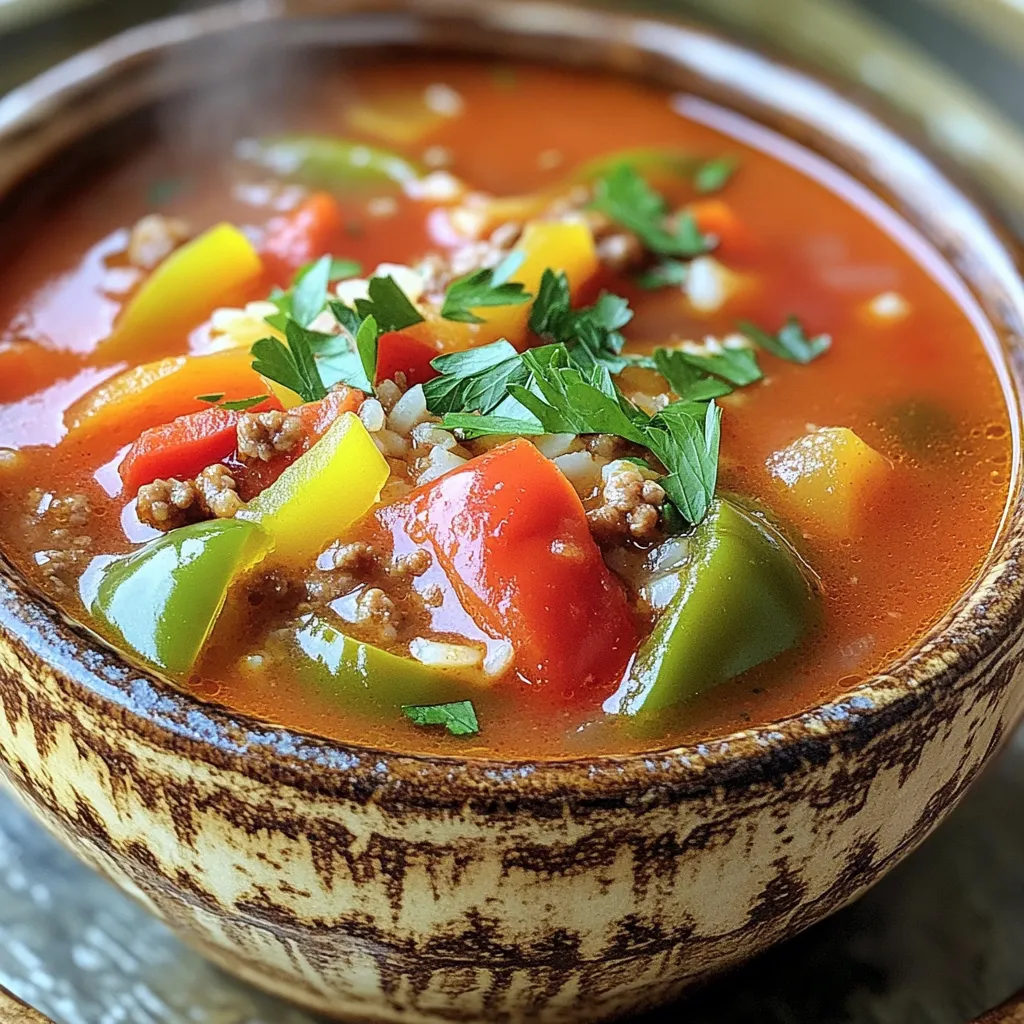
If you want a quick and tasty meal, try Slow Cooker Stuffed Pepper Soup! This easy recipe combines all the

Get ready to start your day with Lemon Blueberry Ricotta Pancakes that are fresh and fluffy! These delightful pancakes blend

Looking for a quick and healthy snack? These No Bake Dragon Fruit Smoothie Bars are perfect! Packed with vibrant flavors
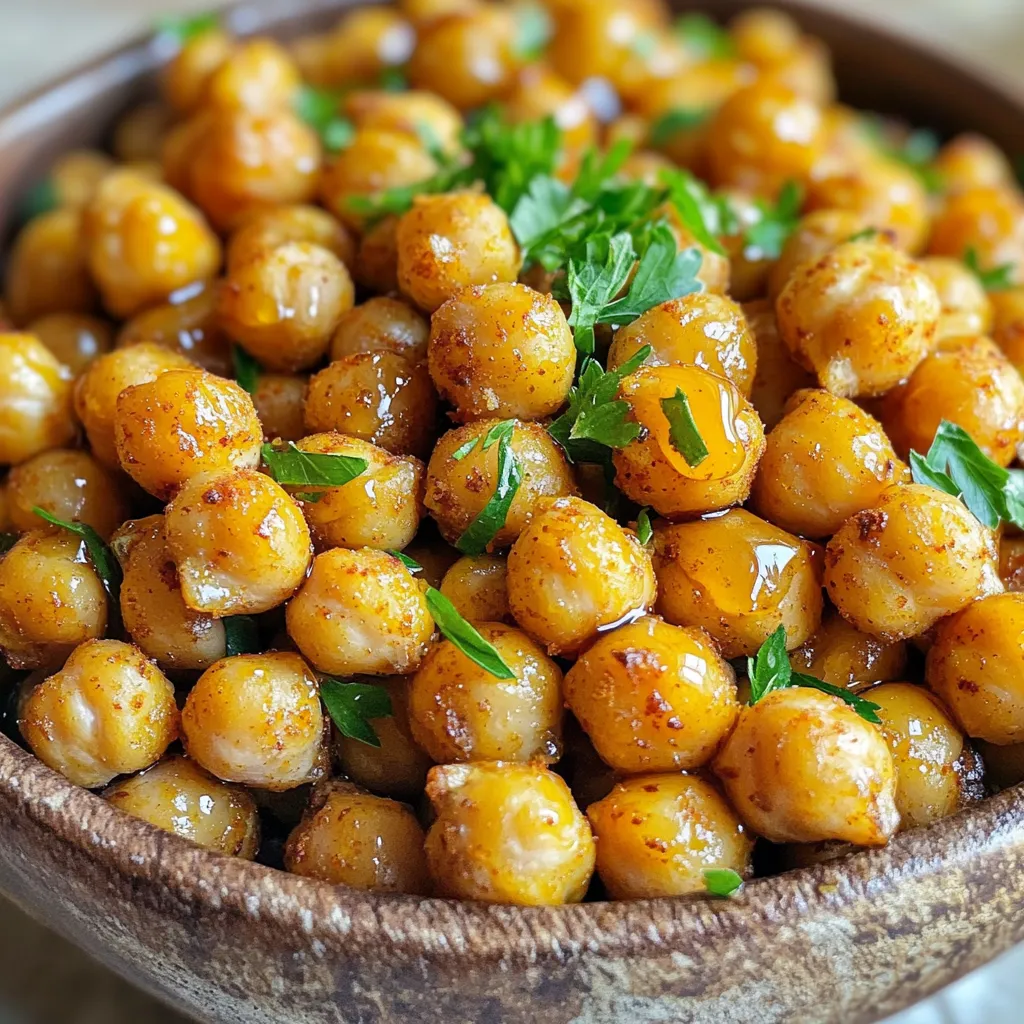
Are you ready for a snack that packs a punch? Spicy Maple Roasted Chickpeas combine the sweetness of maple syrup

Indulge in the sweet world of Salted Caramel Hot Chocolate Bombs—your new favorite treat! These delightful bombs blend creamy chocolate,

Craving a tasty dessert that’s easy to make? Air Fryer Apple Hand Pies offer sweet, flaky goodness with every bite.

Looking for a quick and tasty meal? My Sheet Pan Veggie Fajita Tacos are just what you need! This easy