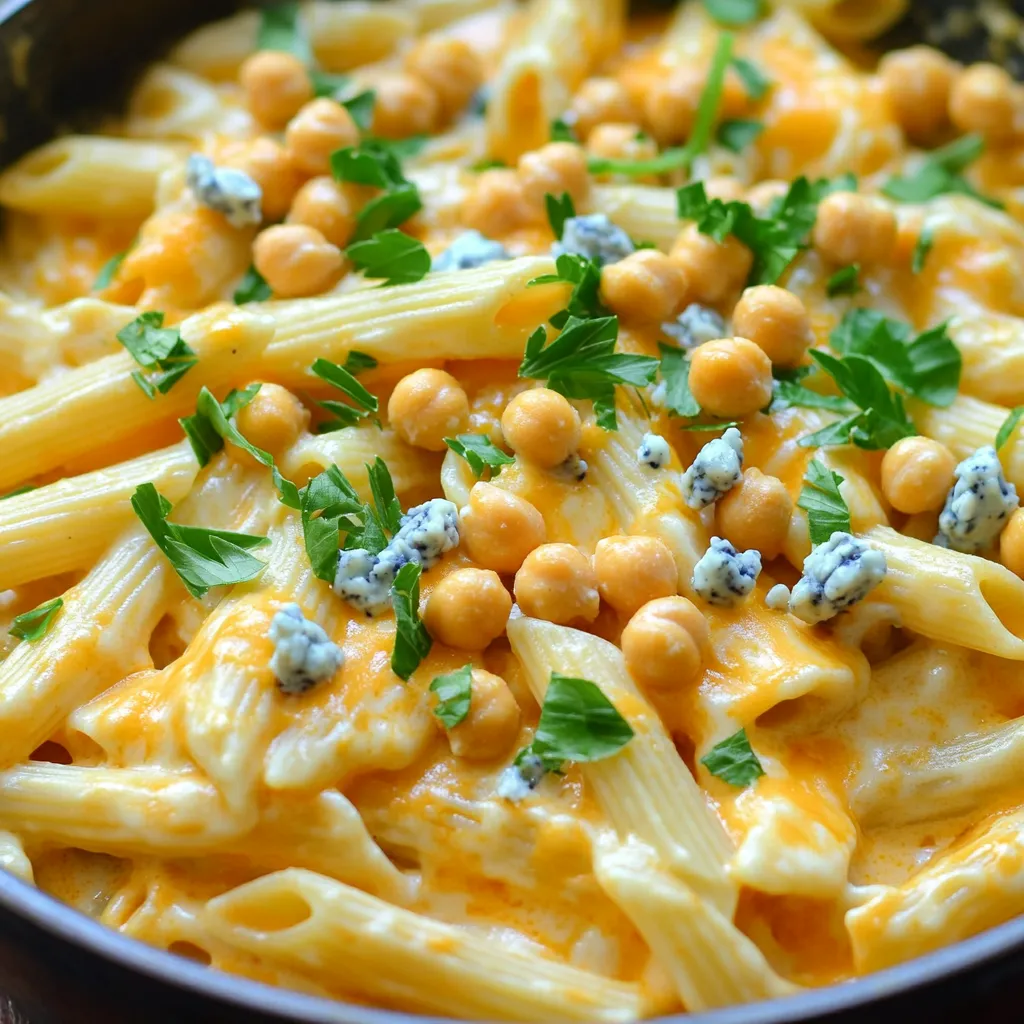
One Pot Creamy Buffalo Chickpea Pasta Delight
Welcome to One Pot Creamy Buffalo Chickpea Pasta Delight! This dish combines bold flavors with easy cooking. You’ll find creamy

Welcome to One Pot Creamy Buffalo Chickpea Pasta Delight! This dish combines bold flavors with easy cooking. You’ll find creamy

Get ready to cool off this summer with a treat that bursts with flavor—Strawberry Lemonade Cupcakes! These delightful cupcakes blend
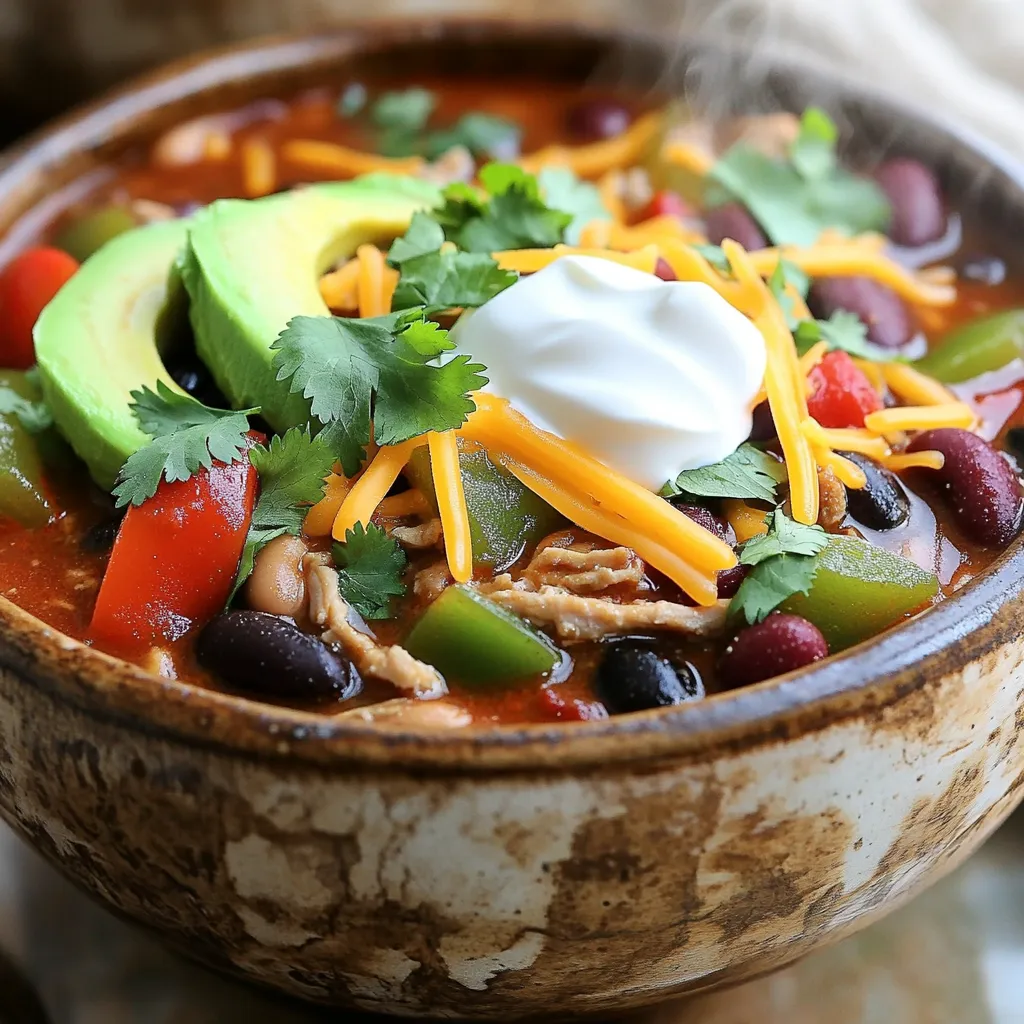
Looking for a warm and filling meal that’s easy to make? I’ve got the perfect recipe for you: Slow Cooker
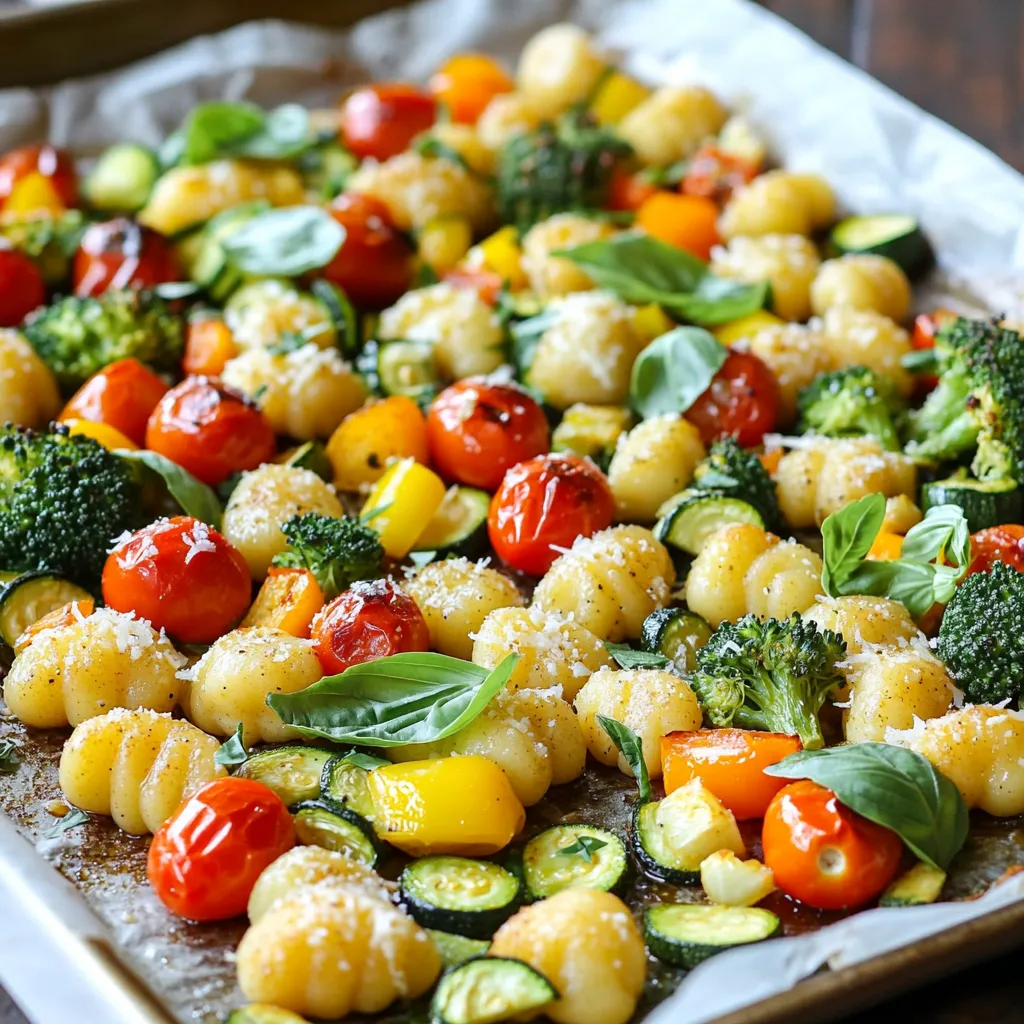
Craving a quick and tasty dinner? Look no further! My Sheet Pan Garlic Parmesan Gnocchi Veggies Delight is not only

Ready to transform your weeknight dinners? Try this Air Fryer Everything Bagel Salmon recipe! I’ll guide you through every step,

Looking for a quick, tasty snack that packs a punch? Look no further! These No Bake Cinnamon Roll Energy Bites
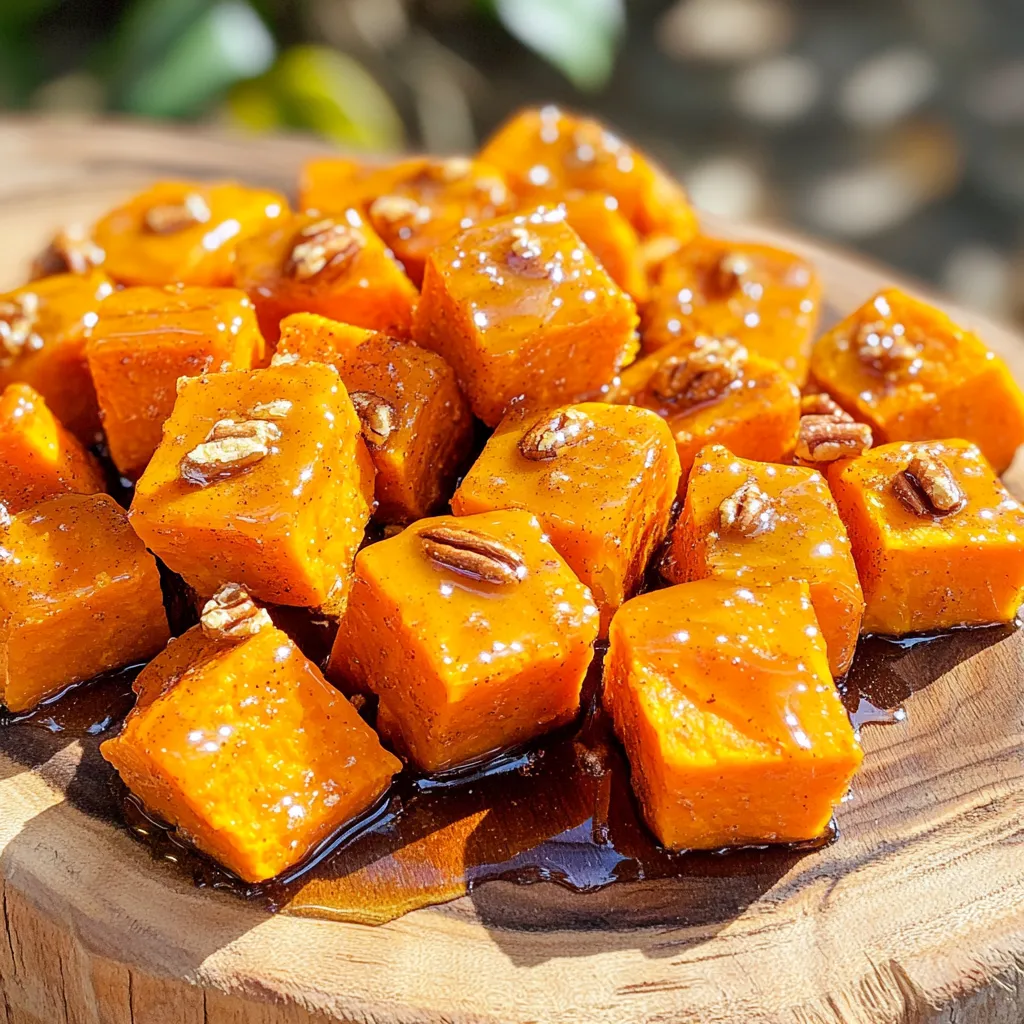
Looking for a tasty way to enjoy sweet potatoes? This Air Fryer Maple Cinnamon Sweet Potato Cubes recipe is your
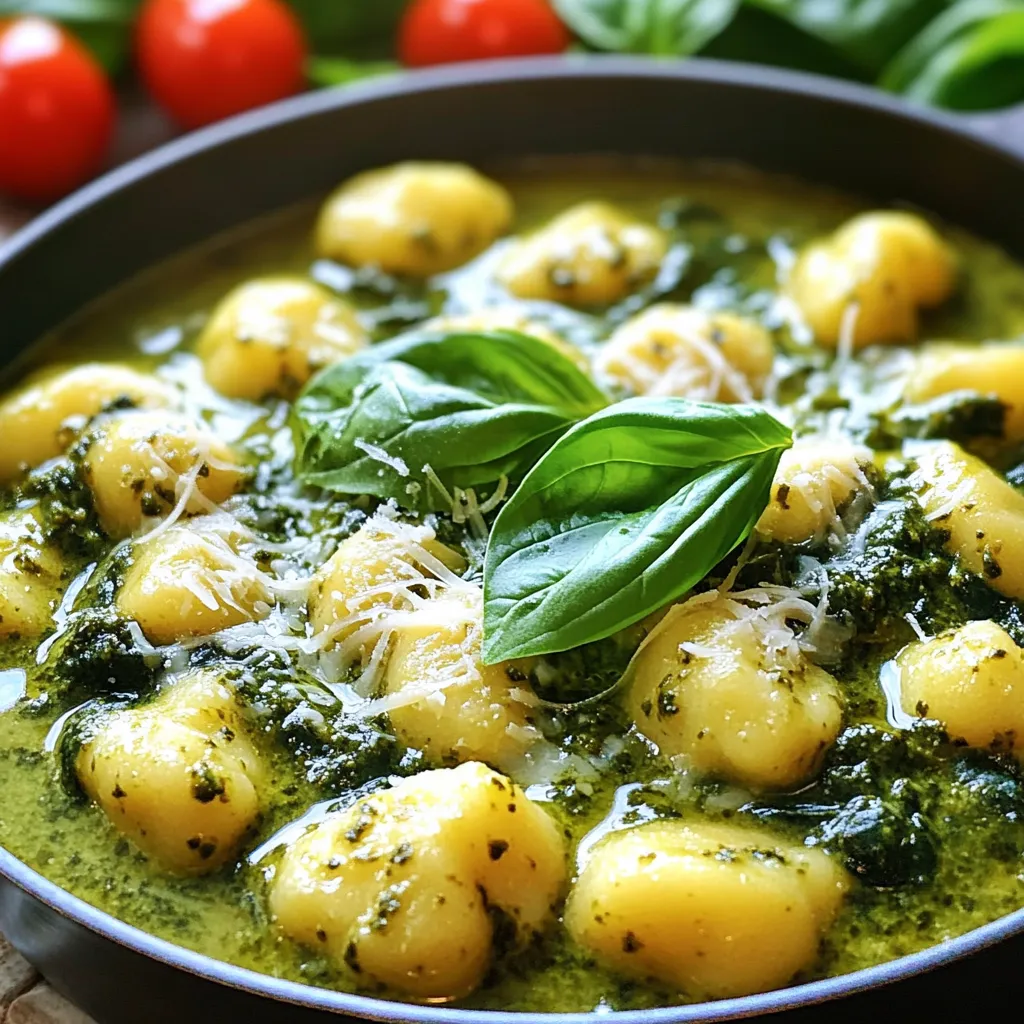
Craving a quick and tasty meal? Look no further! This Creamy One-Pot Pesto Gnocchi is your answer. In just 30

Craving a treat that combines zesty lemon and sweet blueberries? You’re in the right spot! In this easy recipe guide,

Indulge your sweet tooth with my easy No-Bake Salted Caramel Cheesecake Bars! These bars are creamy, rich, and drizzled with