Air Fryer Parmesan Crusted Chicken Simple and Quick
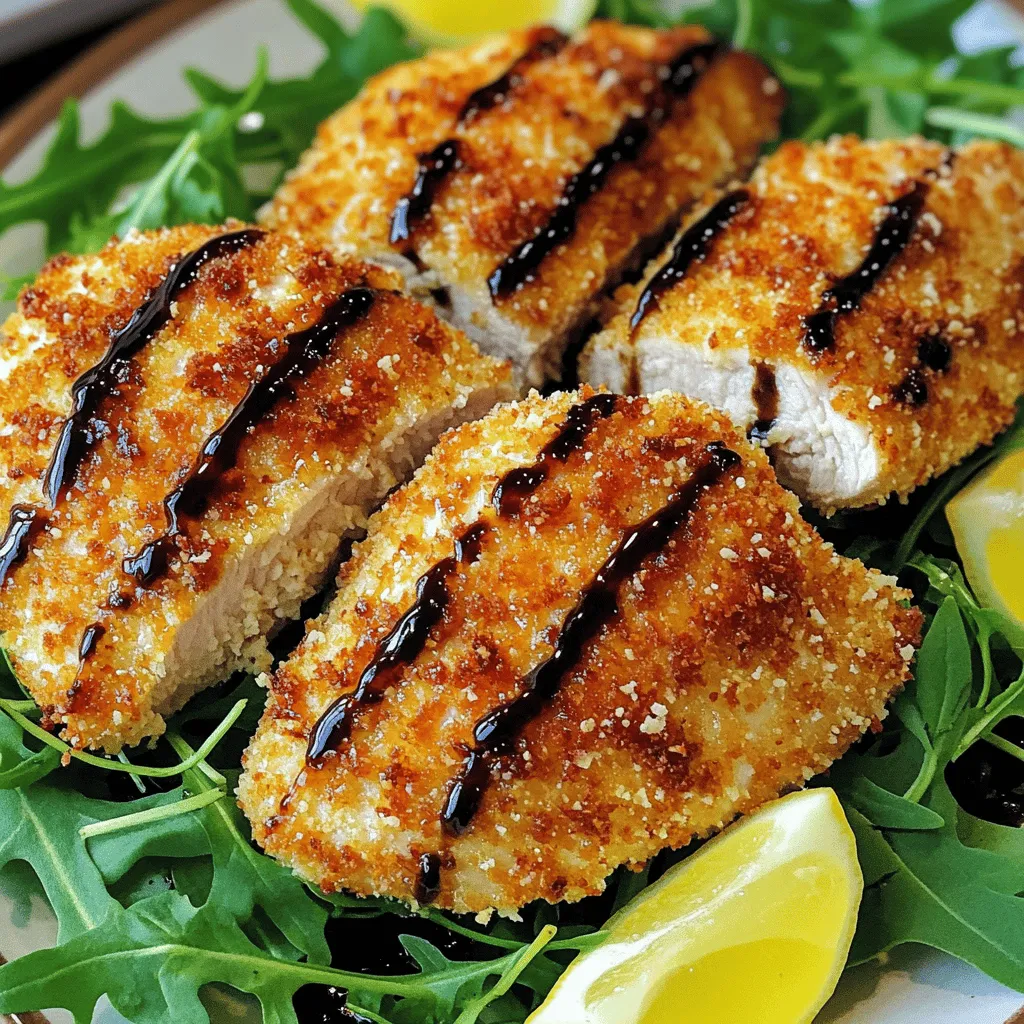
Craving a delicious meal that’s quick and easy? Look no further! This Air Fryer Parmesan Crusted Chicken recipe is a

Craving a delicious meal that’s quick and easy? Look no further! This Air Fryer Parmesan Crusted Chicken recipe is a
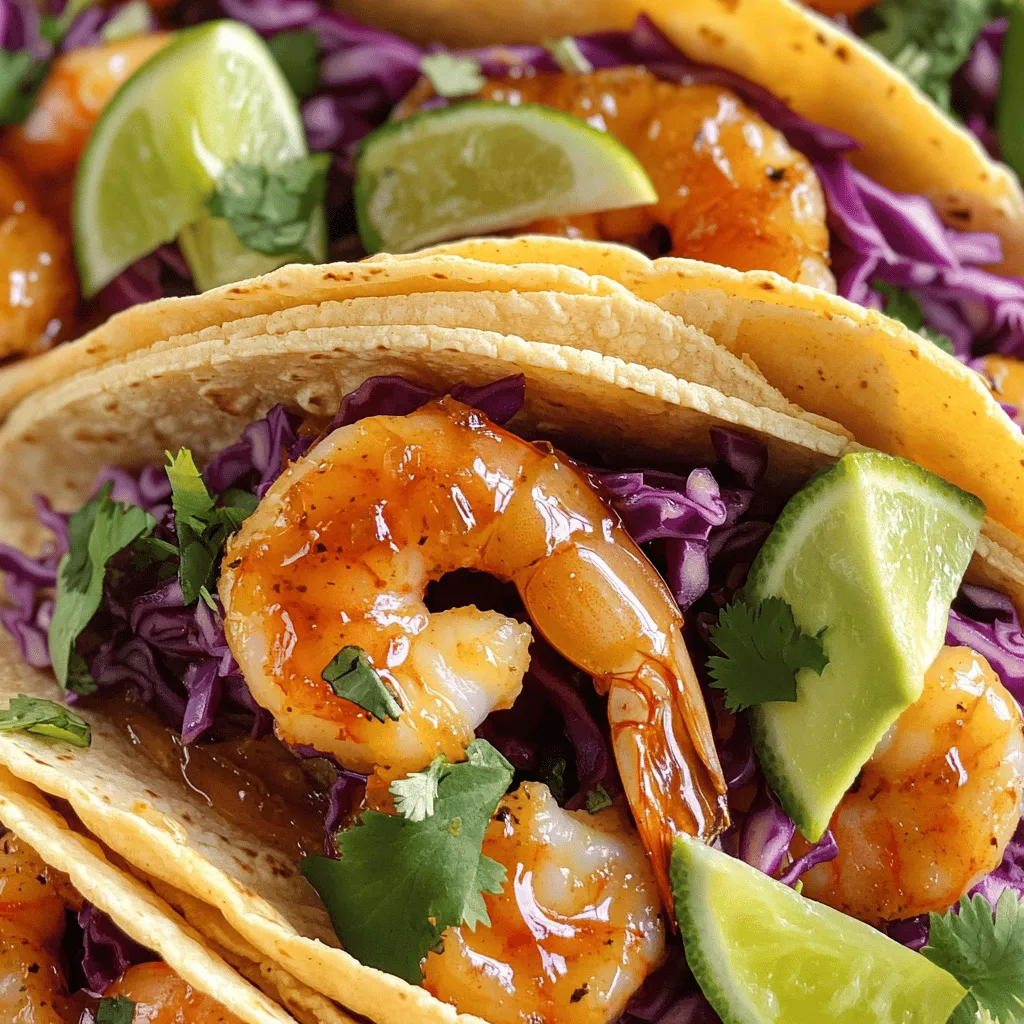
Craving a quick and tasty meal? Look no further! My Flavorful Sheet Pan Garlic Honey Shrimp Tacos are a game-changer.
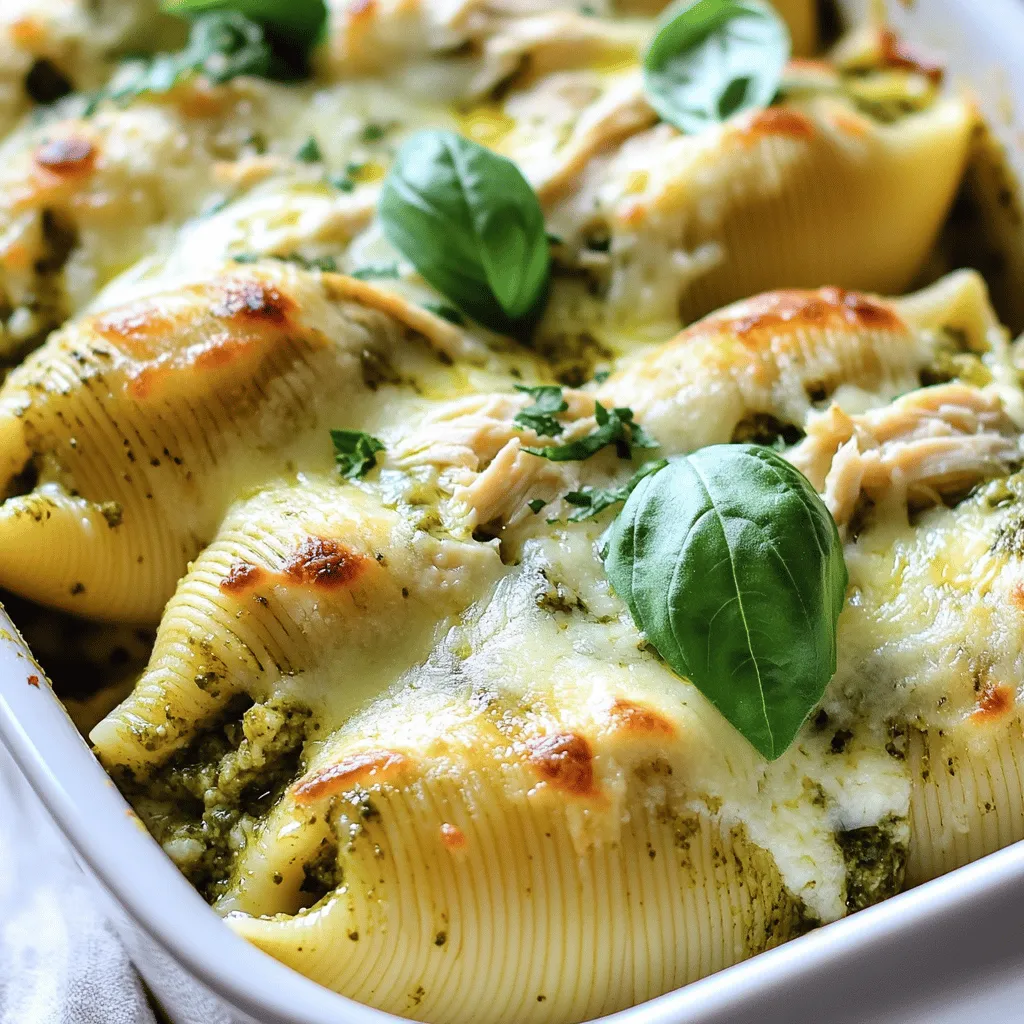
Are you ready for a tasty dish that’s easy to make? Creamy Pesto Chicken Stuffed Shells are a delightful meal
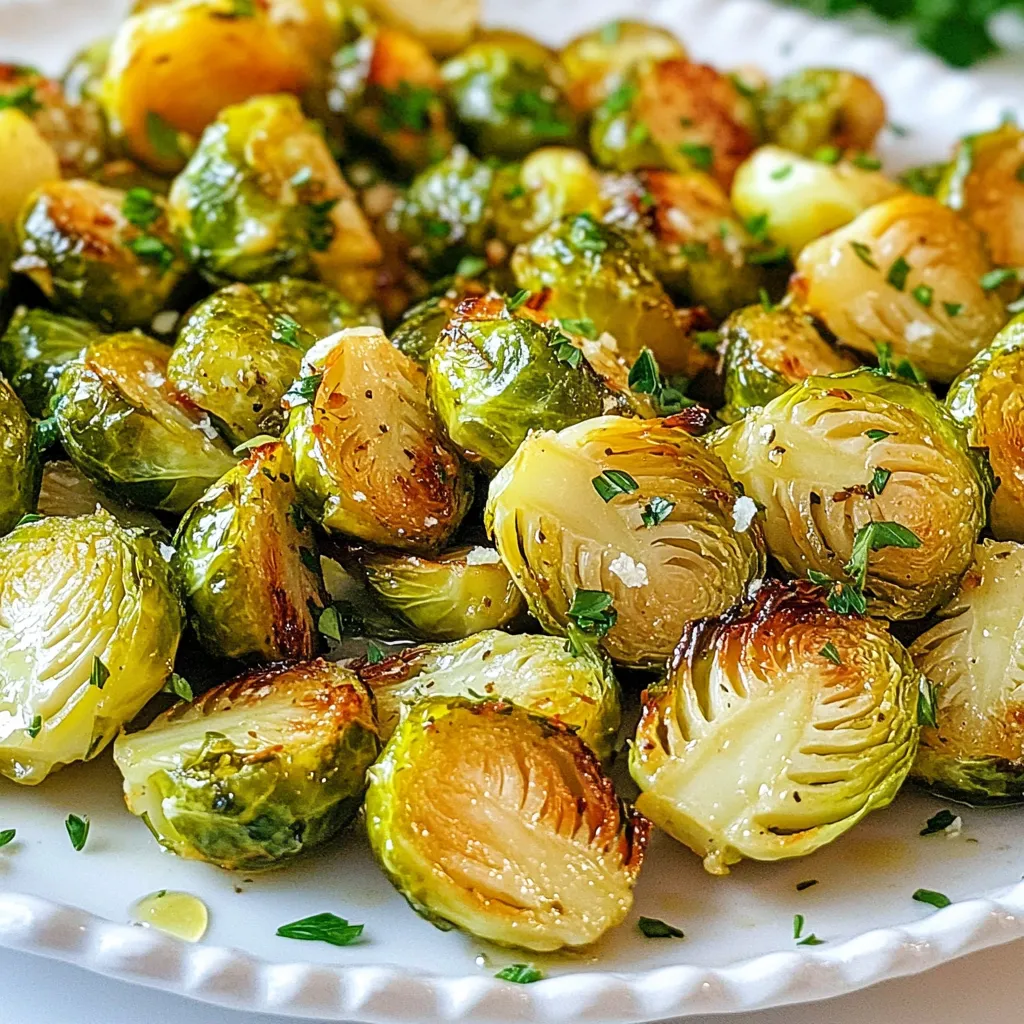
Looking for a side dish that packs a flavorful punch? Garlic Herb Roasted Brussels Sprouts are here to impress! I’ll
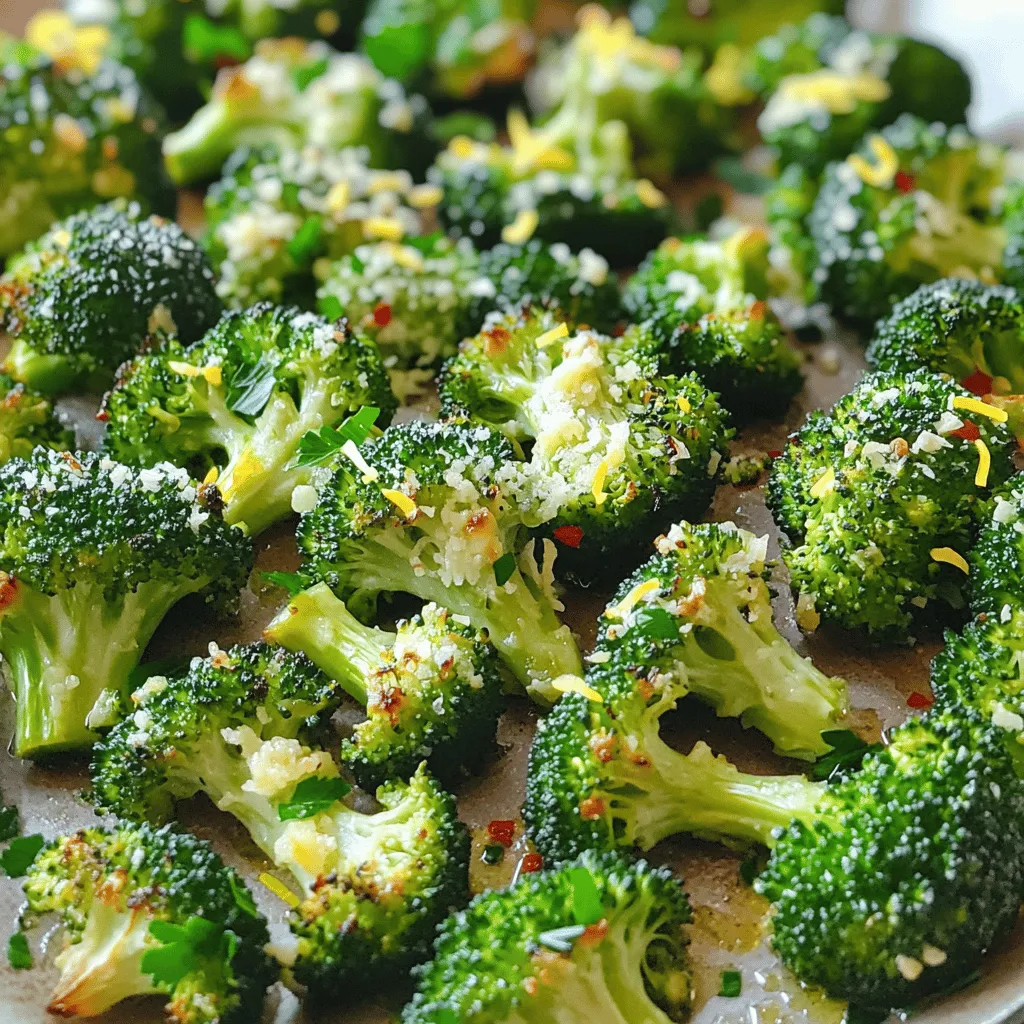
Looking for a simple and tasty side dish that brings out the best in veggies? Try my Lemon Garlic Roasted
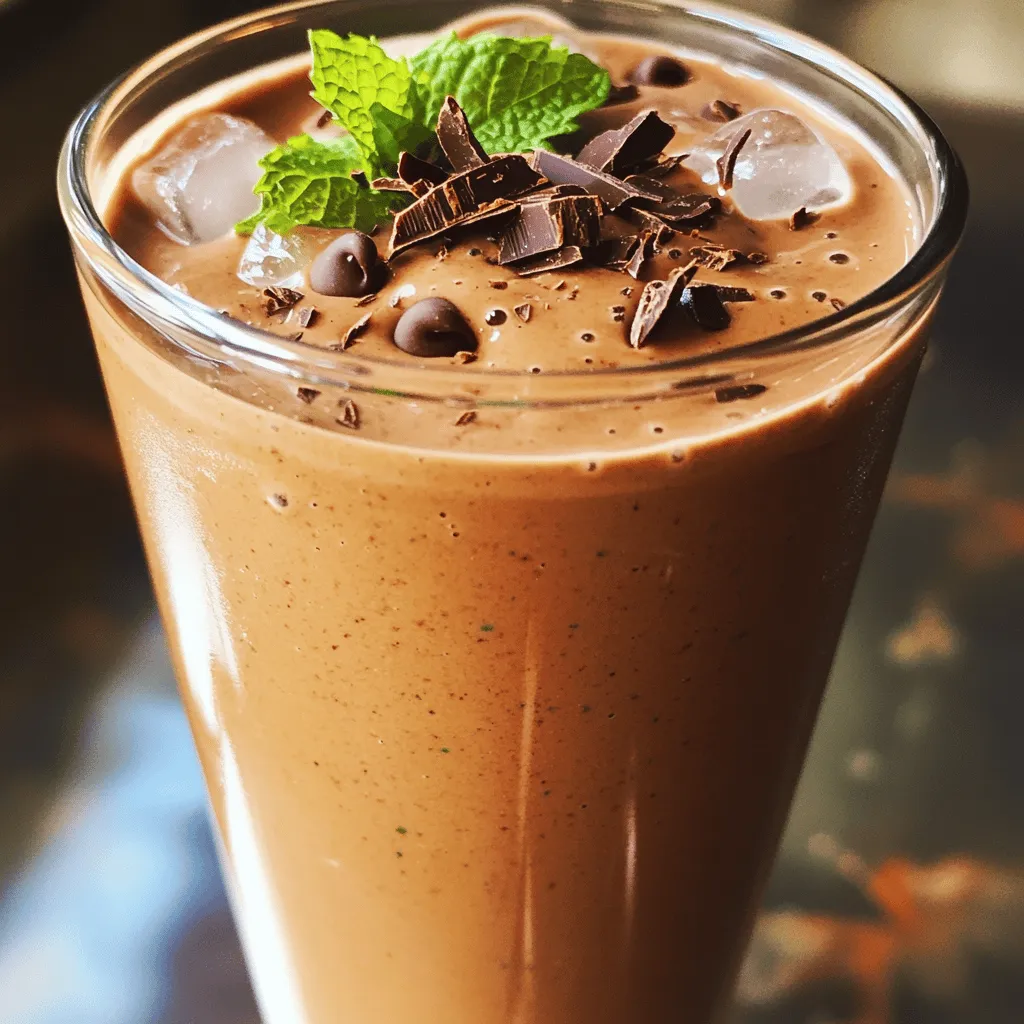
Are you craving a delicious way to boost your protein intake? Look no further! My Mint Chocolate Chip Protein Shake
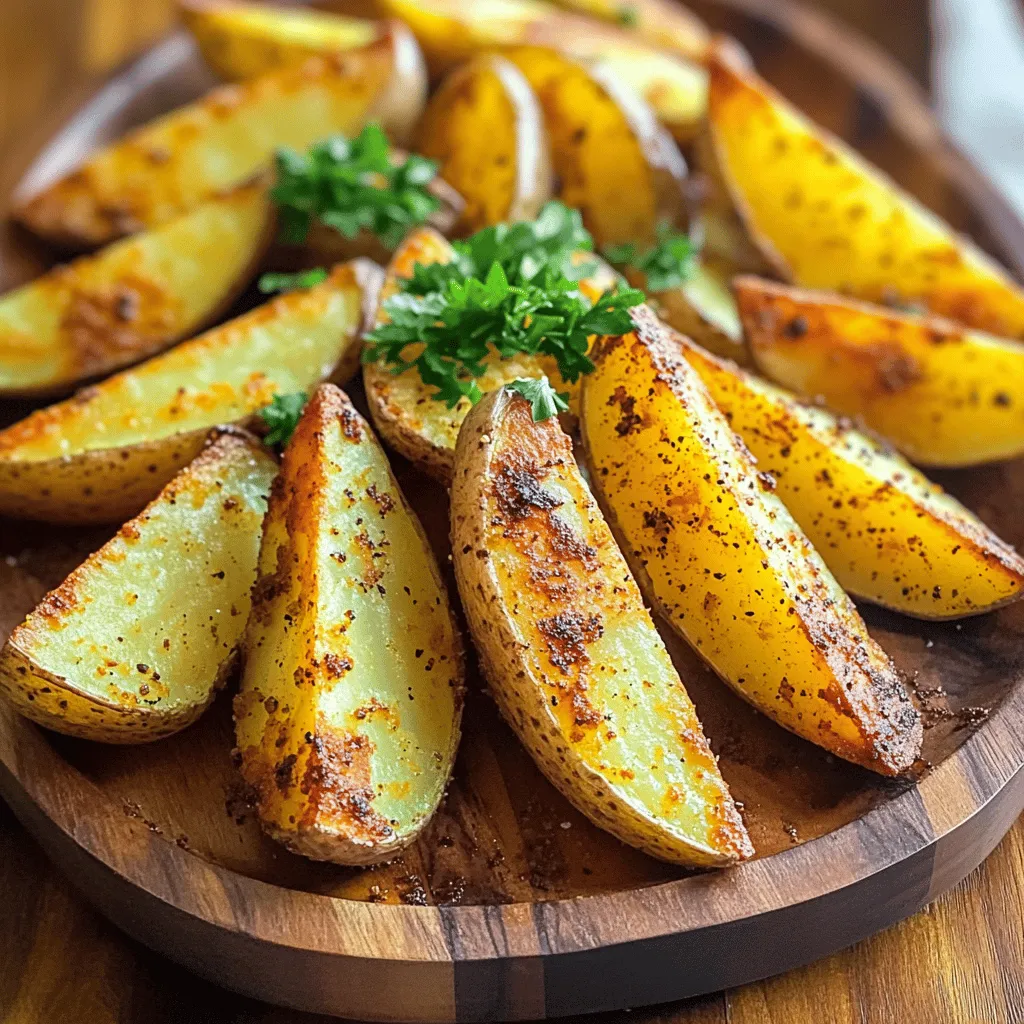
Ready to spice up your meals? These Air Fryer Cajun Potato Wedges are your answer! Crispy on the outside and
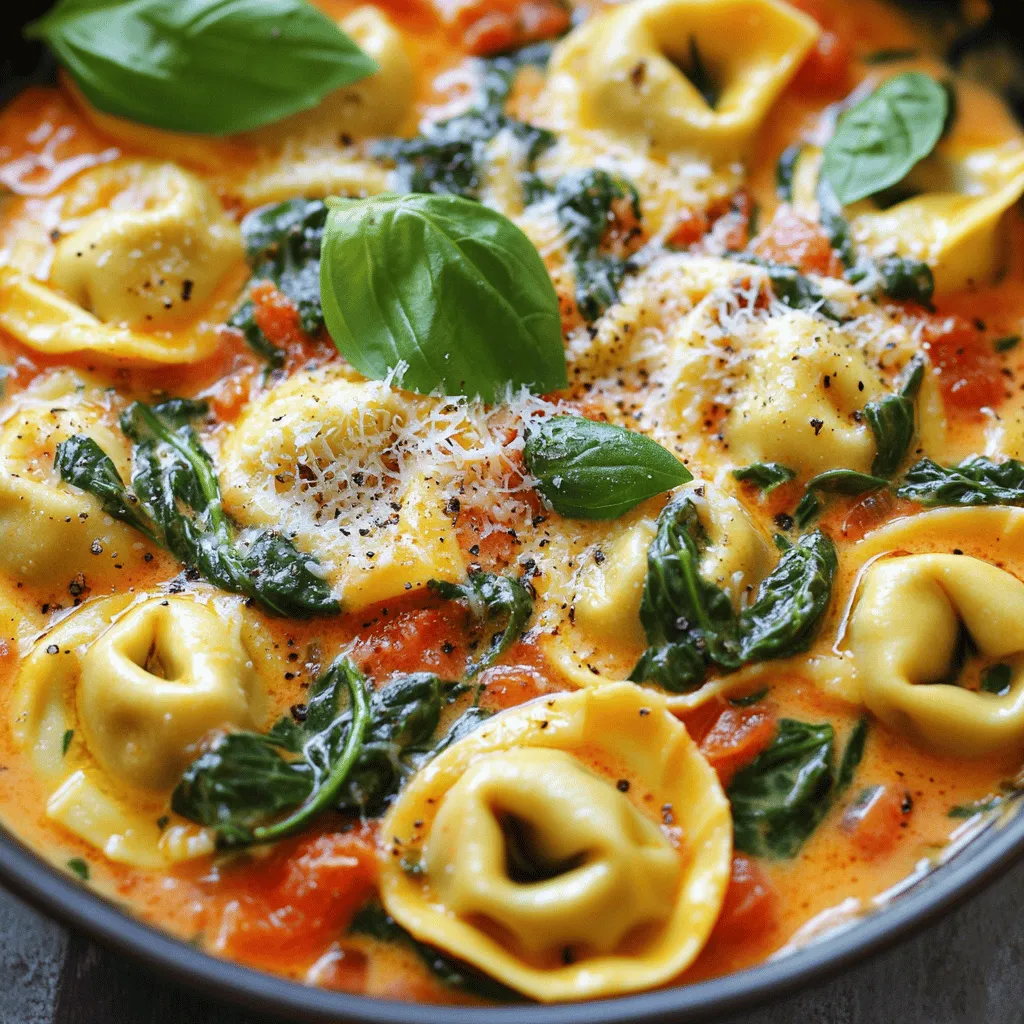
Welcome to a dish that’s both creamy and comforting: Creamy Tomato Spinach Tortellini! If you crave a quick meal packed

If you’re craving a quick, tasty breakfast that feels like dessert, you’ve hit the jackpot! My Chocolate Peanut Butter Overnight
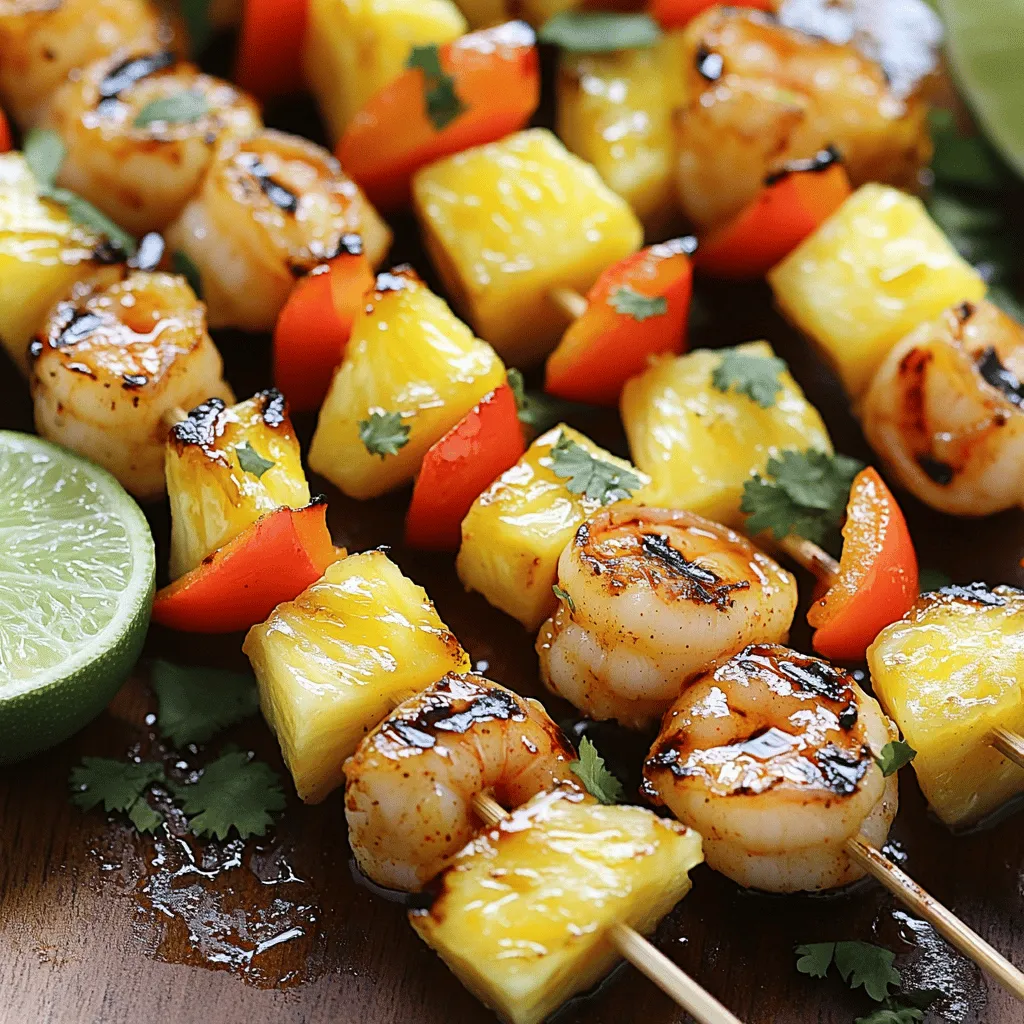
Get ready to delight your taste buds with my Spicy Pineapple Shrimp Skewers! This easy recipe combines juicy shrimp, sweet