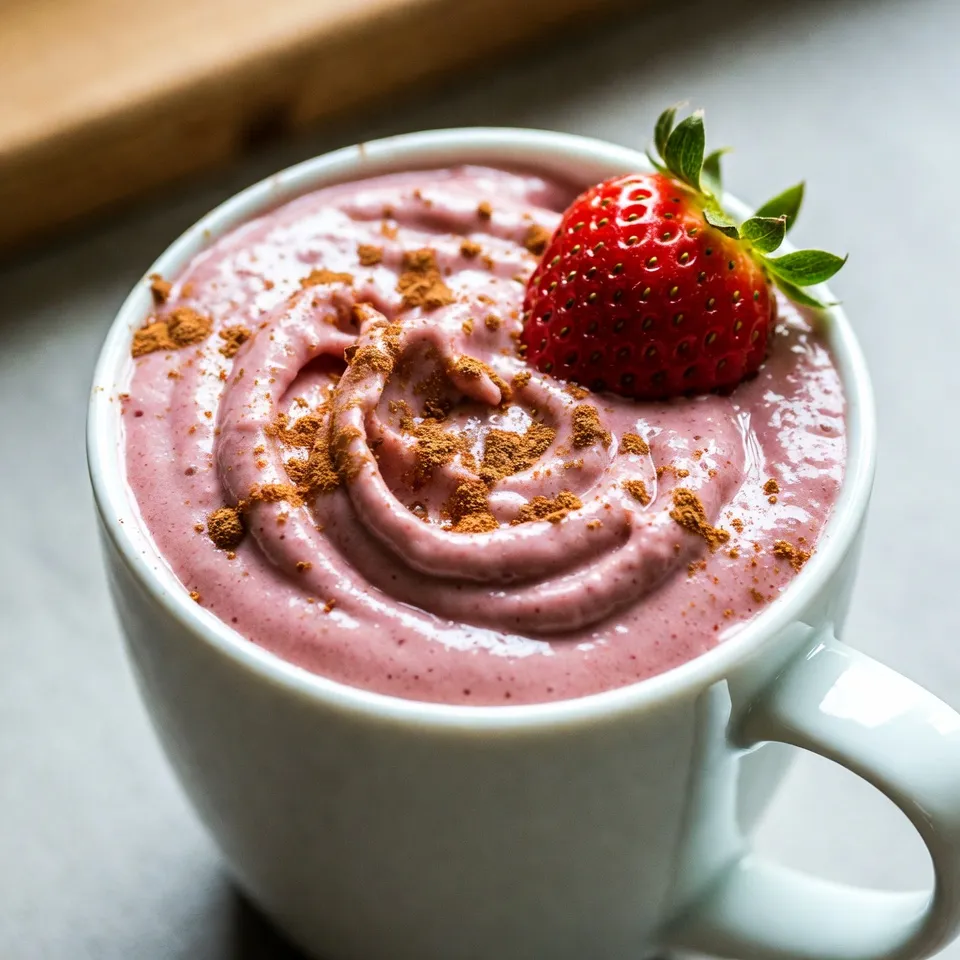
Strawberry Cheesecake Smoothie Creamy and Refreshing Drink
Looking for a tasty treat that’s both creamy and refreshing? The Strawberry Cheesecake Smoothie is the perfect choice! With fresh

Looking for a tasty treat that’s both creamy and refreshing? The Strawberry Cheesecake Smoothie is the perfect choice! With fresh
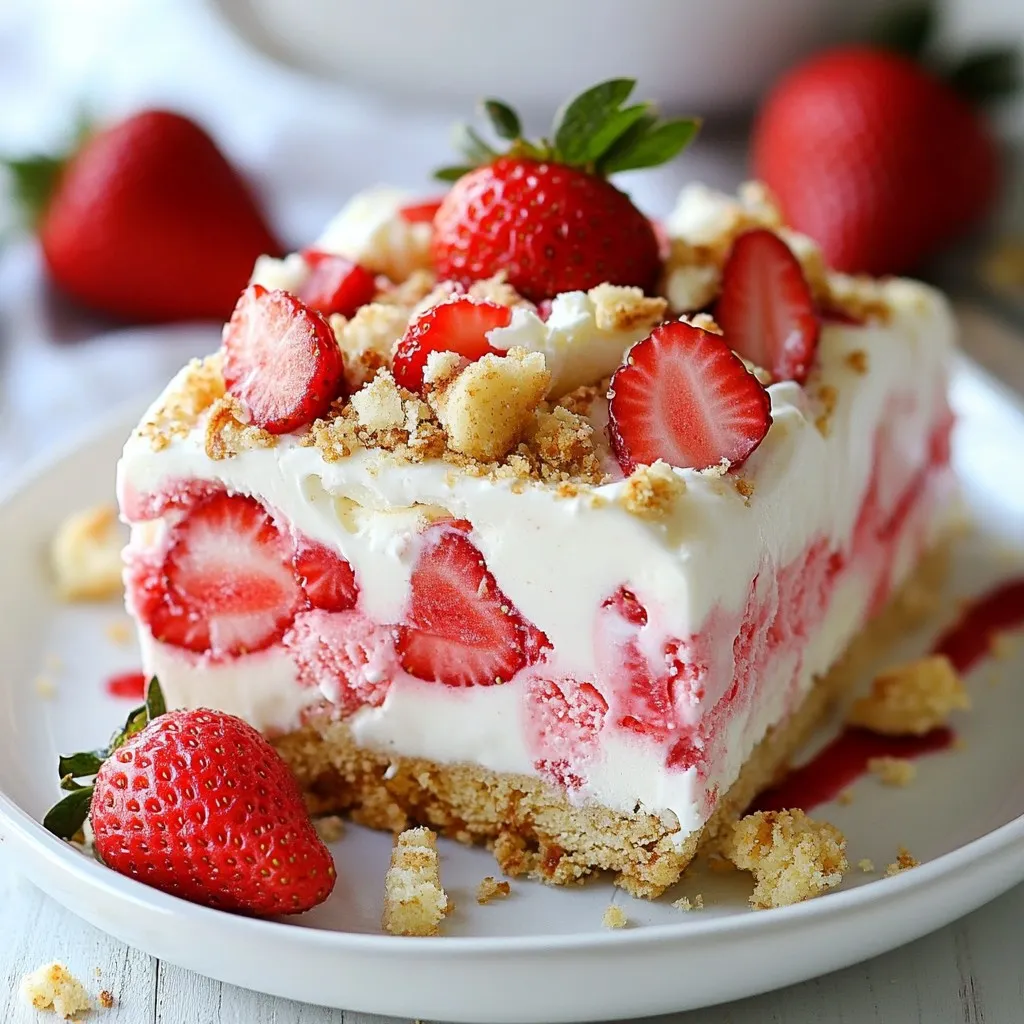
Craving a sweet summer treat? You’ll love these Strawberry Shortcake Ice Cream Bars! They’re simple to make, packed with juicy

Looking for a tasty and healthy meal? Southwest Quinoa Stuffed Peppers are full of flavor and nutrition. You’ll love how
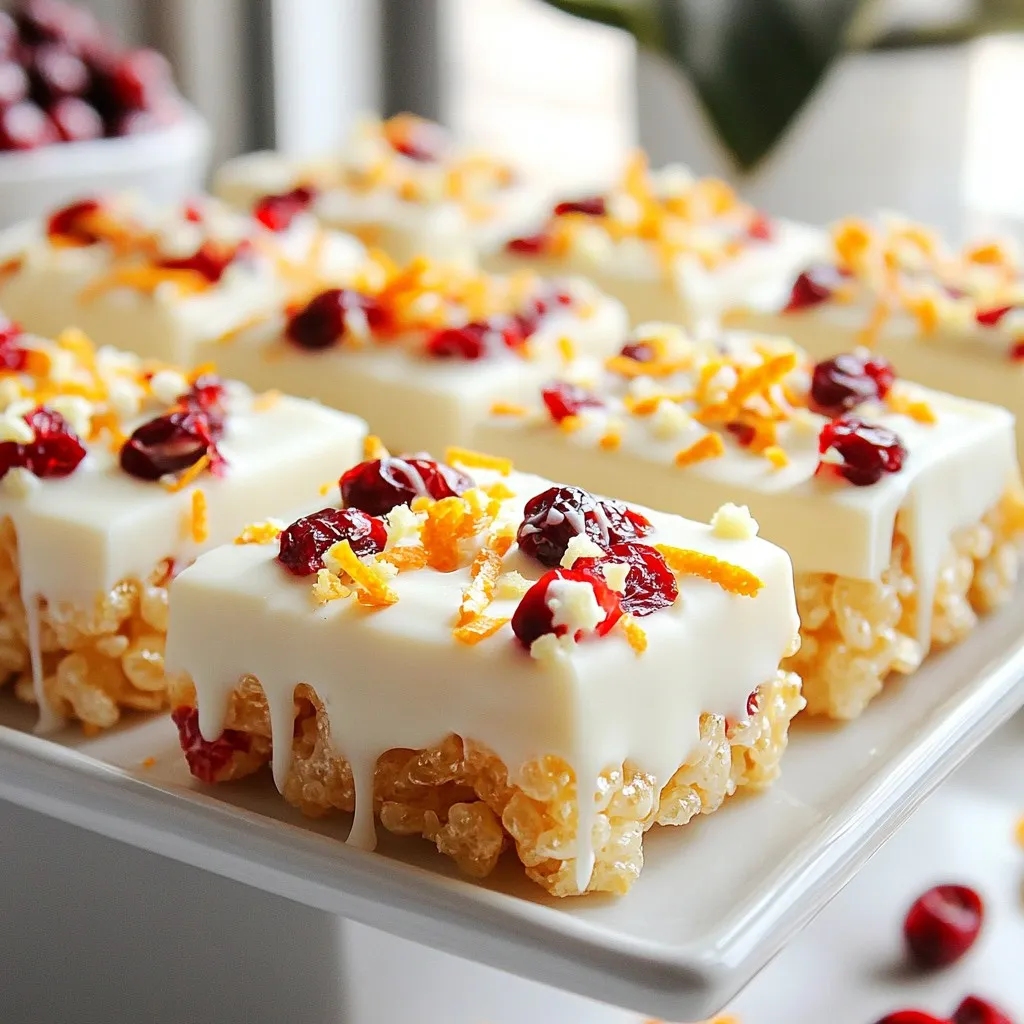
Craving a delicious treat that’s both easy and delightful? Let me introduce you to my Cranberry Orange Rice Krispie Treats!

Looking for a fresh and tasty dish? Avocado Chicken Salad Lettuce Wraps are here to save your lunch! This easy

Are you ready for a dinner that’s both quick and delicious? Creamy Sun Dried Tomato Chicken is your answer! In
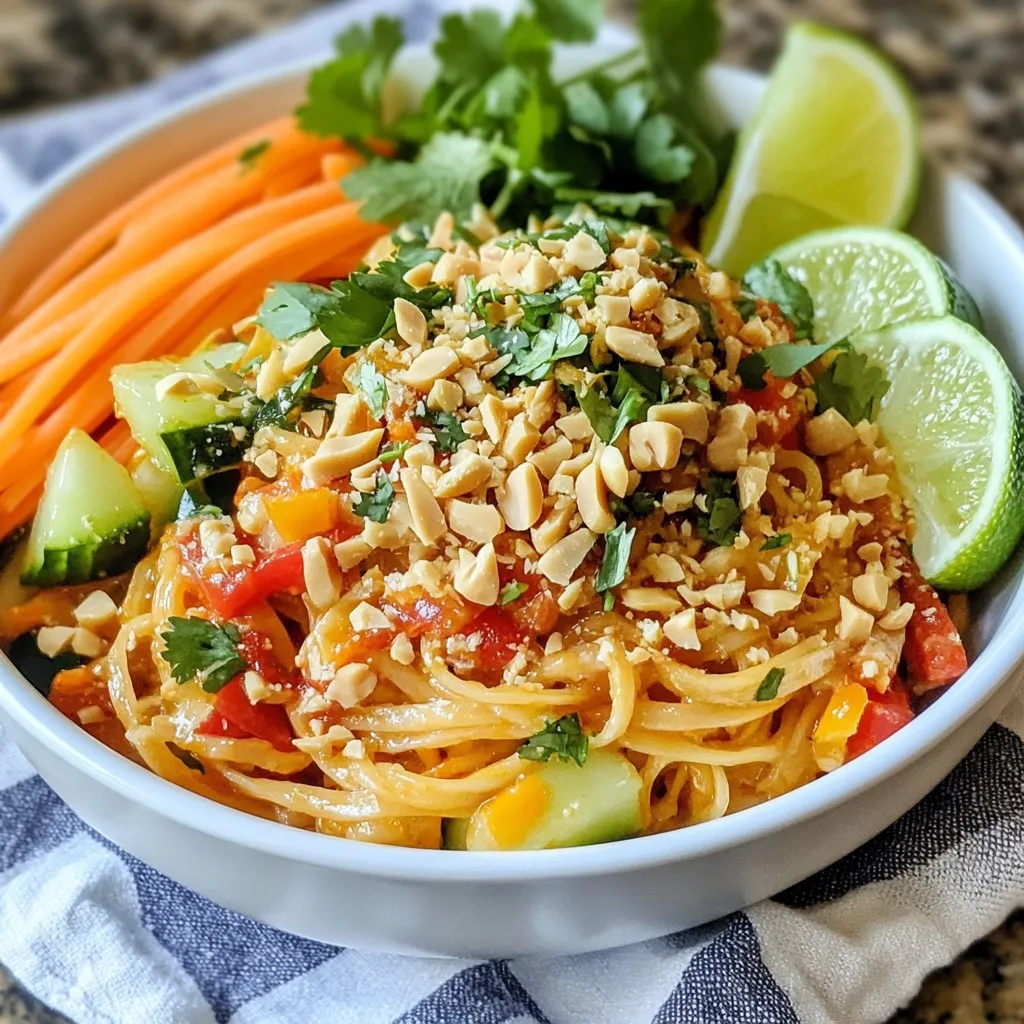
If you’re craving a quick, bold meal, look no further than Spicy Thai Peanut Noodles! This easy recipe packs a

Are you ready to spice up your dinner routine? This Instant Pot Chicken Tikka Masala Soup delivers rich flavors and

Welcome to your new favorite summer treat: Strawberry Lemonade Cupcakes! These vibrant cupcakes mix the sweet taste of strawberries with

If you’re craving a burst of flavor and a touch of sweetness, these Cranberry Orange Muffins are perfect for you!