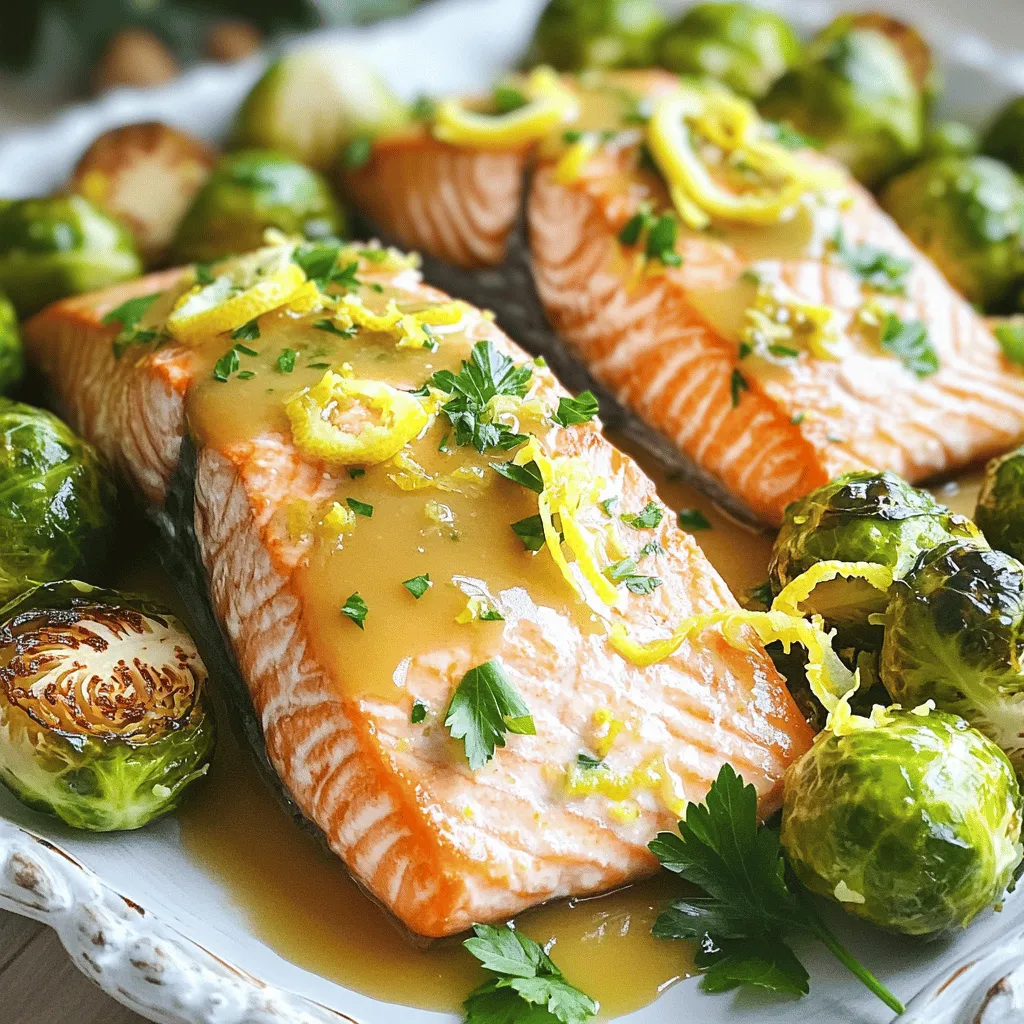
Sheet Pan Lemon Dijon Salmon & Brussels Delight
Looking for a quick, delicious dinner idea? Try this Sheet Pan Lemon Dijon Salmon & Brussels Delight! With just a

Looking for a quick, delicious dinner idea? Try this Sheet Pan Lemon Dijon Salmon & Brussels Delight! With just a
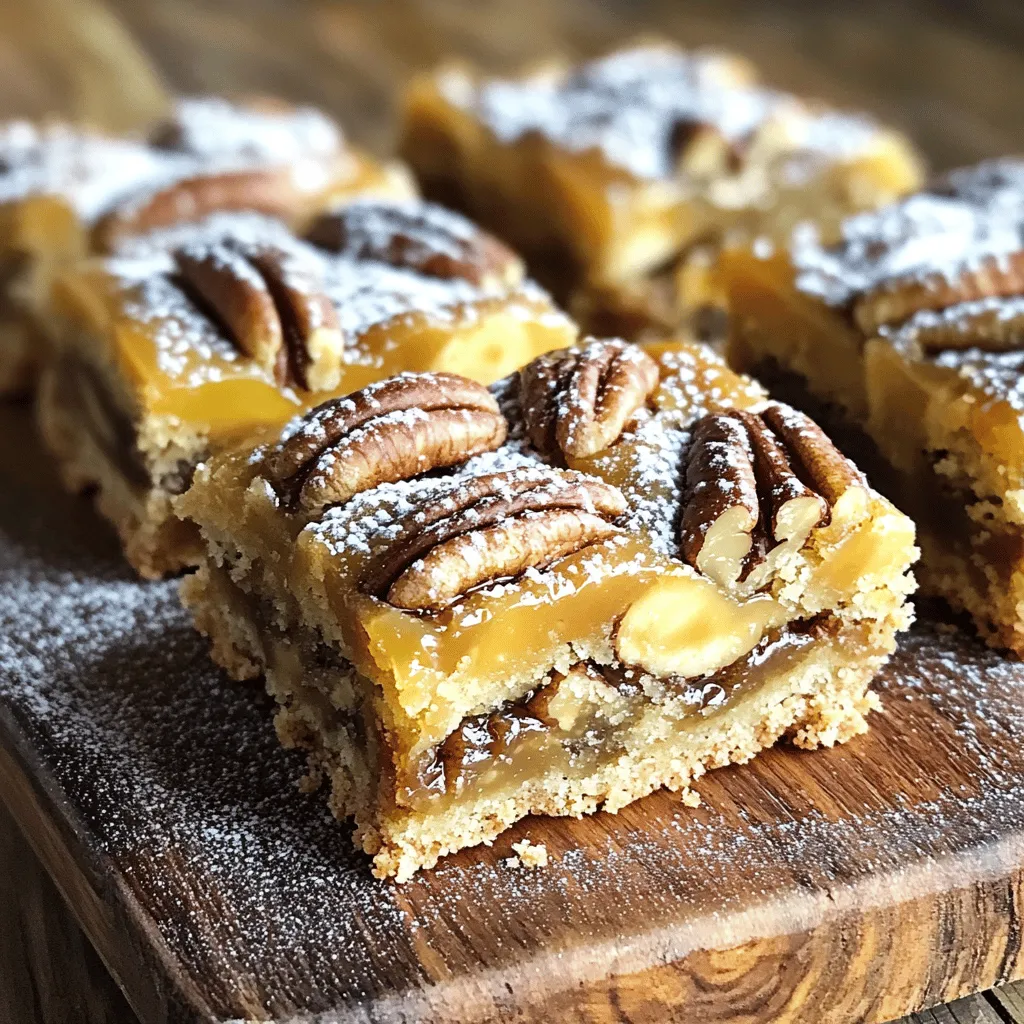
Are you craving a delicious treat that combines the sweetness of ripe bananas with rich caramel and crunchy pecans? Look
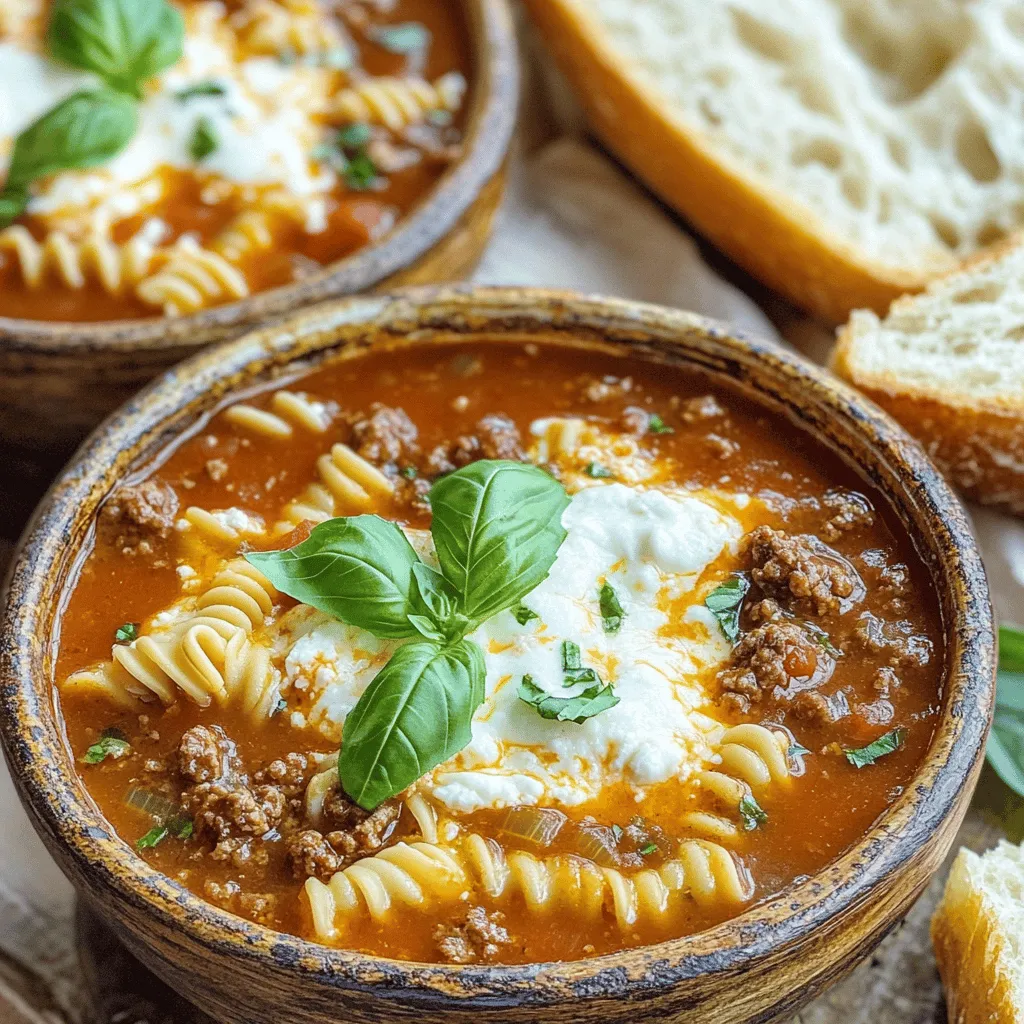
Craving a warm bowl of comfort? Slow Cooker Lasagna Soup brings all the classic flavors of lasagna into a hearty
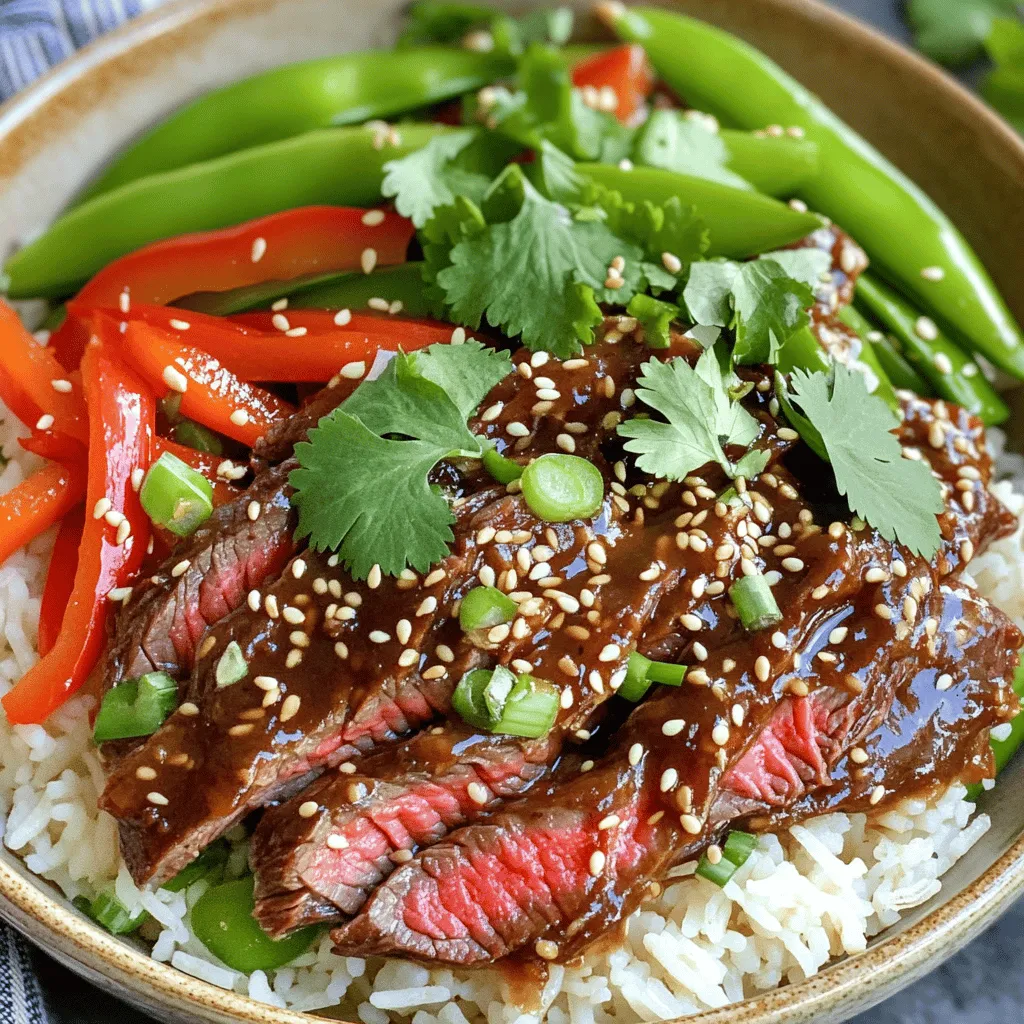
Looking for a quick and tasty meal? You’ve found it! This Minute Hoisin Beef Rice Bowls recipe is packed with

Craving a crunchy snack that’s quick and easy? You’re in the right place! My Air Fryer Crispy Shrimp Egg Rolls
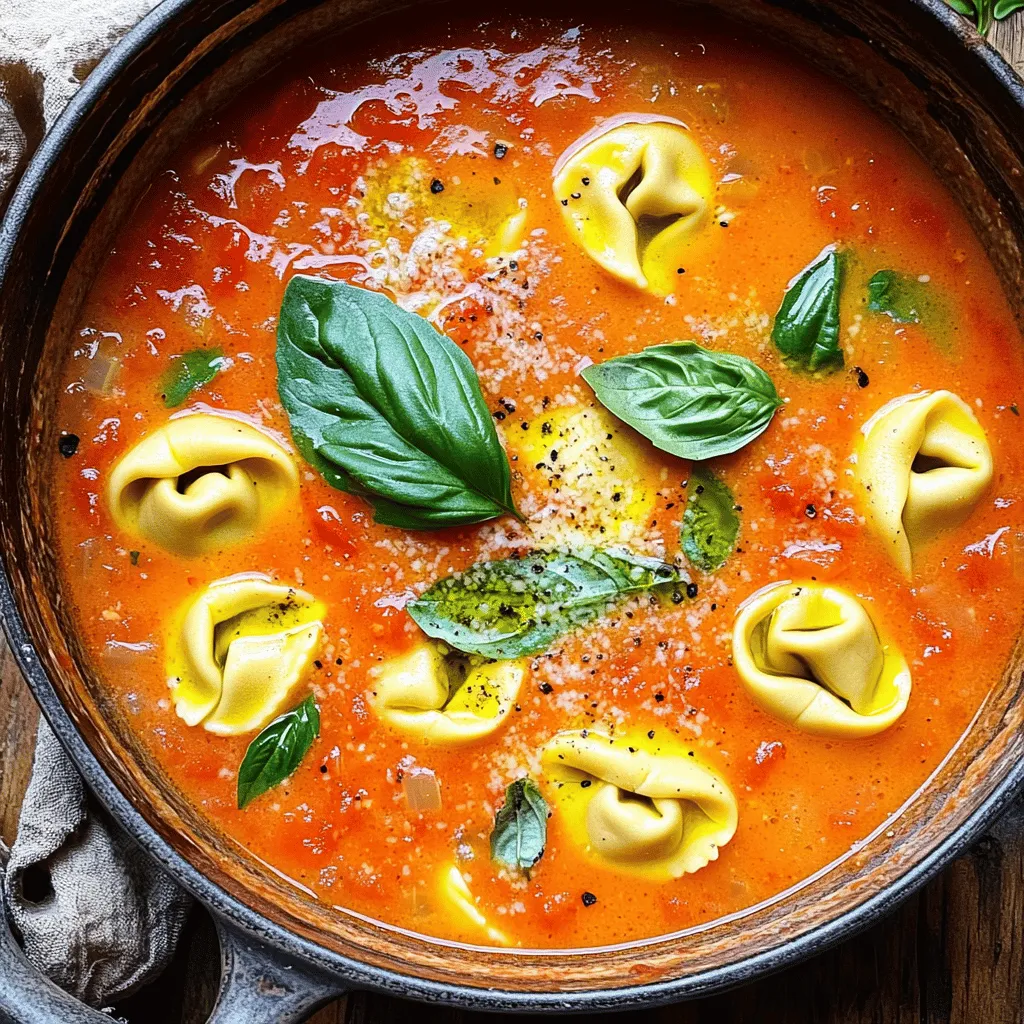
Welcome to my kitchen, where we’re whipping up a cozy bowl of One-Pot Creamy Tomato Tortellini Soup! This dish is
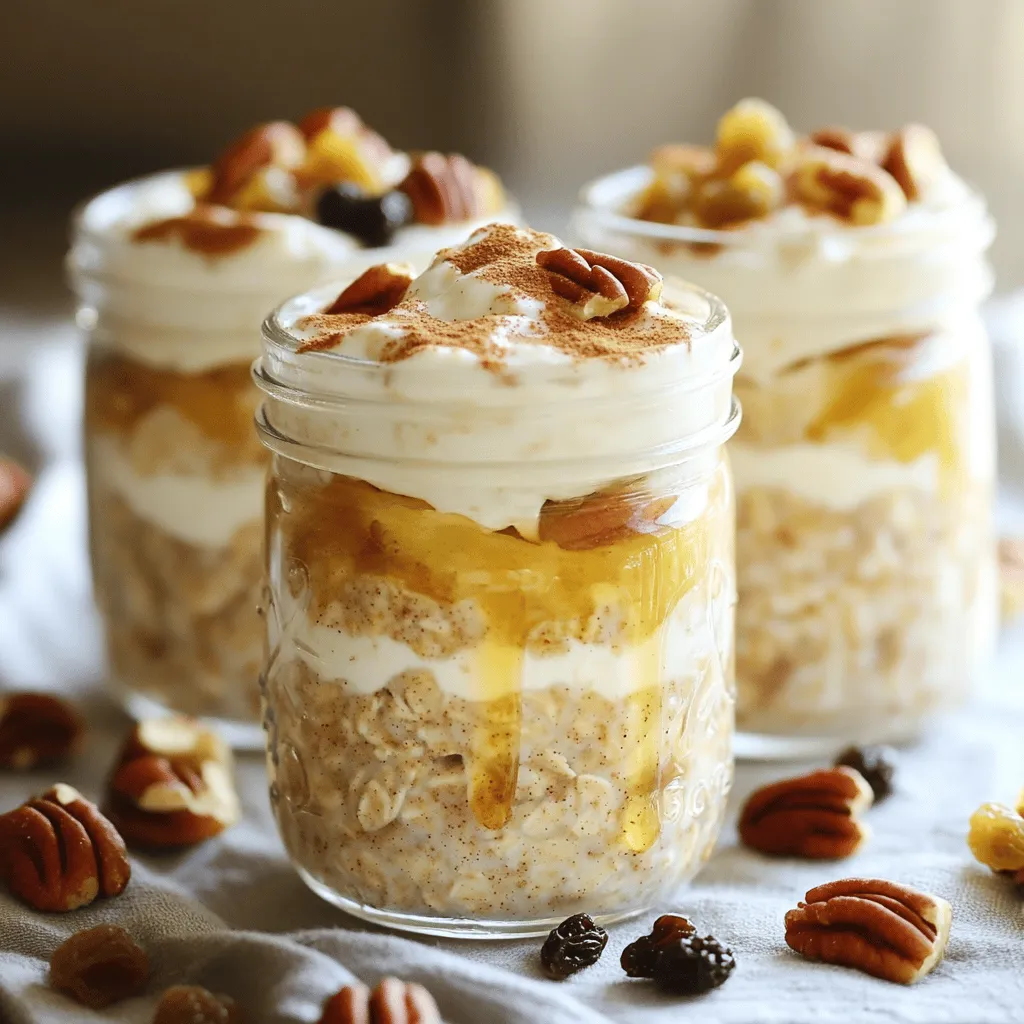
Are you ready to spice up your morning routine with a delicious twist? Cinnamon Roll Overnight Oats blend the warm
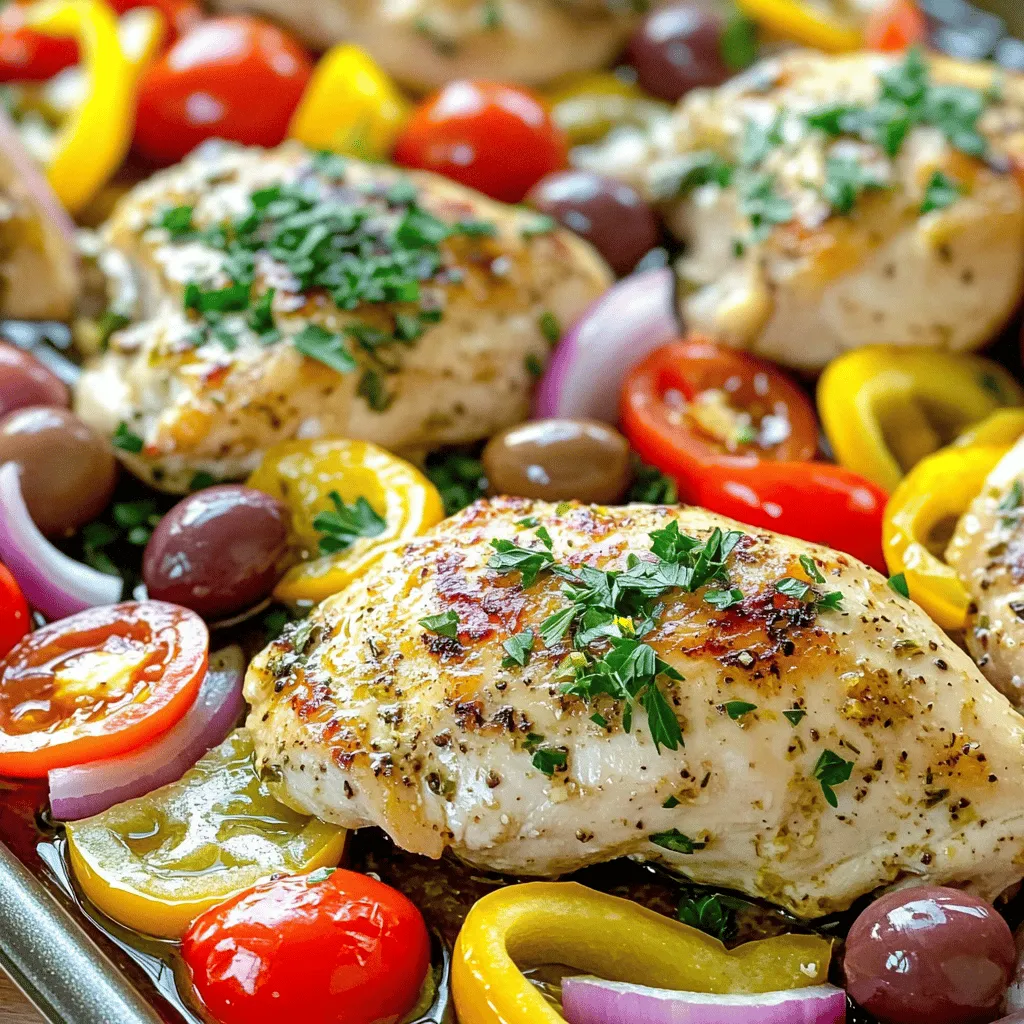
Get ready to whip up a tasty and simple dinner with my Sheet-Pan Lemon Garlic Greek Chicken! This dish shines
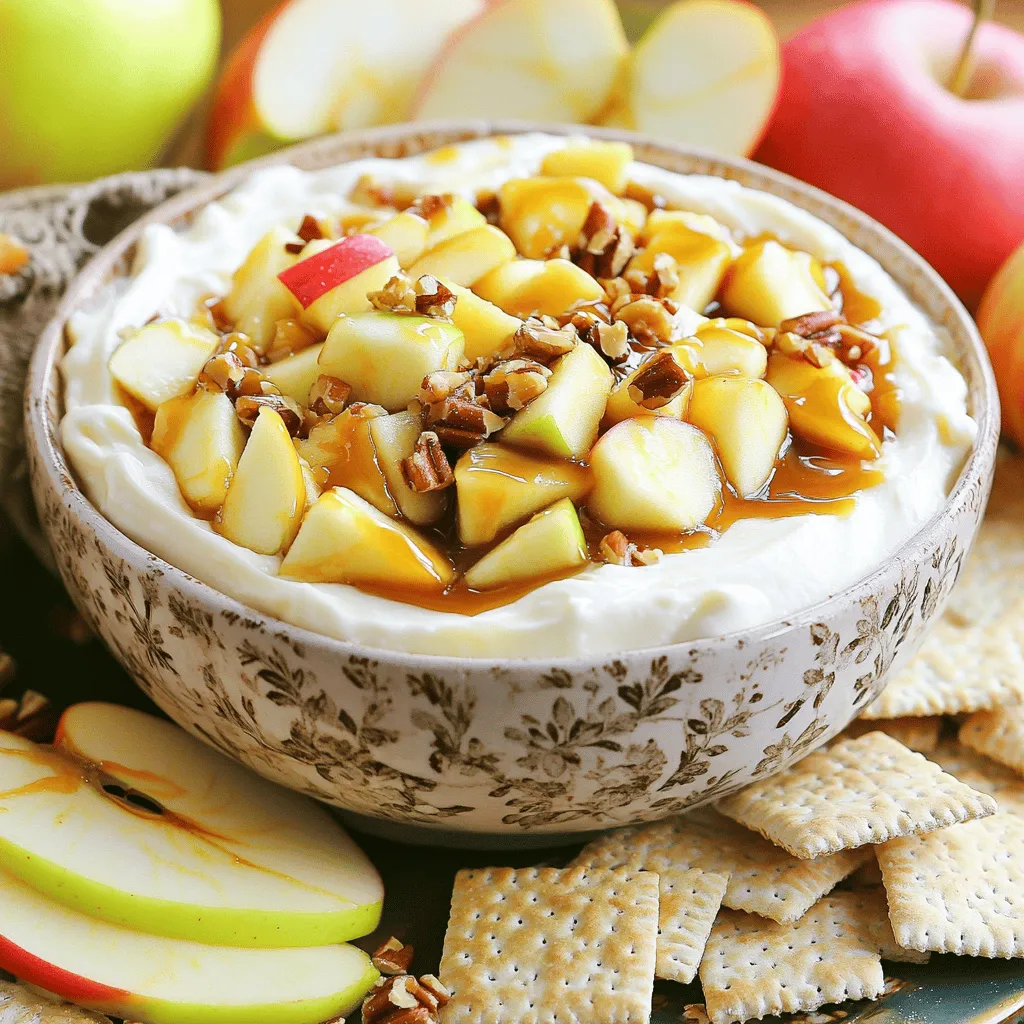
Ready to indulge in a sweet treat that’s both easy and delicious? My No-Bake Caramel Apple Cheesecake Dip Delight brings

Craving something warm and flavorful? Check out my Slow Cooker Chipotle Chicken Taco Soup Delight! This easy recipe mixes tender