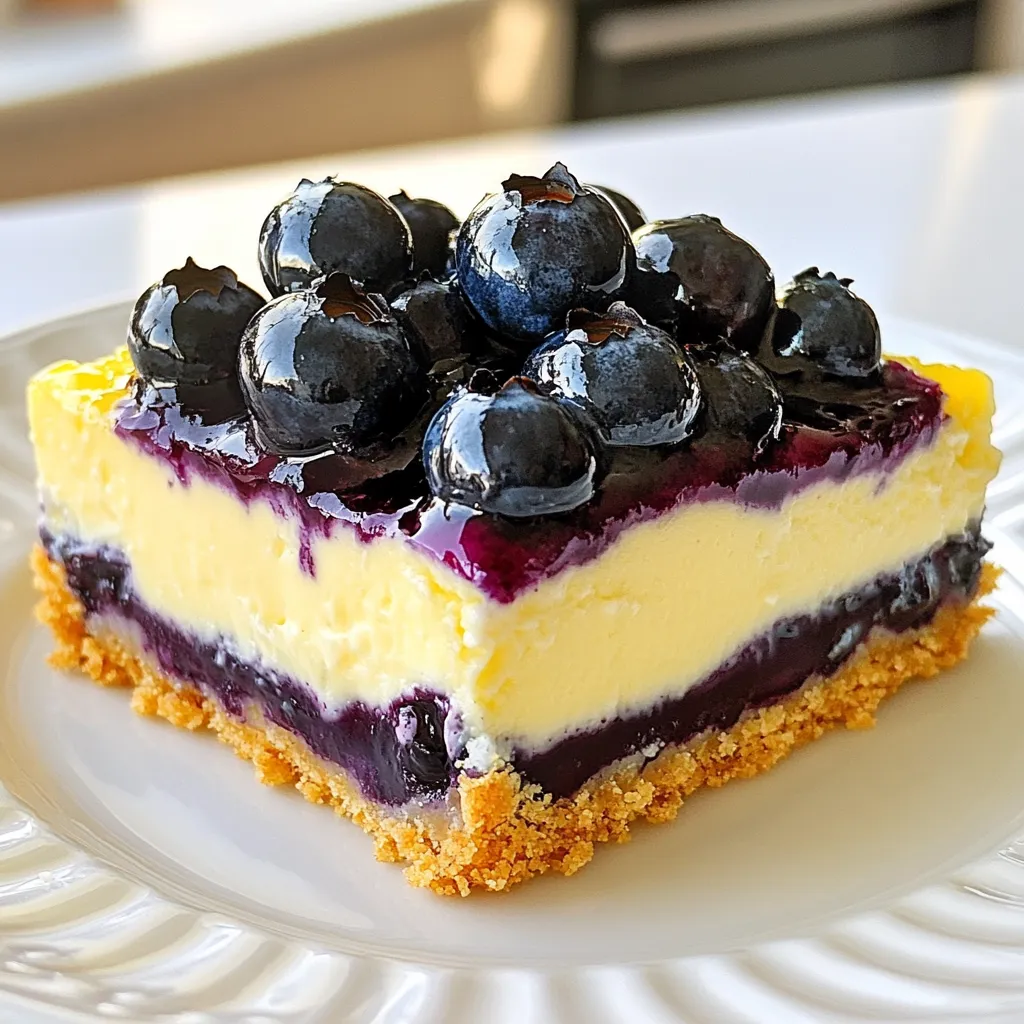
Blueberry Lemon Cheesecake Bars Fresh and Flavorful Treat
Are you ready for a dessert that bursts with flavor? These Blueberry Lemon Cheesecake Bars are the perfect mix of

Are you ready for a dessert that bursts with flavor? These Blueberry Lemon Cheesecake Bars are the perfect mix of
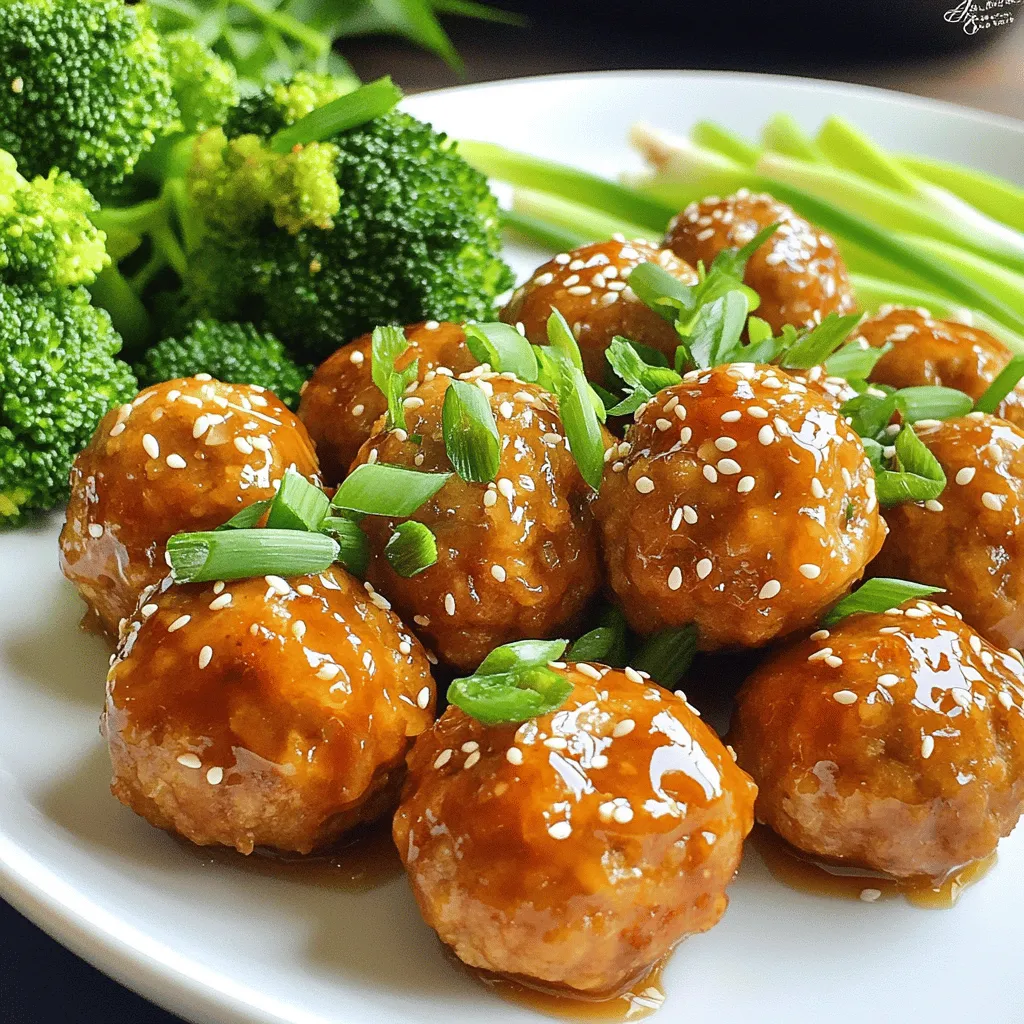
Are you ready to elevate your meatless meals? Dive into my recipe for Honey Garlic Glazed Meatless Meatballs! Bursting with

If you love a sweet treat that’s both fresh and delicious, you’ll adore my Blueberry Lemon Ricotta Muffins! They combine
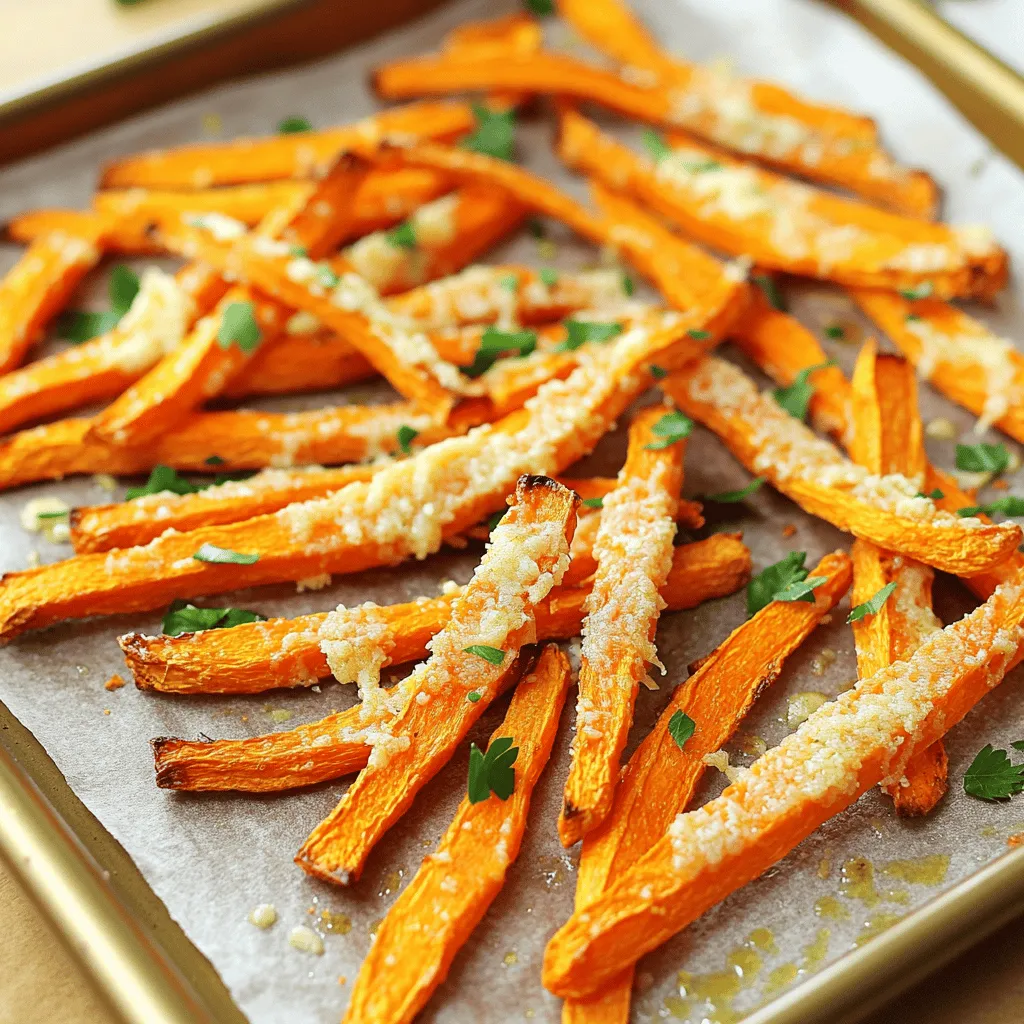
Looking for a tasty snack that’s easy to make? You’ve hit the jackpot! My Garlic Parmesan Roasted Carrot Fries are
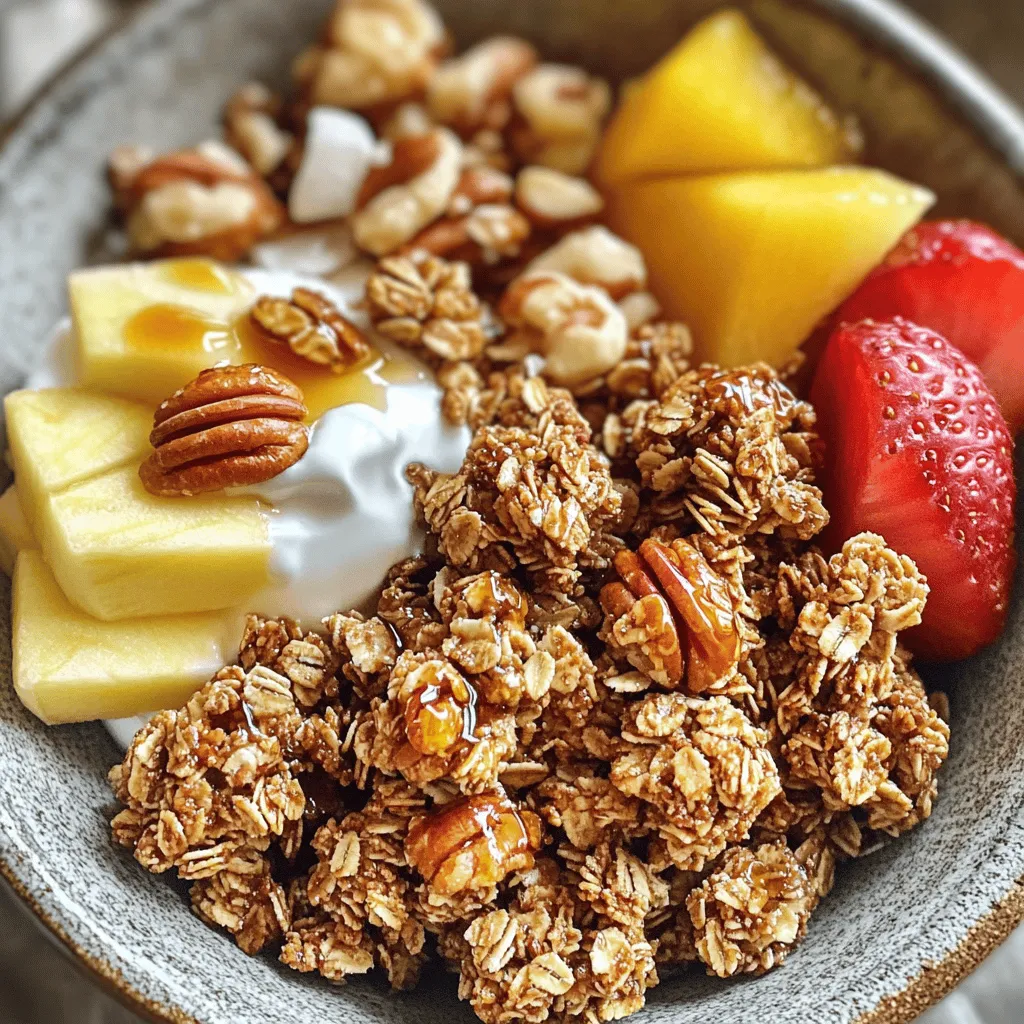
Looking for a quick, healthy snack that’s full of flavor? Let’s make Maple Pecan Granola Clusters! These crunchy treats are
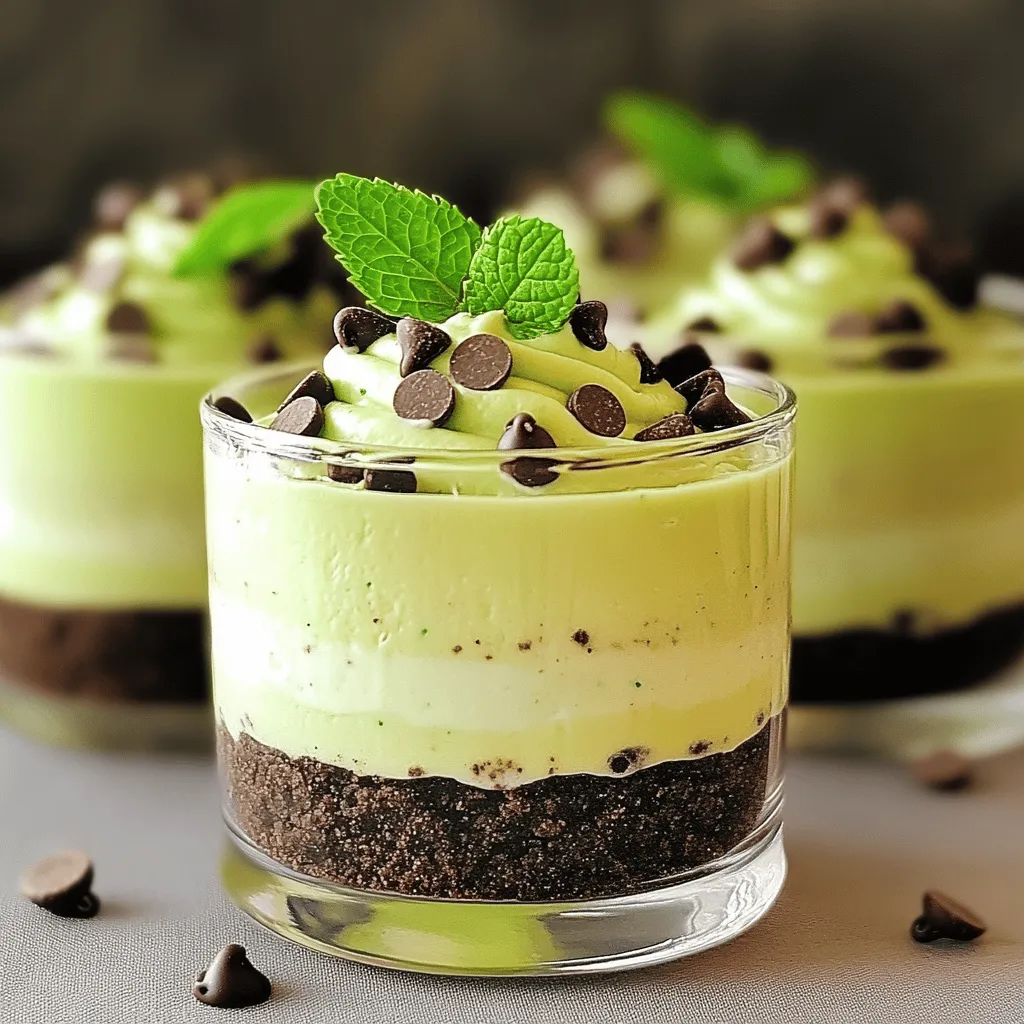
Craving a sweet treat without turning on the oven? You’ll love my No Bake Oreo Mint Cheesecake Cups! These easy-to-make
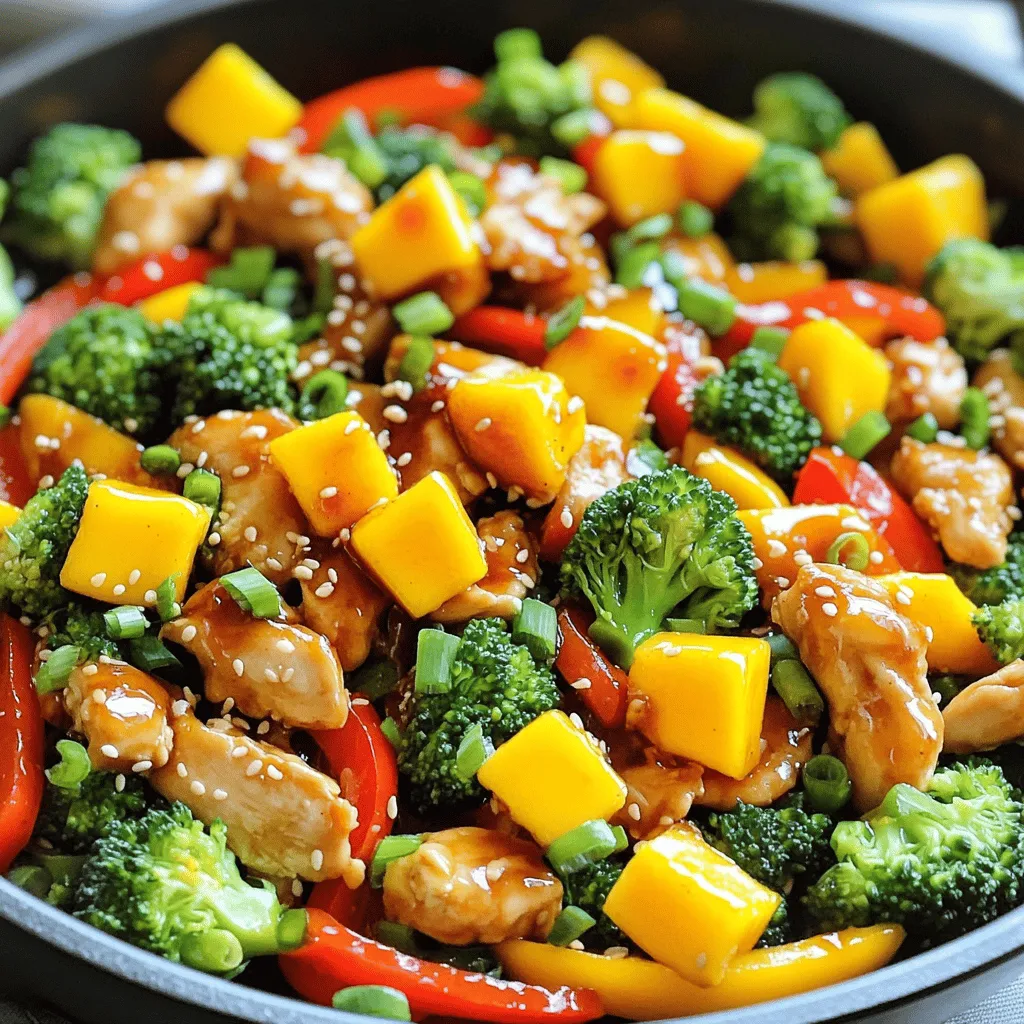
Looking for a quick and tasty dinner idea? My Spicy Mango Chicken Stir Fry packs flavor and fun into every
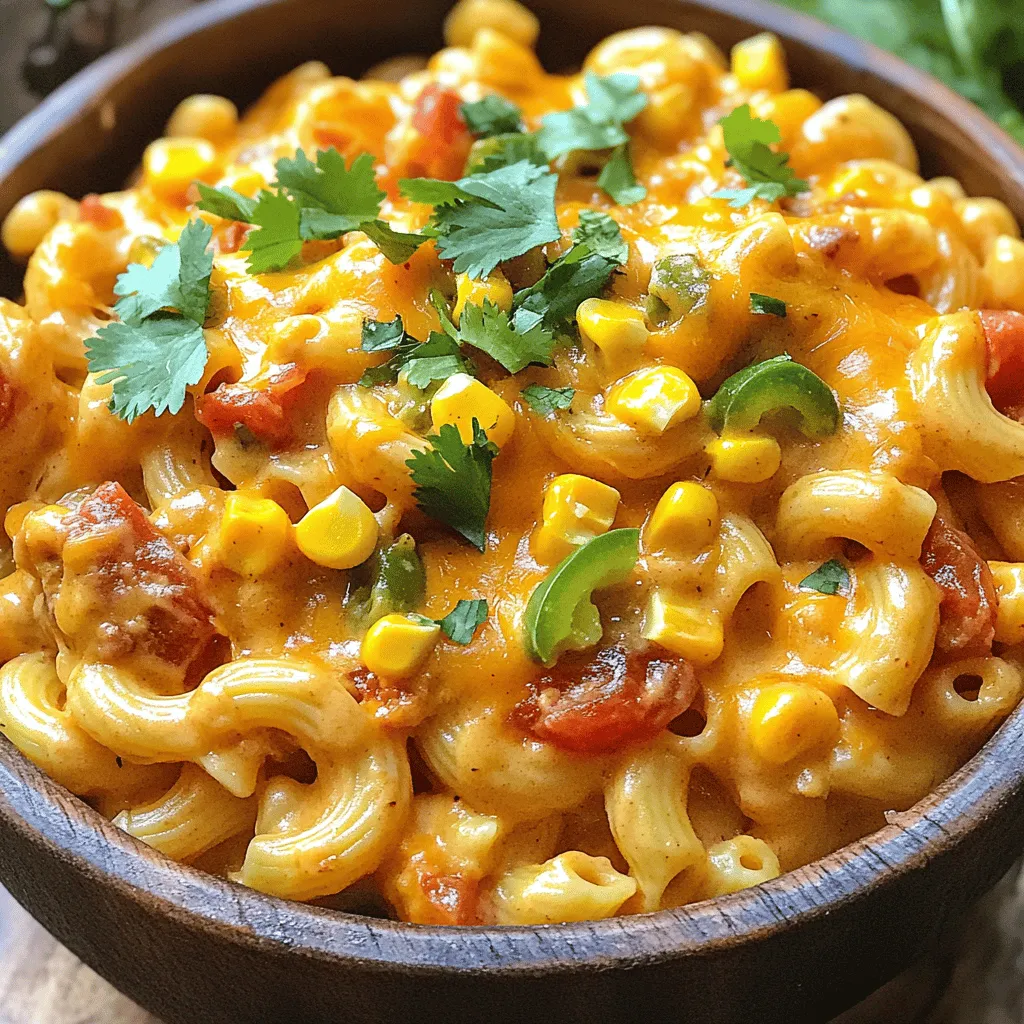
Craving a quick and tasty meal? Look no further than this One Pot Creamy Taco Mac! I’ll show you how
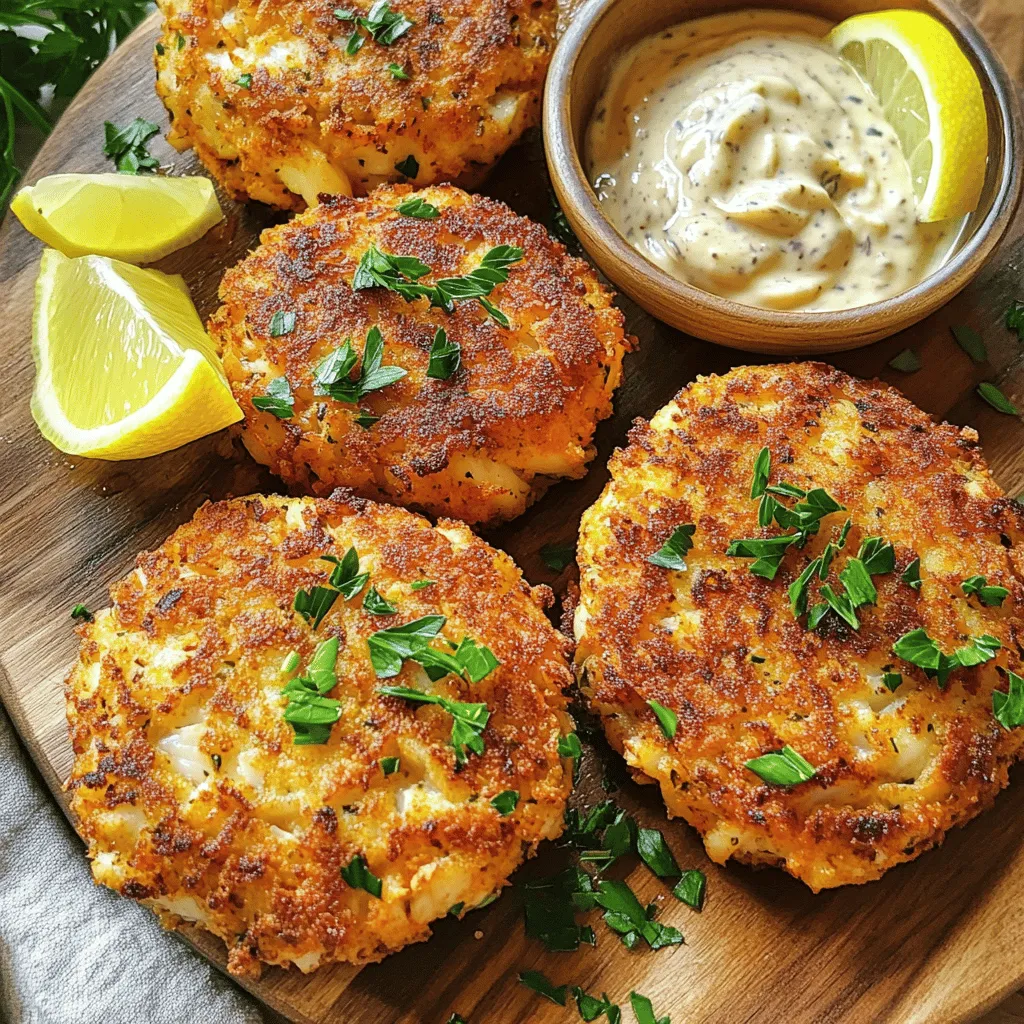
Welcome to the world of delicious Air Fryer Cajun Crab Cakes! If you’re looking for a dish that’s crispy, flavorful,
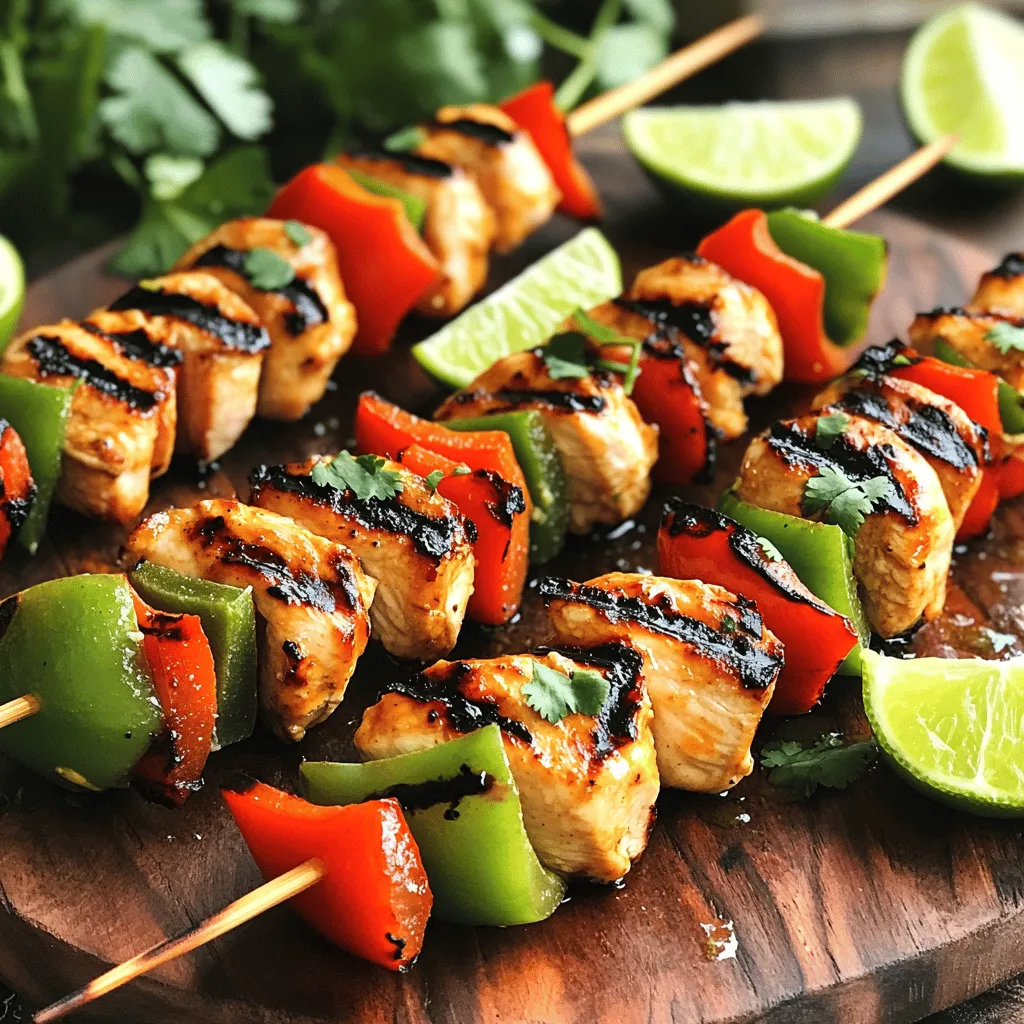
Get ready to savor the flavors of summer with my Chili Lime Grilled Chicken Skewers! This simple and tasty recipe