
Creamy Garlic Parmesan Quinoa Rich and Flavorful Dish
Looking for a dish that’s rich, creamy, and full of flavor? You’ve hit the jackpot! My Creamy Garlic Parmesan Quinoa

Looking for a dish that’s rich, creamy, and full of flavor? You’ve hit the jackpot! My Creamy Garlic Parmesan Quinoa

Looking for a quick, delicious breakfast? Blueberry Cheesecake Overnight Oats are your answer! This easy recipe lets you enjoy a
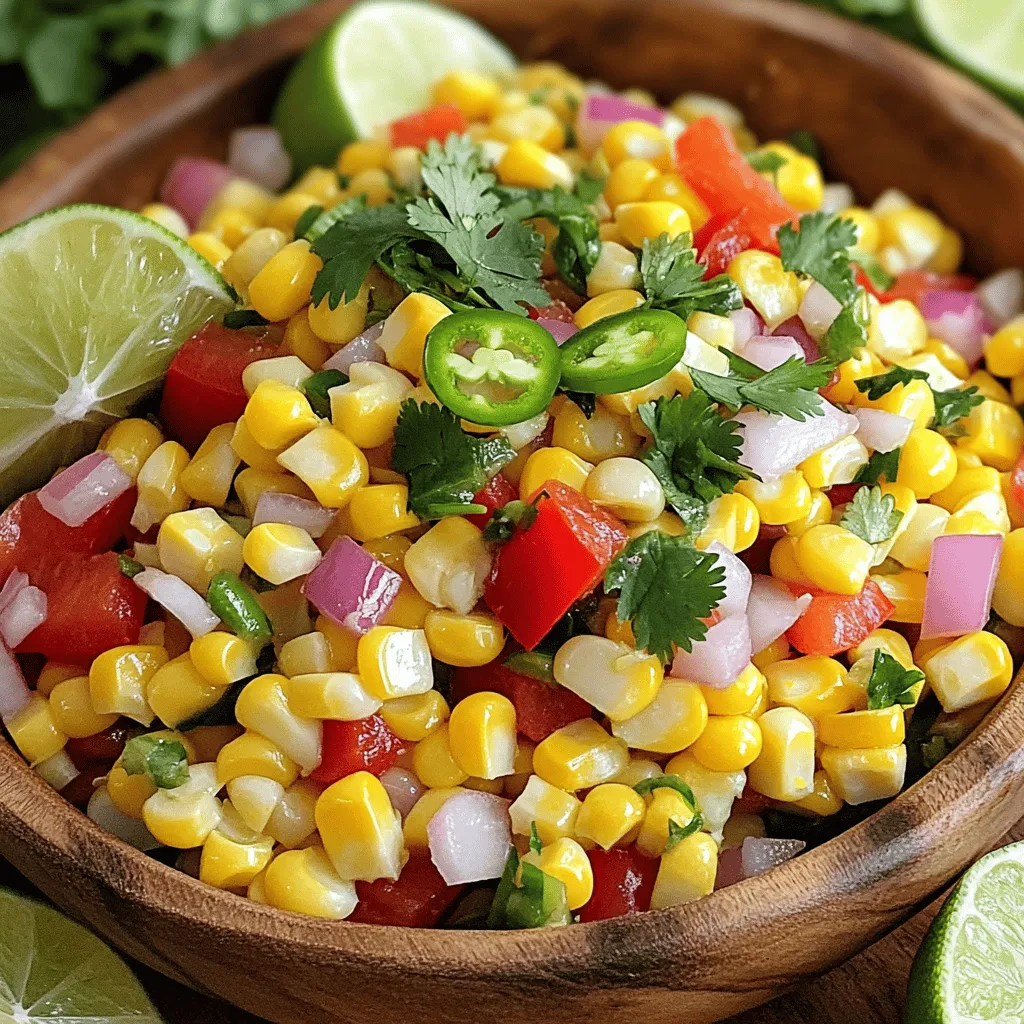
Looking for a fresh and flavorful dish to brighten your meals? I’ve got you covered with this Spicy Cilantro Lime
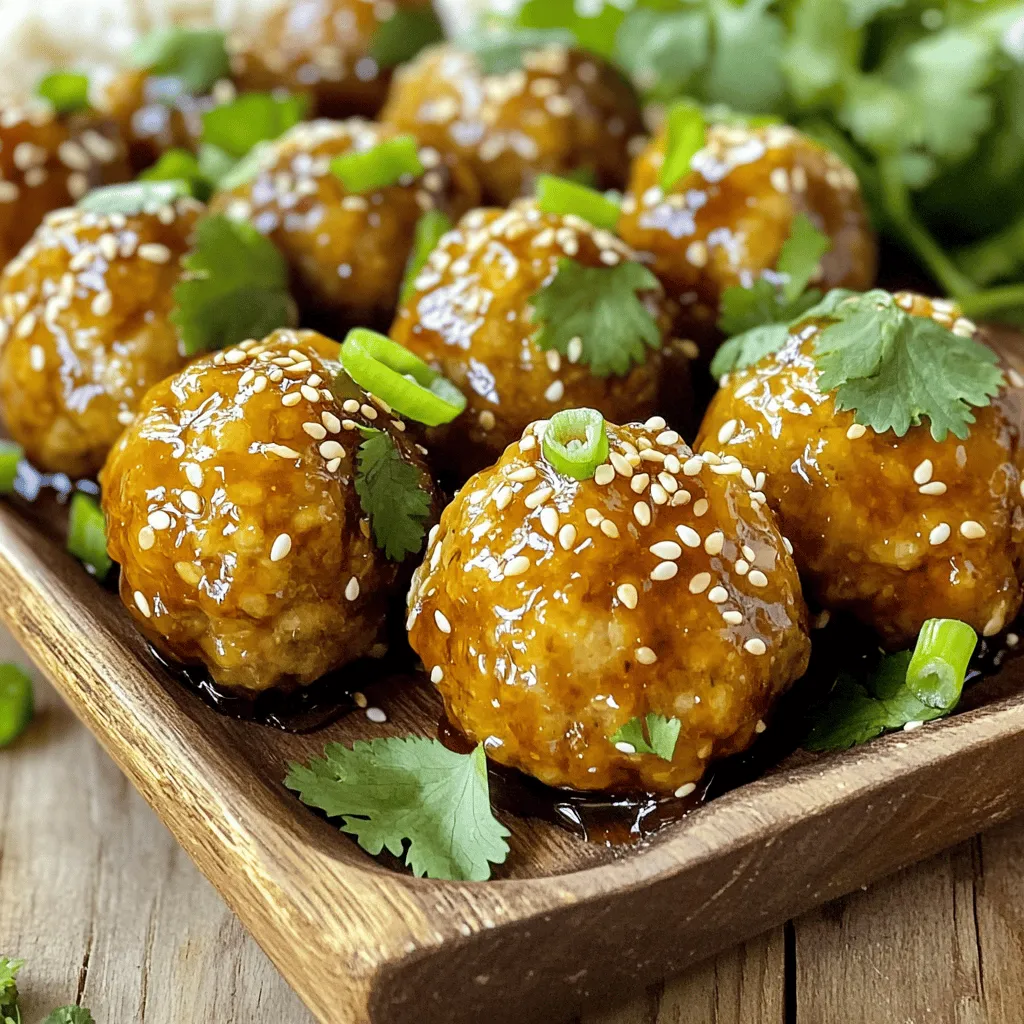
Get ready for a flavor blast with my Honey Glazed Teriyaki Meatballs! This easy recipe combines juicy ground turkey or
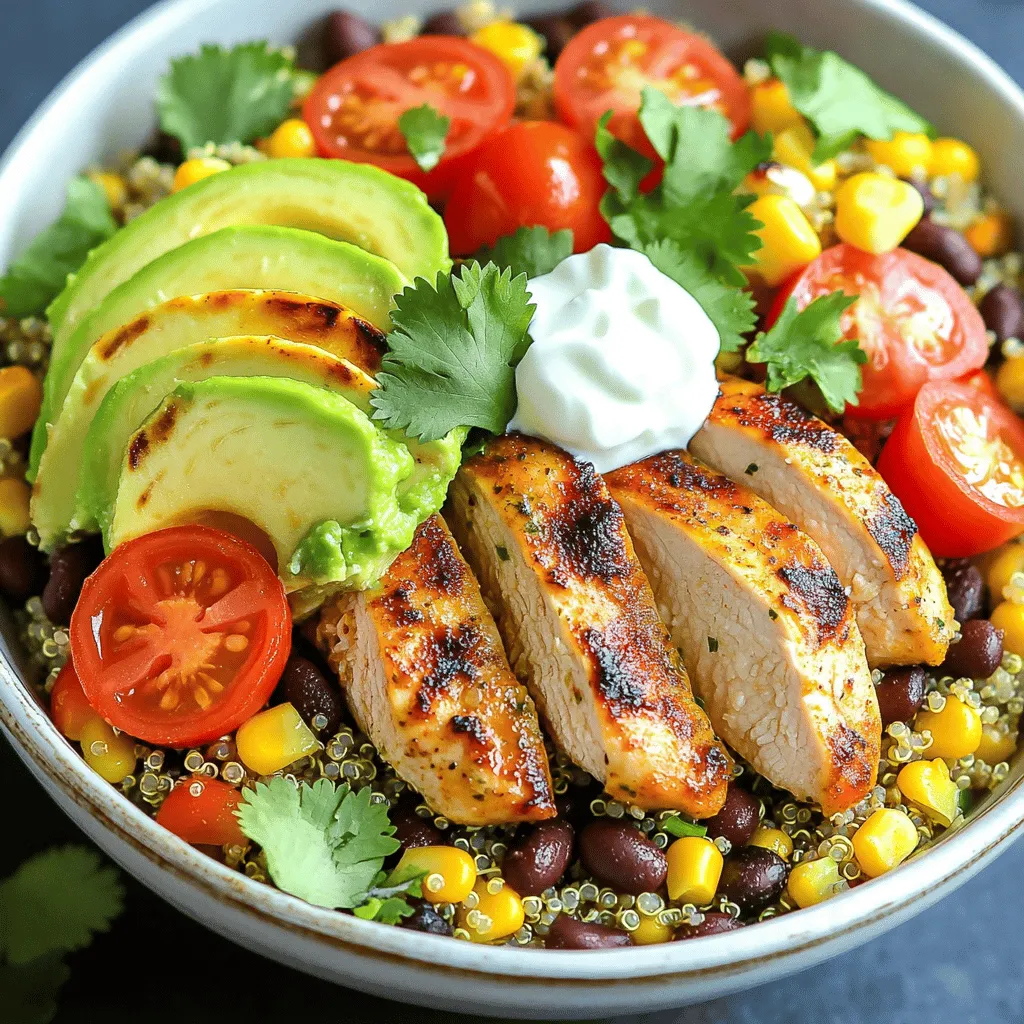
Looking to spice up your meal prep? Cilantro Lime Chicken Burrito Bowls offer bold flavors and healthy ingredients. With juicy

Indulging in a sweet treat doesn’t have to mean sacrificing health. Dark Chocolate Almond Clusters are the perfect blend of
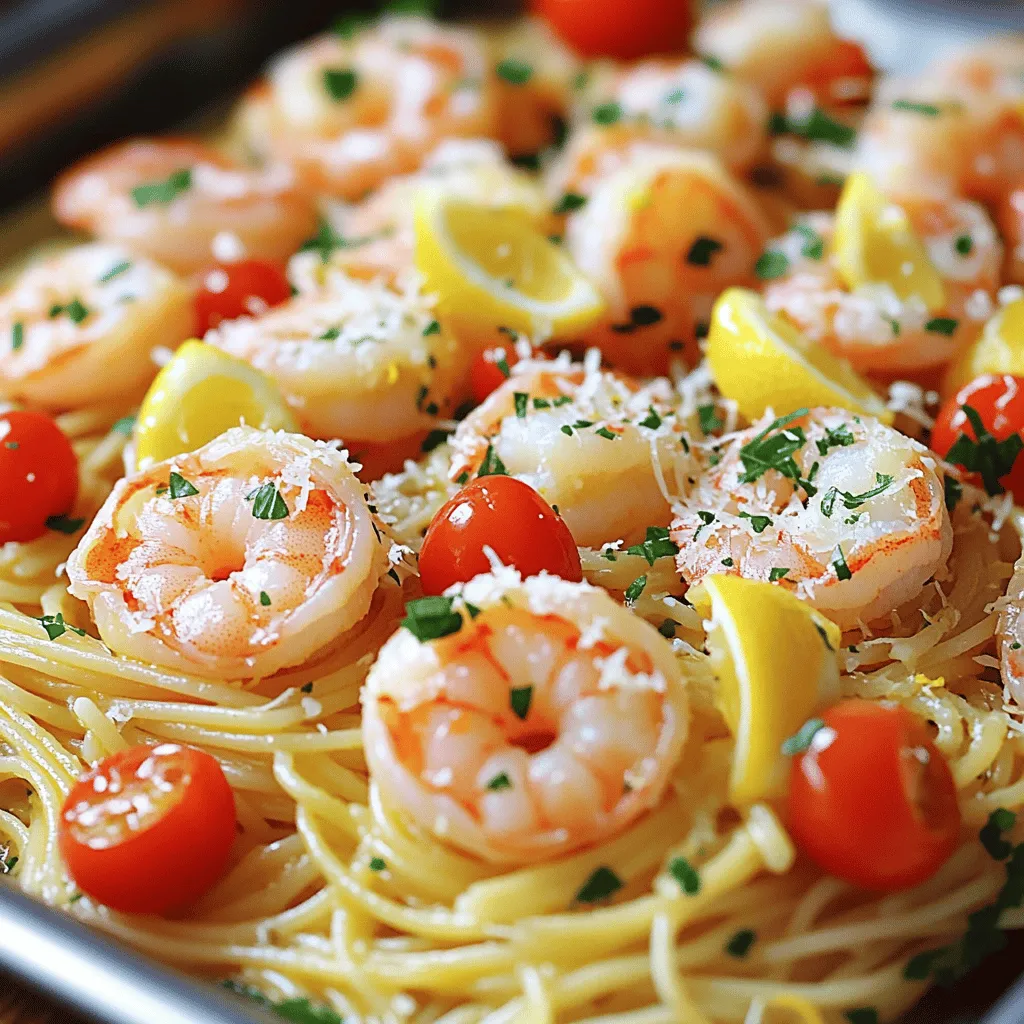
If you crave a quick, tasty meal, you’ll love Lemon Garlic Shrimp Pasta. This dish bursts with flavor and comes
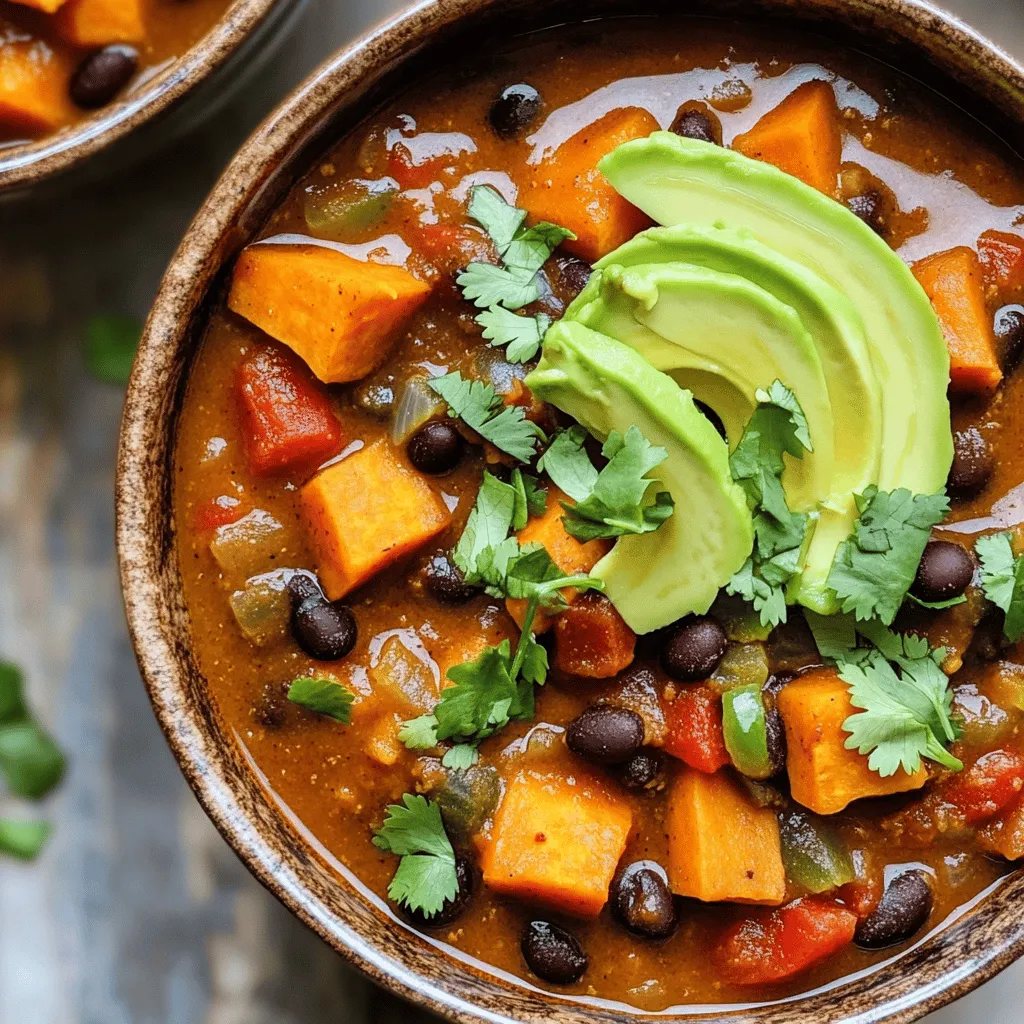
Looking for a hearty, vegan dish that delights your taste buds? This Vegan Sweet Potato Black Bean Chili is packed
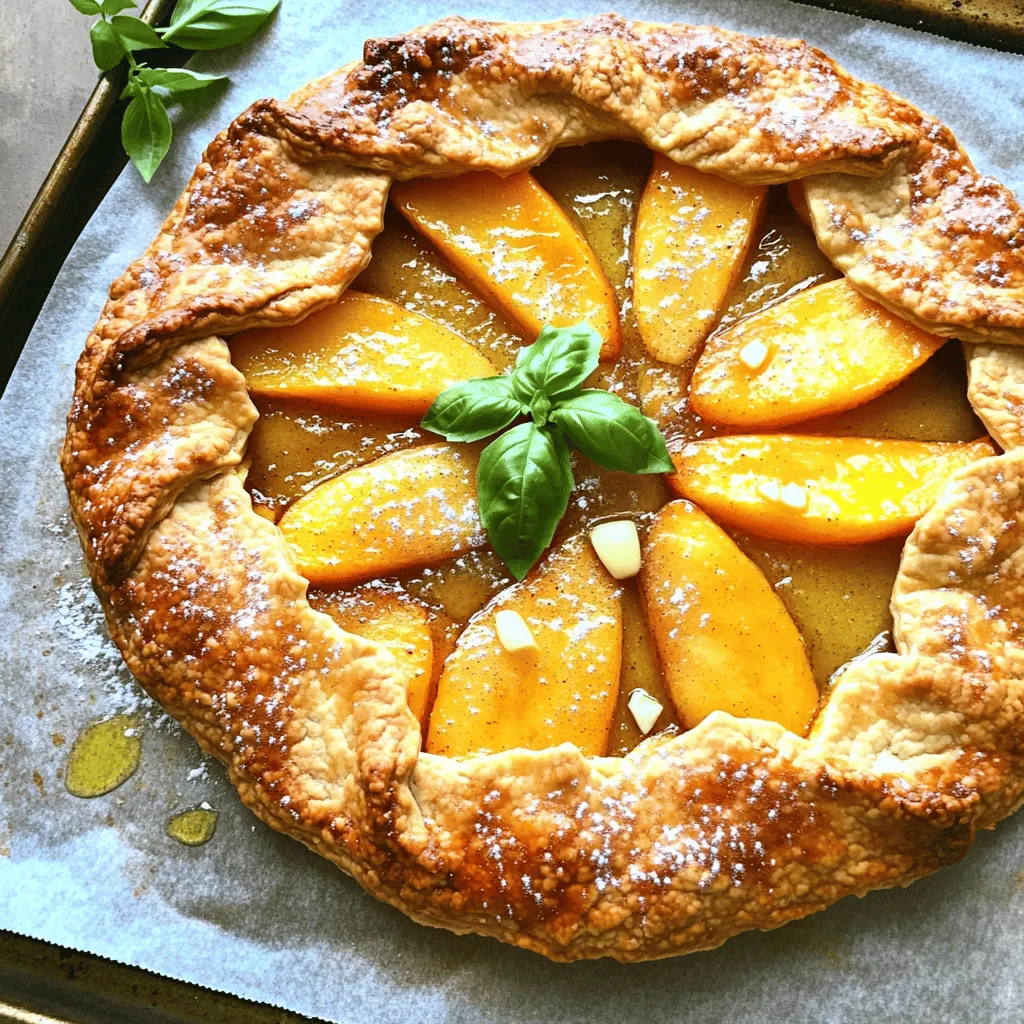
Are you ready to treat yourself to a delightful summer dessert? A Rustic Peach Galette is your answer! This simple
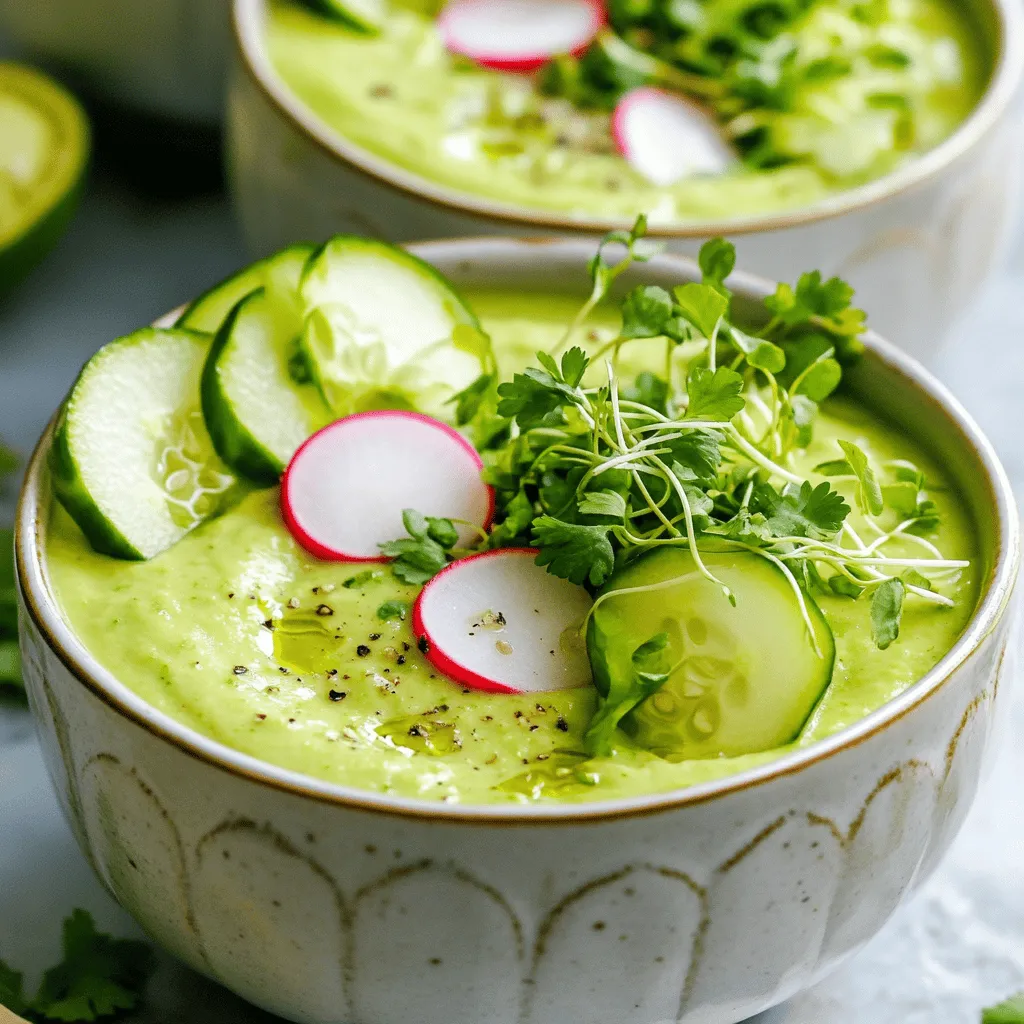
Cool down this summer with a bowl of Avocado Cucumber Gazpacho! This fresh, chilled soup combines creamy avocados and crisp