Greek Orzo Salad with Feta Flavorful and Fresh Meal
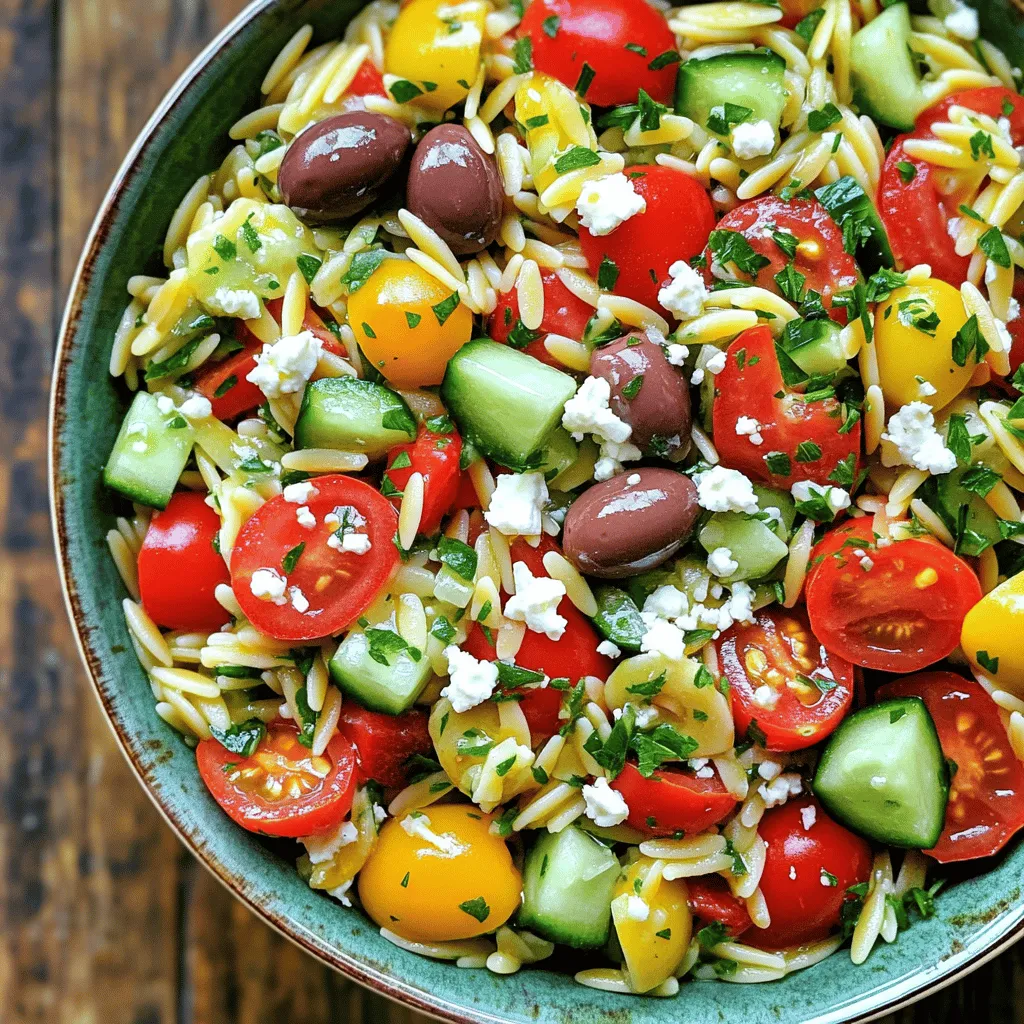
Looking for a fresh and tasty dish? You’re in the right place! Greek Orzo Salad with Feta packs vibrant flavors

Looking for a fresh and tasty dish? You’re in the right place! Greek Orzo Salad with Feta packs vibrant flavors
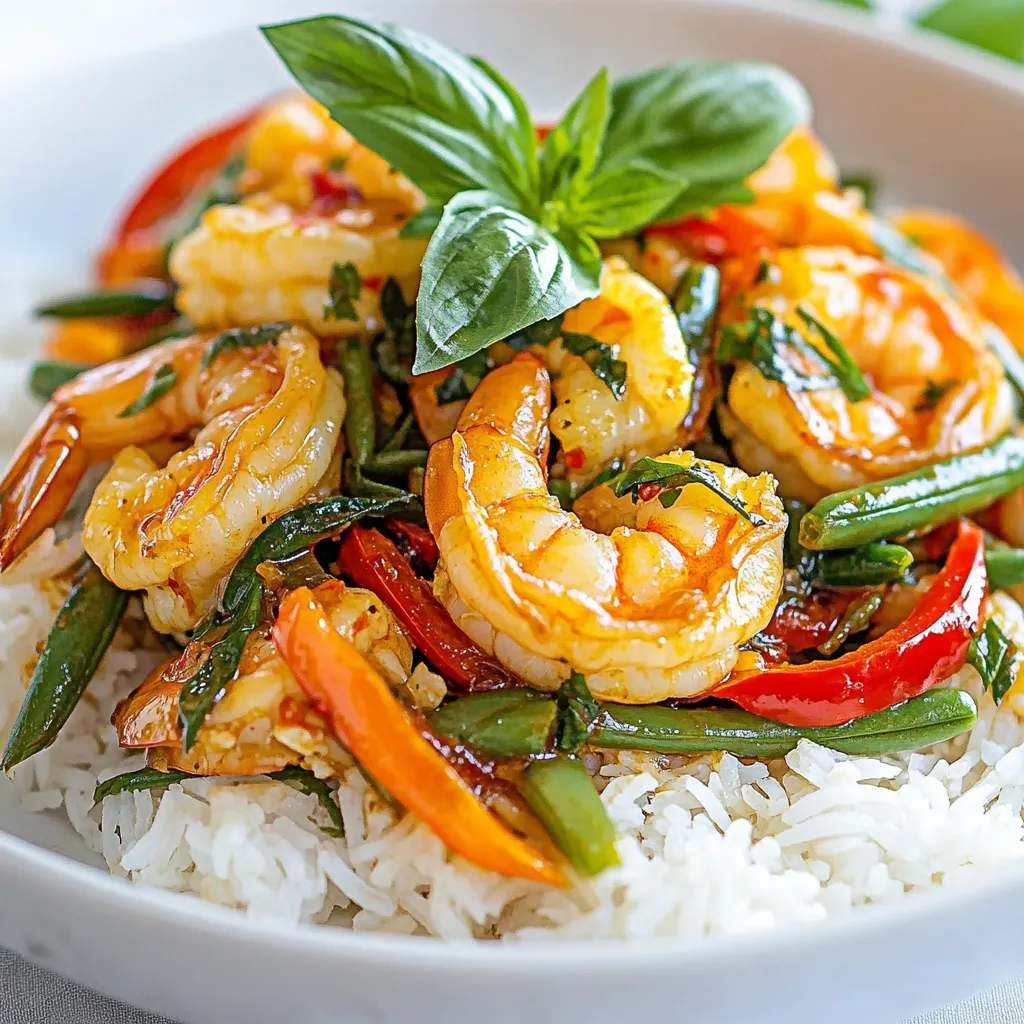
If you’re craving a quick and tasty meal, Spicy Thai Basil Shrimp is for you! This dish is packed with
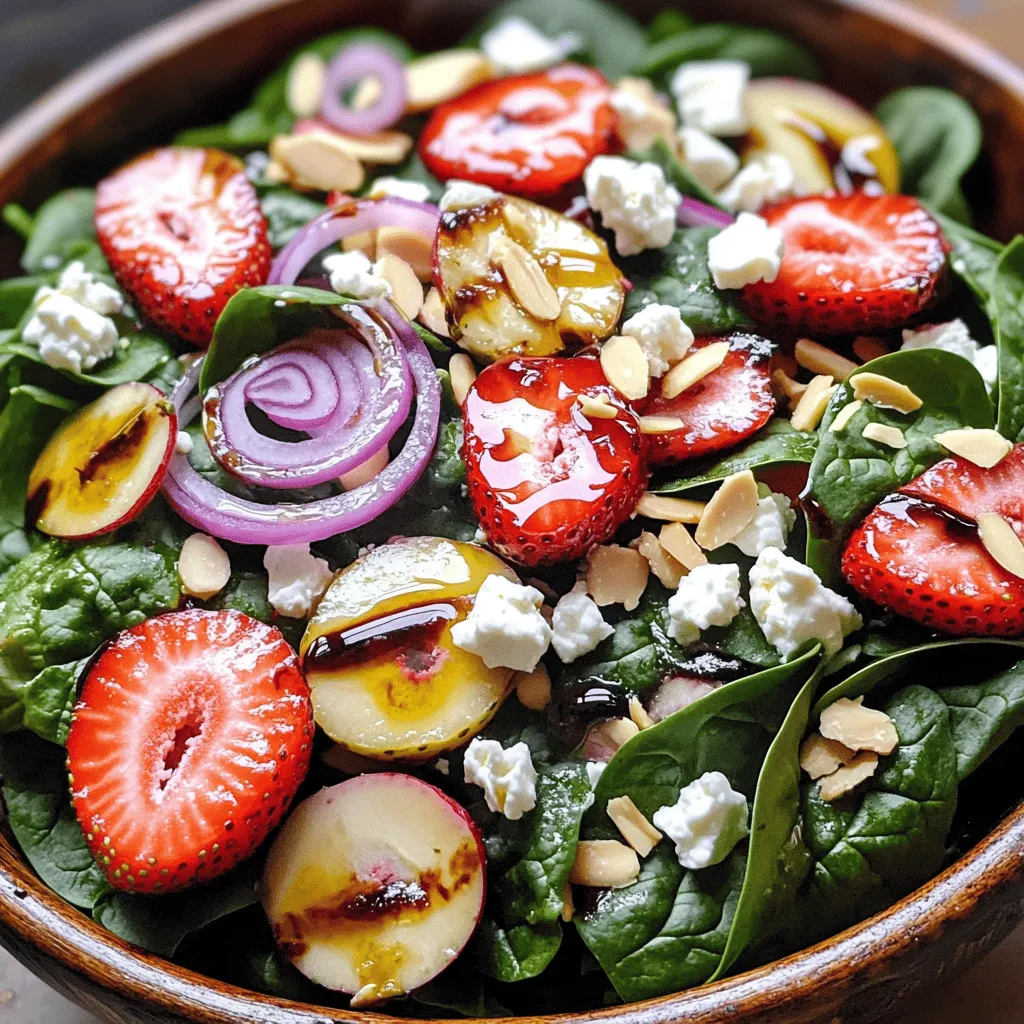
Looking for a fresh and lively salad that bursts with flavor? Let’s dive into the Spinach Strawberry Feta Salad! With
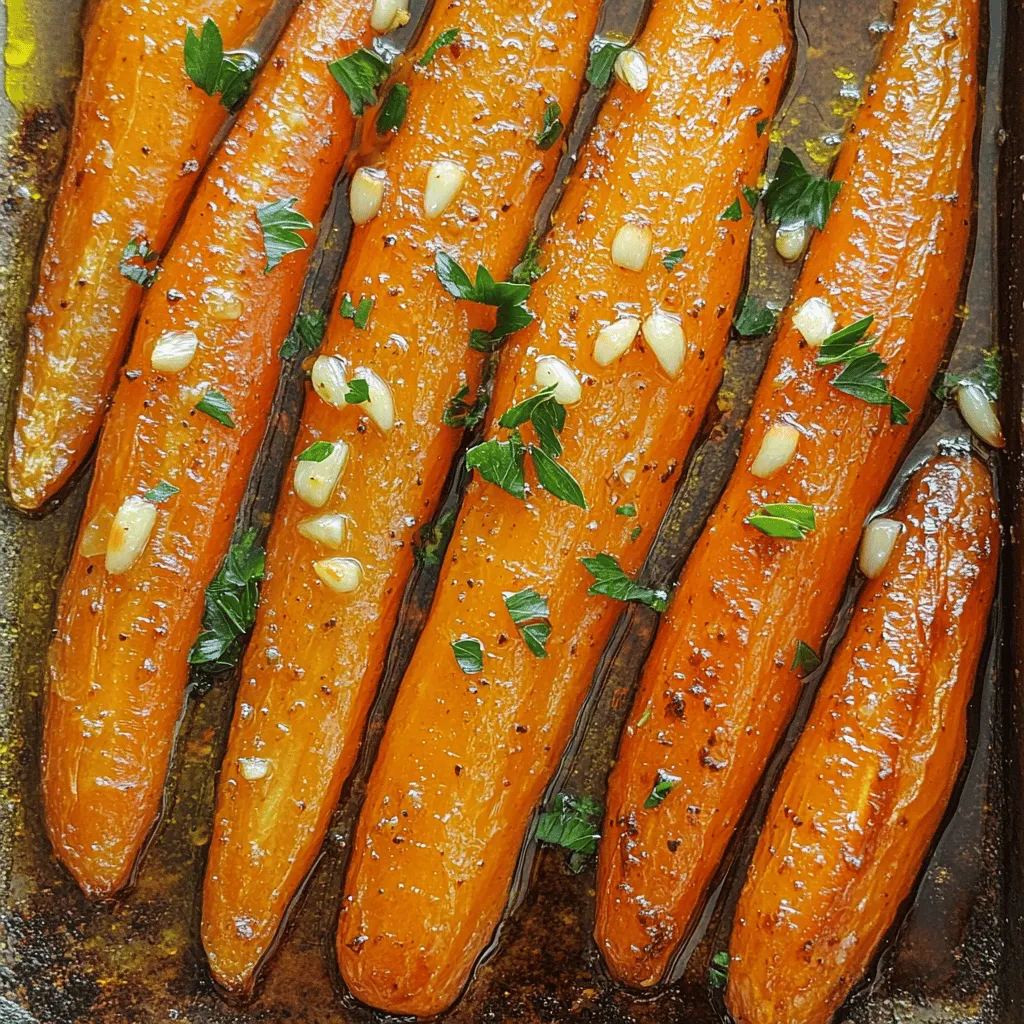
Looking for a simple yet delicious side dish? Honey Garlic Roasted Carrots are your answer! With just a few ingredients,

Get ready to warm your soul with Spicy Chipotle Turkey Chili! This flavorful comfort meal combines ground turkey, beans, and

Looking for a dish that bursts with flavor and freshness? You’re in the right place! This Caprese Pasta Salad combines

Are you ready to treat yourself to a sweet delight? This easy recipe for Cinnamon Sugar Churro Bites is perfect

Are you ready to savor a quick and tasty meal? My Savory Sheet Pan Greek Chicken & Potatoes Delight brings

Get ready to impress your friends with Garlic Parmesan Pull-Apart Bread! This recipe is not just easy; it’s packed with

Are you ready to indulge in a sweet and bold treat? Espresso Chocolate Chip Ice Cream is the perfect blend