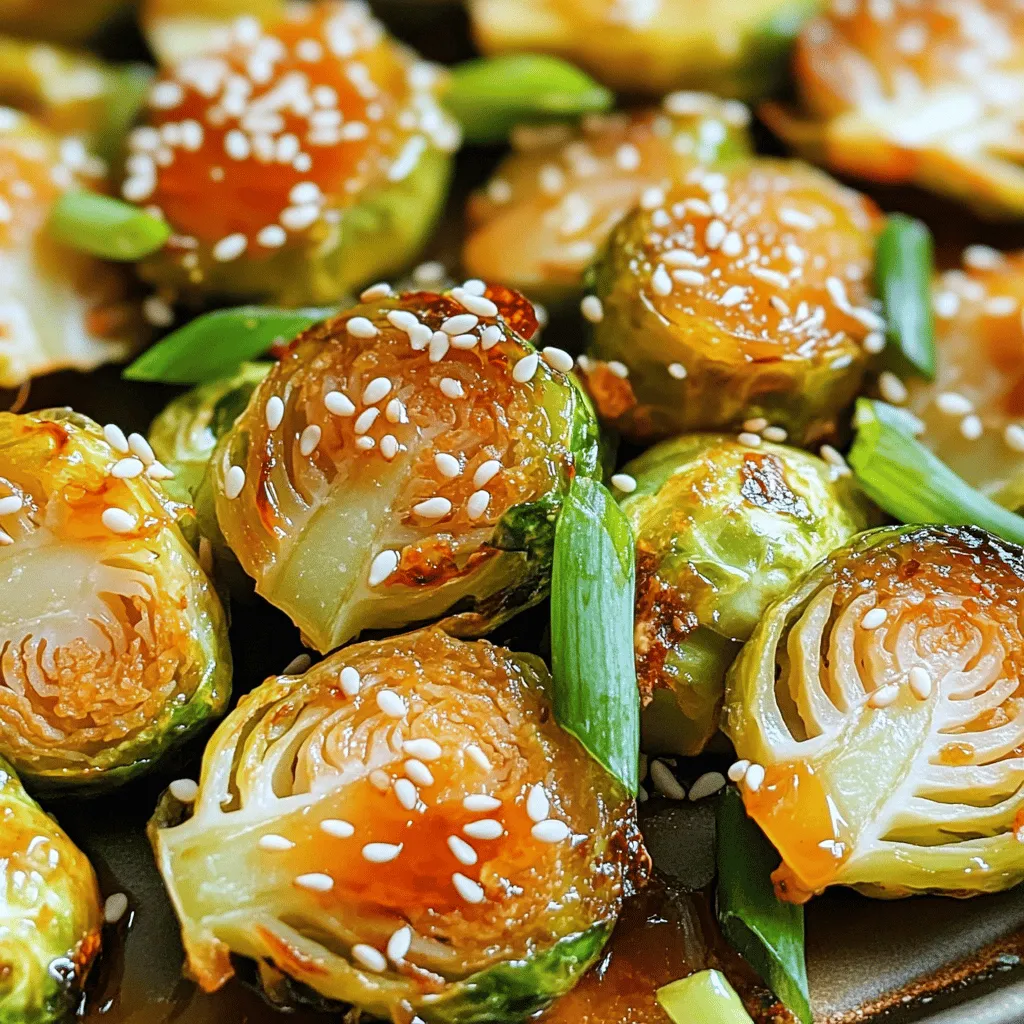
Honey Sriracha Brussels Sprouts Tasty Recipe Delight
Are you ready to spice up your dinner table? Honey Sriracha Brussels Sprouts are the perfect mix of sweet and

Are you ready to spice up your dinner table? Honey Sriracha Brussels Sprouts are the perfect mix of sweet and
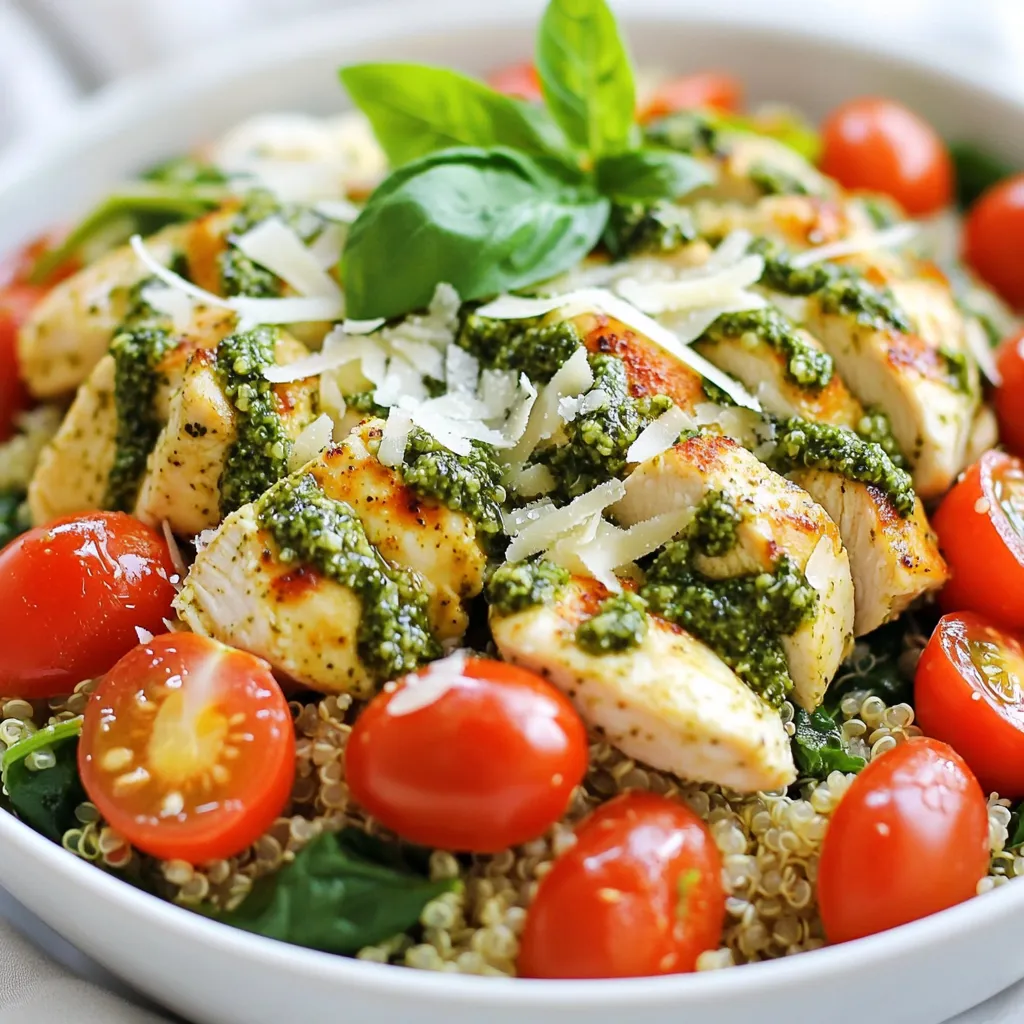
Craving a quick, tasty meal? Let’s make a Pesto Chicken Quinoa Skillet! This easy one-pan recipe blends juicy chicken, fluffy

Looking for a delicious and healthy treat? Try my Brownie Batter Protein Shake! Packed with rich chocolate flavor and creamy
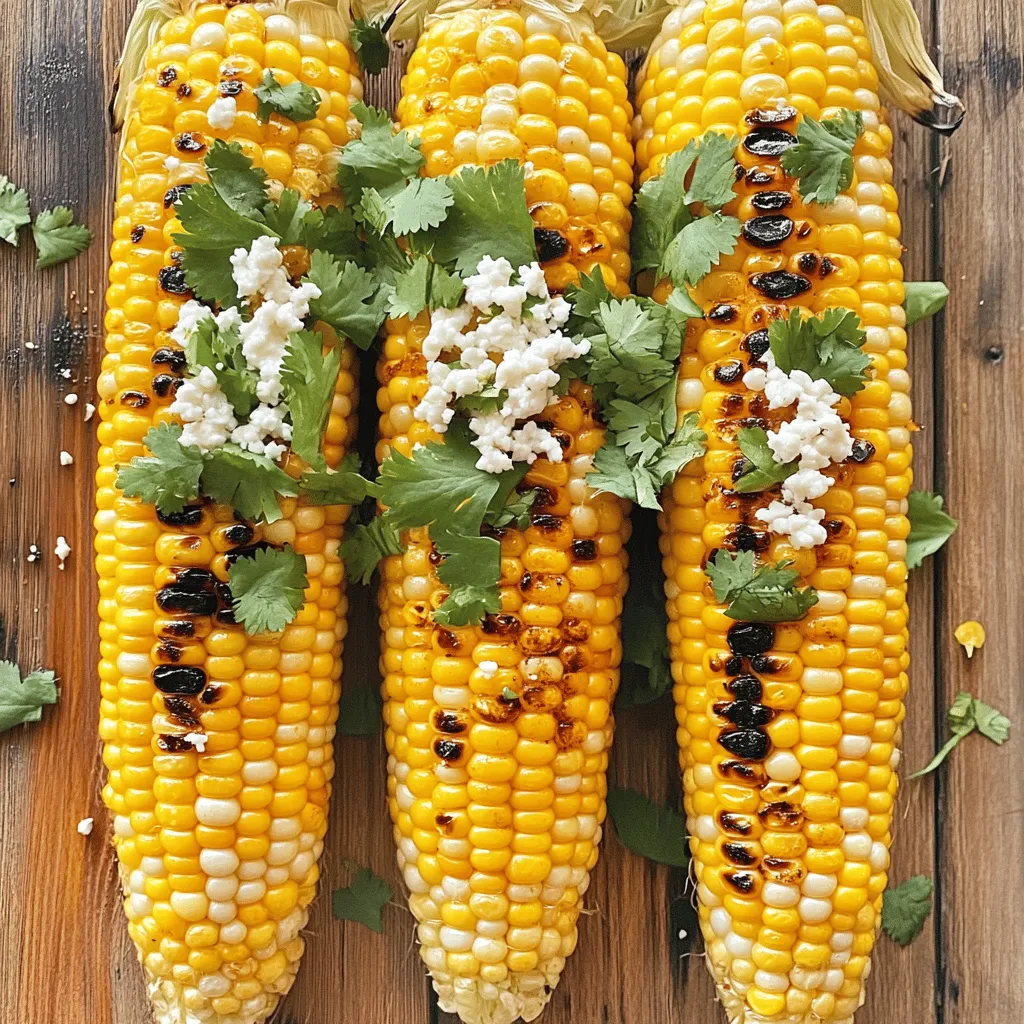
Are you ready to take your summer cookouts to the next level? This Chipotle Lime Grilled Corn recipe bursts with
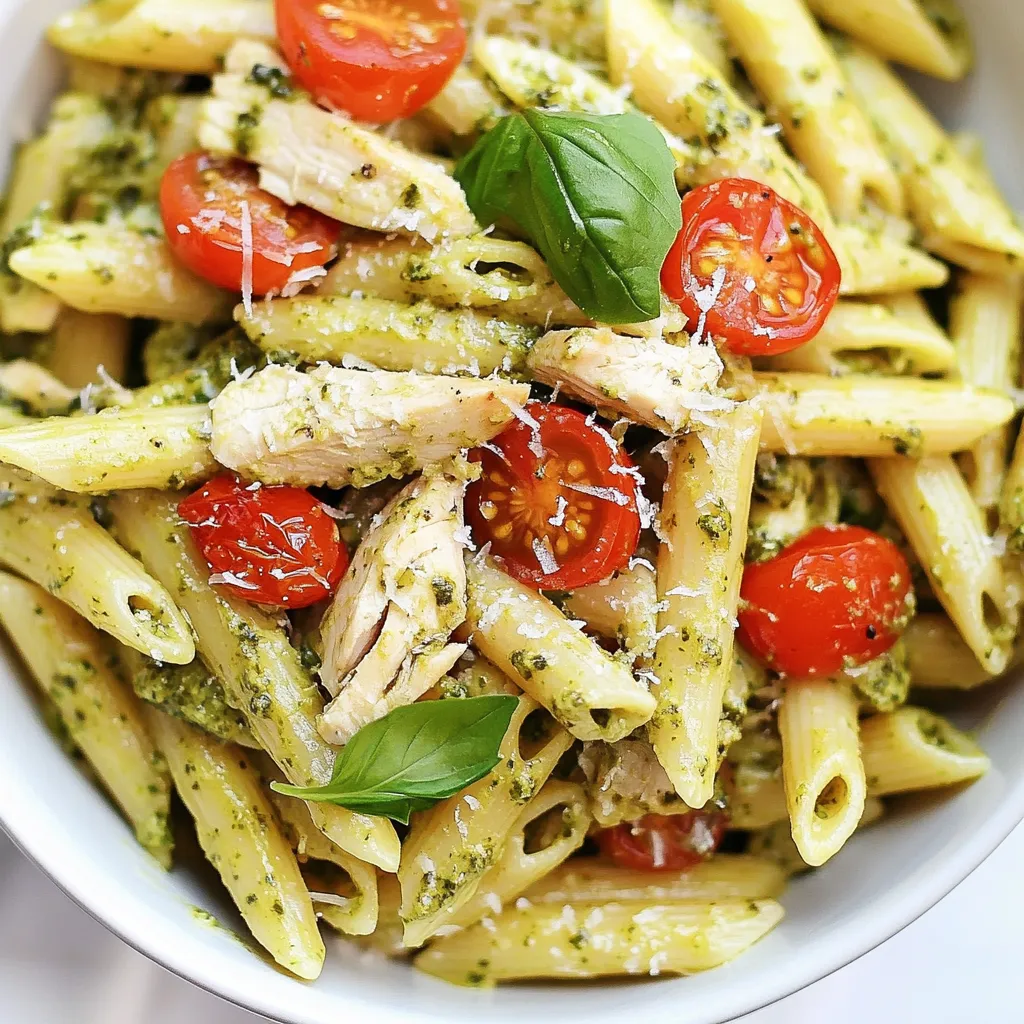
Looking for a delicious weeknight meal that’s quick and easy? Try my Creamy Pesto Chicken Penne! This dish is packed
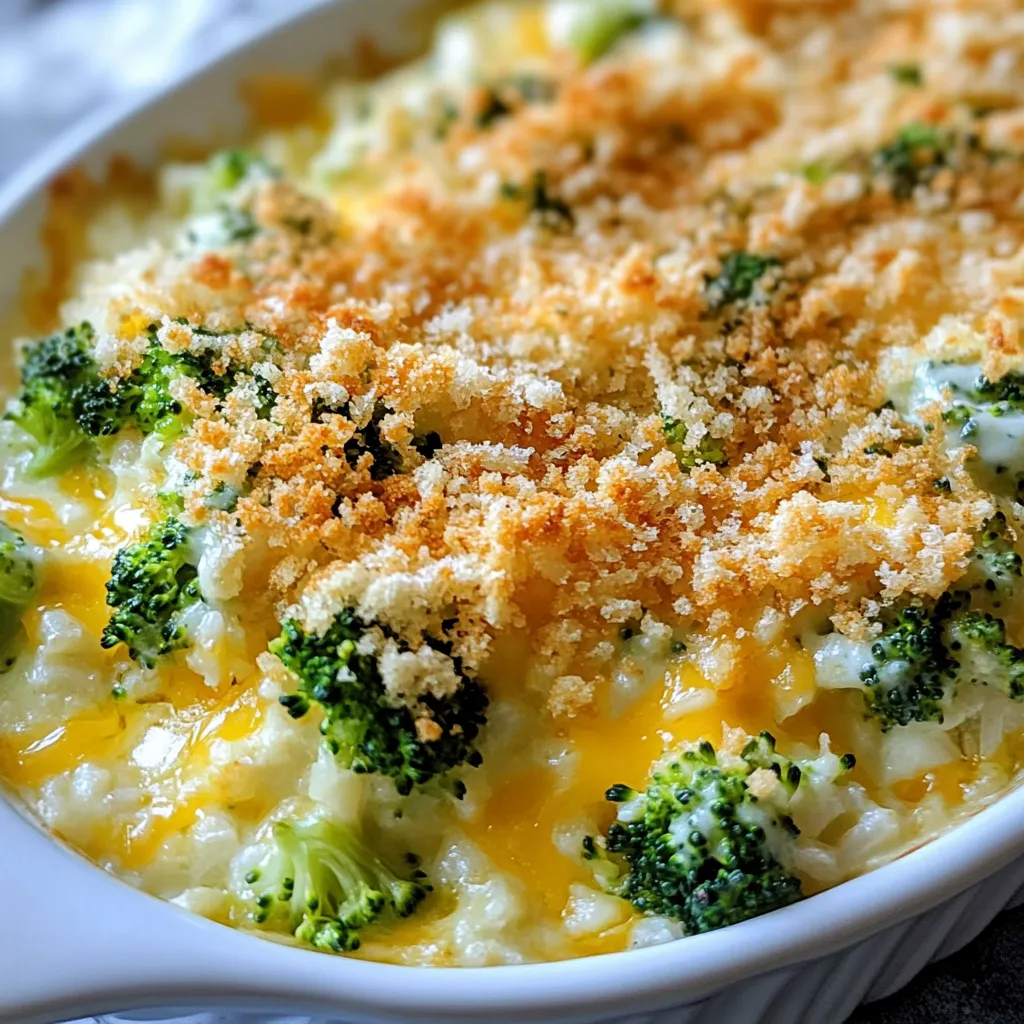
Looking for a quick and tasty meal? This Cheesy Broccoli Rice Casserole is the answer! You’ll love how simple it
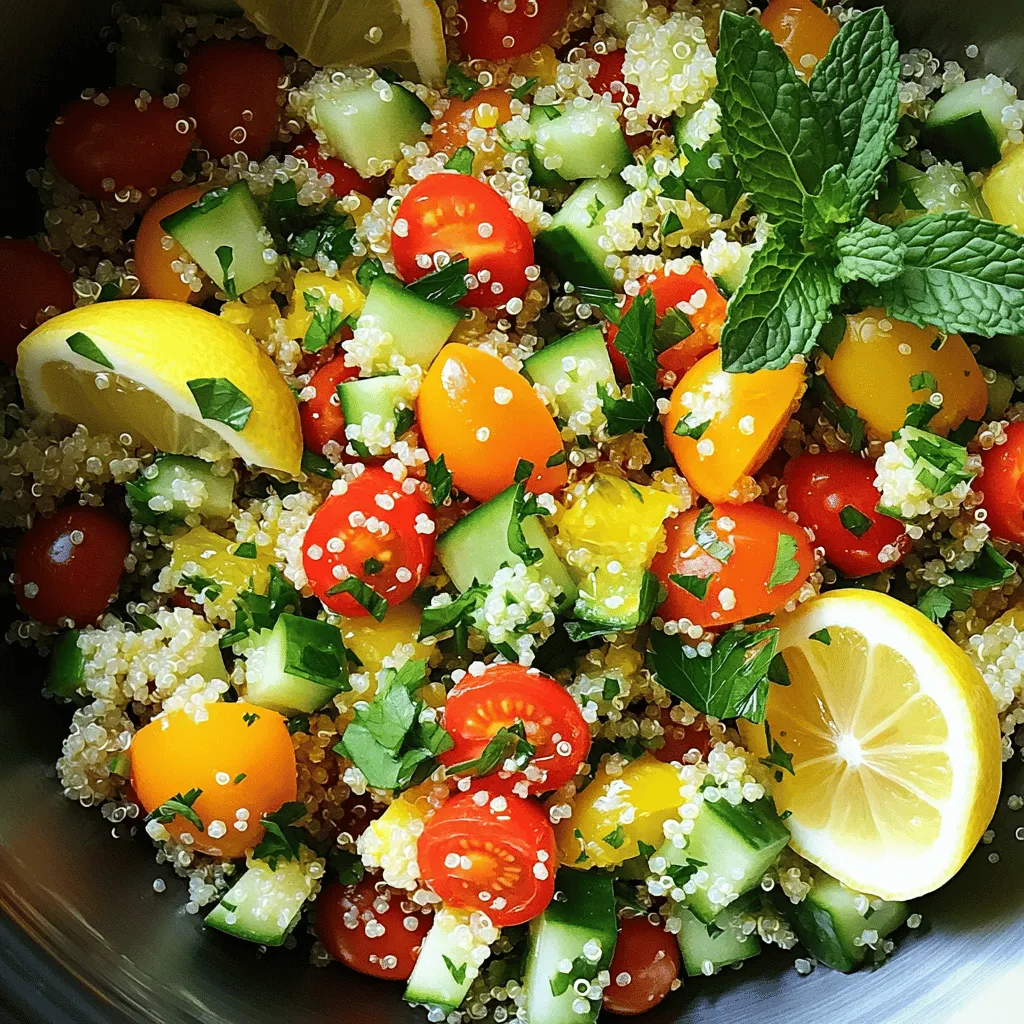
Welcome to a refreshing twist on healthy eating with my Lemon Herb Quinoa Salad, a vibrant and nutritious dish! Packed
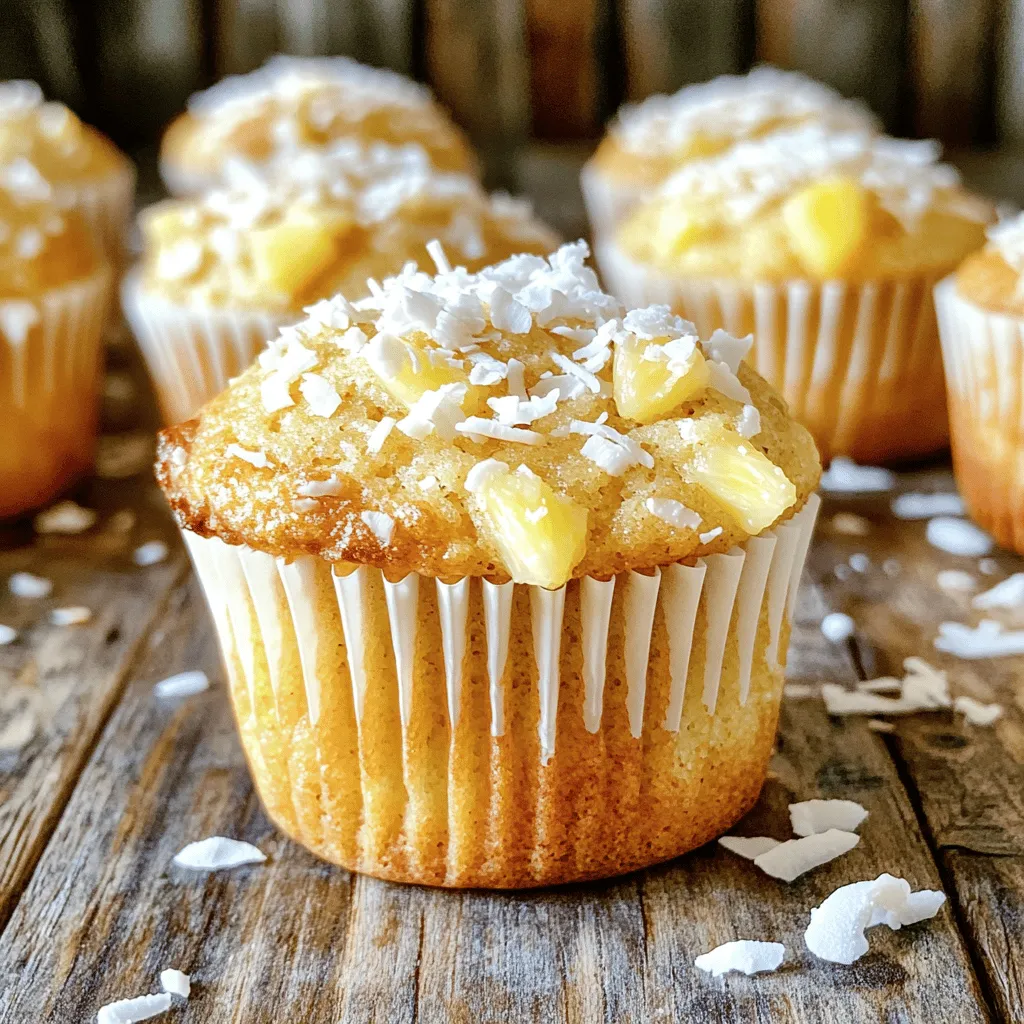
Craving something sweet and tropical? Pineapple Coconut Muffins are the perfect treat! Bursting with flavors, these muffins will transport you

Looking for a delicious and healthy treat? The Triple Berry Smoothie Bowl is perfect for breakfast or a snack. Bursting
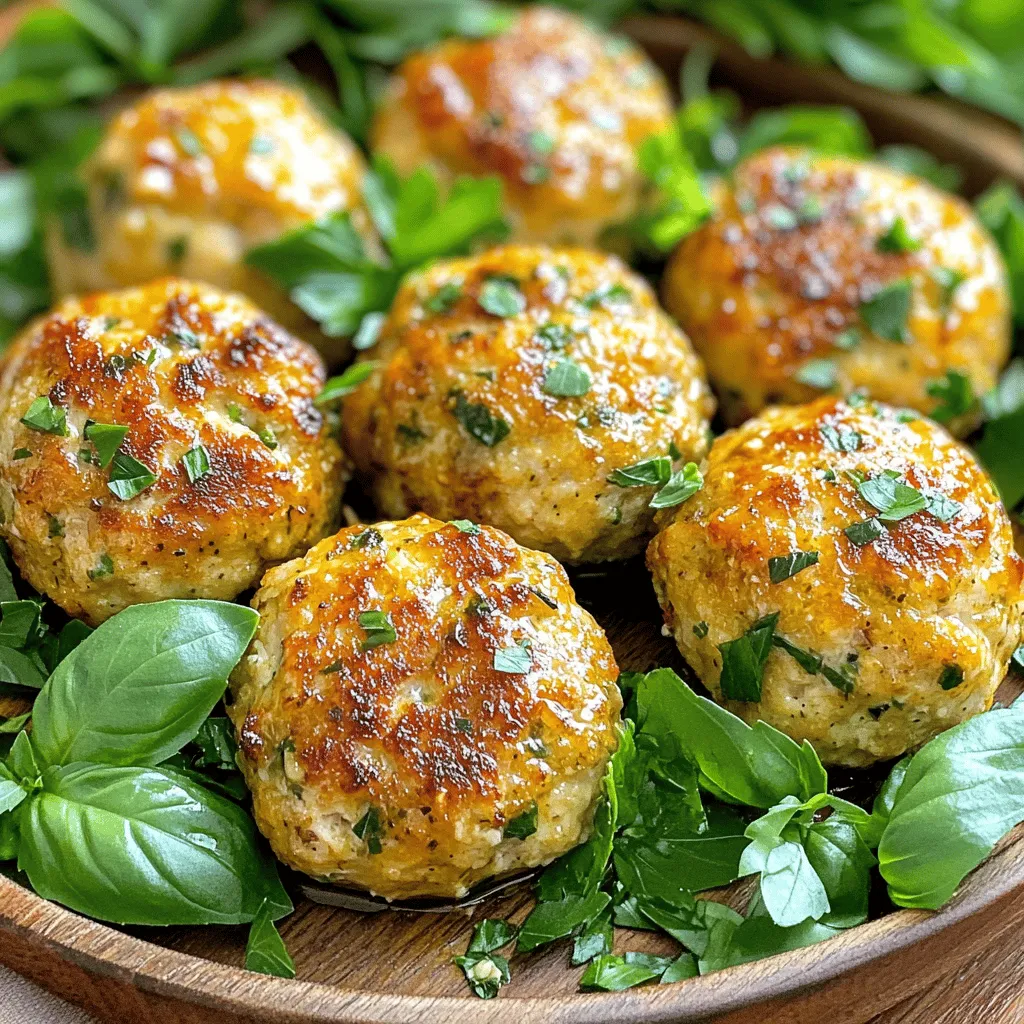
Are you ready for a dish that bursts with flavor? These Garlic Herb Chicken Meatballs are your new go-to meal.