
Greek Avocado Pasta Salad Fresh and Simple Delight
Craving a fresh and tasty dish? My Greek Avocado Pasta Salad is your answer! This simple delight combines creamy avocado,

Craving a fresh and tasty dish? My Greek Avocado Pasta Salad is your answer! This simple delight combines creamy avocado,
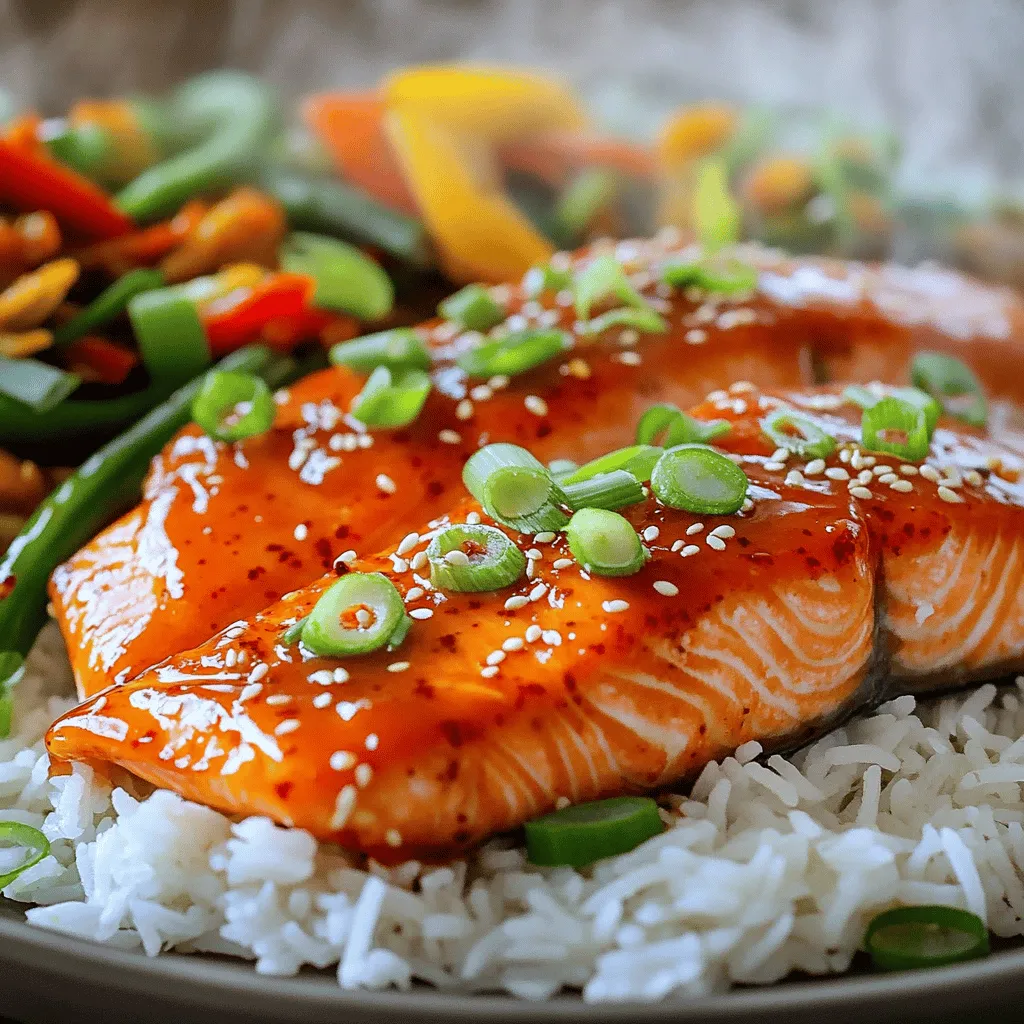
If you’re looking for a quick, mouthwatering dish, you’re in the right place. This Sweet Chili Glazed Salmon recipe is
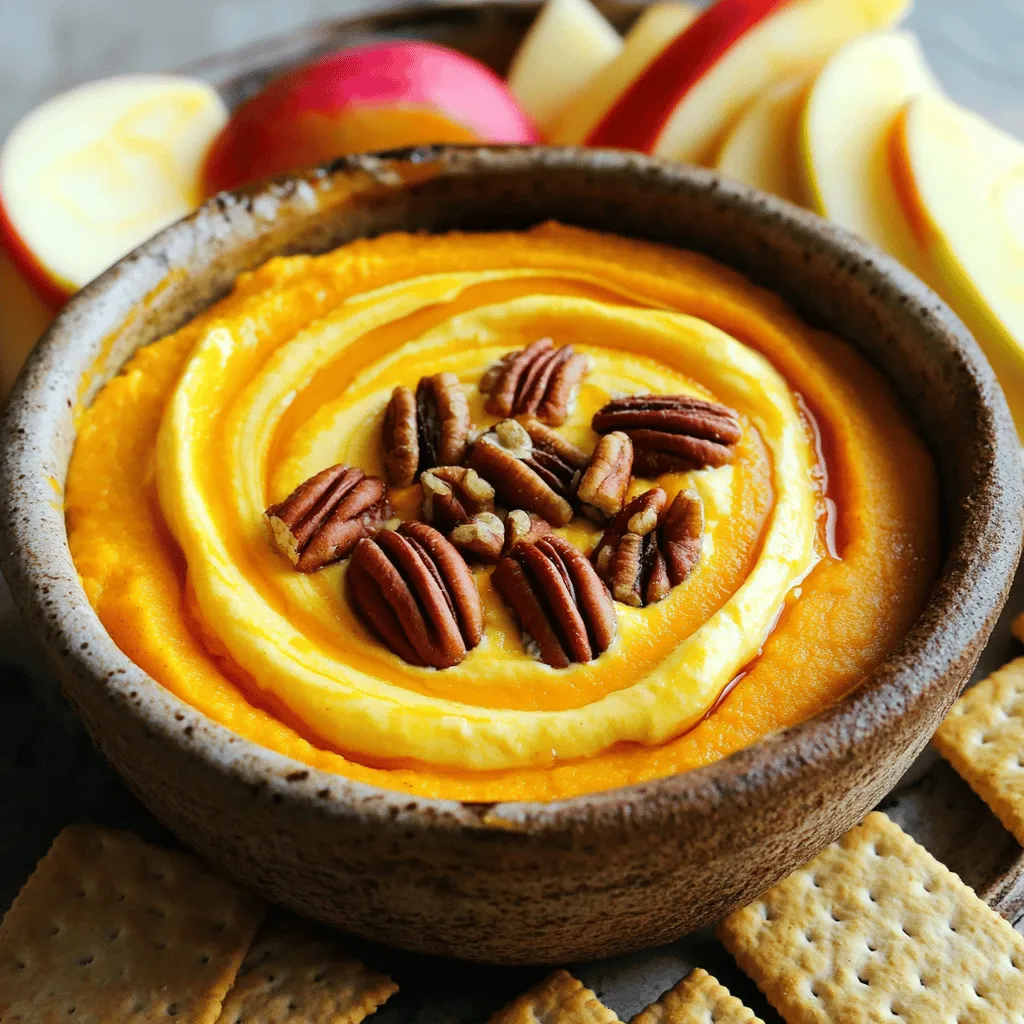
Get ready to delight your taste buds with my Pumpkin Spice Cheesecake Dip! This simple, creamy treat combines the warm

Get ready to spice up your dinner with my Jalapeño Popper Stuffed Chicken recipe! This dish combines juicy chicken breasts

Get ready to treat yourself! This Salted Caramel Pretzel Cheesecake Indulgent Delight combines crunchy pretzels and creamy filling for a

If you crave a quick, tasty meal, try my Pesto Chicken Crescent Ring! With just a handful of ingredients, it

You’ll love this Strawberry Shortcake Icebox Cake! It’s a sweet, cool treat perfect for summer days. With fresh strawberries, whipped
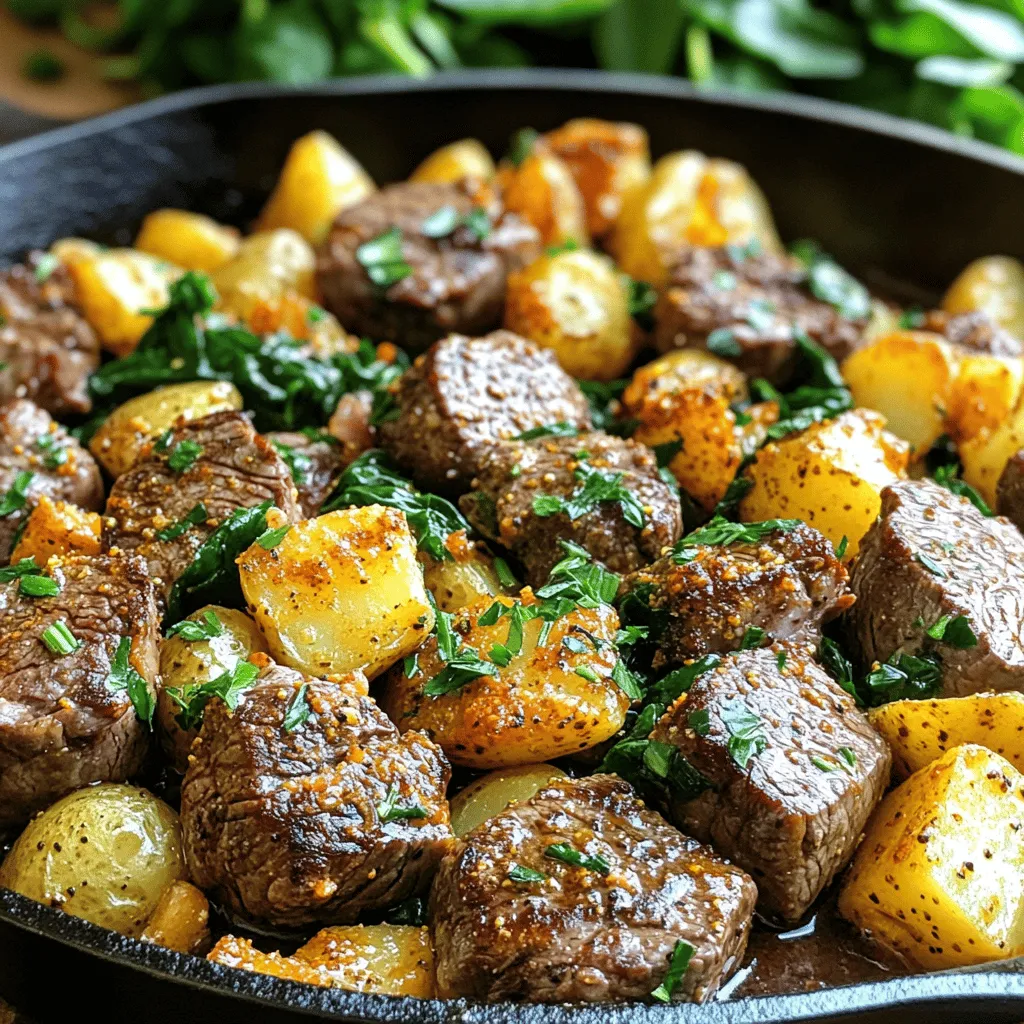
Are you ready to impress your taste buds? The Garlic Butter Steak and Potato Skillet Delight combines juicy steak, crispy

Are you ready to bake something amazing? These Chocolate Chip Zucchini Muffins are easy, fun, and delicious! Not only do
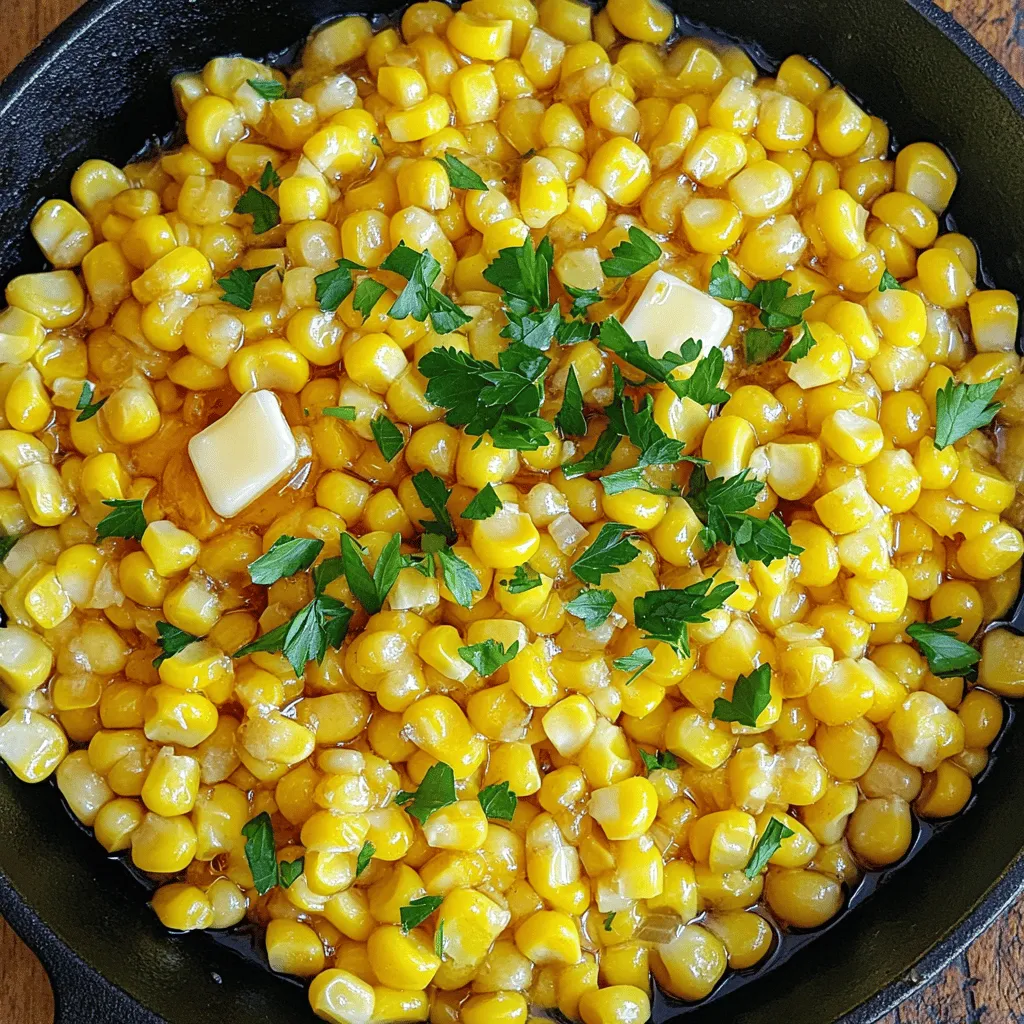
If you want a dish that bursts with flavor, look no further than Honey Butter Skillet Corn. This simple recipe