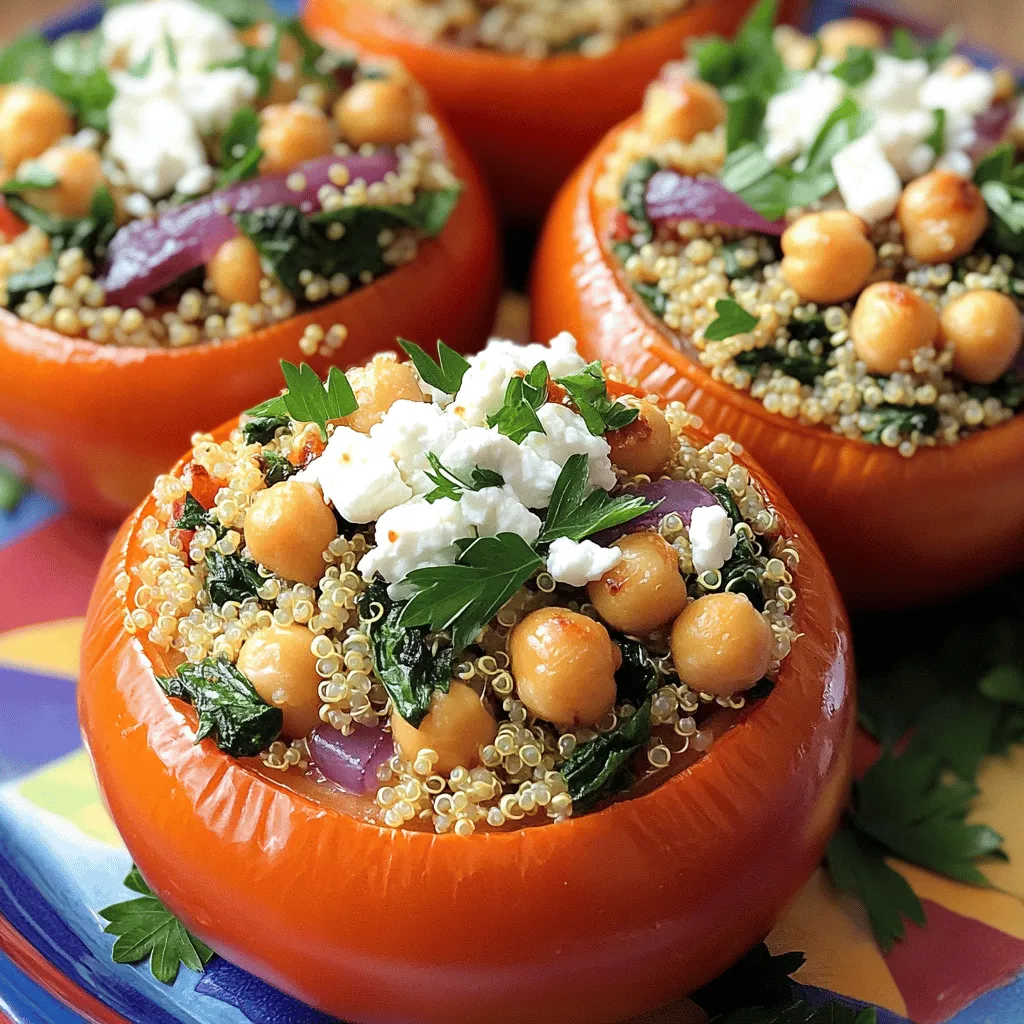
Greek Stuffed Tomatoes Flavorful and Healthy Recipe
Looking for a tasty and healthy meal? Greek Stuffed Tomatoes are a perfect choice! This dish combines fresh tomatoes with

Looking for a tasty and healthy meal? Greek Stuffed Tomatoes are a perfect choice! This dish combines fresh tomatoes with
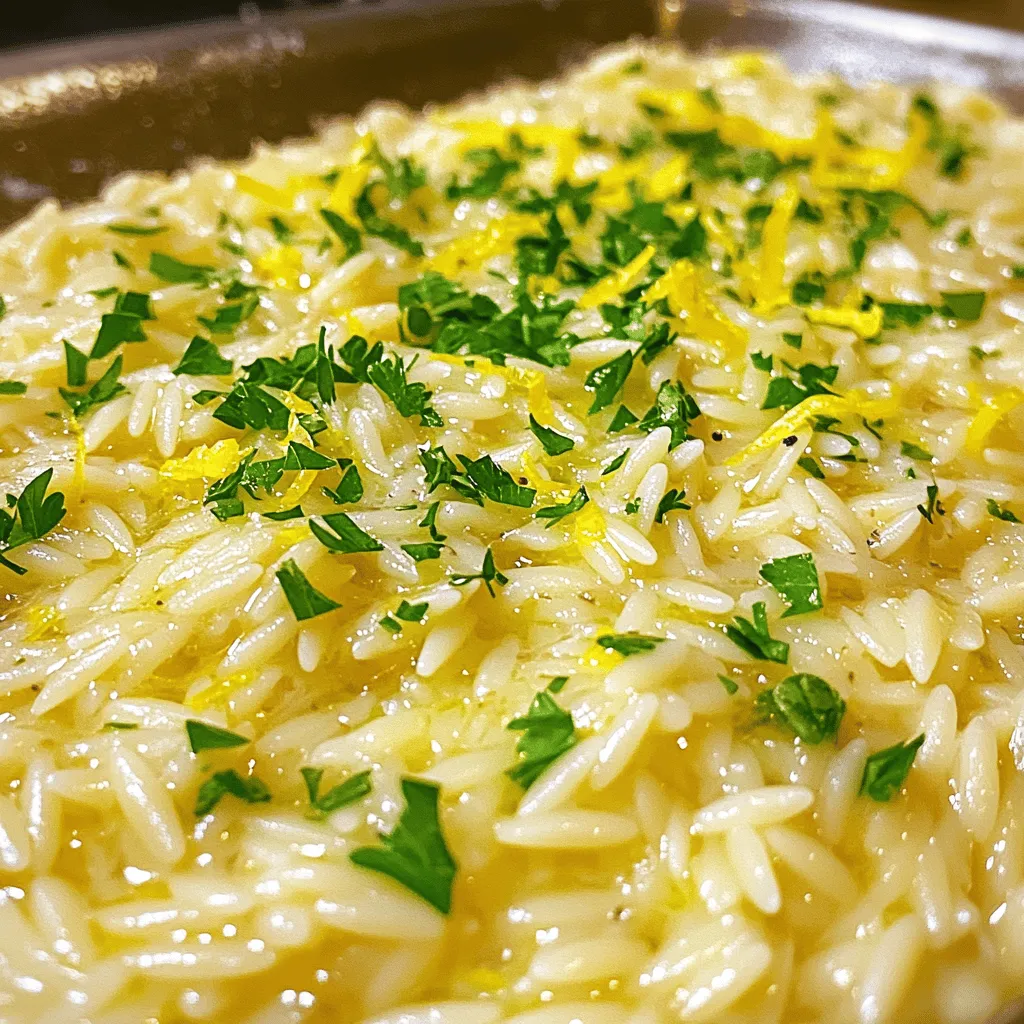
Looking for a quick and tasty dish? Lemon Parmesan Orzo is simple and packed with flavor. In just a few
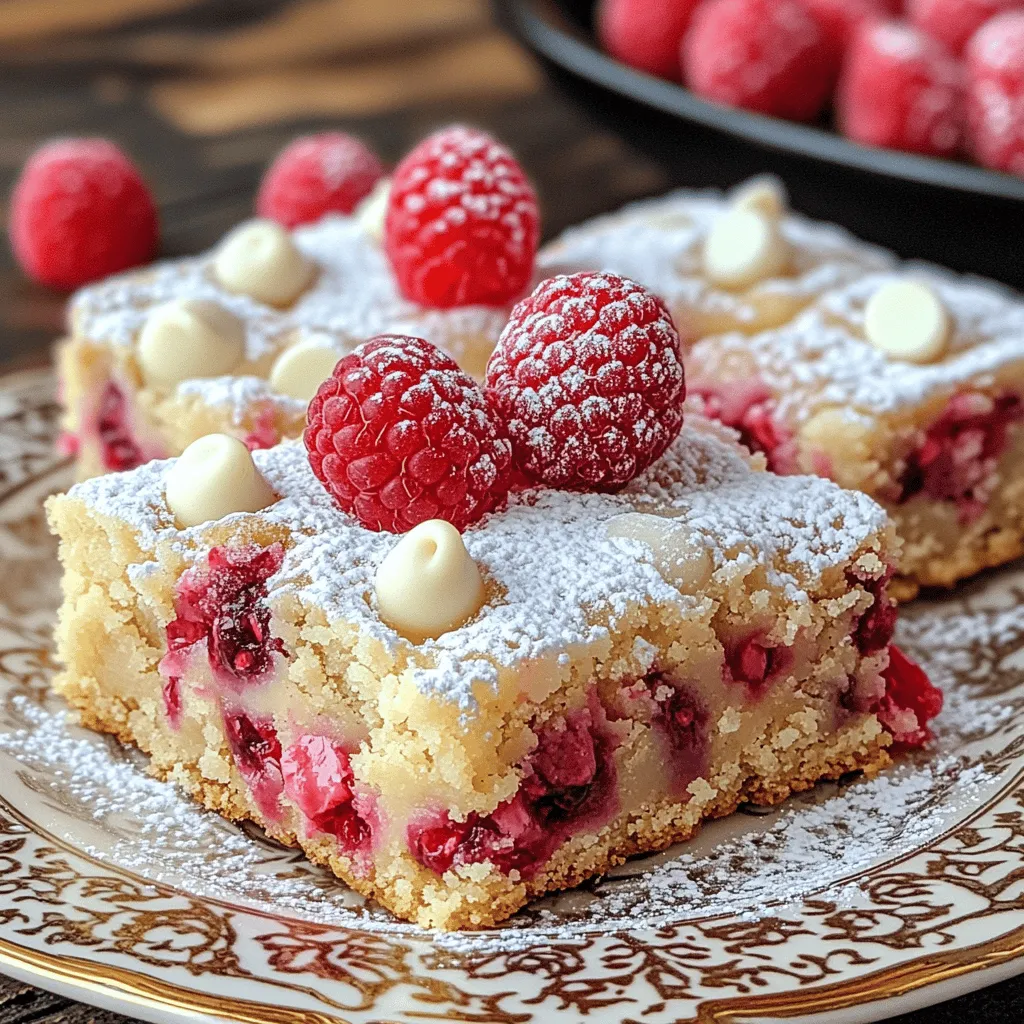
Are you ready to indulge in a sweet treat that’s both easy and delicious? White Chocolate Raspberry Blondies are the
. You’ll find easy steps to create this tasty dish. This article covered how to make Honey Mustard Roasted Brussels Sprouts. We explored the ingredients, step-by-step instructions, and tips for perfect roasting. I shared ideas for variations and smart storage methods. These sprouts are simple to prepare and tasty. You can easily adapt the recipe to suit your needs. Enjoy experimenting with flavors and sharing the dish with others. Happy cooking!](https://recipesinsight.com/wp-content/uploads/2025/07/25e1423e-a672-40d2-96a6-79775c0971d5.webp)
Looking for a tasty twist on a classic veggie? Honey Mustard Roasted Brussels Sprouts bring the perfect blend of sweet
![To make BBQ cauliflower wings, you need: - 1 large head of cauliflower, cut into florets - 1 cup all-purpose flour (or gluten-free flour) - 1 cup unsweetened almond milk (or any milk of choice) - 1 teaspoon garlic powder - 1 teaspoon onion powder - 1 teaspoon smoked paprika - 1 teaspoon salt - ½ teaspoon black pepper - 1 cup BBQ sauce (store-bought or homemade) - 2 tablespoons olive oil - Fresh parsley for garnish (optional) If you can’t find an ingredient, try these swaps: - Use chickpea flour instead of all-purpose flour for a gluten-free option. - Swap almond milk for soy milk or oat milk if needed. - Replace garlic powder with fresh minced garlic for a bolder taste. - Use apple cider vinegar in the BBQ sauce for added tang. Each serving of these BBQ cauliflower wings is packed with flavor. Here’s what you get: - Calories: 150 - Protein: 4g - Carbohydrates: 25g - Dietary Fiber: 3g - Fat: 5g - Sodium: 400mg These wings make a great snack or a fun side dish. They are healthy and full of flavor! For a full recipe, check the details above. First, set your oven to 450°F (230°C). This high heat helps make the wings crispy. While the oven heats, take a baking sheet and line it with parchment paper. This will keep the wings from sticking and make clean-up easier. In a mixing bowl, combine one cup of all-purpose flour with garlic powder, onion powder, smoked paprika, salt, and black pepper. Whisk these dry ingredients together well. Next, slowly add one cup of unsweetened almond milk. Keep whisking until you get a smooth batter. This batter will give the cauliflower a great texture. Now, take your cauliflower florets and dip each one into the batter. Make sure to shake off any extra batter. Then, place the coated florets on the lined baking sheet. Bake them in the preheated oven for about 20 minutes. Flip the florets halfway through so they cook evenly. When they are golden and crispy, take them out. Drizzle your favorite BBQ sauce over the wings and toss them gently to coat. Finally, return them to the oven for another 10 minutes. This allows the sauce to caramelize and adds amazing flavor. Enjoy your BBQ cauliflower wings hot! For the full recipe, check the earlier section. To make your BBQ cauliflower wings extra crispy, follow these steps: - Use a hot oven: Preheat to 450°F (230°C). This helps create a nice crunch. - Coat well: Make sure each floret is fully covered in batter. Shake off excess batter. - Space them out: Place the florets on the baking sheet with space between them. This allows air to flow and helps with crispiness. - Flip halfway: Turn the wings halfway through baking. This ensures even cooking and browning. You can easily boost the flavor of your BBQ cauliflower wings. Here are some ideas: - Add spices: Try adding cayenne pepper or chili powder to the batter for a kick. - Mix sauces: Combine BBQ sauce with hot sauce for a spicy twist. - Marinate: Let the cauliflower florets sit in the batter for 30 minutes. This helps absorb more flavor. - Garnish: Fresh herbs like cilantro or basil can add a burst of flavor on top. How you serve your BBQ cauliflower wings can make a big difference. Here are some fun ideas: - Dips: Pair with ranch, blue cheese, or a spicy aioli for extra flavor. - Salads: Serve on a bed of greens or with a crunchy slaw for a fresh side. - Wraps: Use them in a wrap with veggies and your favorite sauce for a tasty meal. - Platter: Create a platter with veggies and dips for parties. Your wings will be the star! For the complete recipe, check the [Full Recipe]. Enjoy your cooking! {{image_2}} You can switch up the BBQ sauce for a new taste. Try buffalo sauce for heat. Honey mustard adds a sweet twist. You can also use teriyaki sauce for a tropical flavor. Each sauce will give a unique touch to your wings. If you need gluten-free wings, use gluten-free flour. Almond milk works well for a vegan option. These swaps keep the wings tasty without animal products. You can enjoy a delicious meal that fits your diet. You can make BBQ cauliflower wings in an air fryer, too. Set the air fryer to 400°F (200°C) and cook for 15 minutes. Shake the basket halfway through for even cooking. Grilling also gives a nice smoky flavor. Brush the cauliflower with oil and grill on medium heat. Cook each side for about 5-7 minutes. This method adds a char that many love. Try these methods for a fun twist on the classic BBQ cauliflower wings. For the full recipe, check out the detailed instructions above. To keep your BBQ cauliflower wings fresh, place them in an airtight container. You can store them in the fridge for up to three days. Make sure they completely cool before sealing the container. This helps keep the wings crispy and tasty. When you are ready to eat your leftovers, use the oven for the best results. Preheat your oven to 350°F (175°C). Spread the cauliflower wings on a baking sheet. Bake for about 10-15 minutes or until they are hot and crispy again. You can also use an air fryer to reheat them. Just cook them at 350°F (175°C) for 5-7 minutes. This way, they’ll regain their crunch. If you want to save your BBQ cauliflower wings for later, you can freeze them. First, let the wings cool completely. Next, spread them in a single layer on a baking sheet. Freeze them for about an hour. Once frozen, transfer the wings to a freezer bag or container. You can keep them in the freezer for up to three months. When you’re ready to eat, thaw them in the fridge, then reheat using the tips above. Enjoy your crispy and flavorful wings anytime! For more detailed steps, check out the Full Recipe. To make BBQ cauliflower wings spicy, add cayenne pepper or red pepper flakes to the batter. Start with ½ teaspoon and adjust to your heat level. You can also mix in spicy BBQ sauce. This adds heat and a nice kick to each bite. If you want more flavor, try adding hot sauce to the BBQ sauce. Yes, you can use frozen cauliflower. Just thaw it first and pat it dry. This helps the batter stick better. Frozen cauliflower may be softer than fresh, so it can affect the texture. Keep an eye on the cooking time, as frozen florets may need a few extra minutes in the oven to crisp up. BBQ cauliflower wings pair well with many sides. Here are some ideas: - Coleslaw adds crunch and freshness. - Cornbread offers a sweet, soft contrast. - Sweet potato fries are a tasty, hearty option. - A green salad with light dressing balances the meal. - Veggie sticks with dip make for a fun side. For the full recipe, check out the details above! This blog post covered how to make BBQ cauliflower wings. We discussed the ingredients needed and suggested some substitutes. You learned step-by-step instructions from prepping to baking. I shared tips to make your wings extra crispy and added some flavor ideas. We explored different sauces and cooking methods, plus storage and reheating tips. With this guide, you're ready to create tasty wings that everyone will love! Enjoy your cooking adventure!](https://recipesinsight.com/wp-content/uploads/2025/07/056ec623-1c04-4e74-a07b-df45c28f56e6.webp)
Are you ready to enjoy a crispy, tasty treat that will wow your taste buds? BBQ cauliflower wings are the

Welcome to a tropical taste adventure! In this post, I’ll show you how to make a delicious Tropical Mango Chia
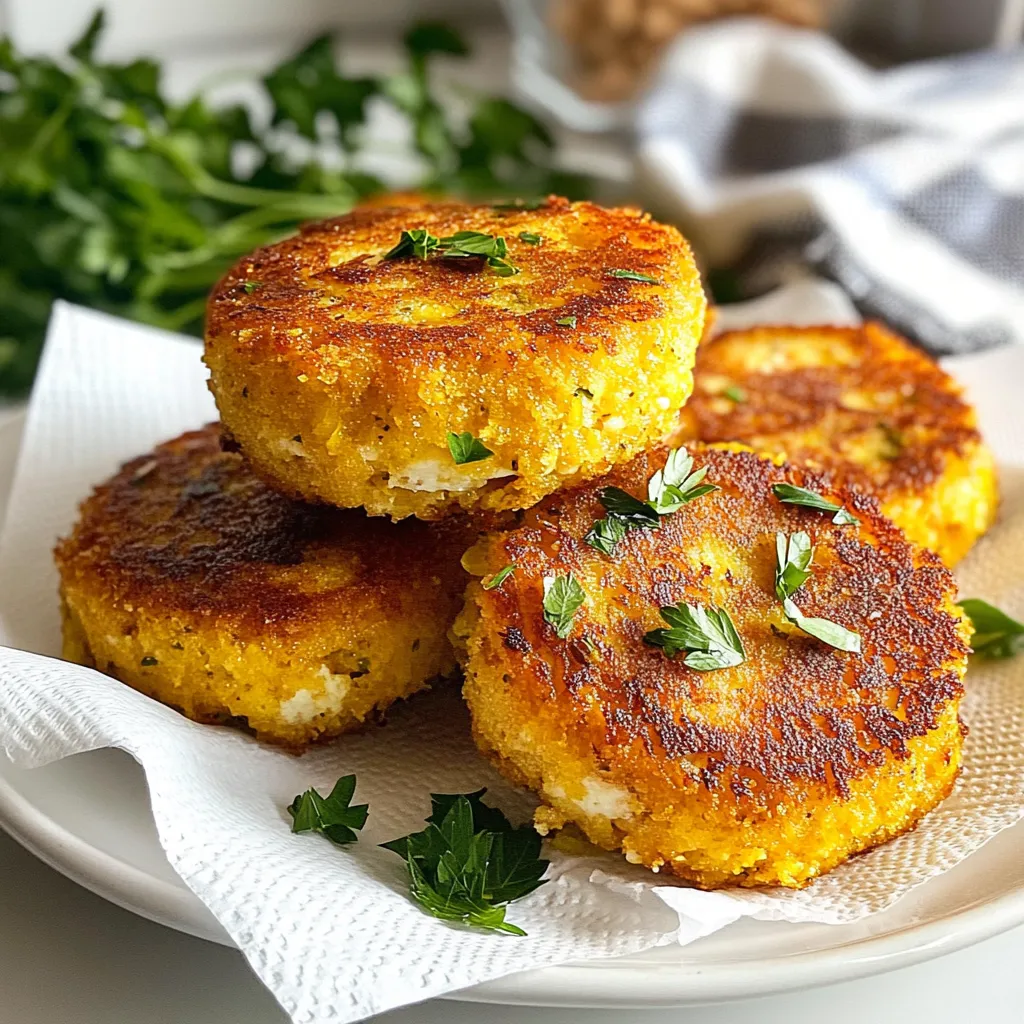
Are you ready to spice up your dinner routine? These Lemon Garlic Tuna Cakes are a game-changer! Made with simple
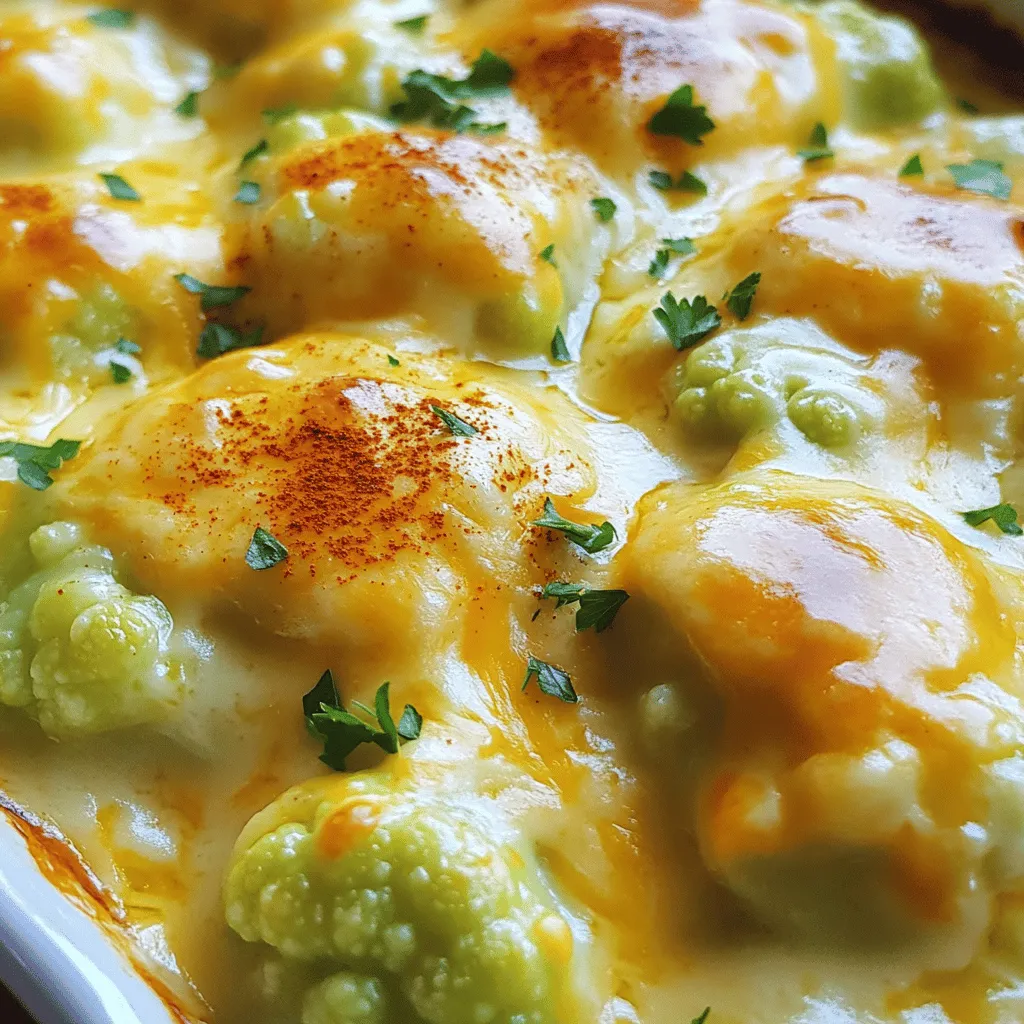
If you’re looking for a rich, hearty dish that warms the soul, you’ve found it! Cheesy Cauliflower Au Gratin is
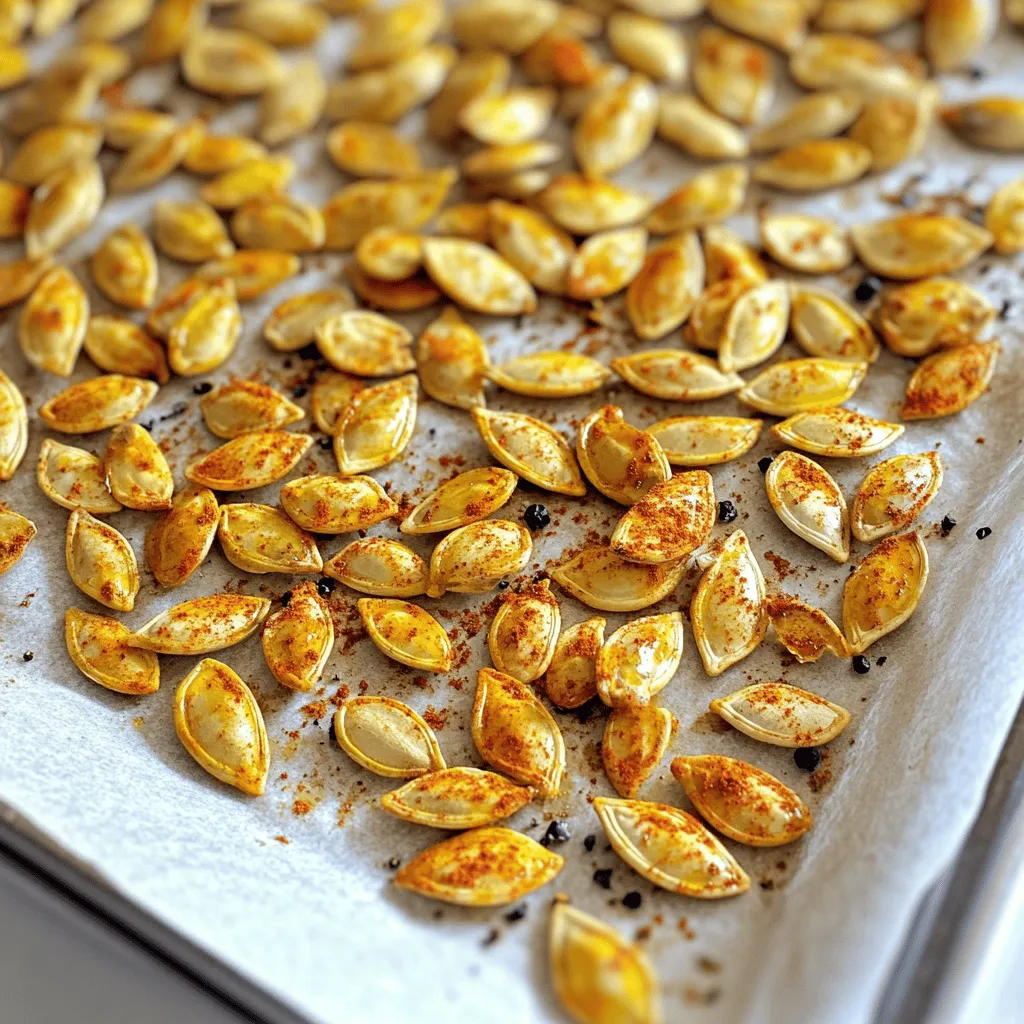
Looking for a tasty snack that’s both crunchy and packed with flavor? You’ve found it! In this post, I’ll share
![- 1 cup cookie butter: This is the star of the show. It adds a rich, sweet flavor. - 1/2 cup unsalted butter, melted: This keeps the blondies moist and adds richness. - 1 cup brown sugar, packed: Brown sugar gives a deeper flavor and chewiness. - 1/4 cup granulated sugar: This adds sweetness and helps with the texture. - 2 large eggs: Eggs bind the ingredients and add moisture. - 1 teaspoon vanilla extract: This enhances the flavor of the blondies. - 1 1/2 cups all-purpose flour: Flour is the base for the blondies’ structure. - 1/2 teaspoon baking powder: This helps the blondies rise a bit. - 1/4 teaspoon baking soda: It adds a touch of lift and lightness. - 1/4 teaspoon salt: Salt balances the sweetness and enhances flavors. - 1/2 cup chocolate chips (optional): These add extra sweetness and texture. - Sea salt, for sprinkling on top: A pinch on top boosts the flavor. These ingredients come together to create a warm, gooey treat. You can find the full recipe [here]. 1. First, preheat your oven to 350°F (175°C). This helps your blondies bake evenly. 2. Next, grease a 9x9-inch baking pan or use parchment paper. This step makes it easy to lift the blondies out later. 3. In a large mixing bowl, combine 1 cup of cookie butter and 1/2 cup of melted unsalted butter. Mix until smooth. 1. Now, whisk in 1 cup of brown sugar and 1/4 cup of granulated sugar. Keep mixing until it blends well. 2. Add 2 large eggs one at a time, beating well after each. Then stir in 1 teaspoon of vanilla extract. 3. In a separate bowl, whisk 1 1/2 cups of all-purpose flour with 1/2 teaspoon of baking powder, 1/4 teaspoon of baking soda, and 1/4 teaspoon of salt. 4. Gradually add the dry mix to the wet mix. Stir gently until combined. Don’t overmix; the batter should be thick and creamy. 1. If you want to add chocolate chips, fold in 1/2 cup now. This step is optional but adds a nice touch. 2. Pour the batter into your prepared pan, spreading it evenly. 3. Sprinkle a pinch of sea salt on top for extra flavor. 4. Bake for 25-30 minutes. The edges should look golden, and a toothpick should come out clean. 5. After baking, cool in the pan for 10 minutes. Then transfer to a wire rack to cool completely. 6. Once cooled, cut into squares and enjoy your delicious cookie butter blondies. For detailed measurements and additional notes, check the Full Recipe. To get the best blondies, focus on mixing. Overmixing can make them tough. Combine the wet and dry ingredients gently. Stop mixing as soon as you see no dry flour. This keeps your blondies soft and chewy. Next, baking evenly is key. Make sure your oven is preheated to 350°F (175°C). Use a 9x9-inch pan to let the heat circulate well. If the edges cook faster than the center, rotate the pan halfway through baking. This helps everything cook just right. Cookie butter comes in many flavors. Try different kinds to change your blondies. Some have spices, while others are sweeter. Each type offers a unique taste. This is a fun way to experiment! For mix-ins and toppings, think about what you love. Chocolate chips add richness. Nuts give a nice crunch. Dried fruit can add sweetness and chewiness. Sea salt on top boosts flavor. Choose what fits your taste best. For the full recipe, check out the detailed instructions above. {{image_2}} You can change up your cookie butter blondies easily. Adding nuts gives a nice crunch. I love using chopped walnuts or pecans. You can also add fruit for a fresh twist. Try throwing in some chopped apples or dried cranberries. These flavors can mix well with the sweetness of cookie butter. Swapping chocolate chips is another fun option. You can use white chocolate chips or butterscotch chips instead. Each swap will give the blondies a new taste. You could even use peanut butter chips for extra flavor. Experimenting with different flavors keeps things exciting in the kitchen. If you need gluten-free options, use almond flour or a gluten-free flour blend. These work well in this recipe and keep the blondies tasty. You can also try oat flour for a different texture. For vegan adaptations, you can replace eggs with flaxseed meal or applesauce. Use one tablespoon of flaxseed mixed with three tablespoons of water for each egg. This makes a great binding agent. Applesauce works too, giving the blondies moisture. These swaps mean everyone can enjoy cookie butter blondies. For the full recipe, check the original section above. Store your cookie butter blondies at room temperature. Use an airtight container to keep them fresh. They will stay good for about three days. If you want them to last longer, consider refrigerating them. In the fridge, they can last for a week. Just let them sit out for a bit before eating. This helps bring back their soft texture. To freeze your blondies, cut them into squares first. Wrap each piece tightly in plastic wrap. Then, place them in a freezer bag or container. This keeps them from getting freezer burn. They can stay frozen for up to three months. When you’re ready to eat them, take out how many you want. Let them thaw in the fridge overnight. If you want to warm them up, you can use the microwave. Heat them for 10-15 seconds. This makes them soft and gooey again. Enjoy your cookie butter blondies at their best! For the full recipe, check out the link above. Can I use crunchy cookie butter instead of smooth? Yes, you can use crunchy cookie butter. It adds extra texture. The blondies will still taste great. The bits of cookie will create a fun surprise in each bite. How long will the blondies last? Cookie butter blondies last about 3 to 5 days at room temperature. Store them in an airtight container. They can also last longer in the fridge, about a week. Why are my blondies too dry? Dry blondies usually come from overbaking. Keep an eye on the oven timer. Check them a few minutes early. If the edges are golden and a toothpick comes out with a few crumbs, they are done. What to do if my blondies stick to the pan? If your blondies stick, you might not have greased the pan enough. Always grease or line your pan with parchment paper. This helps with easy removal. If they still stick, let them cool longer before trying to lift them out. Best pairings for cookie butter blondies These blondies pair well with coffee or milk. You can also serve them with hot chocolate. They taste great alongside a scoop of vanilla ice cream. Ideas for serving with ice cream or sauces Drizzle warm caramel or chocolate sauce over the blondies. Top with a scoop of ice cream for a yummy treat. You can also sprinkle some sea salt to enhance the flavors even more. For the full recipe, check the earlier sections in this article. You now know how to make delicious cookie butter blondies from scratch. We covered the key ingredients, step-by-step baking, and tips for great texture and flavor. Don't forget the many variations for special diets or fun mix-ins. Store these treats well for later enjoyment. With this knowledge, you're ready to impress friends and family. Baking can be fun and rewarding. Enjoy every bite and happy baking!](https://recipesinsight.com/wp-content/uploads/2025/07/77d622f2-9b93-469b-b2d4-4796cac6ee3d.webp)
Are you ready to treat yourself to something amazing? Cookie Butter Blondies are simple, fun, and truly delicious. With gooey