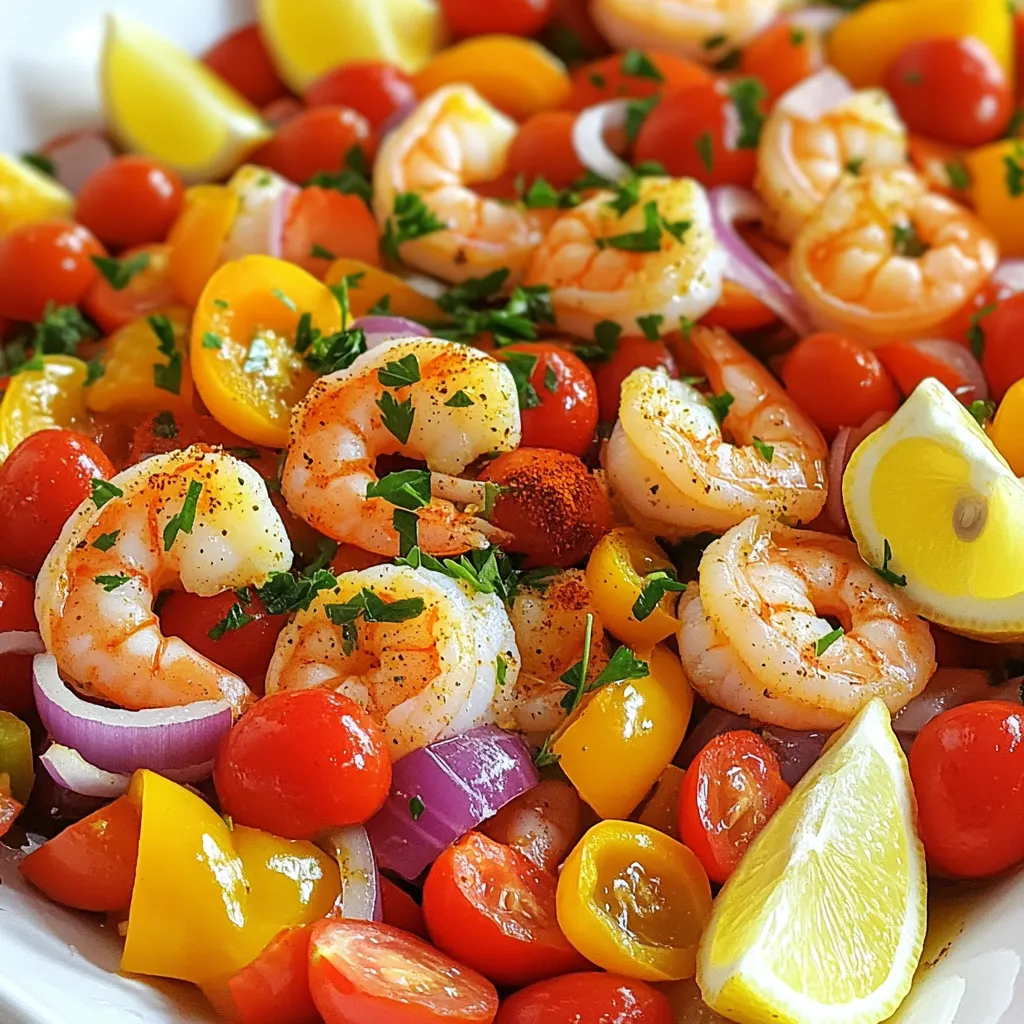
Sheet Pan Mediterranean Shrimp Tasty and Easy Dinner
Looking for a quick and delicious dinner? Try this Sheet Pan Mediterranean Shrimp recipe! It’s easy to make and full

Looking for a quick and delicious dinner? Try this Sheet Pan Mediterranean Shrimp recipe! It’s easy to make and full
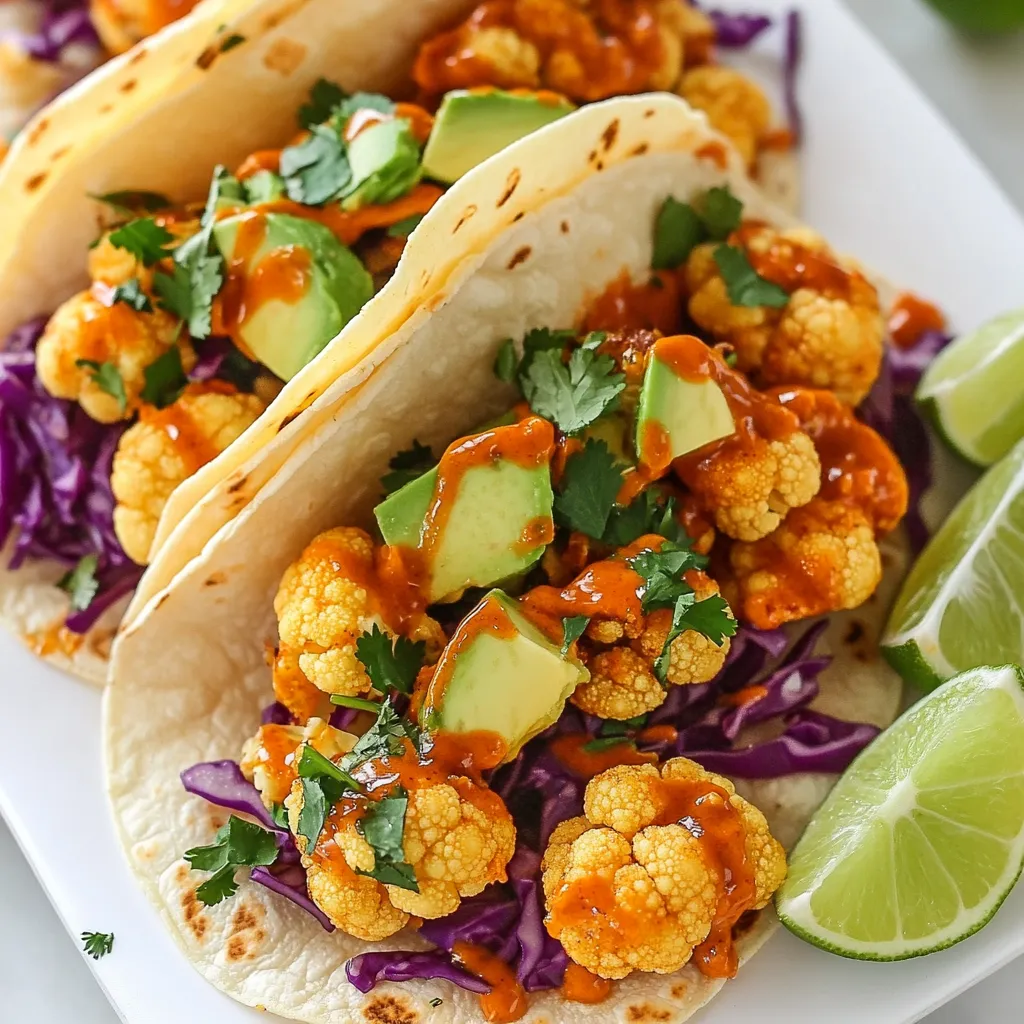
Craving a tantalizing twist on Taco Night? Buffalo Cauliflower Tacos deliver bold flavor and crispy texture without the meat! In
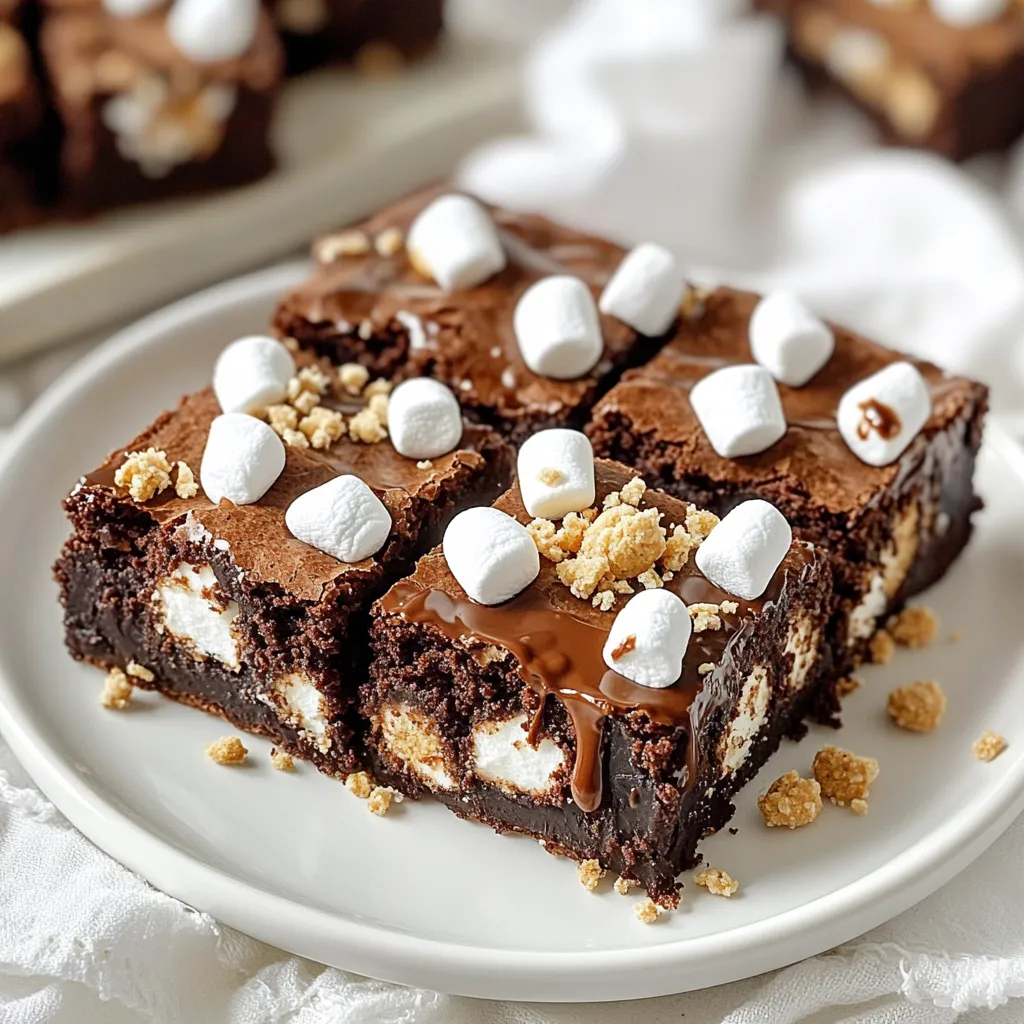
Are you ready to dive into a treat that’s a step above your usual brownie? S’mores Brownie Bars are the
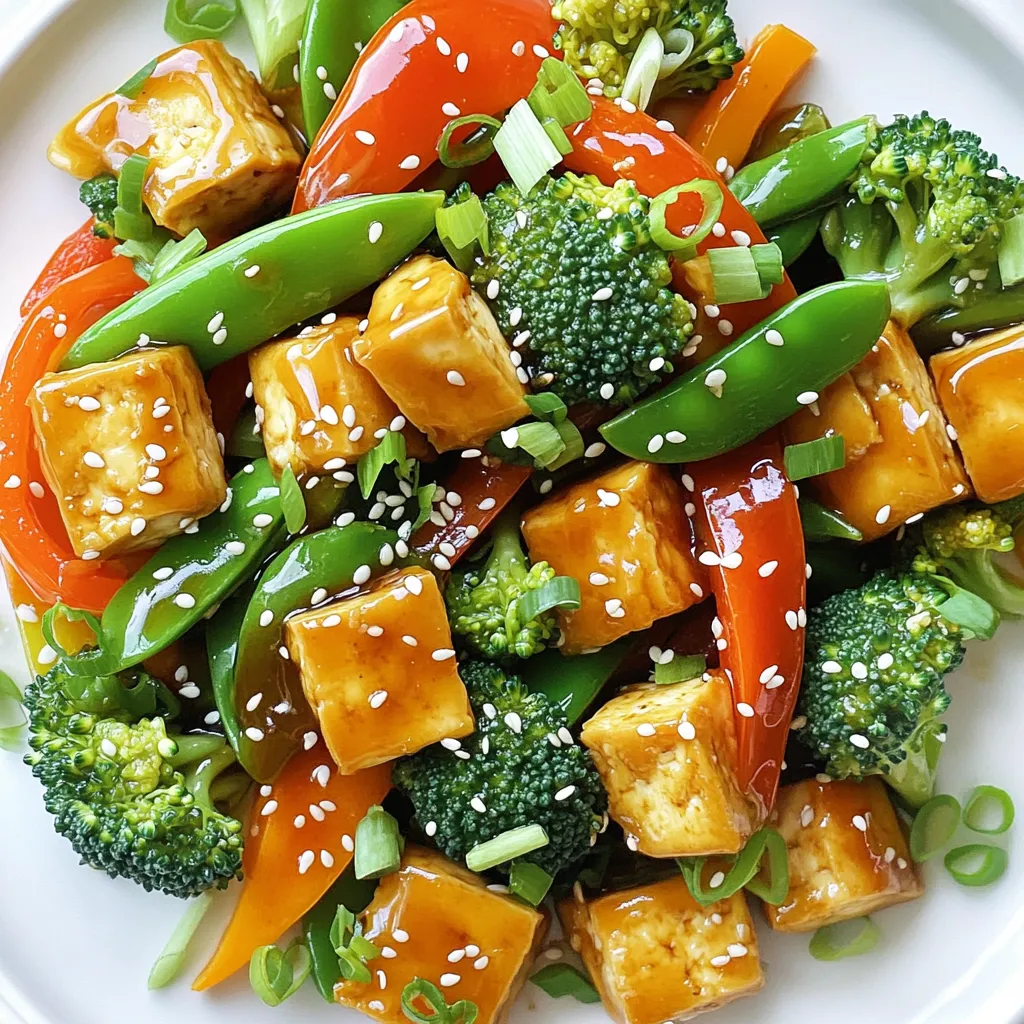
Are you ready to whip up a tasty meal in no time? My Honey Garlic Tofu Stir Fry is both

Looking for a tasty and healthy snack? You’re in the right place! Chocolate Peanut Butter Protein Bites pack energy and
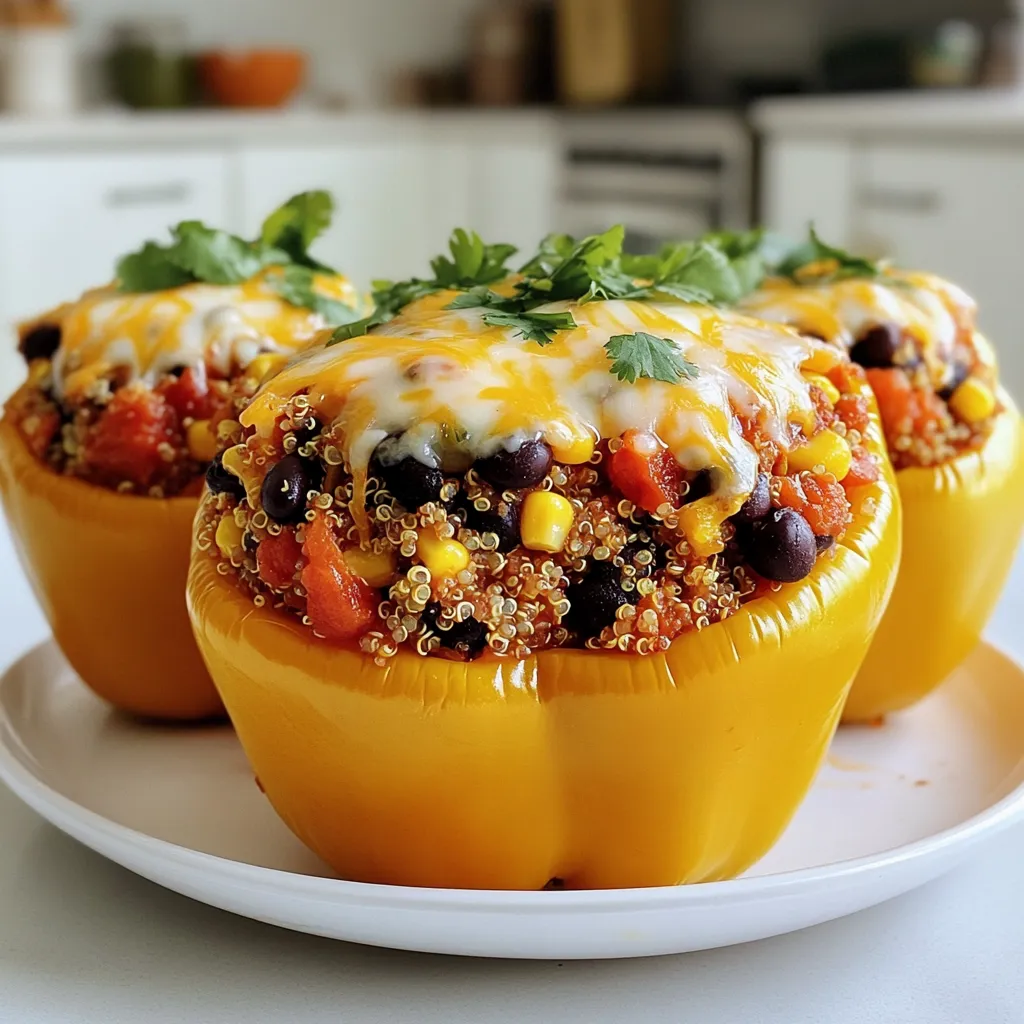
Stuffed peppers are a classic dish, but have you tried making them in an air fryer? In this article, I’ll

If you’re craving something bold yet comforting, you need to try Spicy Coconut Curry Ramen! This dish blends rich coconut
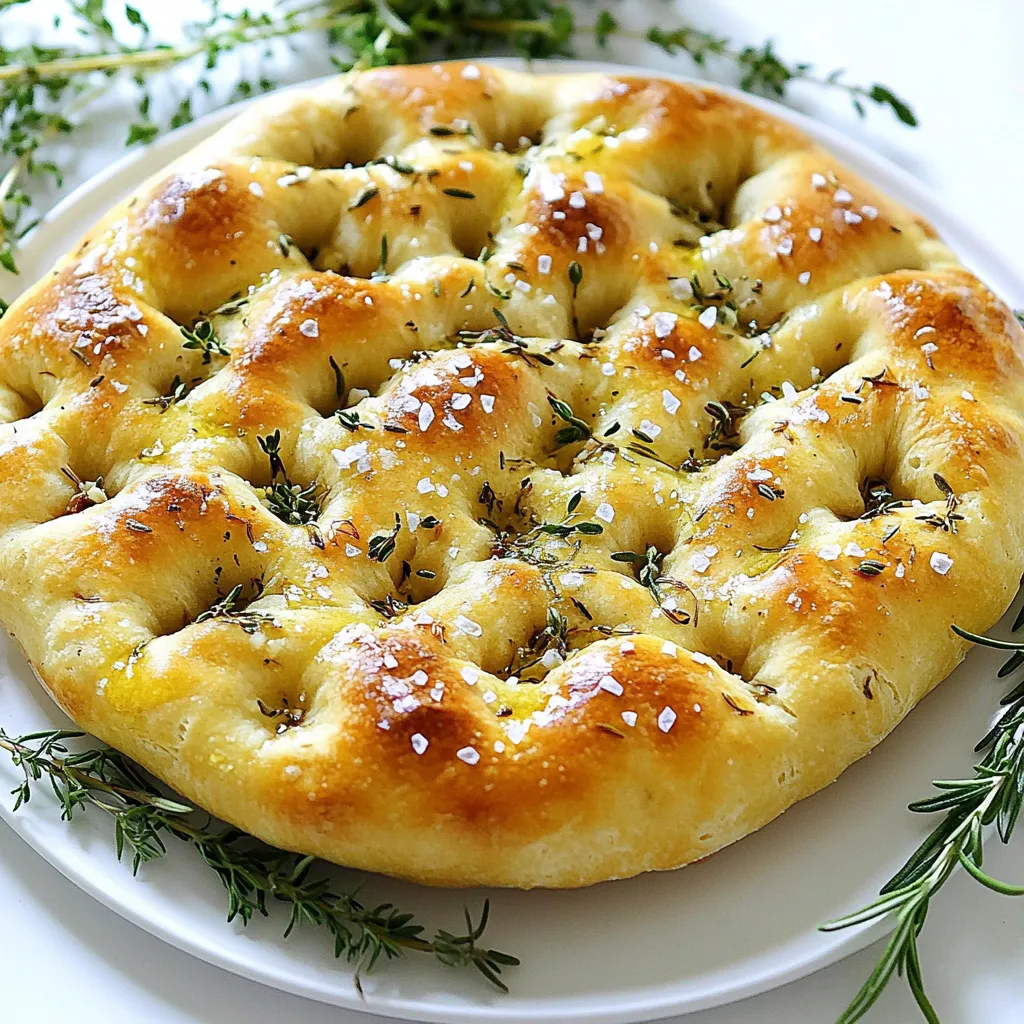
If you love warm, flavorful bread, you’re in for a treat! This Garlic Herb Focaccia Bread is both simple to
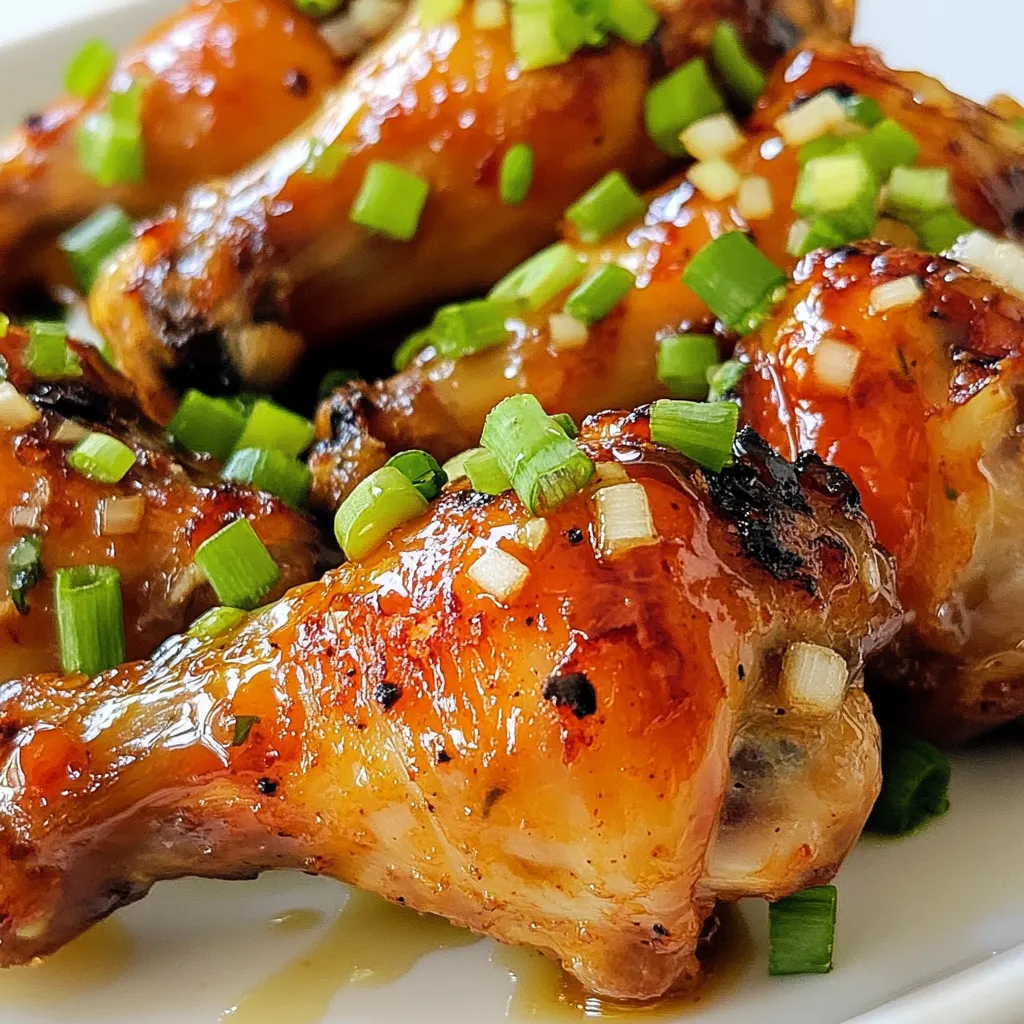
Are you ready to fire up the grill and impress your friends? My Spicy Honey Garlic Drumsticks are packed with
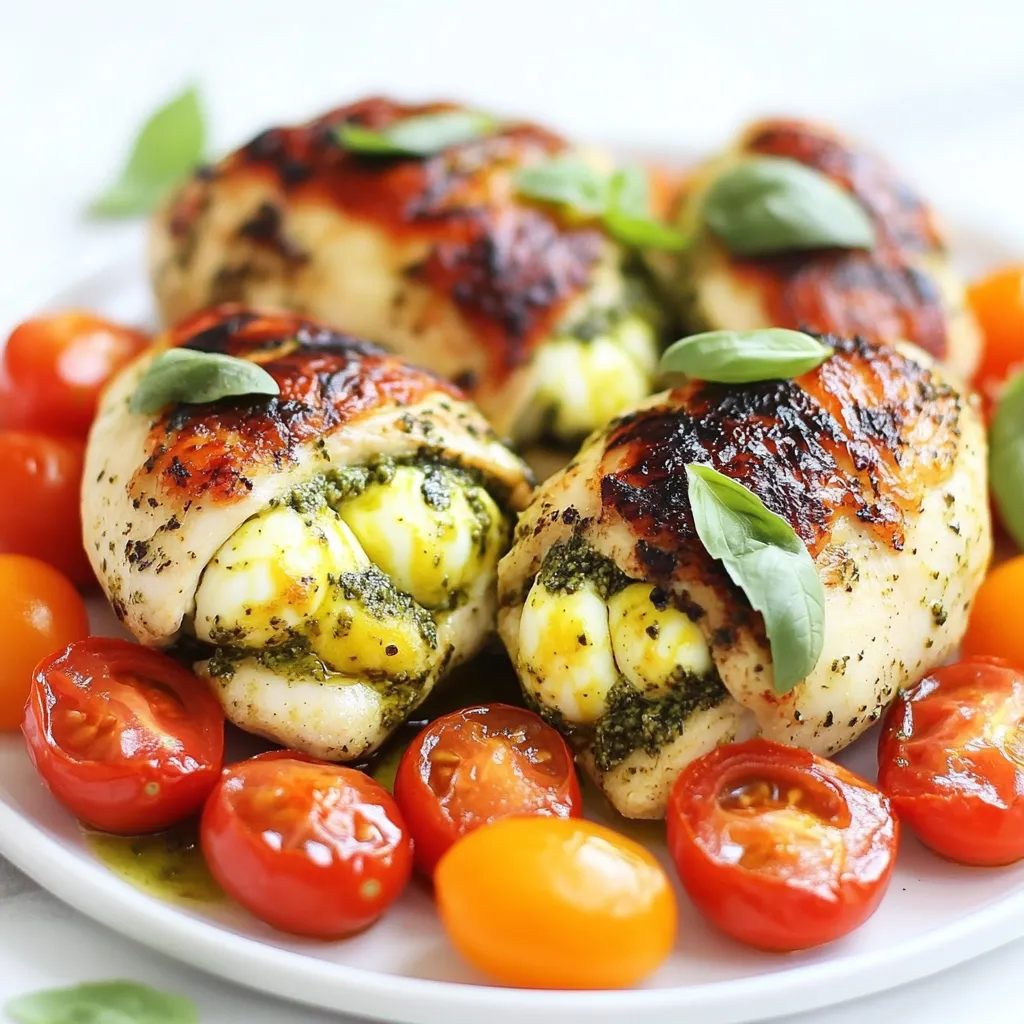
Are you ready to impress your family with a dish that’s both juicy and full of flavor? My Pesto Mozzarella