Slow Cooker Honey Garlic Chicken Drumsticks Delight
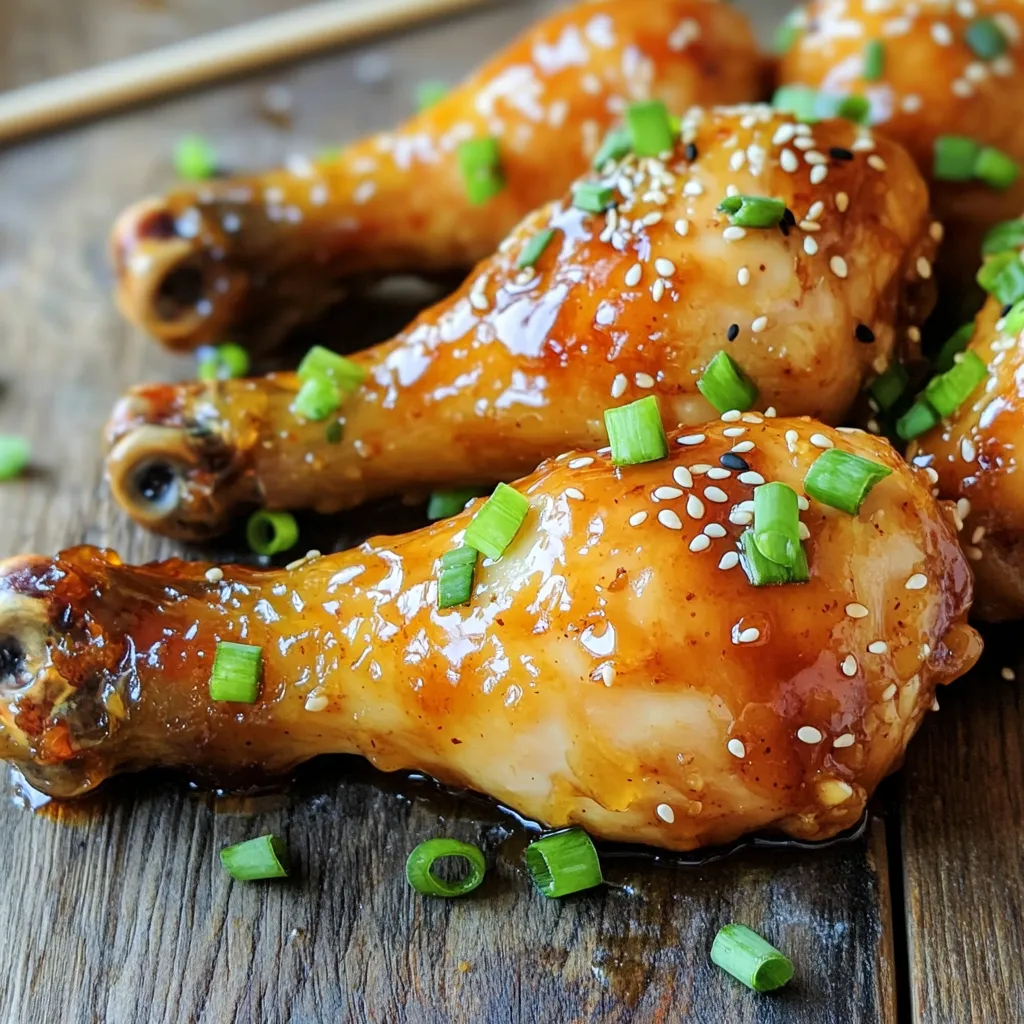
Are you ready for a mouthwatering dish that will impress your family? My Slow Cooker Honey Garlic Chicken Drumsticks are

Are you ready for a mouthwatering dish that will impress your family? My Slow Cooker Honey Garlic Chicken Drumsticks are
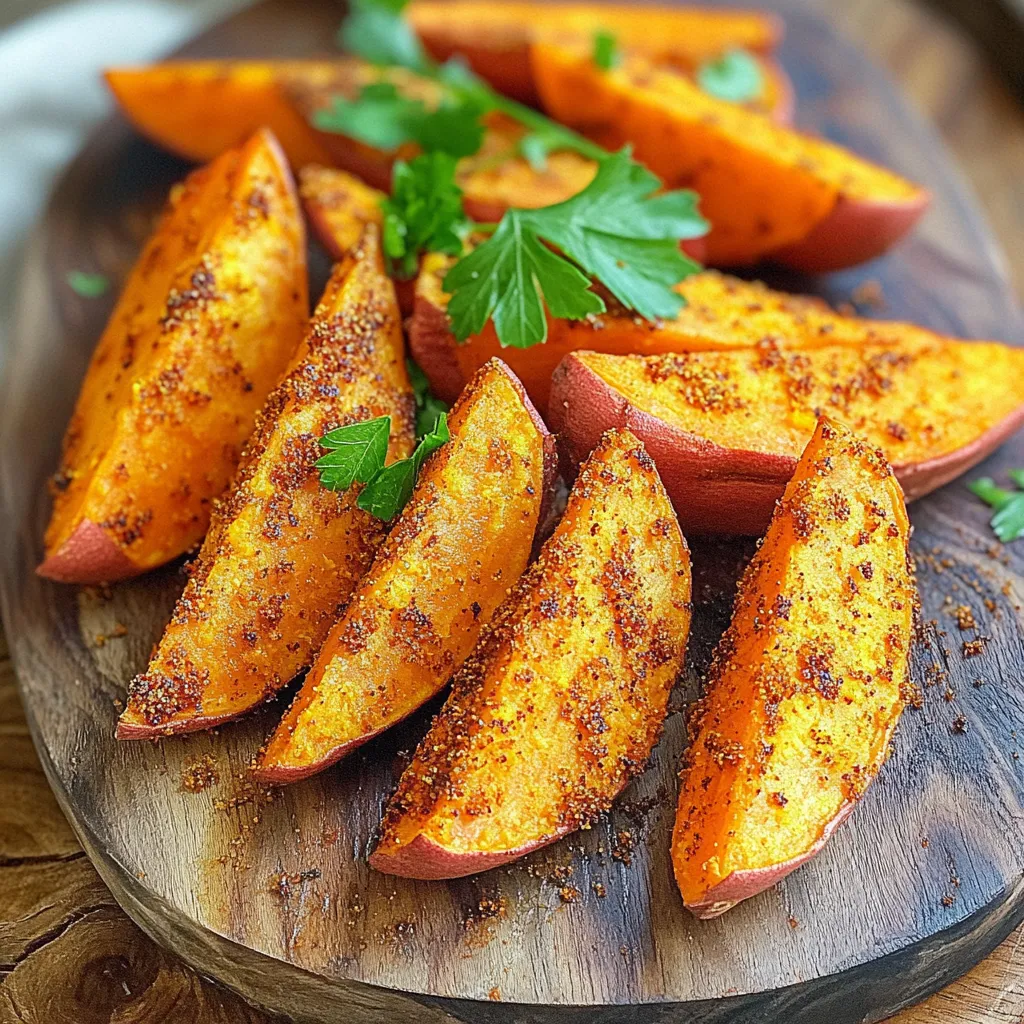
Craving a tasty, crunchy snack? Let’s spice things up with Air Fryer Cajun Sweet Potato Wedges! These sweet and savory
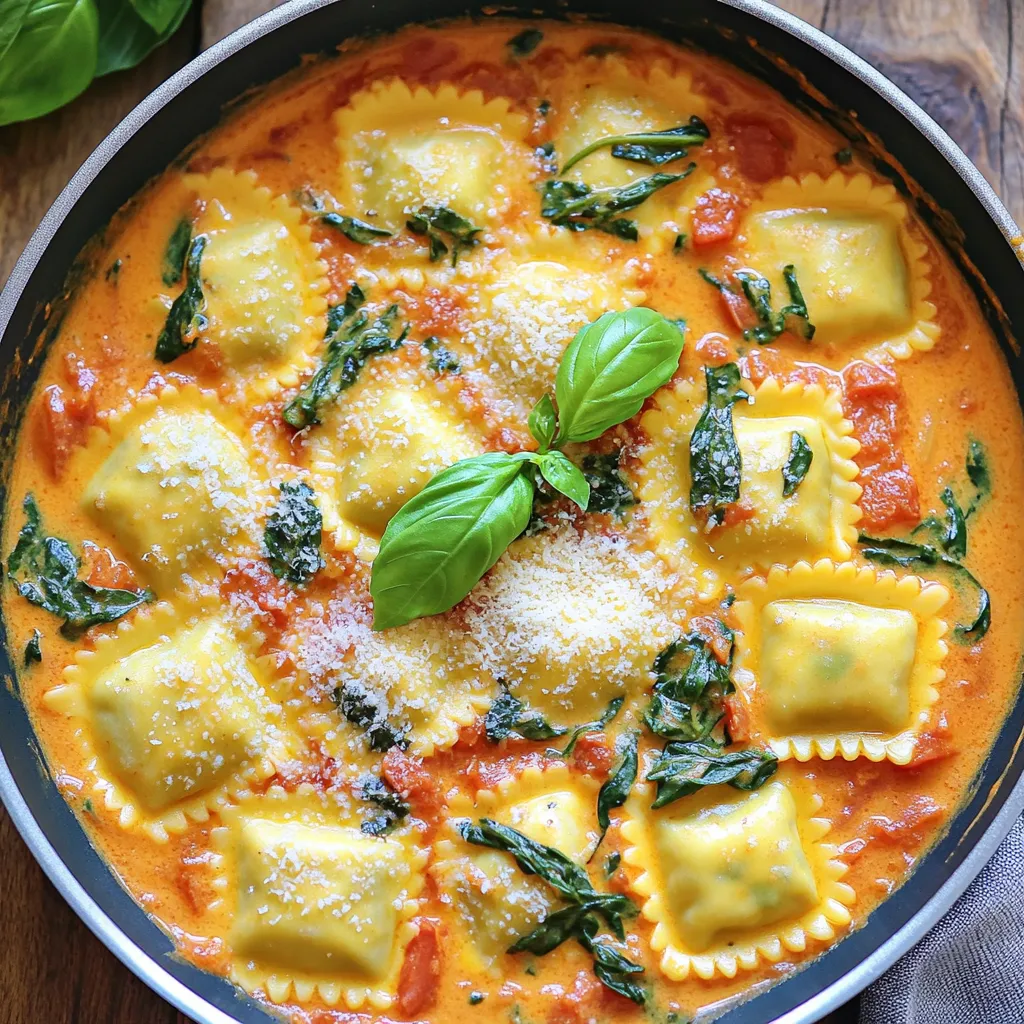
Are you ready to whip up a warm, tasty meal in under 30 minutes? In this blog, I’ll show you
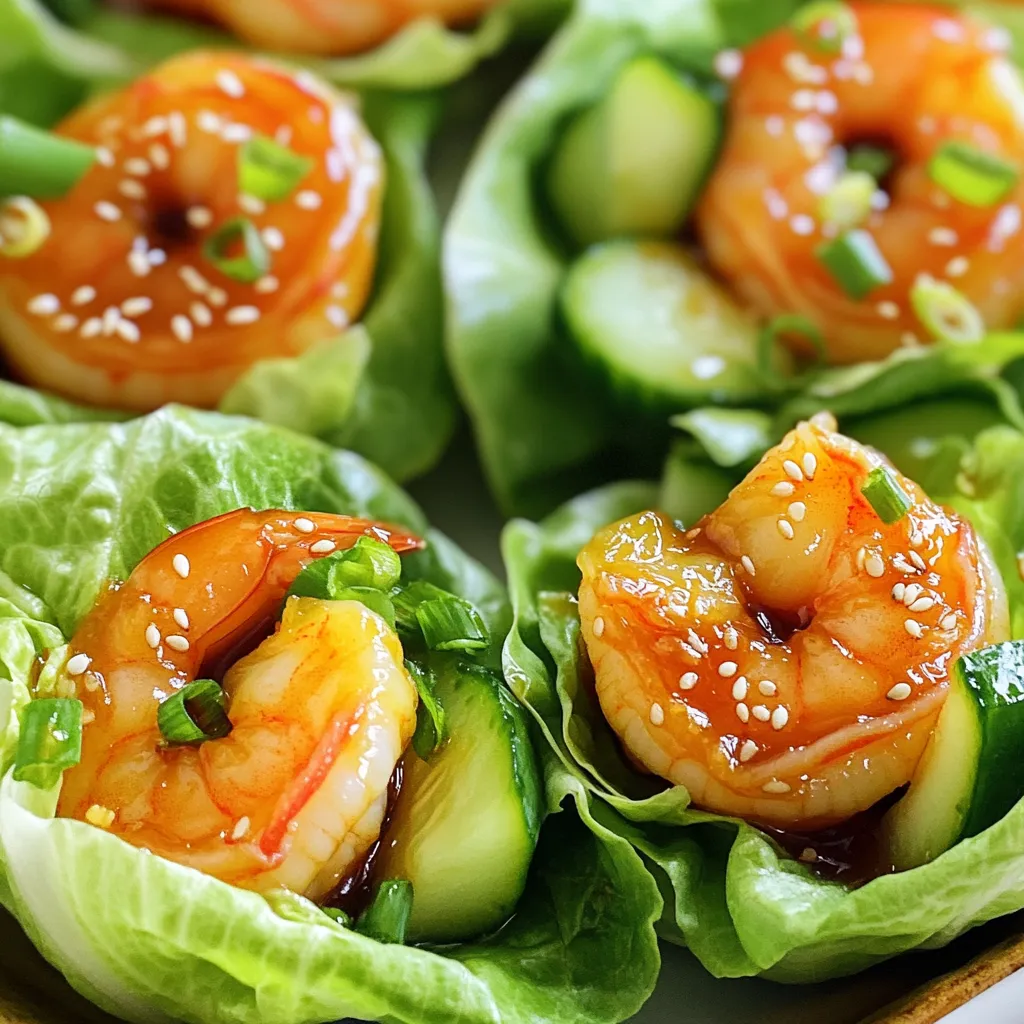
Looking for a quick and tasty dish? You’re in the right spot! I’m excited to share my Minute Firecracker Shrimp
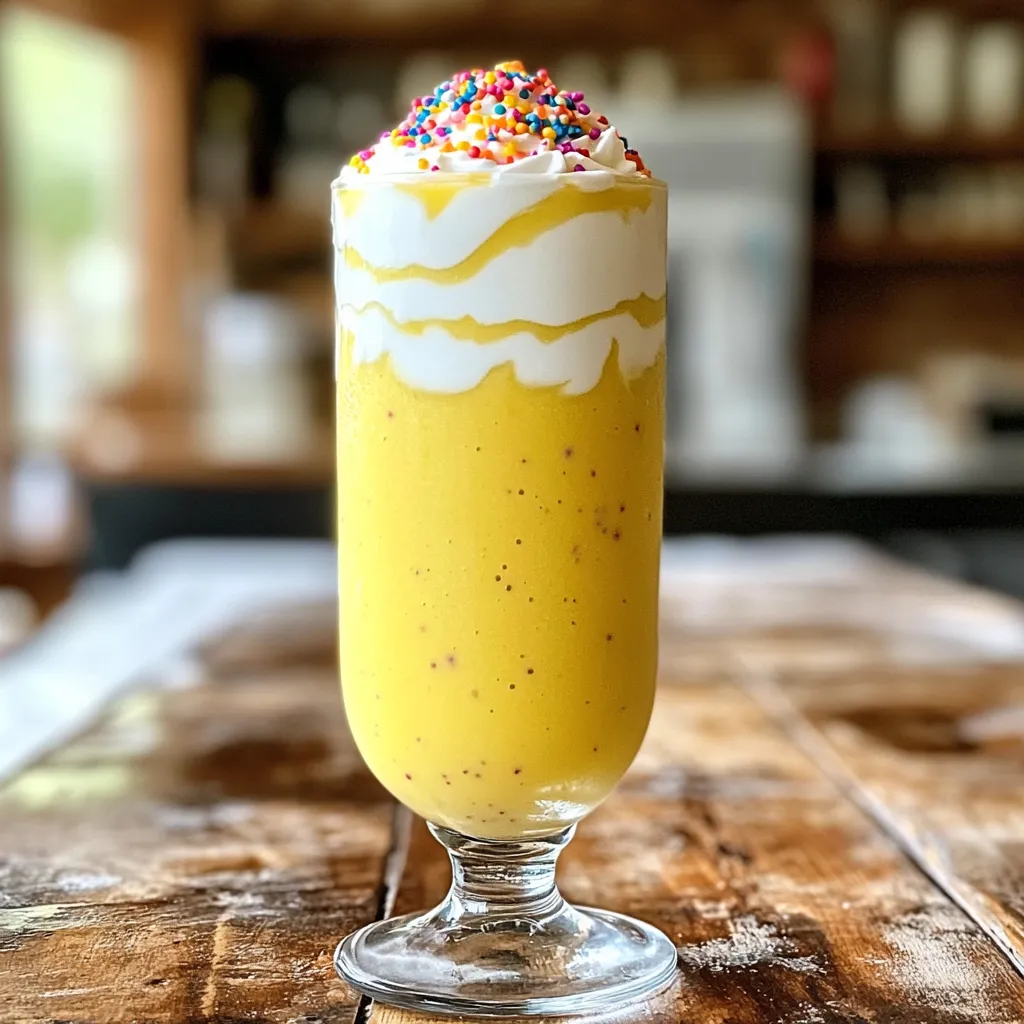
Looking for a fun and nutritious way to celebrate your birthday? Try my High-Protein Birthday Cake Smoothie! Packed with flavor
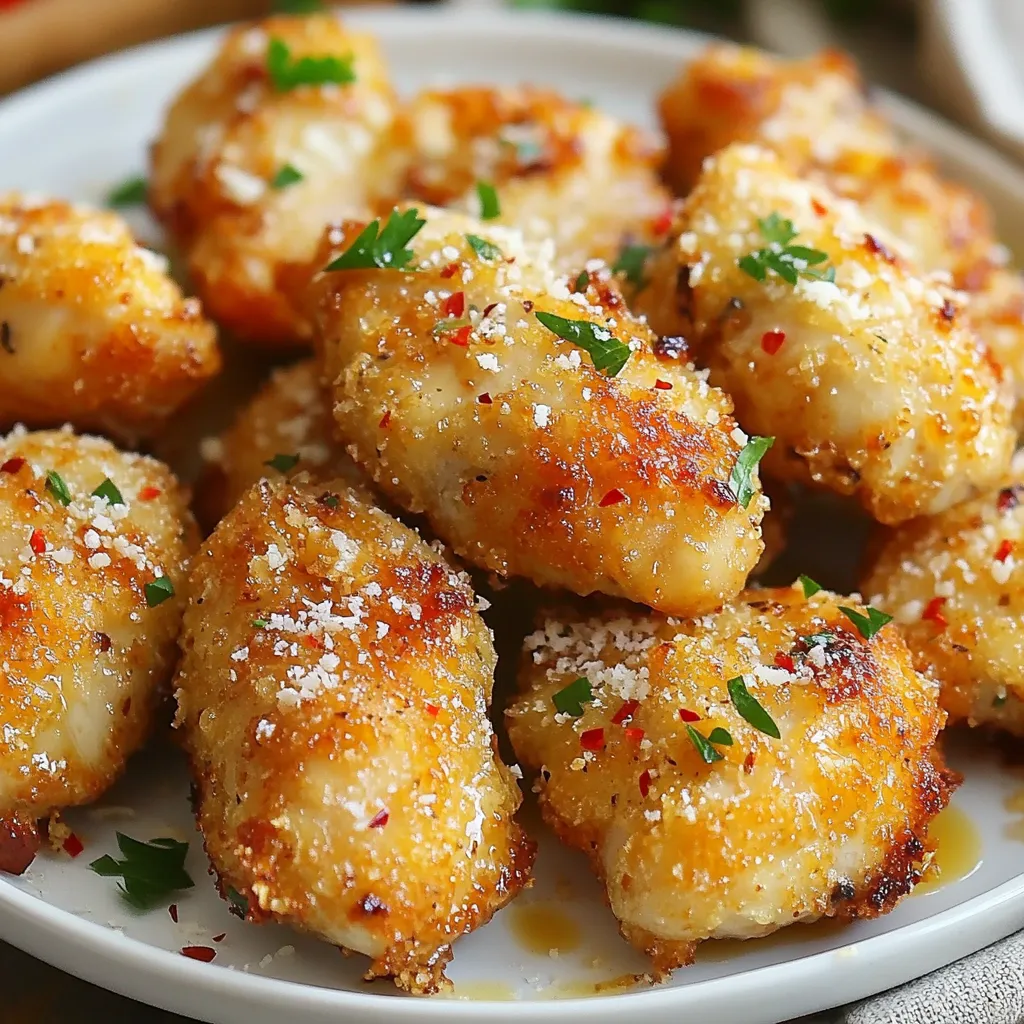
If you love bold flavors and crispy bites, you need to try Spicy Garlic Parmesan Chicken Bites! These tasty treats
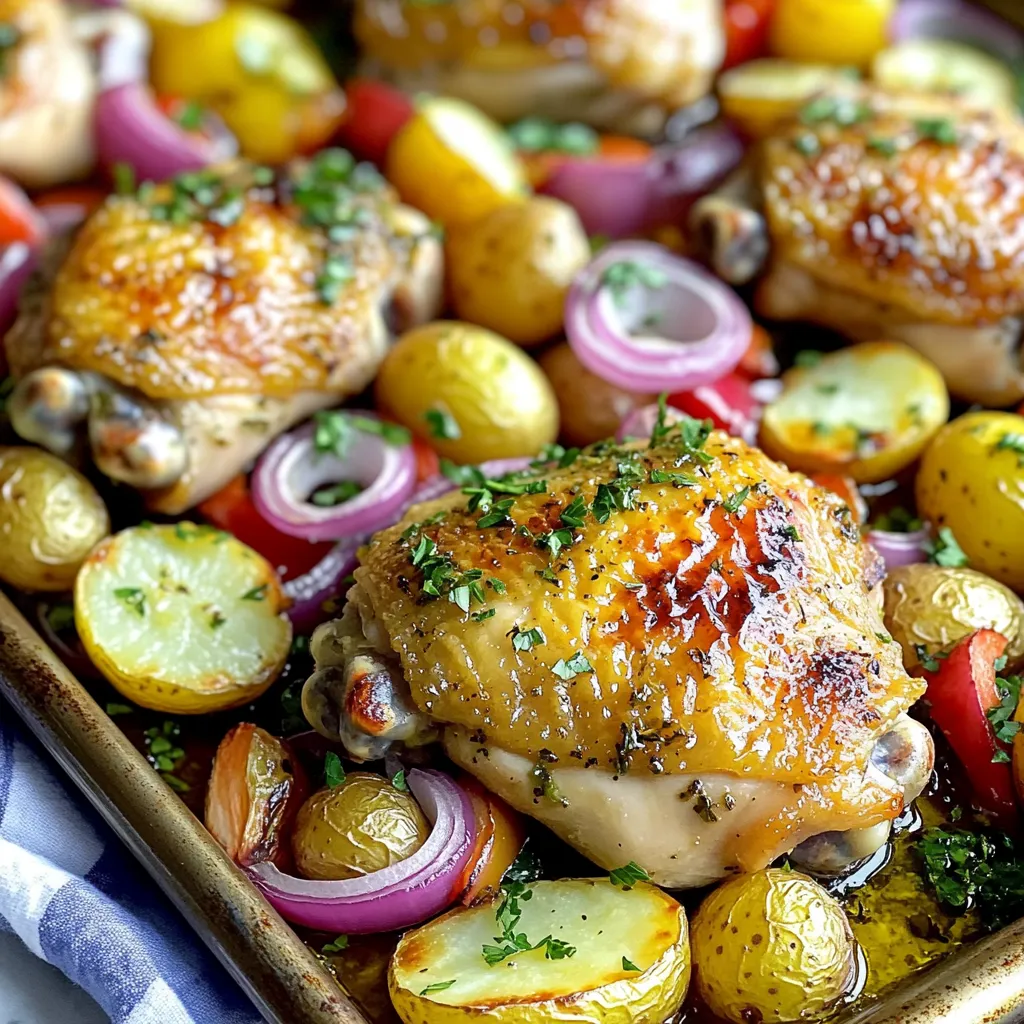
Looking for a quick and tasty dinner option? This Sheet-Pan Greek Chicken & Potatoes dish is your answer! With juicy

Do you crave a sweet treat without turning on the oven? You’re in the right place! Join me as we
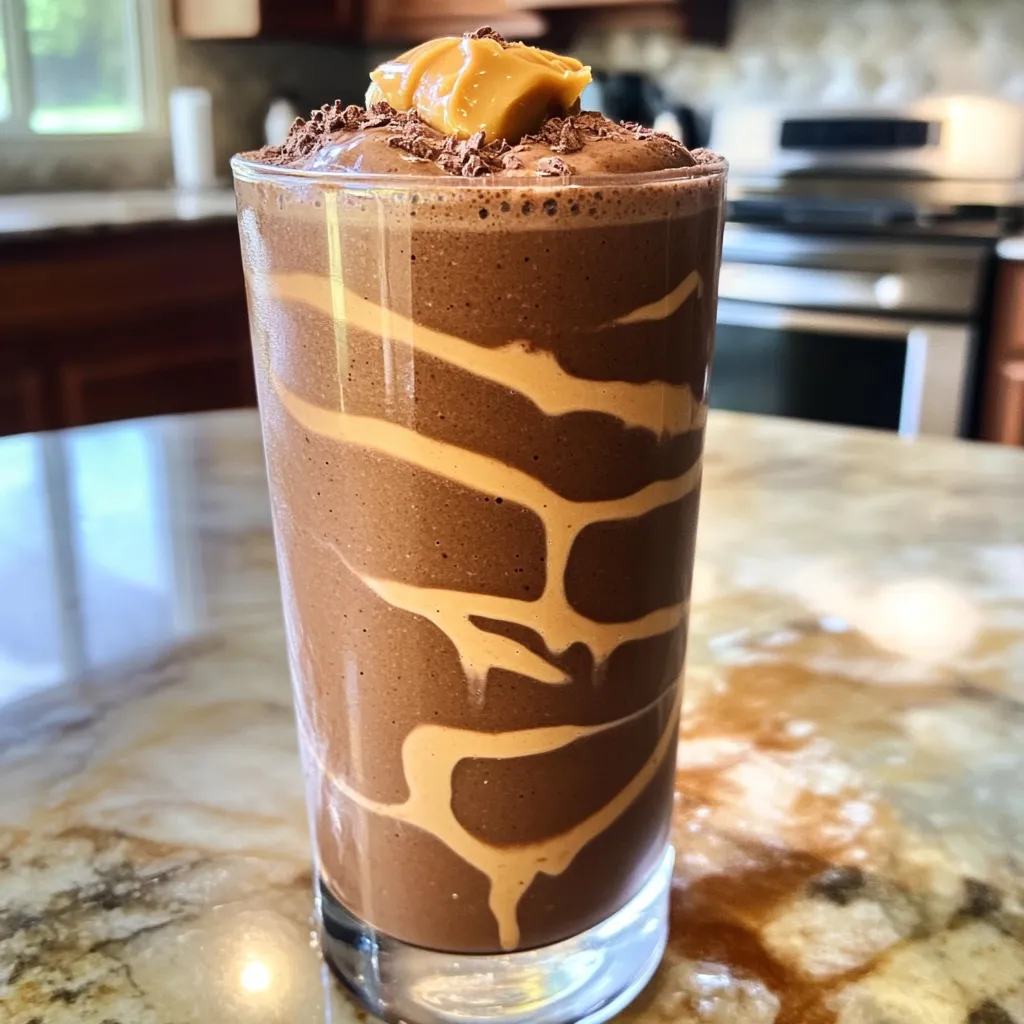
Looking for a quick and tasty way to kickstart your day? This High-Protein Mocha Smoothie packs a delicious punch while
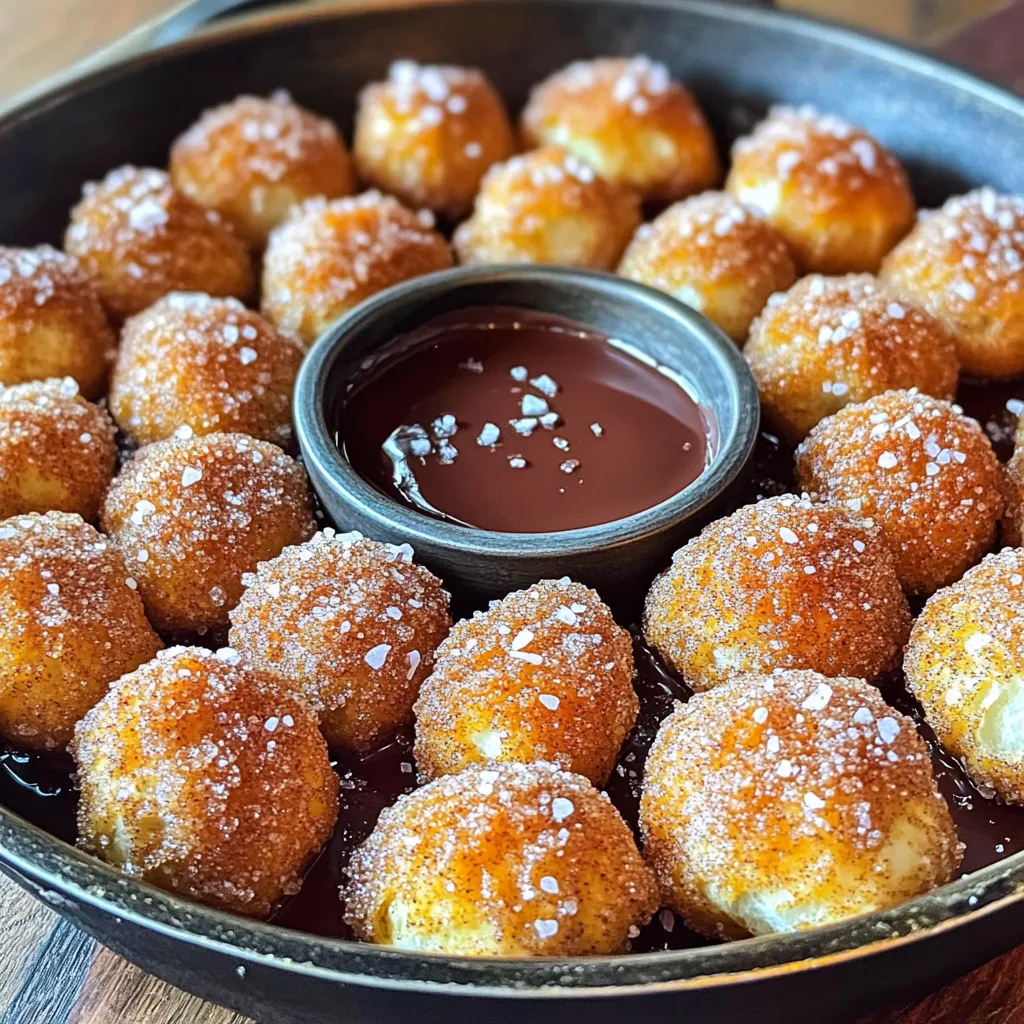
Get ready to indulge in a warm, sweet treat with my Cinnamon Sugar Pretzel Bites Skillet Delight! This easy recipe