
Air Fryer Cheesy Cauliflower Tots Flavorful Snack Easy
Looking for a tasty snack that’s easy to make? Try Air Fryer Cheesy Cauliflower Tots! These cheesy bites are packed

Looking for a tasty snack that’s easy to make? Try Air Fryer Cheesy Cauliflower Tots! These cheesy bites are packed

Looking for a quick, tasty meal that brings the flavors of Italy to your kitchen? My One-Pot Creamy Tuscan Chicken
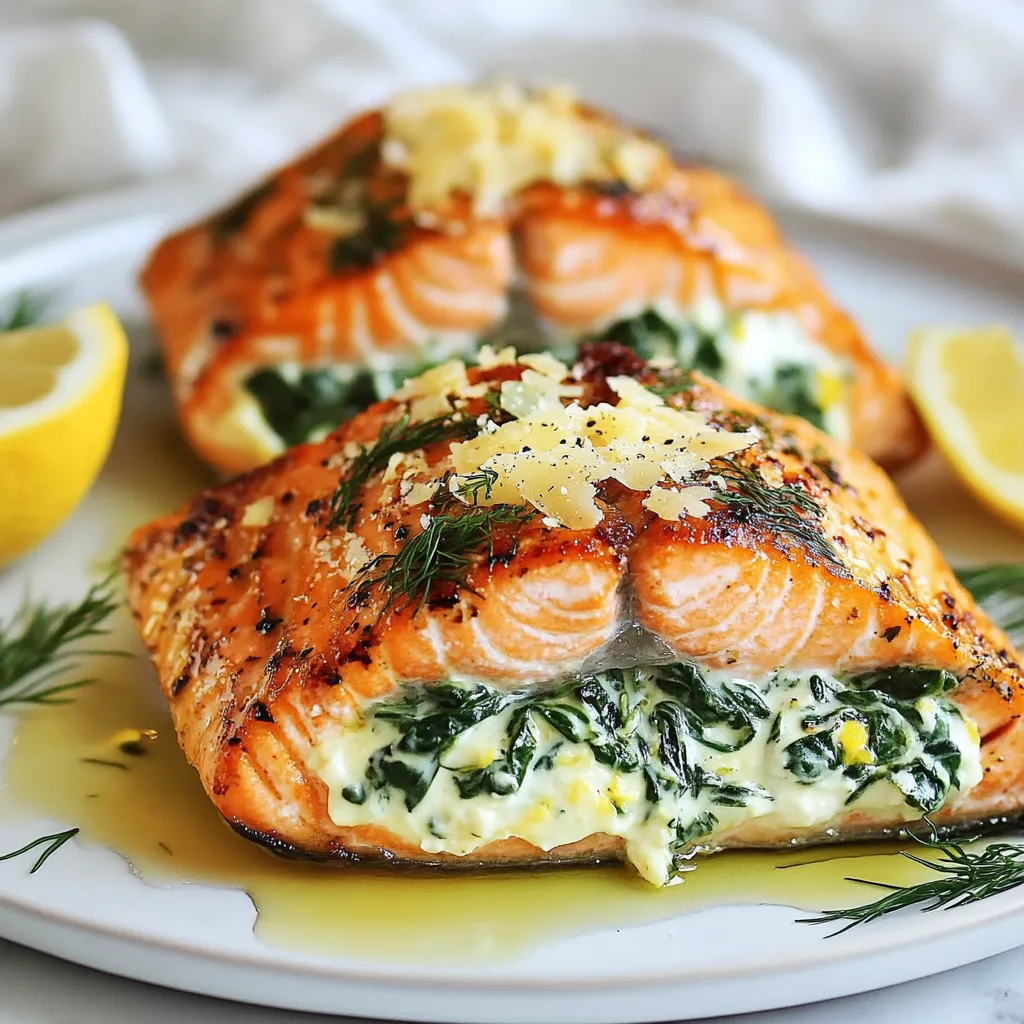
Looking to impress at your next dinner? Creamy Garlic Spinach Stuffed Salmon is the dish you need! With tender salmon
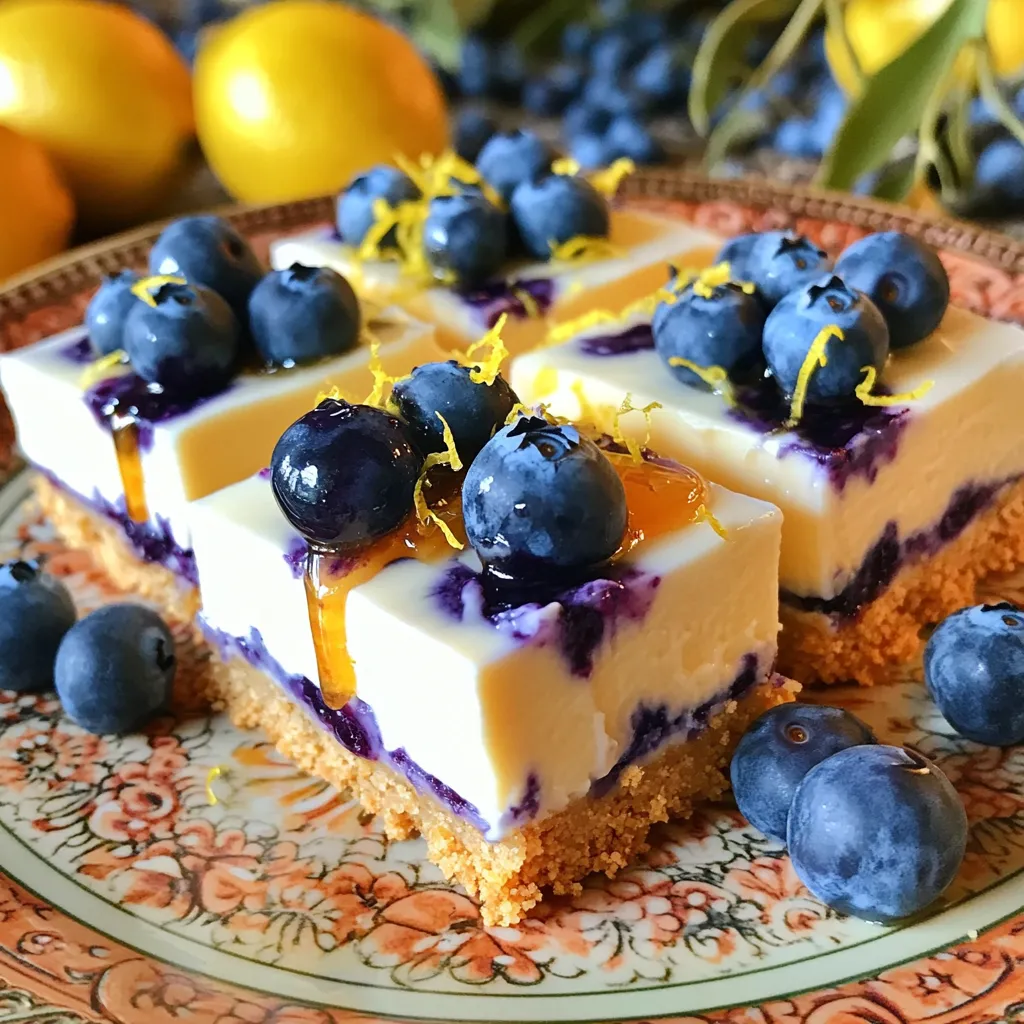
Get ready for a sweet treat with my No-Bake Blueberry Lemon Cheesecake Bars! This easy recipe combines fresh blueberries and
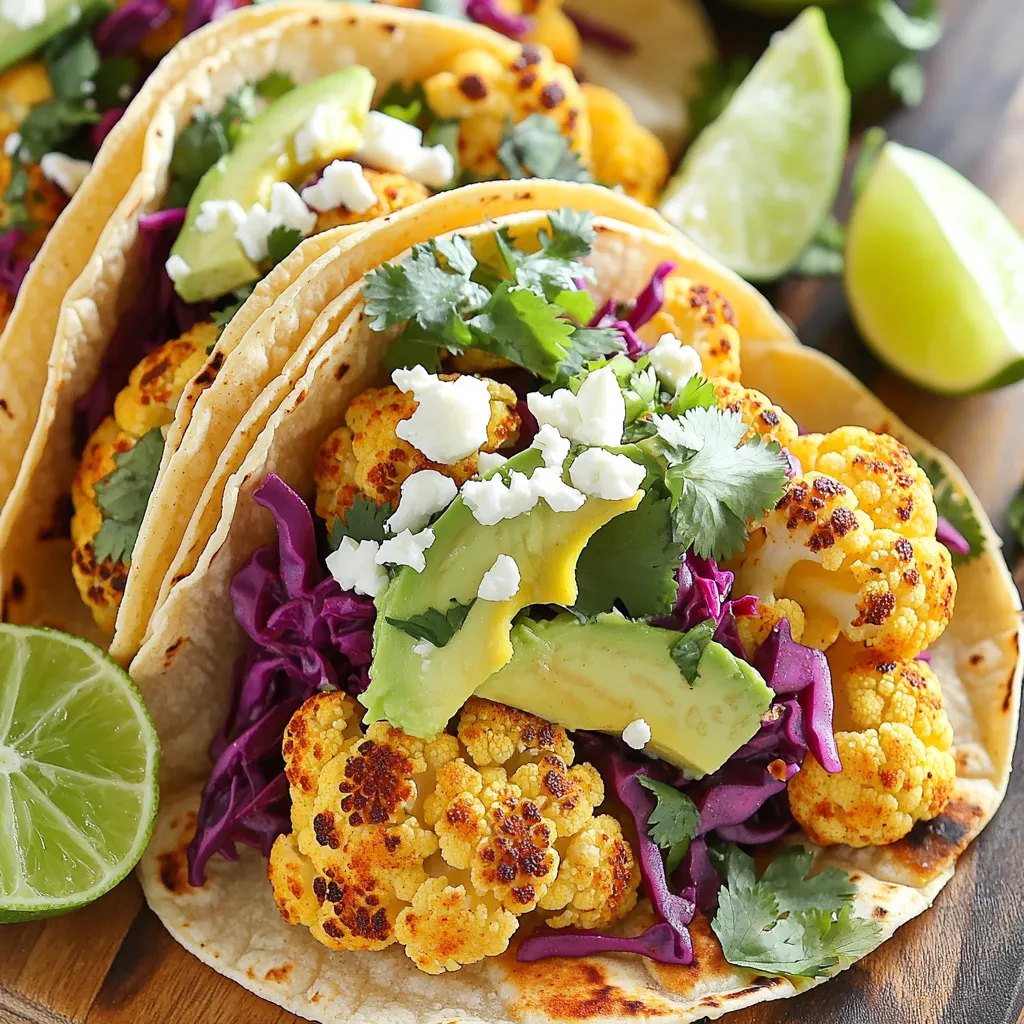
Are you ready to spice up your dinner routine? Roasted Cauliflower Tacos are the perfect, easy meal that packs a

Get ready to awaken your taste buds with Mango Habanero Salsa! This spicy and fresh dip blends ripe mangos with
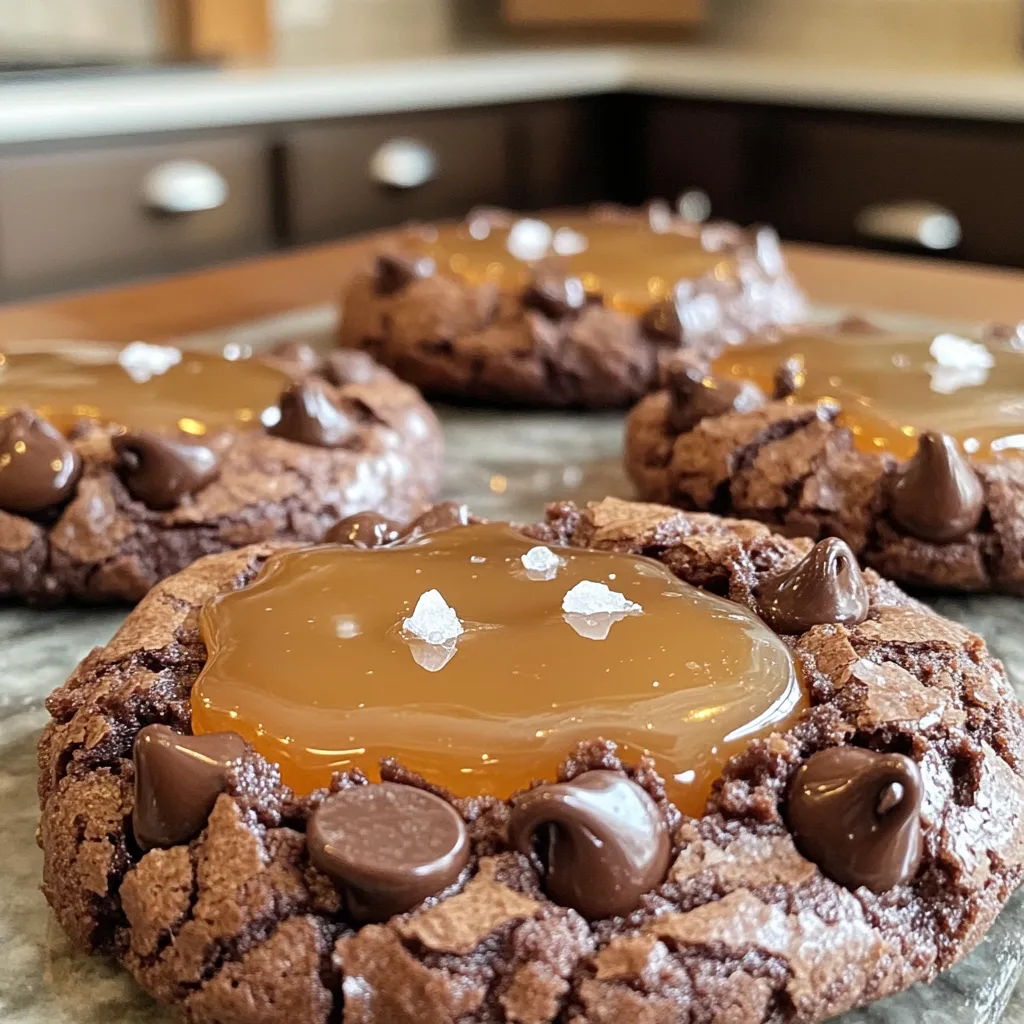
Are you ready to dive into a world of rich, chewy goodness? My Salted Caramel Brownie Cookies are the perfect
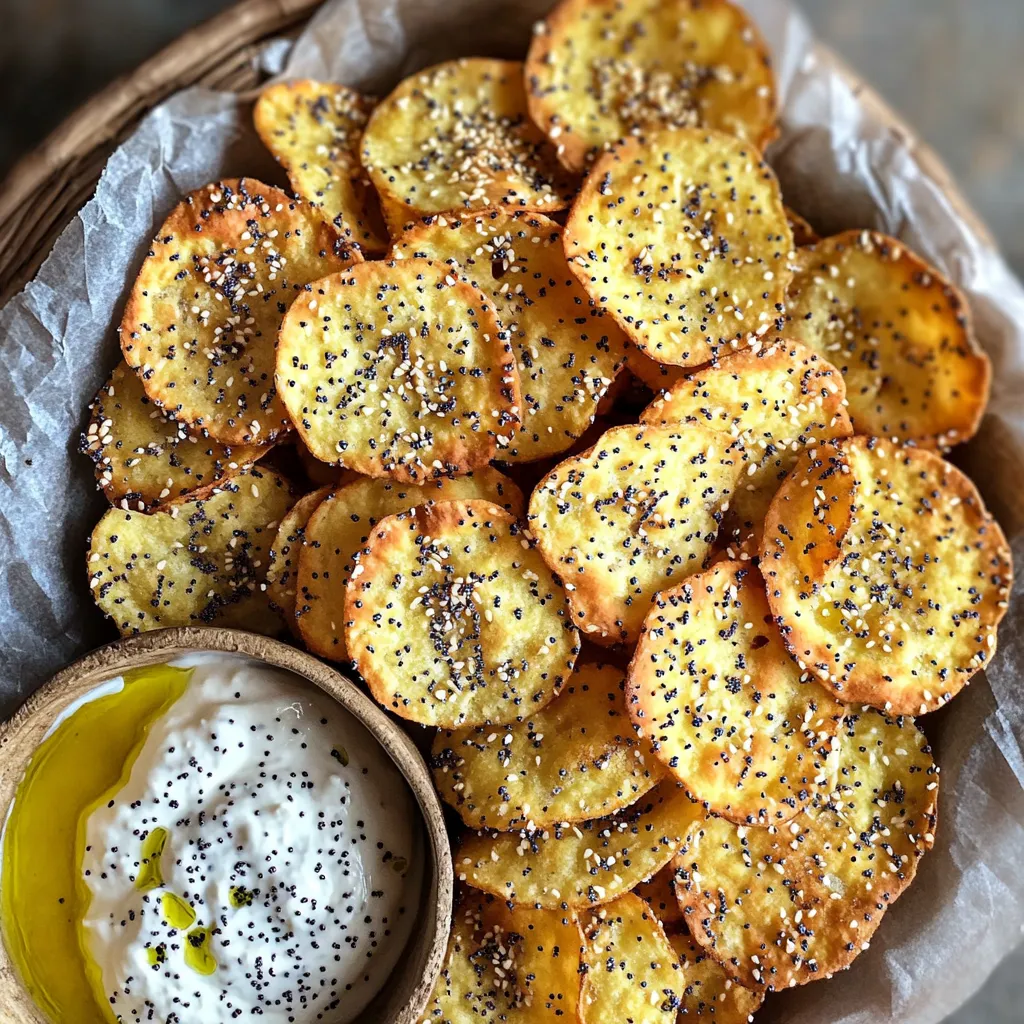
Do you crave a crunchy snack packed with flavor? Look no further! These Air Fryer Everything Bagel Chips are everything

Get ready to enjoy a tasty twist on dinner with my Teriyaki Chicken Meatballs. They are super easy to make

Are you ready to transform your breakfast routine? Strawberry Cheesecake Overnight Oats offer a perfect blend of creamy, sweet, and