
Introduction
Sourdough bread has taken the culinary world by storm, captivating the hearts and taste buds of bakers and food lovers everywhere. Its unique tangy flavor, chewy texture, and artisanal appearance create a delightful eating experience that is hard to resist. The rising popularity of sourdough can be attributed to its rich history, health benefits, and the satisfaction of baking bread from scratch. Among the myriad of sourdough varieties, one that stands out is sourdough rye bread, known for its distinct flavor and nutritional advantages.
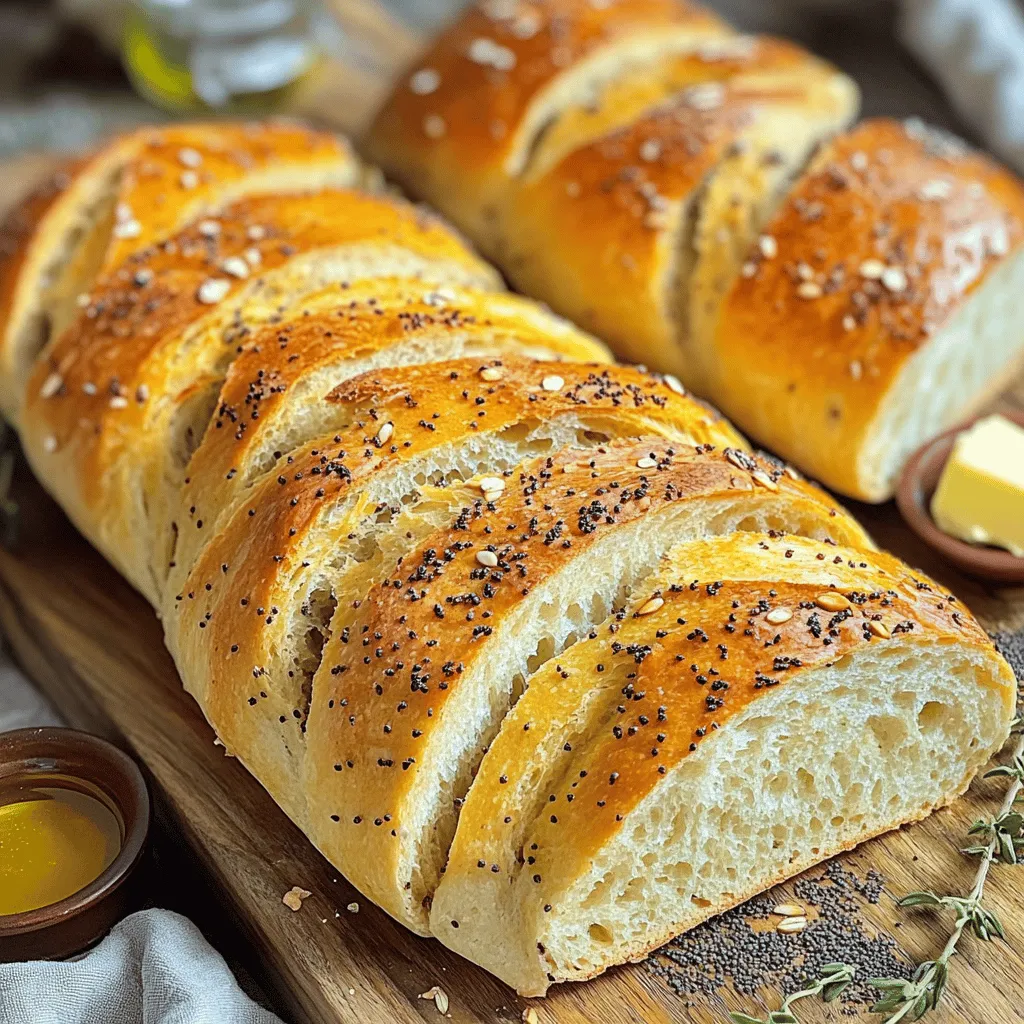
Rye bread has been a staple in various cultures for centuries, particularly in Eastern European countries. Its unique flavor profile—earthy, slightly sweet, and nutty—sets it apart from traditional white or whole wheat bread. The use of rye flour not only adds a depth of flavor but also provides a denser texture that many find appealing. When combined with the tangy notes of sourdough, the result is a bread that is both light and fluffy, yet full of character.
An essential component that enhances the flavor of this sourdough rye bread is caraway seeds. Known for their slightly sweet, anise-like taste, caraway seeds have a long history of use in baking. They are often added to rye bread for their aromatic qualities, contributing to the bread’s overall flavor and making it a classic pairing. Beyond their flavor, caraway seeds also boast health benefits, including aiding digestion and providing antioxidants.
The purpose of this article is to guide you through the process of making light and fluffy sourdough rye bread with caraway seeds at home. Whether you are a seasoned baker or a beginner looking to explore the world of sourdough, this step-by-step recipe will help you achieve a delicious loaf that is sure to impress.
Understanding the Ingredients
Sourdough Starter
At the heart of any sourdough bread is the sourdough starter, a mixture of flour and water that harbors naturally occurring wild yeast and bacteria. This starter is what gives sourdough its distinctive flavor and rise. To achieve the best results, it is crucial to use an active starter that has been properly maintained. An active starter should be bubbly and have doubled in size after feeding, indicating that the yeast is alive and ready to work its magic in your dough.
Creating and maintaining a sourdough starter may seem daunting, but it is a rewarding process. You can start with equal parts of flour and water, allowing it to ferment at room temperature. Over the course of several days, you will feed the starter with additional flour and water, encouraging the growth of yeast and bacteria. Once your starter is active, it can be stored in the refrigerator and fed weekly to keep it healthy.
Rye Flour vs. All-Purpose Flour
When it comes to making sourdough rye bread, the choice of flour plays a significant role in the bread’s final texture and flavor. Rye flour differs from all-purpose flour in its composition and properties. It contains a higher amount of soluble fiber and nutrients, contributing to a denser bread with a more complex flavor profile. The gluten in rye flour is also different, producing a more compact crumb compared to the airy texture typically associated with wheat-based breads.
In this recipe, we will use a combination of rye flour and all-purpose flour. This blend not only enhances the flavor but also helps achieve the light and fluffy texture that is characteristic of this sourdough rye bread. The all-purpose flour provides structure and elasticity, while the rye flour adds depth and richness.
Caraway Seeds
Caraway seeds are a key ingredient in this recipe, offering a unique flavor that perfectly complements the sourdough rye bread. Historically, caraway has been used in baking for centuries, particularly in rye bread recipes. The seeds have a warm, spicy flavor reminiscent of anise or fennel, which adds complexity to the bread’s taste.
In addition to their delicious flavor, caraway seeds are also known for their health benefits. They aid in digestion and are rich in antioxidants, making them a nutritious addition to your bread. This recipe calls for caraway seeds, which will be mixed into the dough, creating a delightful burst of flavor with every bite.
Honey
As a natural sweetener, honey plays a significant role in the fermentation process and overall flavor profile of the bread. It not only adds a hint of sweetness but also provides food for the yeast, helping to create a more vigorous rise. Honey contributes to the bread’s moisture and enhances its crumb, making it light and fluffy. Furthermore, using honey in lieu of refined sugars aligns with a more natural baking approach, adding a touch of healthfulness to your loaf.
Olive Oil
Finally, olive oil is an important ingredient in this sourdough rye bread. It contributes to the dough’s elasticity and improves the overall texture of the finished bread. Adding olive oil enhances the flavor, giving the bread a rich, savory quality. It also helps to keep the bread moist, ensuring that it stays fresh longer.
Step-by-Step Recipe Guide
Preparing the Dough
Now that we have a solid understanding of the ingredients, let’s dive into the step-by-step process of making your light and fluffy sourdough rye bread with caraway seeds.
Mixing the Starter, Water, and Honey
Start by ensuring your sourdough starter is active and bubbly. In a large mixing bowl, combine 100 grams of your active sourdough starter with 300 grams of lukewarm water. Stir gently to dissolve the starter into the water. Next, add 2 tablespoons of honey to the mixture, stirring until fully combined. The honey will not only add sweetness but also assist in activating the yeast in your starter, promoting a robust fermentation process.
Incorporating the Flours and Creating a Shaggy Dough
Once your starter mixture is ready, it’s time to incorporate the flours. Measure out 200 grams of rye flour and 300 grams of all-purpose flour. Gradually add the flours to the wet mixture, using a wooden spoon or your hands to combine them. Mix until all the flour is hydrated, and you achieve a shaggy dough. This dough should feel sticky and rough, but it should hold together without any dry flour remaining.
Adding Flavor and Texture
The Significance of Caraway Seeds and Salt
Now that you have a shaggy dough, it’s time to add the caraway seeds and salt. Sprinkle 2 teaspoons of caraway seeds and 1.5 teaspoons of salt over the dough. Fold the dough over itself several times to distribute the seeds and salt evenly throughout the mixture. The caraway seeds will infuse the bread with their unique flavor, while the salt will enhance the overall taste and control the fermentation process.
Importance of Olive Oil in Dough Elasticity
Next, add 2 tablespoons of olive oil to the dough. The olive oil will help create a more elastic dough, making it easier to knead and shape later on. Incorporate the olive oil by folding the dough over itself until it is well combined. The dough should become slightly smoother and more cohesive as you mix.
Kneading Process
Techniques for Effective Kneading
Once all the ingredients are combined, it’s time to knead the dough. Transfer it to a lightly floured surface and begin kneading by pushing the dough away from you with the heel of your hand, then folding it back over itself. Rotate the dough a quarter turn and repeat this process for about 8-10 minutes. The goal is to develop the gluten, which will give your bread structure and allow it to rise properly.
Signs of Properly Kneaded Dough
As you knead, you should notice the dough becoming smoother and more elastic. A well-kneaded dough should pass the “windowpane test,” which means that when you stretch a small piece of dough, it should form a thin, translucent membrane without tearing. If it tears easily, continue kneading until you achieve the desired texture.
First Rise: Fermentation
After kneading, form the dough into a ball and place it in a lightly greased bowl, covering it with a clean kitchen towel or plastic wrap. The first rise, also known as fermentation, is essential for developing flavor and texture in your bread. Allow the dough to rise at room temperature for about 4-6 hours, or until it has doubled in size. The timing may vary depending on the temperature of your kitchen and the activity level of your sourdough starter.
During this time, the wild yeast in your sourdough starter will feed on the sugars in the dough, producing carbon dioxide and organic acids that contribute to the bread’s characteristic flavor and texture. You may notice bubbles forming in the dough, a sign that fermentation is occurring.
In the next part of this article, we will cover the shaping of the dough, the second rise, and the baking process that will lead to a beautifully baked loaf of light and fluffy sourdough rye bread with caraway seeds. Stay tuned for the continuation of this flavorful journey into homemade bread making!
Ideal Conditions for Rising Dough
Creating the perfect environment for your sourdough rye bread to rise is crucial for its overall texture and flavor. For optimal dough rising, you should aim for a warm, humid atmosphere. The ideal temperature for fermentation is between 75°F to 85°F (24°C to 29°C). If your kitchen is too cool, consider placing the dough in a turned-off oven with the light on to generate warmth. Alternatively, you can place it near a radiator or in a warm corner of your kitchen. Keeping the dough covered with a damp cloth or plastic wrap will help maintain moisture, preventing it from drying out during the rising process.
Understanding the Fermentation Process and Its Impact on Flavor
Fermentation is the magical process through which the wild yeast and bacteria in your sourdough starter interact with the sugars in the flour. This not only causes the dough to rise but also enhances the flavor profile of your bread. As the fermentation progresses, the dough develops a complex array of flavors, bringing out the nutty, slightly tangy notes characteristic of sourdough rye. The longer you allow the dough to ferment, the more pronounced these flavors will become. Typically, a longer fermentation time at cooler temperatures produces a more flavorful loaf, while shorter, warmer fermentations yield a milder taste.
Shaping the Loaf
Once your dough has risen and nearly doubled in size, it’s time to shape the loaf. This step is essential as it helps to create surface tension, promoting a beautiful rise in the oven.
Techniques for Shaping a Round Loaf
To shape a round loaf, start by lightly flouring your work surface. Gently turn the dough out onto the surface, being careful not to deflate it too much. Use your hands to stretch and fold the edges of the dough toward the center, creating a rough ball. Once you have a cohesive shape, flip the dough seam side down and use your palms to rotate it, tightening the surface tension against the work surface. This technique will help create a smooth outer layer, which is key to achieving a beautiful crust.
Importance of Punching Down the Dough
Punching down the dough—also known as degassing—is a critical step between the first and second rises. This technique helps redistribute the gases produced during fermentation and encourages the yeast to become active again. By gently pressing down the dough, you release large air bubbles, which can lead to a more even crumb structure in the finished loaf.
Second Rise: Proofing
After shaping your loaf, it’s time for the second rise, or proofing. This stage is crucial for developing the final texture and flavor of your bread.
Factors Influencing the Proofing Stage
The length of the proofing stage can vary based on several factors, including temperature, humidity, and the strength of your sourdough starter. In a warm environment, your dough may only need 30 minutes to 1 hour to rise, while in cooler conditions, it might take up to 2 hours. Watch for visual cues: the dough should appear puffy and have risen noticeably, but it shouldn’t have doubled in size again.
How to Know When the Dough is Ready for Baking
To check if your dough is ready for baking, perform the “poke test.” Lightly press your finger into the dough; if it springs back slowly and leaves a slight indentation, it’s ready. If it springs back quickly, it may need more time, while if it doesn’t spring back at all, it may be over-proofed.
Baking the Bread
Now comes the most exciting part—baking your sourdough rye bread!
Preheating the Oven
Begin by preheating your oven to 450°F (232°C). A hot oven is key to achieving the perfect crust and oven spring. Place a baking stone or a cast iron Dutch oven inside to heat up as well; this will help retain heat and create an ideal environment for baking.
Importance of the Right Temperature for Crust Formation
The initial high temperature in the oven promotes a rapid rise of the dough, creating a crust that is crispy and golden brown. After the first 15 minutes of baking, you may consider reducing the temperature to 400°F (204°C) to prevent over-browning while allowing the inside to cook through.
Scoring the Loaf
Before placing the bread in the oven, it’s important to score the loaf. Use a sharp knife or a bread lame to make slashes on the surface of the dough. This allows steam to escape and controls how the bread expands in the oven. Scoring also adds a decorative touch to your loaf.
Why Slashing the Dough is Necessary
Slashing the dough serves a dual purpose: it encourages an even rise and prevents the loaf from bursting unpredictably. Additionally, it allows for a more appealing presentation, showcasing the rustic nature of artisan bread.
Baking Process
Place your loaf in the preheated oven and bake for approximately 30 to 40 minutes. Keep an eye on the color of the crust; it should develop a beautiful golden-brown hue.
Time and Temperature Guidelines for Optimal Results
As a general guideline, the first 15 minutes should be at 450°F (232°C), followed by 25 to 30 minutes at 400°F (204°C). If you’re using a Dutch oven, you can remove the lid after the first 20 minutes to allow the crust to brown further.
How to Check for Doneness: Hollow Sound Test
To check if your bread is fully baked, carefully tap the bottom of the loaf. If it sounds hollow, it’s done! If not, return it to the oven for an additional 5 minutes and recheck.
Cooling and Presentation
After your sourdough rye bread has baked to perfection, it’s important to let it cool properly.
Cooling the Bread
Remove the loaf from the oven and transfer it to a wire rack. Allow it to cool for at least 30 minutes before slicing. This cooling period allows the steam to escape, which helps set the crumb structure and prevents a gummy texture.
Importance of Letting the Bread Cool
Slicing into hot bread can disrupt the crumb and result in a dense texture. Cooling not only improves the bread’s structure but also enhances the flavor profile as the loaf finishes baking internally.
Best Practices for Slicing
When it’s time to slice your bread, use a serrated knife for the best results. Start at the end of the loaf and make even cuts, taking care not to apply too much pressure, which can squish the bread.
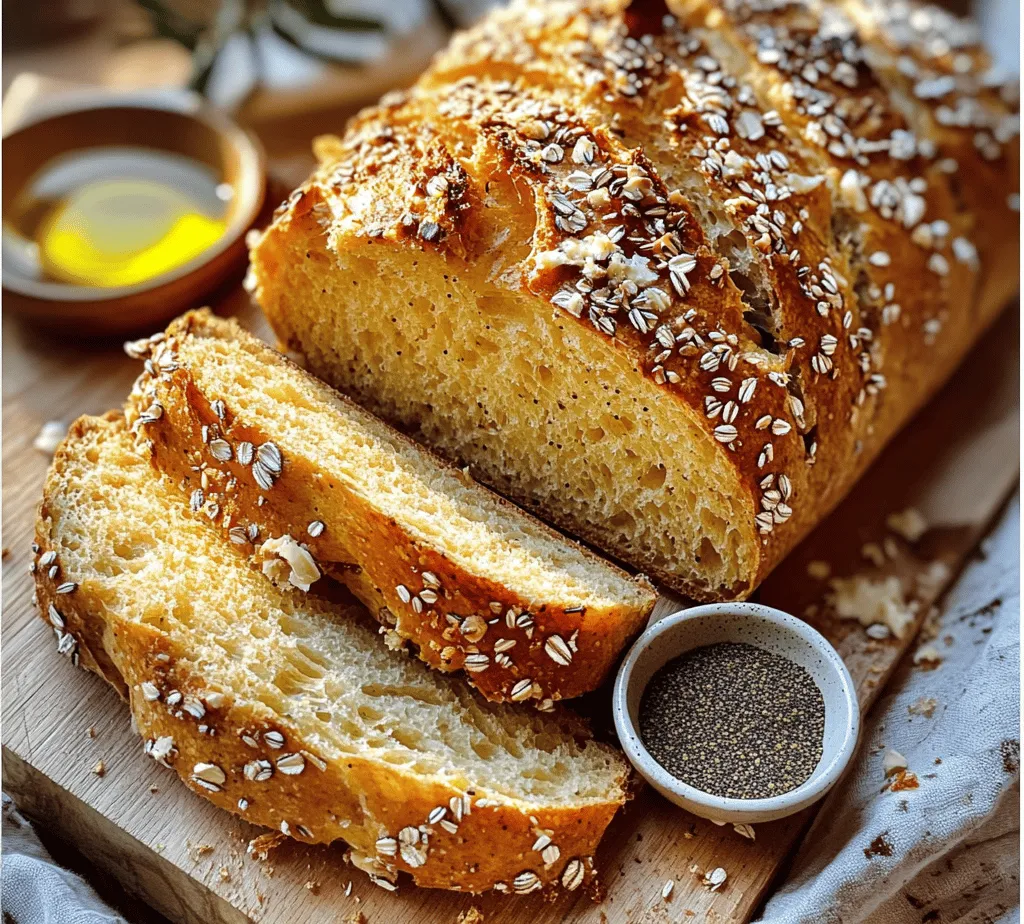
Presentation Tips
To serve your sourdough rye bread, consider placing it on a rustic wooden cutting board or a decorative bread basket. You can leave it unsliced for aesthetic appeal or pre-slice it for convenience.
Creative Ideas for Serving the Bread
This hearty bread pairs beautifully with a variety of accompaniments, such as a spread of butter or olive oil. You can also serve it alongside hearty soups, stews, or as a base for open-faced sandwiches. For a sophisticated touch, try topping it with smoked salmon, cream cheese, or a simple avocado mash.
Suggested Accompaniments Such as Oils and Spreads
Enhance the flavor of your sourdough rye bread with various spreads. Some popular options include:
– Olive oil with balsamic vinegar for dipping
– Herb-infused butter or flavored cream cheese
– Hummus or baba ganoush for a plant-based option
– Pâté or deli meats for a savory treat
Nutritional Information
Understanding the nutritional value of your homemade sourdough rye bread can enhance your baking experience.
Breakdown of Nutritional Content per Slice
On average, a slice of sourdough rye bread (about 1 ounce) contains approximately:
– Calories: 70-80
– Protein: 2-3 grams
– Carbohydrates: 14-15 grams
– Dietary Fiber: 2-3 grams
– Fat: 1 gram
Health Benefits of Consuming Sourdough Rye Bread
Sourdough rye bread offers several health benefits, including:
– Digestibility: The fermentation process breaks down gluten, making it easier to digest compared to traditional wheat bread.
– Nutrient Absorption: The lactic acid bacteria present in sourdough enhance the bioavailability of minerals like magnesium, calcium, and iron.
– Low Glycemic Index: Rye bread has a lower glycemic index compared to white bread, making it a better choice for maintaining steady blood sugar levels.
Conclusion
Baking homemade sourdough rye bread is not just a culinary task but a delightful journey into the world of artisan bread-making. The joy of creating a light and fluffy loaf, infused with the aromatic essence of caraway seeds, is immensely rewarding.
As you explore this recipe, don’t hesitate to experiment with variations in ingredients and flavors, whether it be adding nuts, seeds, or even different herbs. The process of sourdough baking invites creativity and personalization, allowing you to craft a loaf that perfectly suits your taste.
Ultimately, the experience of creating your artisan bread at home is unparalleled. The warm aroma wafting through your kitchen, the satisfaction of pulling a beautifully baked loaf from the oven, and the pleasure of sharing it with friends and family are treasures that no store-bought bread can replicate. So gather your ingredients, embrace the art of sourdough baking, and enjoy every moment of this delicious adventure.