
Do you love desserts that are both fun and tasty? Red velvet cake pops are the perfect treat for you! They combine the rich flavor of red velvet cake with a fun, bite-sized format. In this delightful dessert tutorial, I’ll guide you through a simple recipe, from gathering ingredients to decorating these sweet bites. Get ready to impress your friends and family with your cake pop skills!
What Are Red Velvet Cake Pops and Why Are They So Popular?
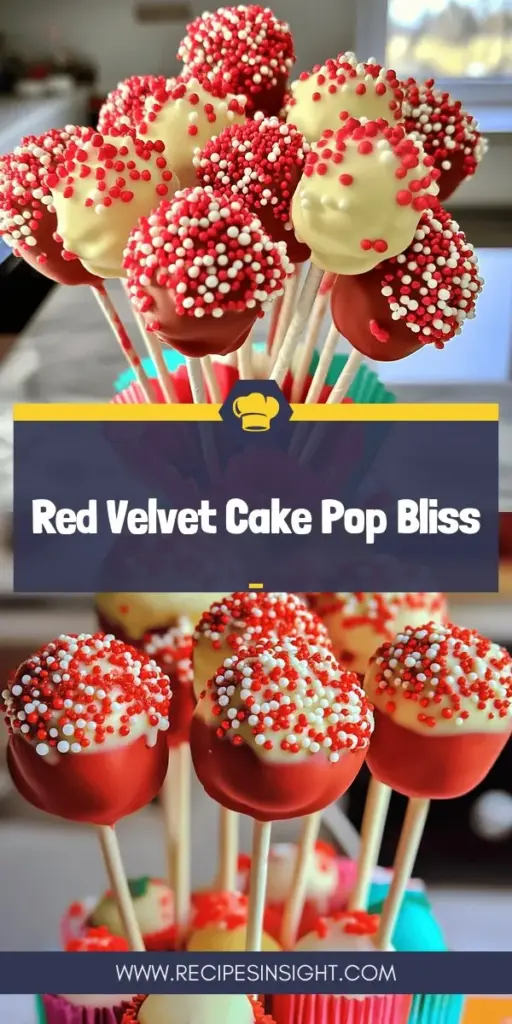
Red velvet cake pops are sweet treats that bring joy to any gathering. These fun bites blend the rich, smooth taste of red velvet cake with creamy frosting. This mix creates a perfect balance of flavor and texture. People love cake pops for their bite-sized convenience and pretty look. They are a hit at parties and events.
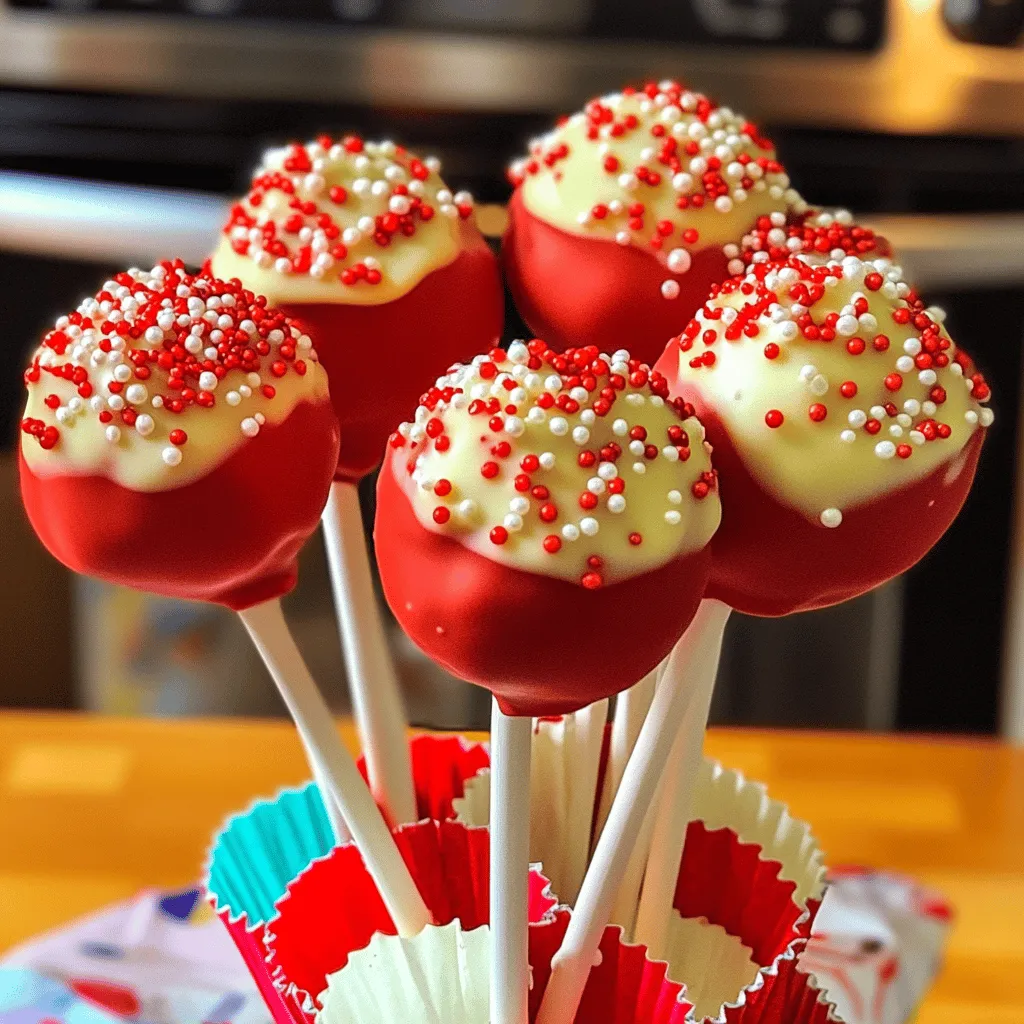
To make red velvet cake pops, you need a few simple ingredients. The main ones are red velvet cake mix, eggs, oil, and cream cheese frosting. Once baked, you crumble the cake and mix it with frosting. Then, you roll the mixture into balls and dip them in melted white chocolate. Red and white sprinkles add a festive touch.
What makes red velvet cake pops a favorite dessert? They have a soft, moist center with a sweet outer layer. The eye-catching red color also makes them stand out. Guests enjoy their unique flavor and fun size. Plus, they are easy to share! You can find red velvet cake pops at bakeries and dessert shops. You can also make them at home using the full recipe I provided earlier.
Cake pops are more than just treats; they bring people together. Their cute size and bright color make them perfect for celebrations. Red velvet cake pops are a delicious choice that everyone can enjoy.
How Do You Make Red Velvet Cake Pops?
To make red velvet cake pops, follow these simple steps.
What Are the Step-by-Step Instructions for Making Red Velvet Cake Pops?
1. Preheat your oven to 350°F (175°C). Grease and flour two 9-inch round cake pans.
2. In a big bowl, mix the red velvet cake mix with three eggs, one cup of oil, and one cup of water. Stir until smooth.
3. Pour the batter into the pans. Bake for 25-30 minutes. Check with a toothpick.
4. Cool the cakes in the pans for 10 minutes, then move them to a wire rack.
5. Once cooled, crumble the cakes in a large bowl until fine.
6. Add one can of cream cheese frosting to the crumbs. Mix well. It should feel moist.
7. Roll one tablespoon of the mix into a ball. Place on a parchment-lined sheet.
8. Repeat until all the mix is shaped into balls.
9. Freeze the cake balls for 30 minutes.
10. Melt one pound of white chocolate in a microwave-safe bowl. Stir every 30 seconds until smooth.
11. Dip each lollipop stick in the melted chocolate and insert it halfway into a cake ball.
12. Dip each cake ball into the melted chocolate. Let excess chocolate drip off.
13. Decorate with red and white sprinkles before the chocolate sets.
14. Place the pops in a styrofoam block to let them harden.
What Tips Should You Follow for Perfect Cake Pops?
Keep the cake balls small and round for even coating. Use a thick chocolate layer to avoid cracks. Chill the cake balls well before dipping. If the chocolate is too thick, add a tablespoon of vegetable shortening. This makes dipping easier.
How Long Do Red Velvet Cake Pops Take to Make?
Making red velvet cake pops takes about two hours. This includes baking, cooling, rolling, and dipping. Prep time is around 40 minutes. The cooling and freezing steps take extra time, but patience helps make great treats. Follow the full recipe for clear steps!

How Can You Decorate Red Velvet Cake Pops?
Decorating red velvet cake pops can be so much fun. You can use many creative ideas to make them stand out. First, consider using different coatings. You can dip your pops in white chocolate, dark chocolate, or even colored candy melts. Each choice brings a new look and taste.
To add more flair, use sprinkles and other toppings. Red and white sprinkles match the cake’s colors perfectly. You can also use crushed nuts, edible glitter, or coconut flakes. Just sprinkle them on while the chocolate is still wet. This way, they stick well.
For a fancy touch, try using drizzle techniques. After coating the pops, melt some chocolate in a contrasting color. Use a fork or squeeze bottle to drizzle it over the pops. This adds a beautiful design and extra taste.
You can also enhance the presentation of your cake pops. Arrange them in a decorative bouquet-style setup. This adds height and interest. Use colorful cupcake liners to catch any drips and add a pop of color.
These simple tips can transform your red velvet cake pops into delightful treats. Try out these fun decorating ideas to impress your friends and family! For the full recipe, check out the steps above.
What Are Some Variations of Red Velvet Cake Pops?
Red velvet cake pops are fun and tasty. You can change them to fit many diets. Let’s explore some great variations.
How Can You Make Gluten-Free Red Velvet Cake Pops?
To make gluten-free red velvet cake pops, use a gluten-free cake mix. Many brands offer good options. Follow the same steps from the Full Recipe, but make sure all ingredients are gluten-free. This way, everyone can enjoy them!
What Are Some Vegan Options for Red Velvet Cake Pops?
For vegan red velvet cake pops, swap eggs with flaxseed meal or applesauce. Use a plant-based frosting instead of cream cheese. Look for vegan chocolate or candy melts for coating. These changes keep the rich flavor while being vegan-friendly.
How Can You Experiment with Different Flavor Combinations?
You can mix flavors in many ways! Add a hint of mint or orange zest for a twist. Use dark chocolate instead of white chocolate for a richer taste. Try adding espresso powder for a coffee kick. The options are endless, so have fun experimenting!
How Do You Serve and Store Red Velvet Cake Pops?
To serve red velvet cake pops, you want to make them look great. Place them in a colorful container or a cake pop stand. This makes them easy to grab and enjoy. You can also use cupcake liners for extra flair. They add color and catch any chocolate drips.
When serving, think about the setting. For a party, arrange them in a bouquet style. This creates a fun centerpiece. For holidays, matching decorations can make them more festive.
Storing your cake pops is key for freshness. Keep them in an airtight container. They should stay at room temperature for up to a week. If you need to store them longer, place them in the fridge. They can last for two weeks there. Just make sure to let them come to room temperature before serving.
Popular occasions for serving cake pops include birthdays, holidays, and weddings. They fit any celebration. Kids love them, and adults enjoy them too. You can even make them for baby showers or graduations. Any event can be sweeter with cake pops.
For the complete recipe, check out the full recipe. Enjoy every bite!
Where Can You Learn More About Cake Pops?
You can find many resources to learn about cake pops. Online classes offer a fun way to start. Websites like Skillshare or Udemy have cake pop making classes. You can also find video tutorials on YouTube. This makes learning easy and enjoyable.
For beginners, cake pop recipes are available in cookbooks and blogs. Search for “cake pop recipes for beginners” to find simple options. Many recipes are easy to follow, and they can help you gain confidence.
Homemade cake pops often taste better than store-bought ones. You can control the quality of the ingredients. Store-bought cake pops may have preservatives and artificial flavors. Making your own ensures freshness and flavor. Plus, you can customize them to your taste.
To find more recipes and ideas for cake pops, visit food blogs and websites. Many chefs share their favorite cake pop recipes. Pinterest is a great place for inspiration, too. You can find creative ideas to try at home. For a full recipe, check out the Red Velvet Cake Pops recipe I shared earlier.
Red velvet cake pops are a delightful blend of rich flavor and fun. We explored the ingredients needed and learned why these treats are so loved. I shared step-by-step instructions for making them, plus tips for perfect results. You can decorate them creatively and even make gluten-free or vegan versions. Serving and storage tips ensure your cake pops stay fresh.
With so many ways to enjoy red velvet cake pops, your options are endless. So, roll up your sleeves and get baking!