Looking for a fast meal that’s big on flavor? You’ll love these Cheesy Beef Wraps! They’re easy to make and perfect for busy nights. Packed with juicy beef and melted cheese, these wraps are a hit with everyone. Plus, I’ll show you how to customize them just the way you like. Keep reading to learn how to whip up this tasty treat in no time!
Ingredients
Required Ingredients for Cheesy Beef Wraps
To make cheesy beef wraps, you need these key ingredients:
– 1 pound ground beef
– 1 cup shredded cheddar cheese
– 1 cup shredded mozzarella cheese
– 1 medium onion, diced
– 2 garlic cloves, minced
– 1 teaspoon chili powder
– 1 teaspoon cumin
– Salt and pepper to taste
– 6 large flour tortillas
These ingredients create a tasty beef and cheese filling that everyone will love.
Optional Ingredients for Customization
You can personalize your wraps with these optional ingredients:
– 1 cup lettuce, shredded
– 1 large tomato, diced
– 1/2 cup sour cream
– 1 avocado, sliced
Feel free to add or remove ingredients based on your taste. Want more spice? Add jalapeños or hot sauce!
Suggested Toppings and Sides
To make your meal extra special, consider these toppings and sides:
– Fresh cilantro for garnish
– Sliced olives for a briny kick
– Guacamole for a creamy texture
– Chips or a side salad for crunch
These extras enhance your cheesy beef wraps. They add flavor and fun to your meal. For the full recipe, check below!
Step-by-Step Instructions
Cooking the Beef Filling
Start by cooking the ground beef in a large skillet. Set the heat to medium. Add the diced onion and minced garlic to the pan with the beef. Cook until the meat is browned and the onions are soft, about 5 to 7 minutes. If there is too much fat, drain it out. This keeps your wraps nice and not greasy. Next, season the beef. Add chili powder, cumin, salt, and pepper. Stir these in well and let it cook for another 2 to 3 minutes. This brings out great flavors in the meat.
Melting the Cheese
Now, it’s time to melt the cheese. Lower the heat to low. Sprinkle the shredded cheddar and mozzarella over the beef mix. Cover the skillet with a lid and let it sit for 3 to 4 minutes. This makes the cheese gooey and delicious. You want it to melt fully, so check on it and give it a little stir if needed. The melted cheese adds a creamy texture to your wraps.
Assembling and Cooking the Wraps
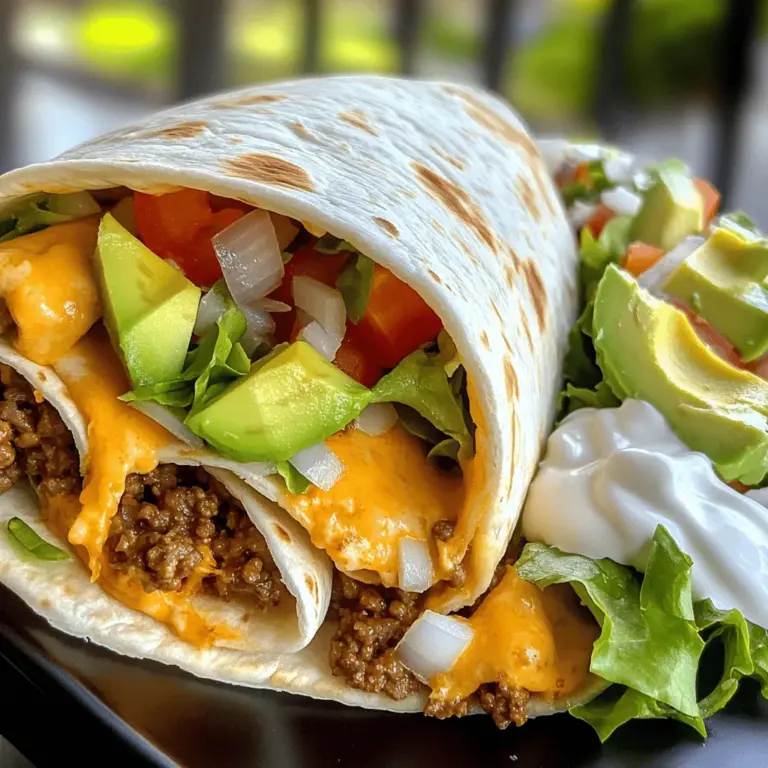
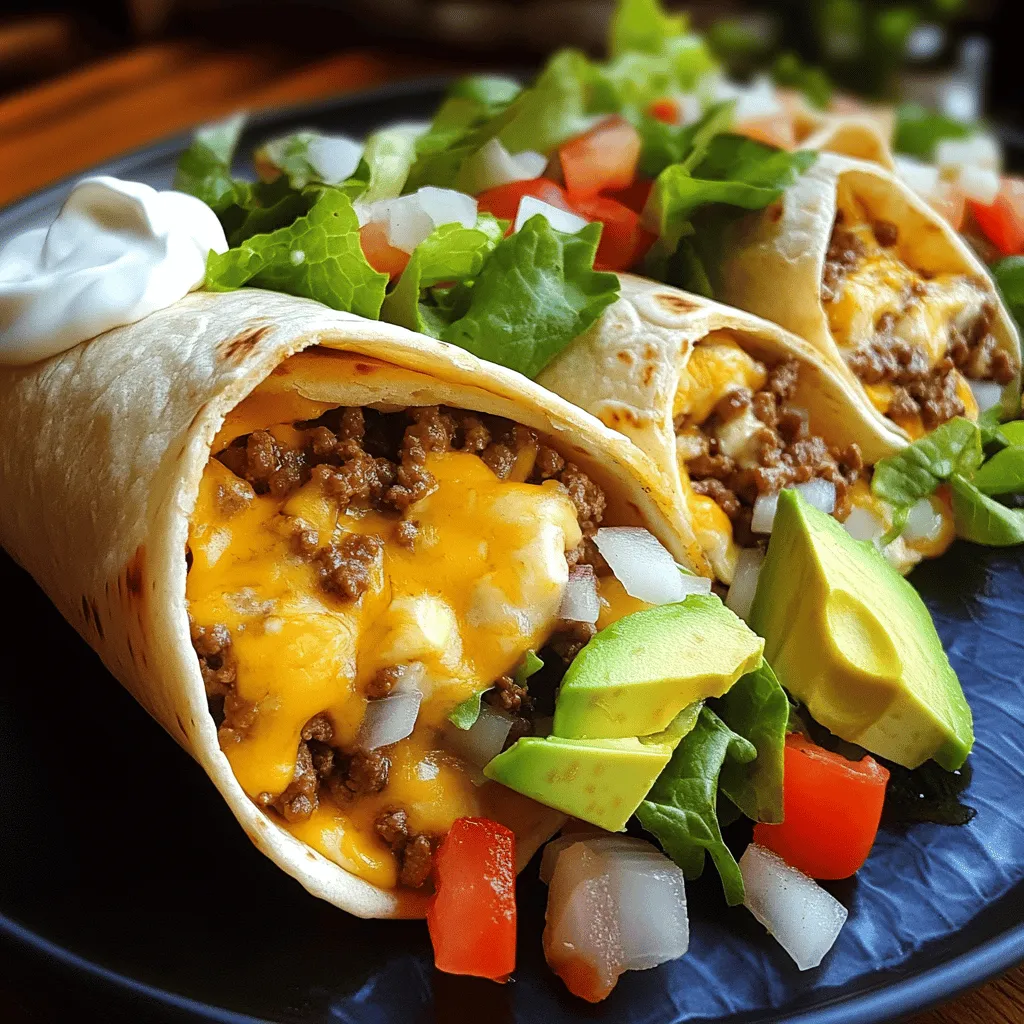
Next, let’s assemble the wraps. Lay a tortilla flat on a clean surface. Spoon a good amount of the cheesy beef mixture right in the center. Top it with shredded lettuce, diced tomato, and a few avocado slices. Now, fold in the sides of the tortilla. Roll it up tightly from the bottom to the top. This keeps all the tasty filling inside. If you want a crispy wrap, place them seam-side down in a hot, dry skillet over medium heat. Cook for 2 to 3 minutes on each side until golden brown. This gives your wraps a nice crunch. Finally, cut them in half and serve with sour cream on the side for a perfect finish. You can find the full recipe above for more details.
Tips & Tricks
How to Avoid Soggy Wraps
To keep your wraps crisp, start with dry ingredients. Drain any fat from the beef. Use fresh tortillas, as old ones can absorb moisture. Avoid overfilling your wrap, as this leads to leaks. Consider adding ingredients like lettuce and tomatoes right before serving, to keep their crunch.
Best Practices for Flavor Enhancement
Enhance the flavor of your cheesy beef wraps with spices. I like to use chili powder and cumin, which add warmth. Fresh herbs like cilantro or parsley can brighten the dish. You can also experiment with different cheeses. A touch of smoked cheese can add a nice twist. Don’t forget to season with salt and pepper to taste.
Tips for Meal Prep and Batch Cooking
Meal prep makes cooking easy. You can cook the beef mixture in advance and store it. It keeps well in the fridge for up to three days. Make extra wraps and freeze them for later. To freeze, wrap each one in foil. Just heat them in a skillet when you’re ready to eat. This method saves time and makes weeknight meals a breeze. You can find the Full Recipe for more details.
Variations
Vegetarian Cheesy Wrap Option
You can easily swap the beef for veggies. Use beans, mushrooms, or tofu for protein. Sauté onions and garlic like in the original recipe. Add spices such as cumin and chili powder to boost flavor. For cheese, stick with cheddar and mozzarella or try a vegan option. Layer the veggies on the tortilla with lettuce and tomatoes. This wrap proves tasty and satisfying without meat.
Spicy Beef Wraps
Want a kick? Add heat to your beef wraps. Start by mixing sliced jalapeños or hot sauce into the beef while cooking. Use pepper jack cheese instead of cheddar for extra spice. You can also sprinkle crushed red pepper flakes on top. Assemble the wrap as usual, but prepare for a fiery flavor. Just keep some sour cream handy to cool it down!
Loaded Cheesy Beef Wraps
For a hearty meal, make loaded wraps. After you prepare the beef and cheese, add extras like black beans, corn, or diced bell peppers. These ingredients will give you more texture and flavor. You can also mix in some cooked rice for a filling option. Top the wrap with guacamole or more cheese before you roll it up. This version is great for those who love a fully loaded meal.
For the complete recipe, check out the [Full Recipe].
Storage Info
How to Store Leftover Wraps
To store leftover wraps, first let them cool. This step helps prevent sogginess. Wrap each one in plastic wrap or foil. Place them in an airtight container. Keep the container in the fridge. Leftover wraps stay fresh for 3 to 4 days.
Freezing Instructions for Cheesy Beef Wraps
You can freeze cheesy beef wraps too! First, allow them to cool completely. Wrap each one tightly in plastic wrap. Then, place them in a freezer-safe bag or container. Make sure to label the bags with the date. These wraps can last up to 3 months in the freezer.
Reheating Tips for Best Results
When you’re ready to eat, reheat the wraps for best taste. For frozen wraps, thaw them in the fridge overnight. To reheat, use an oven or skillet. If using an oven, heat to 350°F (175°C). Bake for 15-20 minutes until warm. If using a skillet, cook on medium heat for 5-7 minutes. Flip them to heat evenly. Enjoy your cheesy beef wraps just like fresh! For the full recipe, check the earlier sections.
FAQs
What type of cheese works best for cheesy beef wraps?
I love using a mix of cheddar and mozzarella cheese. Cheddar gives a sharp flavor, while mozzarella melts beautifully. You can also try pepper jack for a spicy kick. Feel free to experiment with other cheeses like gouda or Monterey jack. Each cheese will add a unique taste to your wraps.
Can I use a different type of meat?
Yes, you can use other meats. Ground turkey or chicken work well. If you prefer beef, try flank steak or shredded beef. For a vegetarian option, use black beans or lentils. This way, you can cater to your taste or dietary needs. Each meat choice will change the flavor and texture of your wraps.
How can I make these wraps healthier?
To make your wraps healthier, choose whole wheat tortillas. You can also add more veggies. Try bell peppers, spinach, or zucchini. Use low-fat cheese or yogurt instead of sour cream. You can also reduce the amount of cheese for fewer calories. These swaps help keep the taste while cutting down on fat and calories. For more ideas, check the Full Recipe.
In this post, I covered how to make cheesy beef wraps. We discussed the must-have ingredients, ways to customize them, and tasty toppings. I shared clear steps for cooking and assembling the wraps. Plus, I included tips to avoid soggy wraps and enhance flavor.
Remember, you can make these wraps your own with different meats or veggies. There’s no limit to what you can create! Enjoy your cheesy beef wraps, and feel free to experiment with flavors. Happy cooking!


