
Looking for a creamy treat that’s dairy-free? You’ve come to the right place! In this article, I’ll share my favorite Dairy-Free Chocolate Mousse recipe that’s not only smooth and velvety, but also simple to whip up. With essential ingredients like coconut milk and dark chocolate, plus tips on texture and flavor, you’ll create a dessert everyone will love. Ready to impress your taste buds? Let’s get started!
Ingredients
Essential Ingredients for Dairy-Free Chocolate Mousse
To create a rich and creamy dairy-free chocolate mousse, you need three essential ingredients:
– 1 ½ cups full-fat coconut milk (chilled overnight): This milk gives the mousse its creamy texture. Make sure to chill it well, so the cream rises to the top.
– 1 cup dairy-free dark chocolate chips (70% cocoa or higher): The chocolate brings deep flavor. Look for quality chips to enhance your mousse.
– 2 tablespoons maple syrup (adjust to taste): This natural sweetener adds just the right amount of sweetness. You can tweak the amount based on your taste.
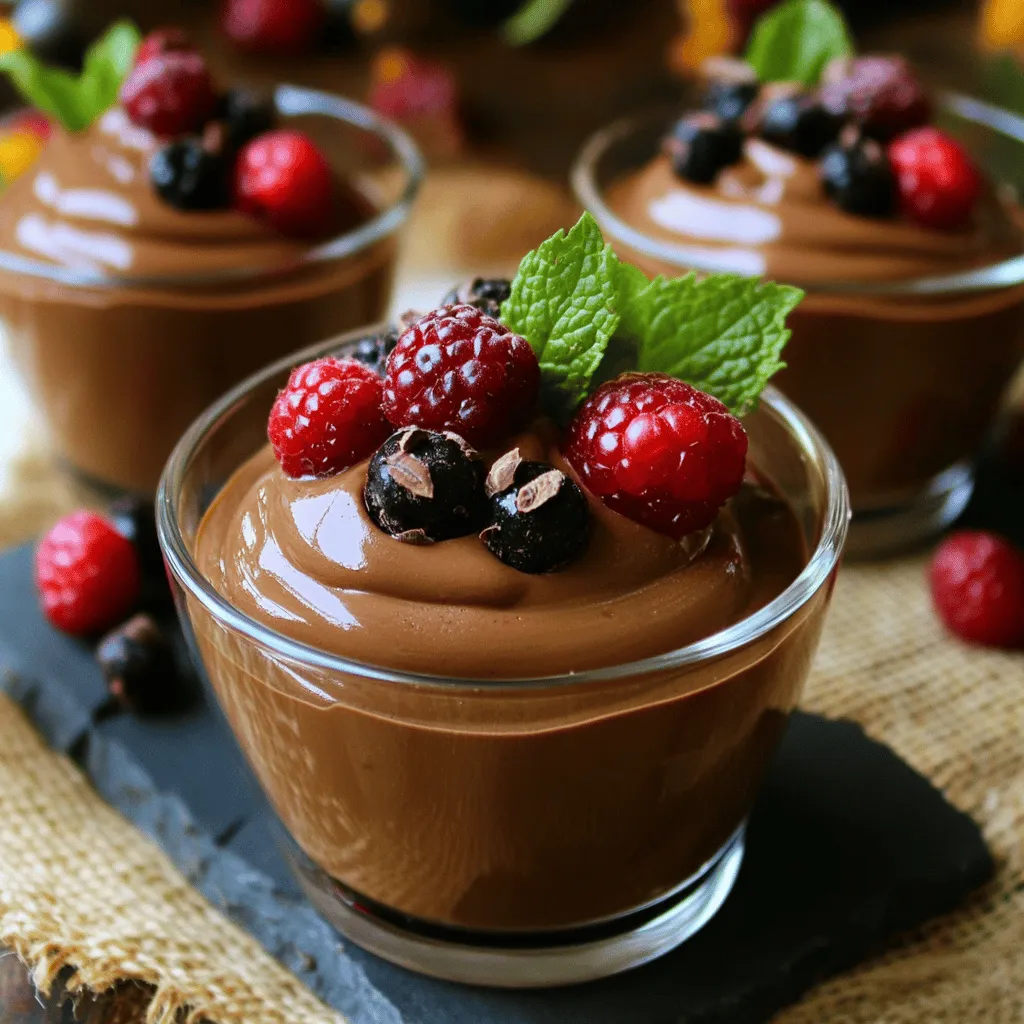
Optional Garnishes
Garnishes can add a lovely touch to your dessert. Here are some tasty options:
– Fresh berries: Strawberries, raspberries, or blueberries add color and tang.
– Mint leaves: A sprig of mint gives a fresh flavor and bright look.
Alternative Ingredient Options
If you want to mix things up, consider these alternatives:
– Different types of dairy-free chocolate: You can use chocolate bars or other brands of chips. Each will give a unique taste.
– Other sweeteners for variation: Try agave syrup, coconut sugar, or date syrup for different sweetness levels.
For the full recipe, check the details above to create this delightful treat!
Step-by-Step Instructions
Preparing the Base
To make a great mousse, start with cold coconut milk. Chill the coconut milk overnight. This helps the cream rise to the top. When you open the can, scoop out the solid cream only. Leave the liquid behind. This solid cream will give your mousse its rich texture.
Melting the Chocolate
Next, we need to melt the chocolate. Use a microwave-safe bowl for this. Place the dairy-free dark chocolate chips in the bowl. Microwave them in 30-second bursts. Stir the chocolate after each burst. This keeps it from burning. Once melted, let it cool a bit. You want the chocolate smooth and warm, but not hot.
Combining and Mixing Ingredients
Now it’s time to mix everything together. In a mixing bowl, add the melted chocolate to the coconut cream. Then, add maple syrup, vanilla extract, and a pinch of sea salt. Use an electric mixer on medium speed. Mix until everything is creamy and well-combined. Be careful not to over-mix. You want a light and fluffy texture.
Once mixed, spoon the mousse into serving dishes. Cover with plastic wrap and chill in the fridge for at least one hour. This cooling time helps the mousse set perfectly. You can find the full recipe for more details on this delightful treat.
Tips & Tricks
Achieving the Perfect Texture
Chilling time is key to a smooth mousse. I recommend chilling the coconut milk overnight. This helps form a thick cream that blends well. If you skip this step, your mousse may turn out runny.
To avoid a grainy texture, melt your chocolate carefully. Heat it in short bursts, stirring often. This keeps it smooth and creamy. Overheating can cause the chocolate to seize, making it hard to mix in.
Sweetness and Flavor Adjustments
Maple syrup is sweet, but you can adjust it. Start with two tablespoons and taste it. If you want more sweetness, add a bit more. Keep in mind that the chocolate also adds flavor.
Consider adding extra flavorings. A pinch of sea salt enhances the chocolate taste. You can also add a splash of vanilla extract for depth. Both bring out the rich flavors of your mousse.
Serving Suggestions
For presentation, choose nice serving dishes. Small glasses or bowls work well. They show off the mousse and make it look fancy.
You can elevate the dish with garnishes. Fresh berries add color and a hint of tartness. Mint leaves give a fresh taste. These simple touches make your dessert look and taste amazing.
Variations
Flavor Variations
You can make this mousse even more exciting. Adding espresso powder gives it a rich mocha flavor. Just one tablespoon can do wonders. If you love fruit, try adding purees or zest. Berries and oranges work well. They add a fresh twist to your dessert.
Dietary Modifications
If you’re looking for sugar-free options, you can try using stevia or erythritol. These sweeteners keep the mousse sweet but lower in calories. For those on a keto diet, keep an eye on the chocolate chips. Look for brands that fit your needs. If you have nut allergies, you can use sunflower seed butter instead. It adds creaminess without nuts.
Serving Alternatives
You can turn mousse into a parfait. Layer it with granola and fruit for a fun treat. It also works well in layered desserts. Use it between cake layers or in a trifle. The mousse gives a beautiful look and a tasty bite. For more details on making this mousse, check the Full Recipe.
Storage Info
Refrigeration Guidelines
Your dairy-free chocolate mousse lasts about 3 to 5 days in the fridge. To keep it fresh, cover your mousse tightly with plastic wrap or place it in an airtight container. This helps prevent it from absorbing other smells in the fridge. The mousse may also separate a bit after a few days, but a quick stir can bring it back to life.
Freezing Instructions
Yes, you can freeze dairy-free chocolate mousse! It holds up well. Portion the mousse into small containers before freezing. This way, you can thaw only what you need. To thaw, place the mousse in the fridge overnight. Avoid using the microwave, as it can change the texture. After thawing, gently mix the mousse to restore its smoothness.
Signs of Spoilage
Check your mousse for signs of spoilage. If you see any mold or it smells sour, it’s best to toss it. Fresh mousse should look creamy and taste rich. To keep it fresh, always store it in a cool area with a tight seal. Following these tips helps keep your dessert delightful and safe to enjoy.
FAQs
Can I use other types of milk?
You can use almond or oat milk instead of coconut milk. However, coconut milk gives a rich, creamy texture. Almond milk is lighter and has a nutty flavor. Oat milk is creamier than almond but lacks the coconut’s unique taste. If you want a mousse that stays thick, stick with coconut milk for the best results.
Is this recipe suitable for vegans?
Yes, this recipe is vegan-friendly. It uses coconut milk and dairy-free chocolate. Maple syrup adds sweetness without animal products. You can enjoy this mousse without worrying about dairy. It’s perfect for those who follow a vegan diet.
How do I make the mousse less sweet?
To reduce sweetness, cut back on maple syrup. You can start with one tablespoon instead of two. Taste as you mix. If it needs more flavor, add a pinch of sea salt or a splash of vanilla. Both enhance the chocolate taste without adding sweetness.
What can I substitute for maple syrup?
If you want a different sweetener, try agave nectar or date syrup. Honey is also an option, but it isn’t vegan. For a sugar-free choice, use stevia or erythritol. Adjust the amount based on your taste. Each sweetener brings its own flavor to the mousse, so choose one you like. For the full recipe, check the main section above.
In this article, we explored how to make a delicious dairy-free chocolate mousse. We covered essential ingredients like full-fat coconut milk, dairy-free chocolate chips, and maple syrup. You learned tips for perfect texture, sweetening options, and various serving styles. Remember to chill your coconut milk well and avoid over-mixing. This dessert can easily fit different diets and tastes. With simple adjustments, you can make it uniquely yours. Enjoy your rich, creamy treat without dairy!
