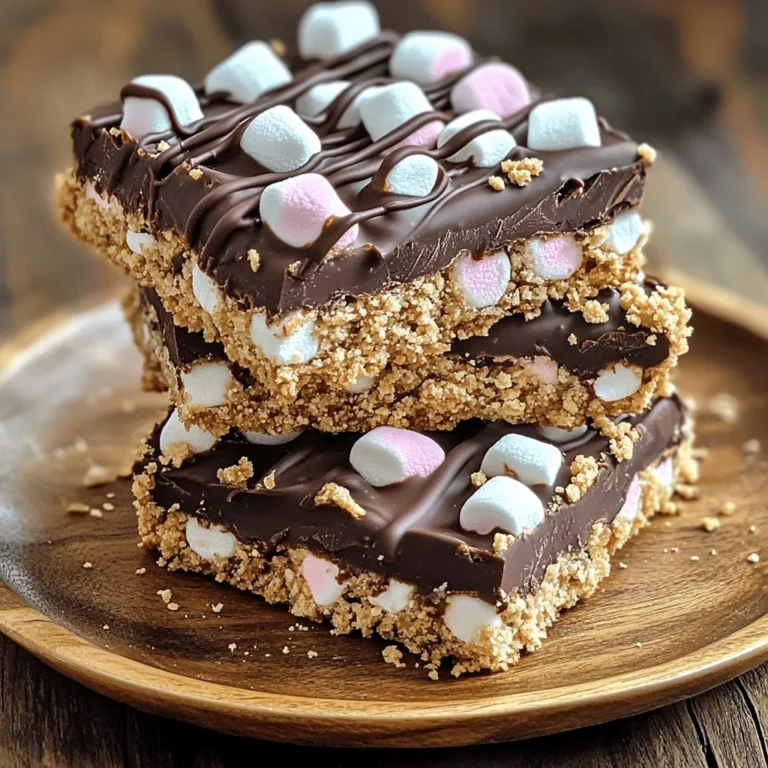
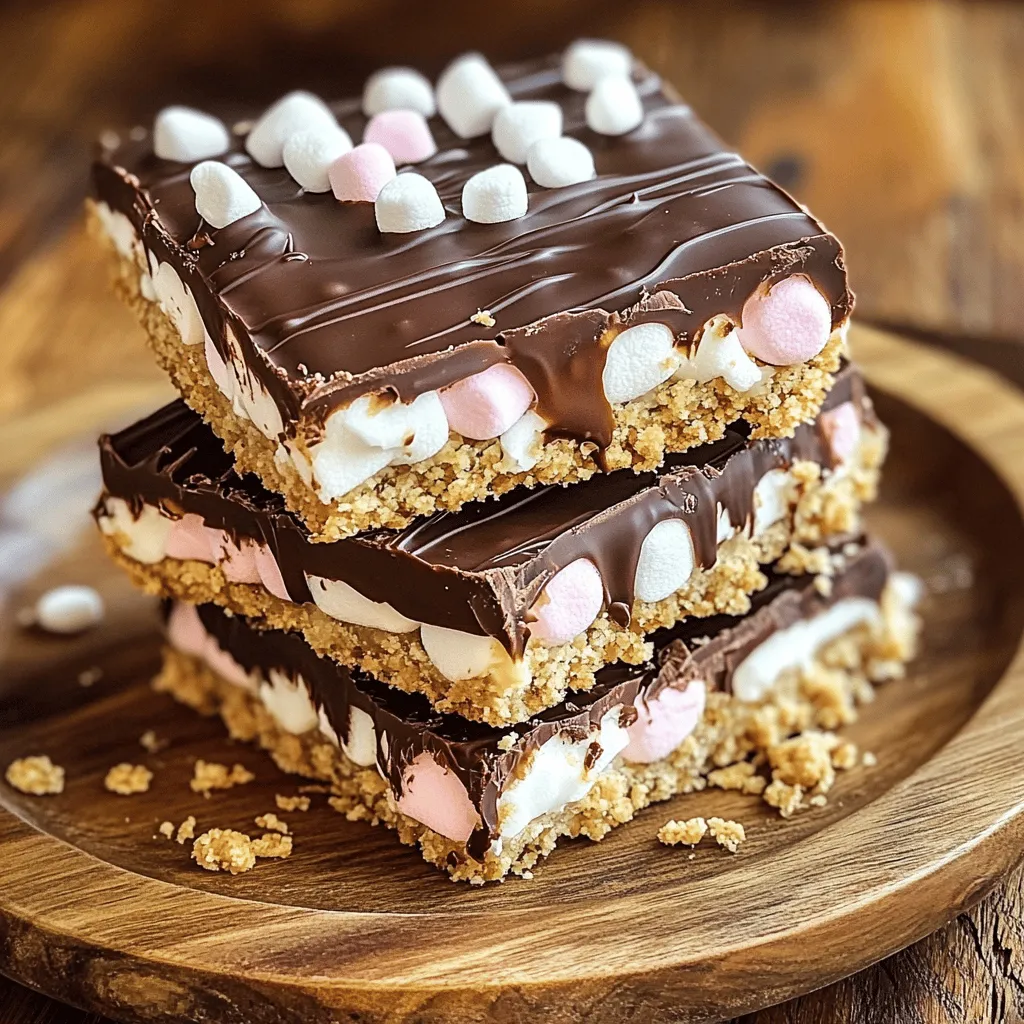
Get ready for a sweet treat that’s easy and fun to make! My No-Bake S’mores Bars are the perfect blend of graham crackers, chocolate, and marshmallows. You won’t need an oven or a lot of time. With just a few simple ingredients, you can whip up a delicious snack that both kids and adults will love. Let’s dive into this easy recipe and satisfy your cravings today!
Ingredients
Detailed Ingredient List
– 1 cup graham cracker crumbs
– 1/2 cup unsweetened cocoa powder
– 1/2 cup melted unsalted butter
– 1/2 cup honey or maple syrup
– 1 cup mini marshmallows
– 1 cup semi-sweet chocolate chips
– 1/2 cup chopped nuts (optional)
– 1/2 teaspoon vanilla extract
I love the simplicity of these ingredients. They come together to create a sweet treat. First, I use graham cracker crumbs for that classic s’mores flavor. Cocoa powder adds a rich chocolate taste. I melt unsalted butter to bind everything. Honey or maple syrup brings natural sweetness. Mini marshmallows give that gooey texture we all crave. Semi-sweet chocolate chips add a delightful melt-in-your-mouth moment. You can add nuts if you want some crunch. Finally, a touch of vanilla extract rounds out the flavors.
Each ingredient plays a key role. The graham crackers keep it classic, while cocoa powder makes it special. You can mix and match flavors, too. Try different nuts or even flavored chocolate. The options are endless! This recipe is flexible, making it easy for everyone to enjoy. For the full recipe, check out the details above.
Step-by-Step Instructions
Preparation of the Base
– Mixing dry ingredients
Start by grabbing a medium bowl. Add 1 cup of graham cracker crumbs and 1/2 cup of cocoa powder. Stir them together well. Make sure there are no lumps. This mix gives a rich chocolate flavor to the bars.
– Preparing the wet mixture
In a large bowl, melt 1/2 cup of unsalted butter. Once melted, mix in 1/2 cup of honey or maple syrup. Stir in 1/2 teaspoon of vanilla extract. Blend these until smooth. This creates a sweet and buttery base for your bars.
Combining the Mixtures
– Forming the dough
Gradually add the dry mix to the wet mixture. Stir until you form a crumbly but cohesive dough. It should hold together nicely, ready to be packed into the dish.
– Adding mix-ins
Now it’s time to fold in the fun! Add 1 cup of mini marshmallows and 1 cup of semi-sweet chocolate chips. If you like, you can also add 1/2 cup of chopped nuts. Mix gently to distribute everything evenly.
Setting the Bars
– Pressing into the baking dish
Line an 8×8 inch baking dish with parchment paper. Leave some paper over the edges for easy removal. Press the mixture firmly into the bottom of the dish. Ensure it is evenly compacted for the best texture.
– Refrigeration time required
Cover the dish and place it in the fridge. Let the bars chill for at least 2 hours. This helps them set so they cut nicely later. After chilling, use the parchment to lift the bars out and cut them into squares. For the full recipe, check the details provided.
Tips & Tricks
Perfecting Texture and Taste
To make your no-bake s’mores bars perfect, focus on texture first. The mix should feel crumbly but stick together well. If the mixture is too dry, add a bit more honey or melted butter. If it is too wet, add more graham cracker crumbs. This balance is key for a great bite.
Adding spices can elevate the flavor too. A pinch of sea salt brings out the sweetness. You can also try adding a dash of cinnamon for warmth. These small tweaks make a big difference.
Presentation Tips
When it comes to serving, let your creativity shine. Stack two bars on a plate for a fun look. Drizzle some melted chocolate over the top for extra flair. A sprinkle of crushed graham crackers adds a nice touch, too. You can even use colorful plates to make the dessert pop.
For garnishing, consider adding mini marshmallows on top. Toasting them slightly gives a great look. You can also use fresh berries for brightness and flavor contrast.
Tools & Equipment Recommendations
Selecting the right tools helps a lot. Use a large mixing bowl for easy stirring. A sturdy spatula is great for combining the ingredients well.
For your baking dish, an 8×8 inch size works best. Line it with parchment paper so the bars come out easily. This saves you time when serving.
Using these tips will ensure your no-bake s’mores bars are simple and tasty. For the complete recipe, check out the Full Recipe section.
Variations
Flavor Customizations
You can change the chocolate in these bars for a new taste. Dark chocolate adds a rich flavor. Milk chocolate is sweeter and great for kids. White chocolate gives a creamy twist. You can also mix chocolates for a fun blend.
Some may have dietary needs. You can use gluten-free graham crackers for a gluten-free option. For a vegan version, swap honey for maple syrup. Use dairy-free chocolate chips to keep it dairy-free. These swaps keep the fun while fitting your needs.
Themed S’mores Bars
Make these bars fit the season or a holiday. For Halloween, add orange and black sprinkles. For Christmas, mix in crushed peppermint candies. You can use festive marshmallows for added flair. Each season can inspire a new flavor.
Explore unique toppings too. Try adding chopped fruit like bananas or strawberries. You can sprinkle coconut flakes for a tropical vibe. The options are endless, so have fun with your creations.
Kid-Friendly Adaptations
Get kids involved in making these bars! Let them crush the graham crackers. They can also help mix the ingredients. This recipe can turn into a fun family activity. Kids love to see their work turn into a tasty treat.
For kid-friendly ingredients, use colorful candies or sprinkles. Swap mini marshmallows for fruity ones. You can even add their favorite cereal for crunch. These changes make the bars even more exciting for little chefs.
For the Full Recipe, check out the details above.
Storage Info
Best Storage Practices
To keep your No-Bake S’mores Bars fresh, store them in the refrigerator. Use an airtight container to prevent them from drying out. You can also stack layers of parchment paper between bars to avoid sticking. If you want to keep them longer, freezing is a great option. Wrap the bars tightly in plastic wrap and then place them in a freezer-safe bag. This helps protect them from freezer burn.
Shelf Life
How long do the bars last? When stored correctly in the fridge, these bars can last up to one week. In the freezer, they can stay fresh for about three months.
Look for signs of spoilage like an off smell or a change in texture. If they start to feel hard or dry, it’s best to toss them. Always trust your senses when it comes to food safety.
FAQs
How long do No-Bake S’mores Bars need to set?
No-Bake S’mores Bars need to set in the fridge for at least 2 hours. This time allows the mixture to firm up, making it easier to cut into squares. I always recommend checking after 2 hours. If they seem soft, let them chill longer. A good, firm texture will make every bite satisfying.
Can I make these bars gluten-free?
Yes, you can make these bars gluten-free. Simply substitute regular graham crackers with gluten-free ones. There are many great options available, and they work just as well. Look for brands that offer gluten-free graham crackers, as they still provide that classic flavor. This small change keeps the treat delicious for everyone.
What can I substitute for marshmallows?
If you need a substitute for marshmallows, you have choices. You can use marshmallow fluff for a smooth texture. For a healthier option, try dried fruit or yogurt-covered snacks. These alternatives can still add sweetness and fun to the bars, keeping them enjoyable for all diets.
You’ve learned how to make delicious no-bake s’mores bars. We covered the key ingredients, simple steps, and added variations. Remember, you can customize these bars to fit your taste or diet. Pay attention to storage needs for freshness. These treats are fun and easy for everyone. You can enjoy them anytime or make them a family project. Dive into this tasty recipe and make it your own. Enjoy every bite!
