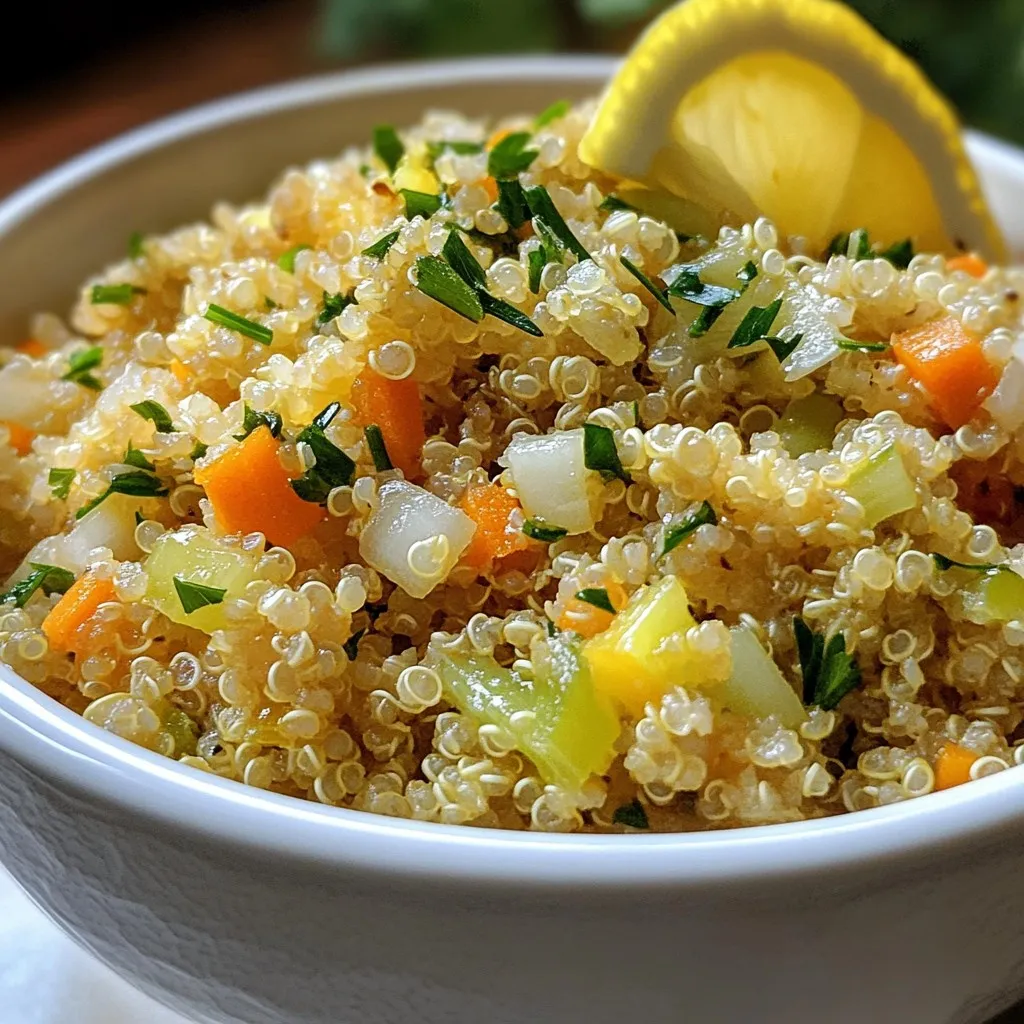
Garlic Herb Quinoa Pilaf Flavorful and Nutritious Dish
Looking for a healthy and tasty dish? Garlic Herb Quinoa Pilaf might be your new favorite! This vibrant dish blends

Looking for a healthy and tasty dish? Garlic Herb Quinoa Pilaf might be your new favorite! This vibrant dish blends

Looking for a quick, tasty meal that impresses? This Garlic Parmesan Chicken Skillet is your answer. With just a few

Get ready to tempt your taste buds with Lemon Poppy Seed Ricotta Pancakes! This dish combines the brightness of lemon

Are you ready to impress with a vibrant dish that packs a flavor punch? Sticky Orange Chicken is quick, fun
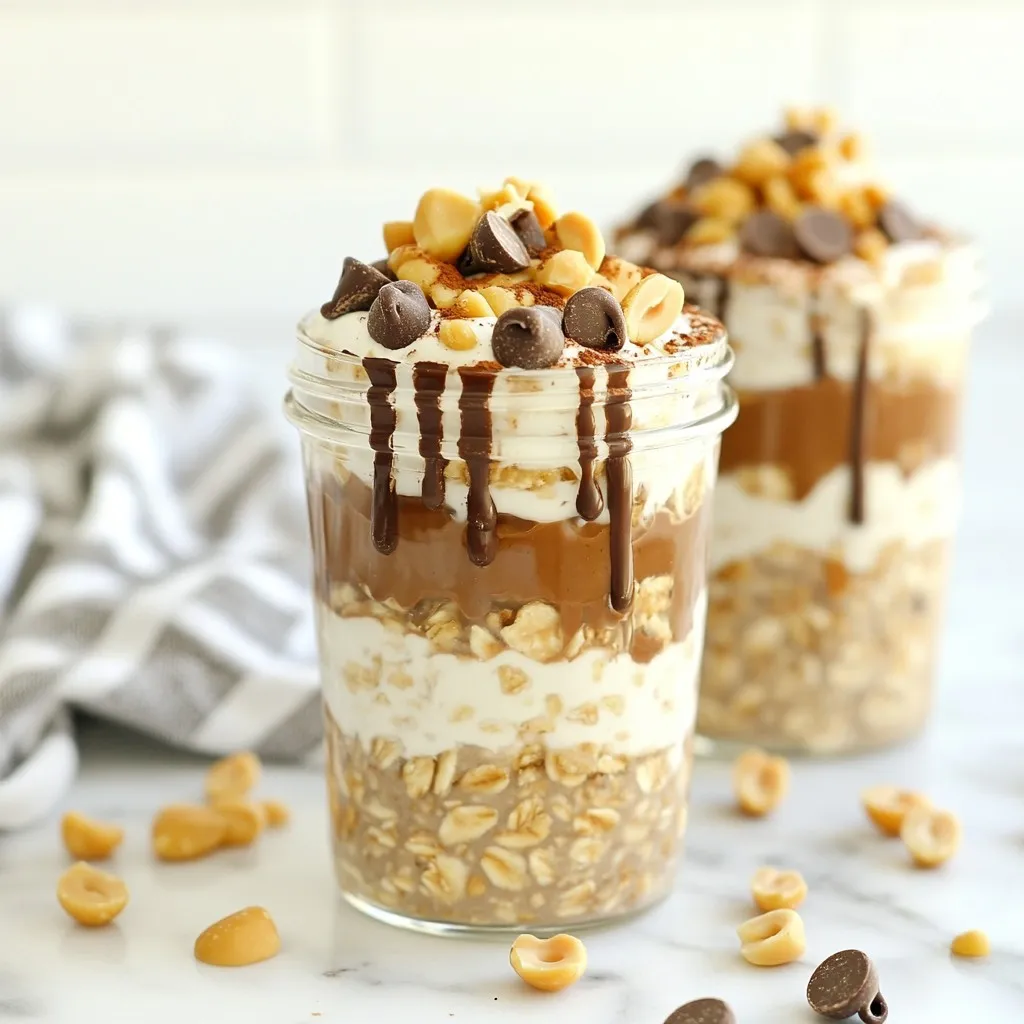
Start your morning right with Peanut Butter Cup Overnight Oats—a simple breakfast joy! These creamy oats blend the rich taste

Craving a sweet treat that’s both delicious and easy to make? Meet your new favorite dessert: Cranberry Pistachio Rocky Road!

If you’re looking for a quick and delicious snack, chocolate covered banana bites are the answer! I love how simple

Looking for a quick and tasty dish? This Honey Lime Fruit Salad is your answer! It blends fresh fruits with

Cinnamon Apple Crumble Bars are a sweet treat you can’t resist. With warm apples and a crunchy topping, these bars

If you’re craving a comforting dish that’s both creamy and healthy, you’re in for a treat! My Creamy Garlic Parmesan