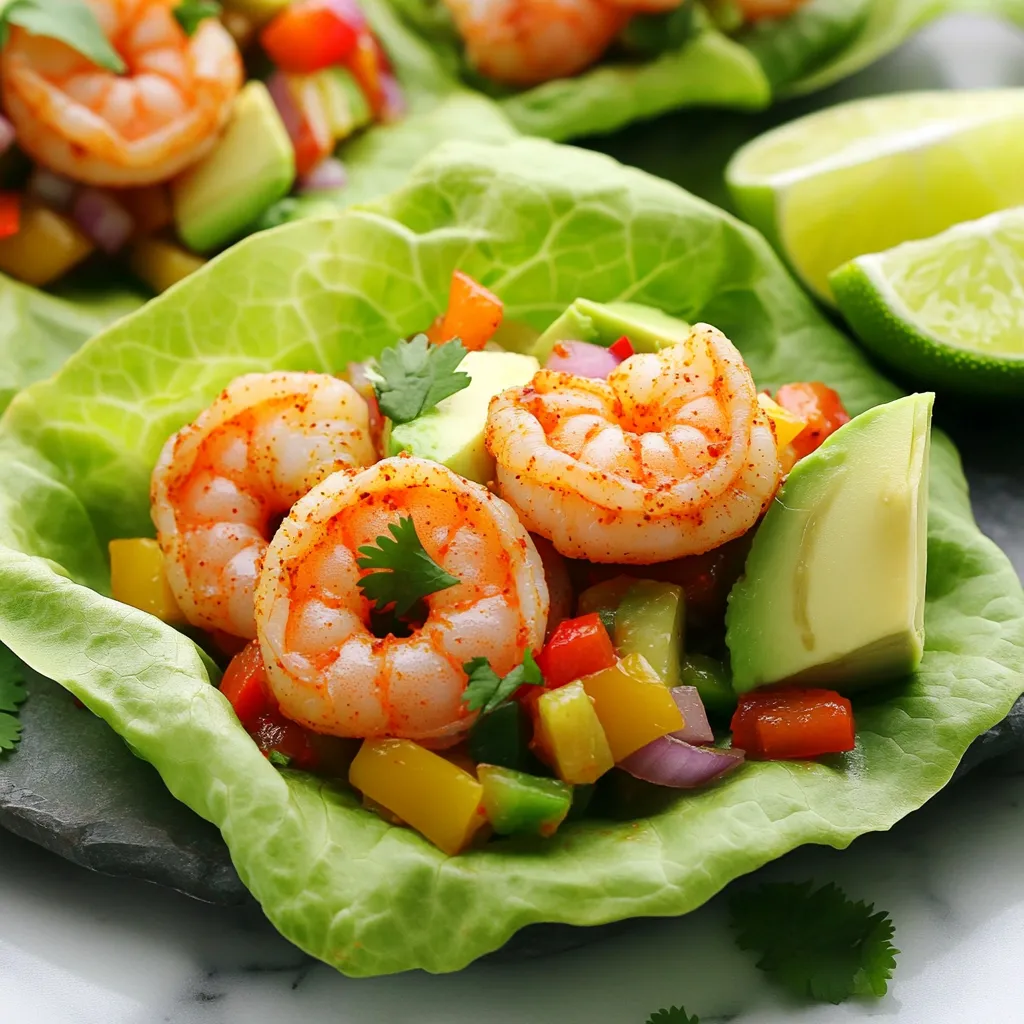
Minute Cajun Shrimp Lettuce Wraps Bold and Flavorful Meal
Looking for a quick and tasty meal? My Minute Cajun Shrimp Lettuce Wraps pack a bold punch of flavor! With

Looking for a quick and tasty meal? My Minute Cajun Shrimp Lettuce Wraps pack a bold punch of flavor! With

Looking for a cozy meal that’s easy to make? Try this Slow Cooker Chicken Fajita Soup! It’s packed with flavor

Are you ready to snack on something truly delicious? Crispy Air Fryer Dill Pickle Chips are easy, fun, and packed

Welcome to your new favorite comfort food: Creamy One-Pot Roasted Garlic Tomato Soup. This dish marries the rich flavors of
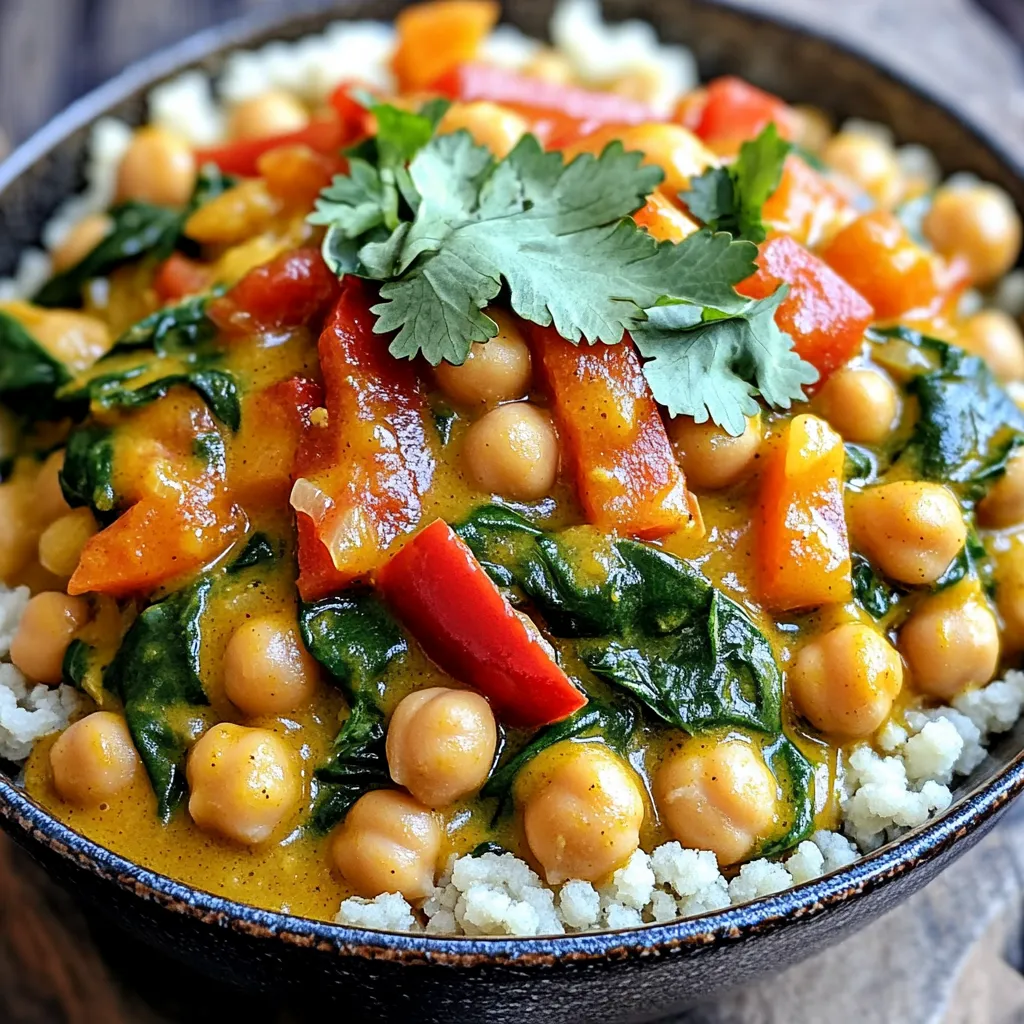
Welcome to a world of rich flavors and easy cooking with my Slow Cooker Moroccan Chickpea Stew. This dish is

Craving something sweet that’s easy to make? You’re in the right place! These No-Bake Oreo Cookie Dough Bars blend rich
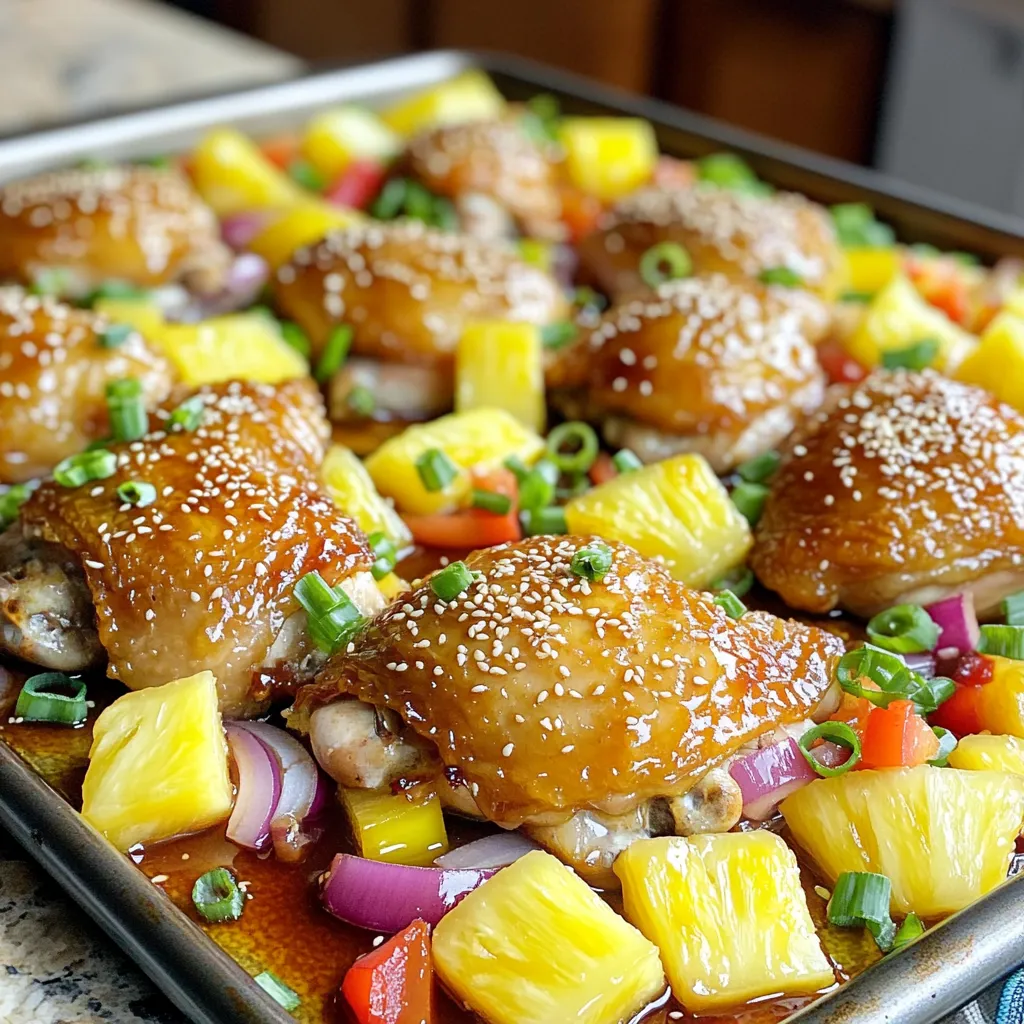
Looking for a quick and tasty dinner? Try my Sheet-Pan Pineapple Teriyaki Chicken! This easy recipe brings sweet and savory
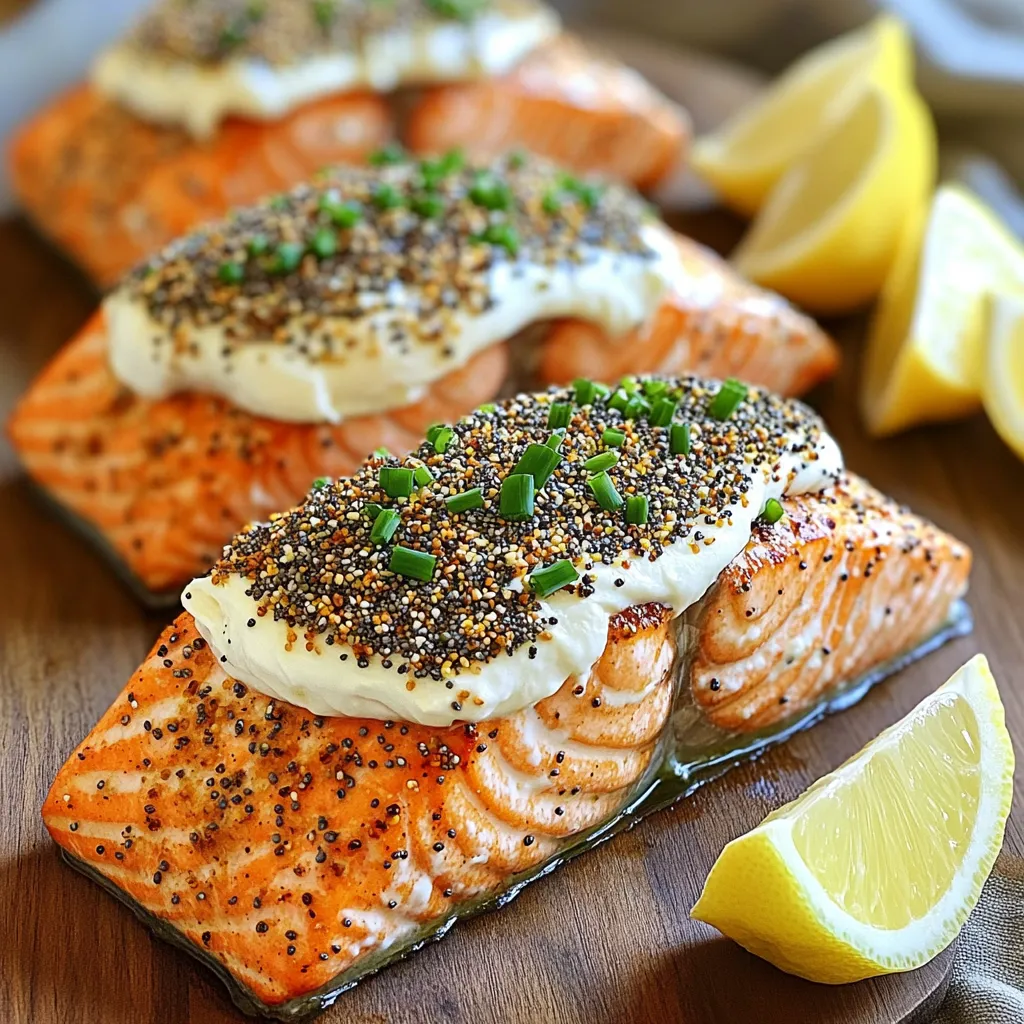
Are you ready to make a delicious and quick meal? My Air Fryer Everything Bagel Salmon recipe is here to

Start your day with a cozy twist on breakfast: Cinnamon Roll Overnight Oats! Imagine waking up to the warm, rich

If you love sweet treats but want to skip the oven, you’re in for a treat! My Salted Caramel Chocolate