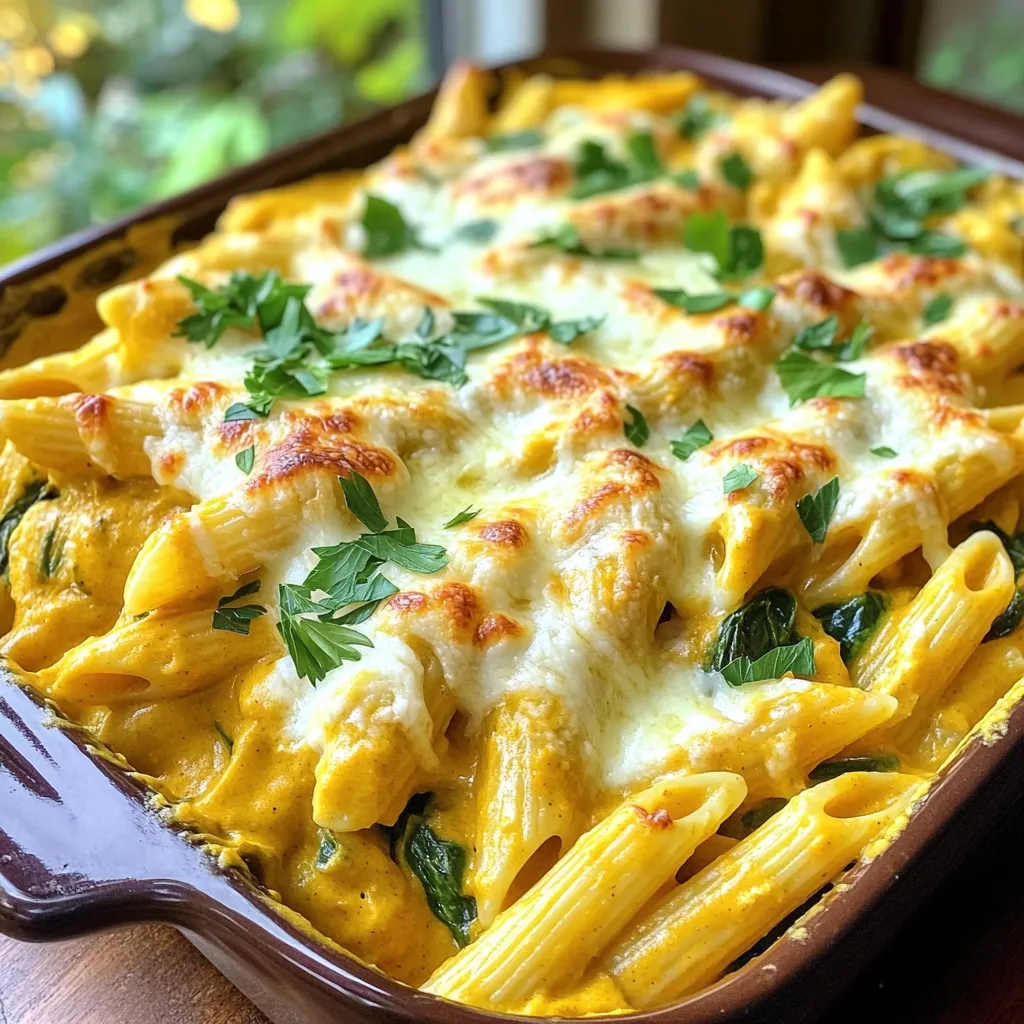
Pumpkin Alfredo Pasta Bake Slow Cooker Delight
Get ready to enjoy a cozy dish that warms the heart and pleases the palate! In my “Pumpkin Alfredo Pasta

Get ready to enjoy a cozy dish that warms the heart and pleases the palate! In my “Pumpkin Alfredo Pasta
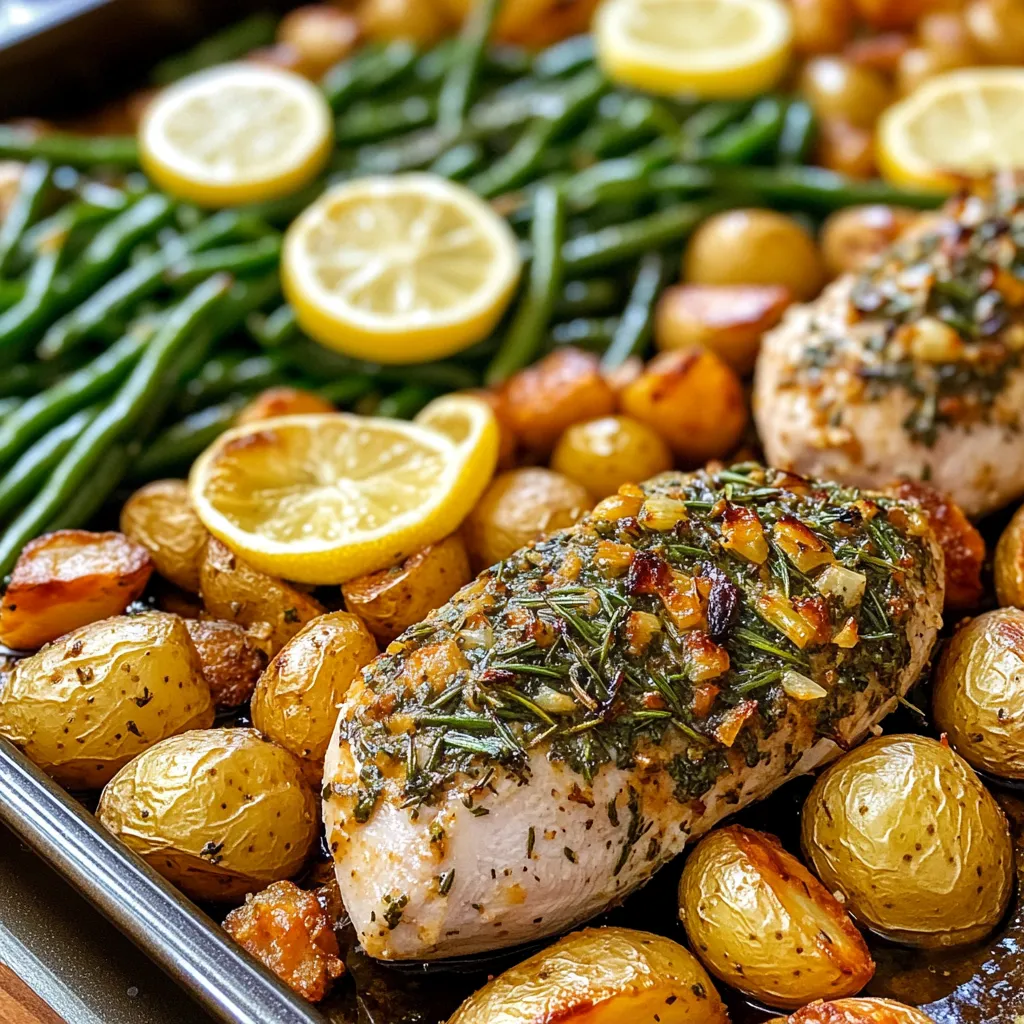
If you’re looking for a quick, flavorful meal, this Garlic Herb Turkey Tenderloin Sheet Pan Delight is for you! Packed
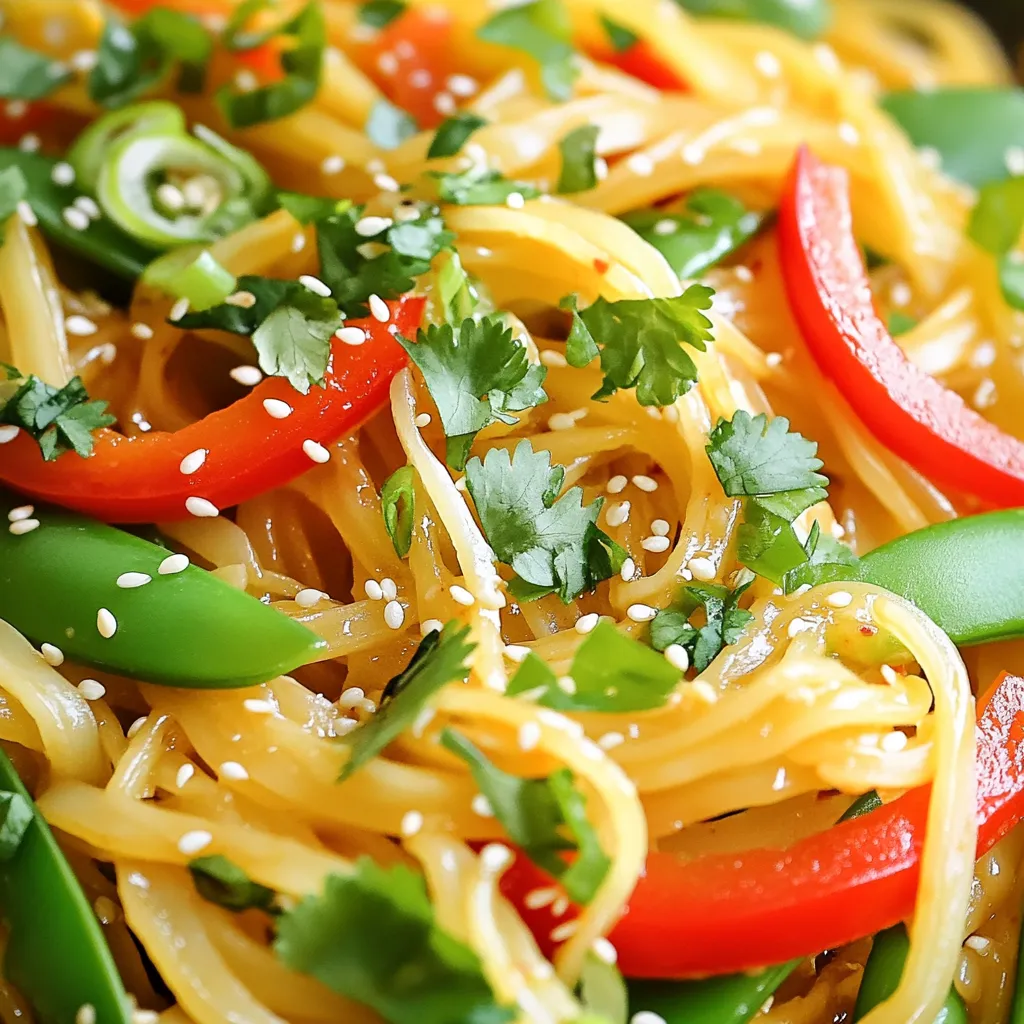
Ready to spice up dinner in just 15 minutes? With my Spicy Garlic Chili Noodles recipe, you’ll whip up a
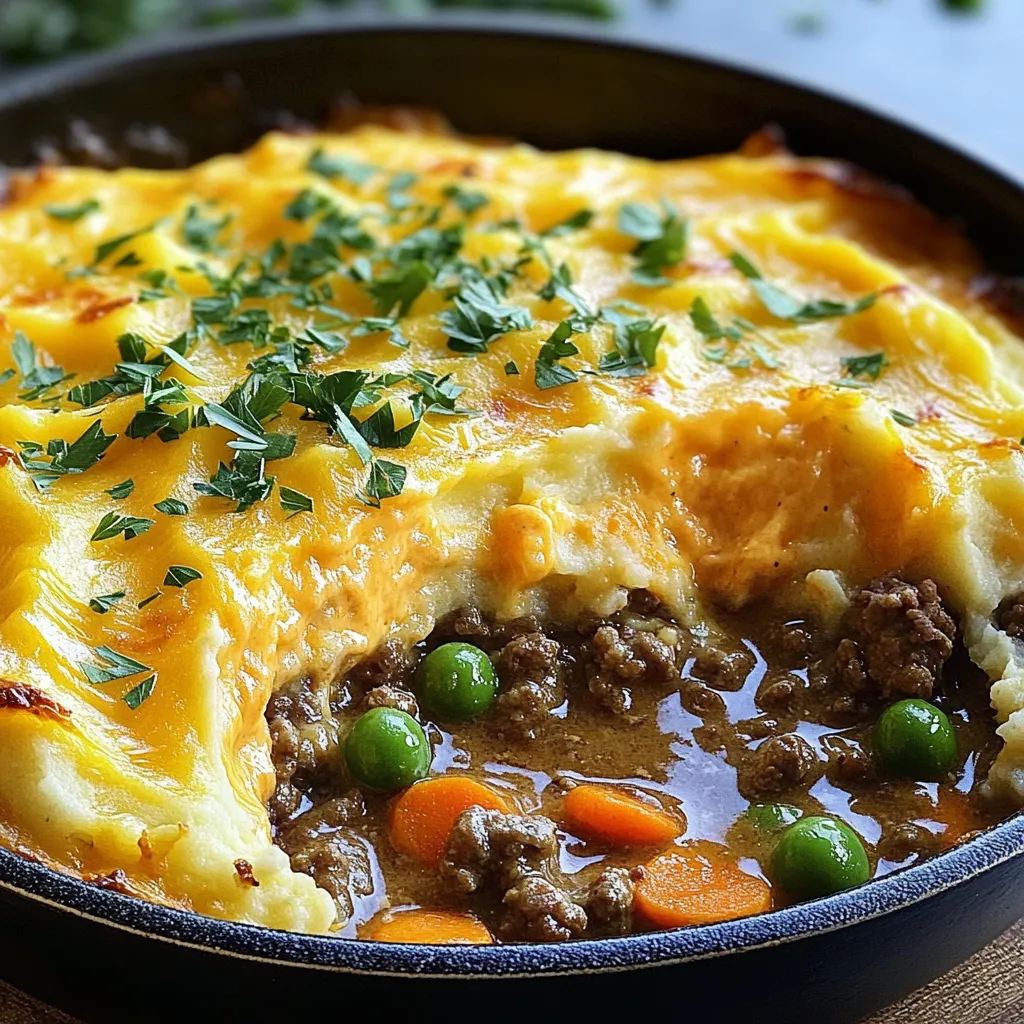
Get ready to delight your taste buds with my Skillet Shepherd’s Pie with Cheddar Mash! This hearty dish mixes ground
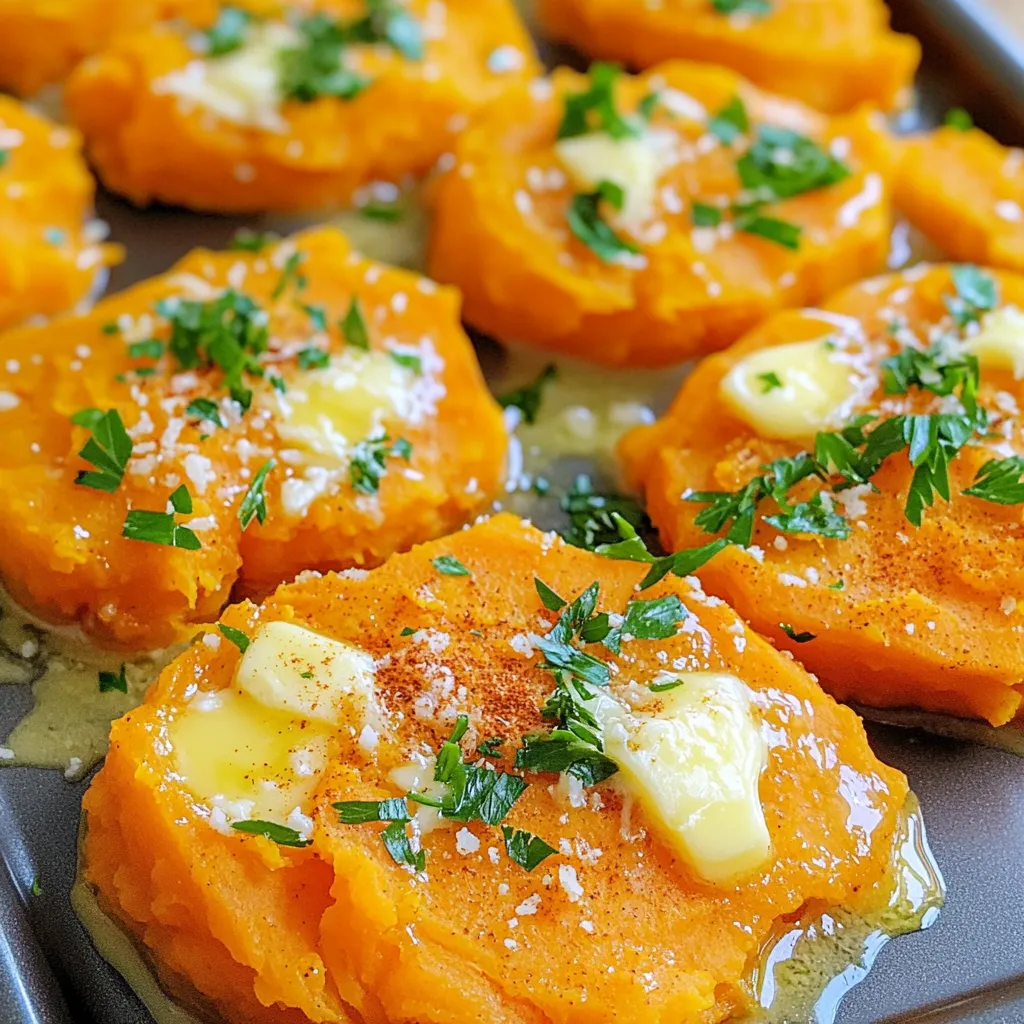
Welcome to the world of Garlic Parmesan Smashed Sweet Potatoes! If you crave a side dish that’s creamy, savory, and
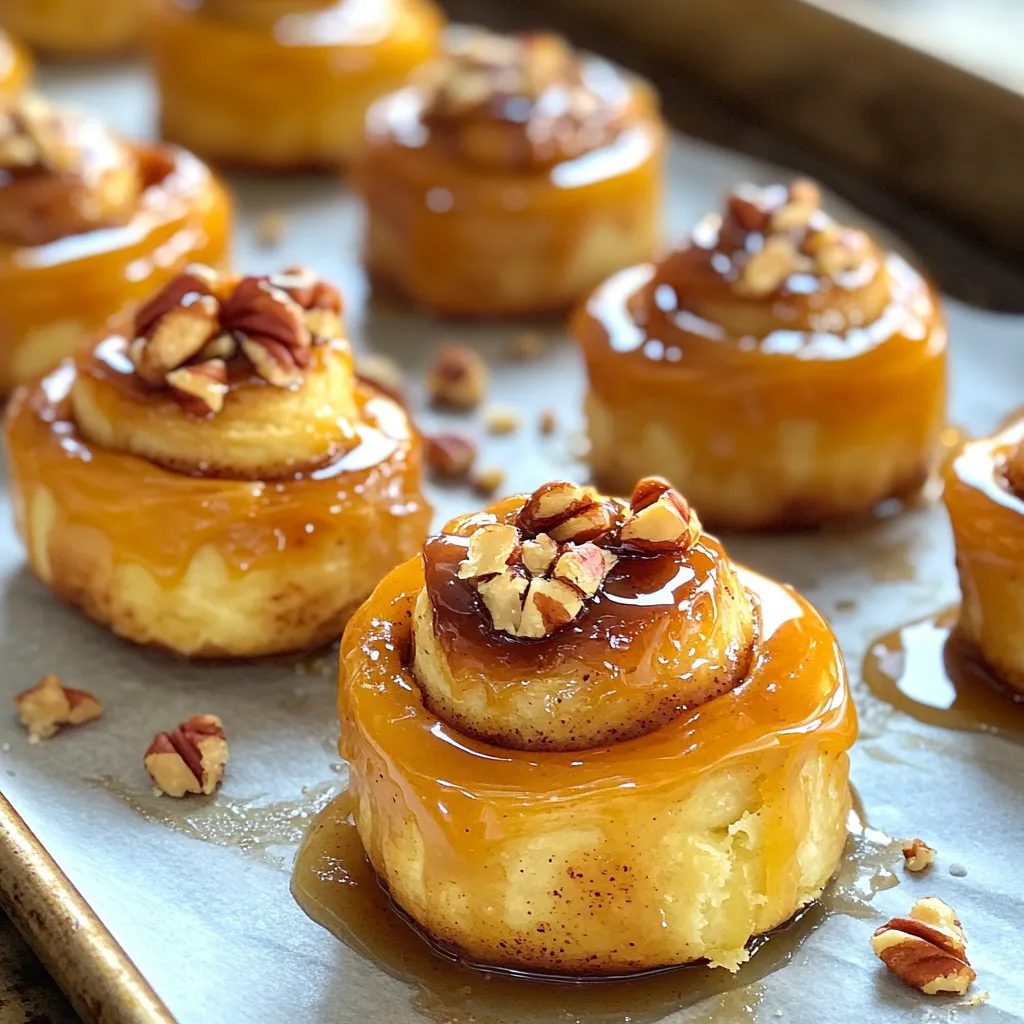
Craving a sweet treat that’s easy and delicious? Look no further! Maple Glazed Cinnamon Roll Bites are the perfect solution.
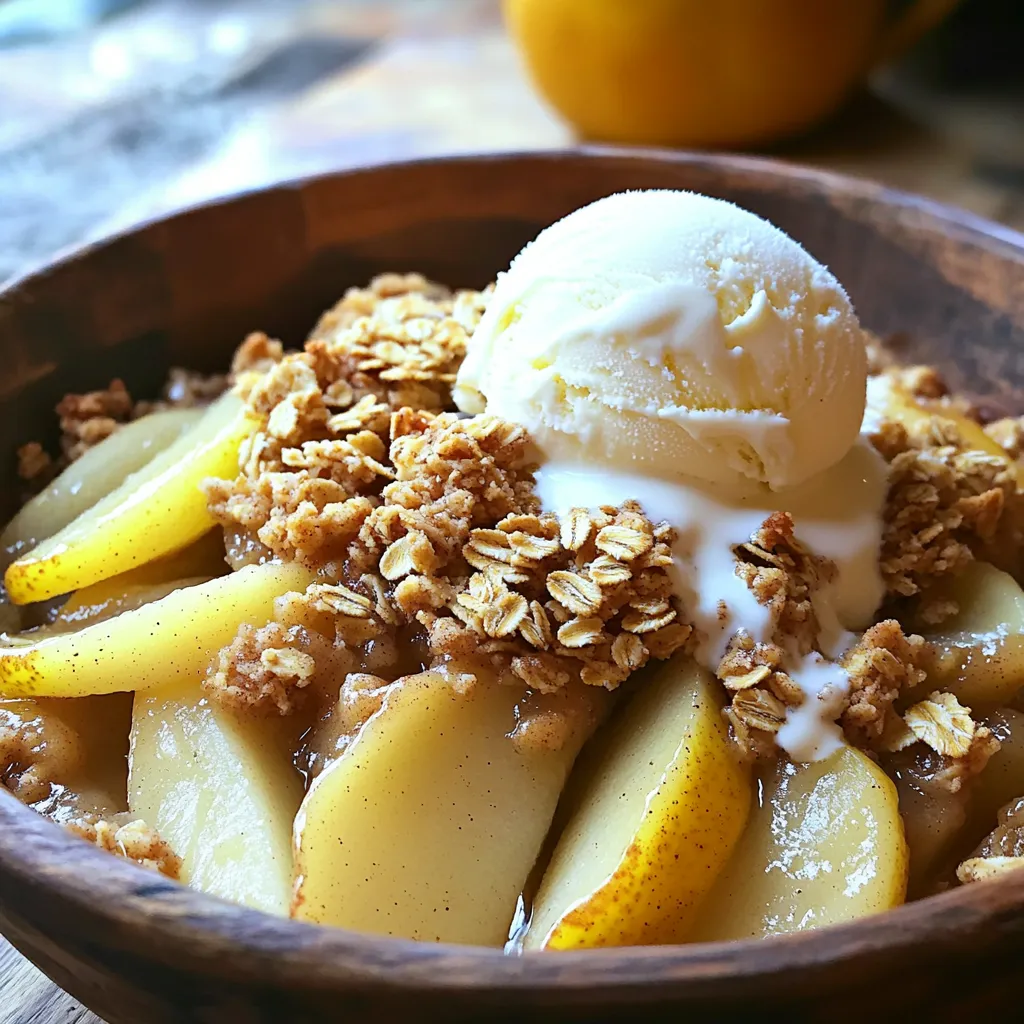
Are you ready to elevate your dessert game? This Warm Spiced Pear Crisp with Oat Topping is a must-try! Imagine

Are you looking for a quick and tasty snack? No-Bake Chocolate Coconut Energy Bites are the answer! This simple recipe
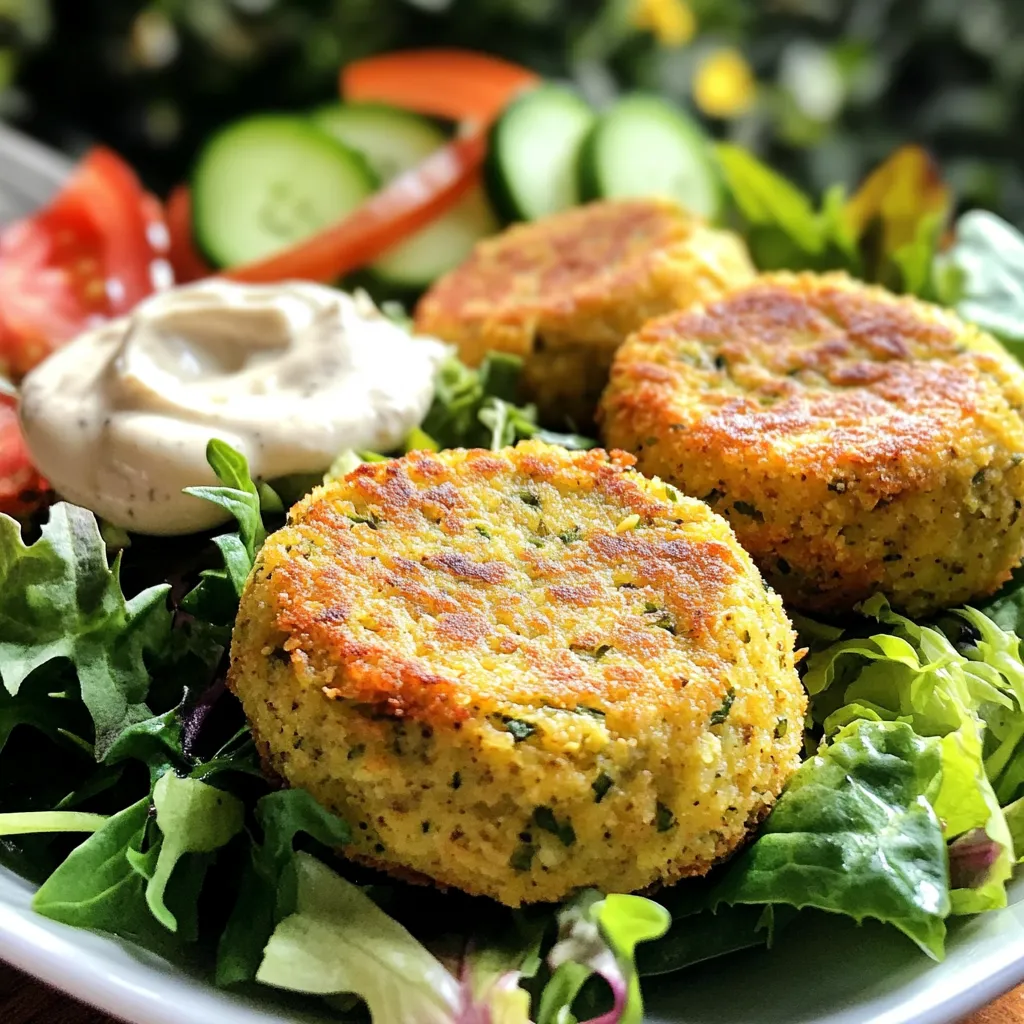
Looking to spice up your meals with a healthy twist? Air Fryer Crispy Falafel Patties are your answer! These little
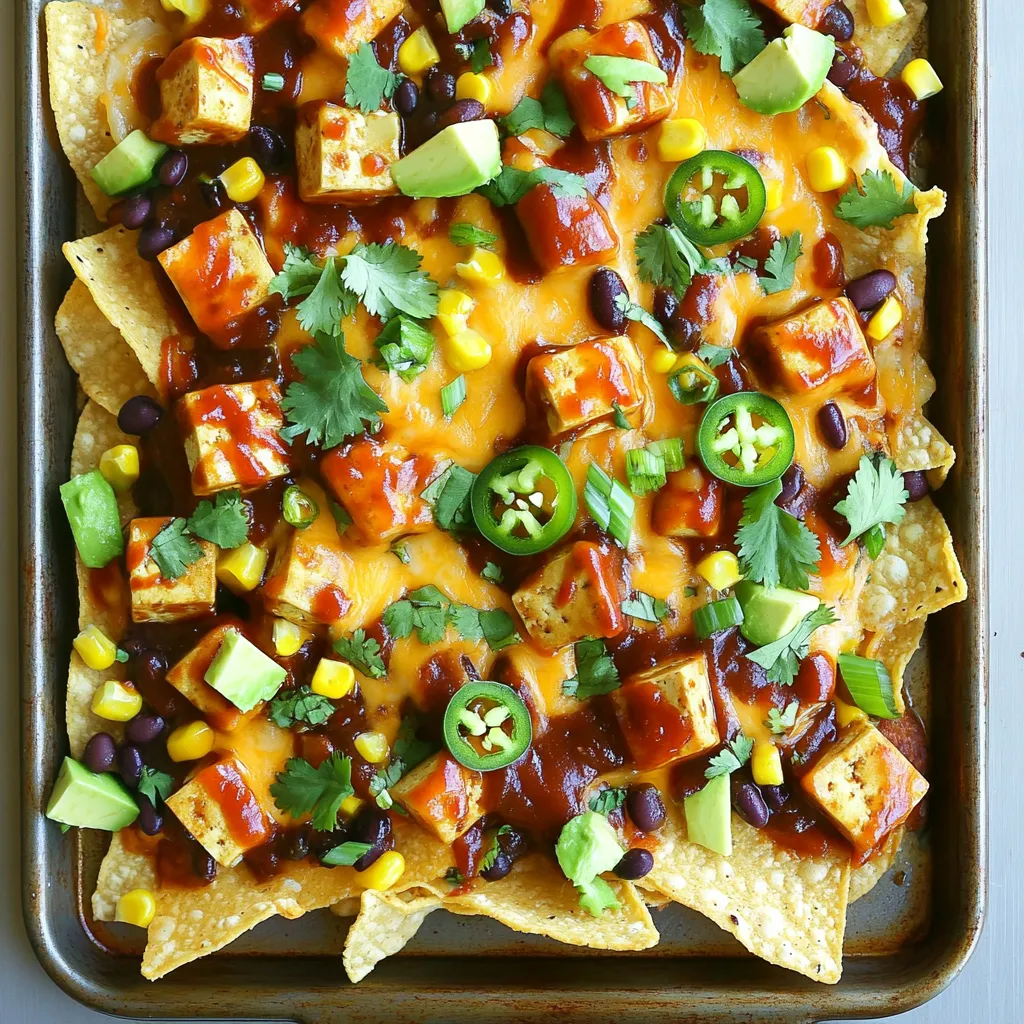
Are you ready to elevate your snack game? These Sheet-Pan BBQ Tofu Nachos pack big flavor with minimal fuss. Perfect