Iced Brown Sugar Oat Milk Shaken Espresso Delight
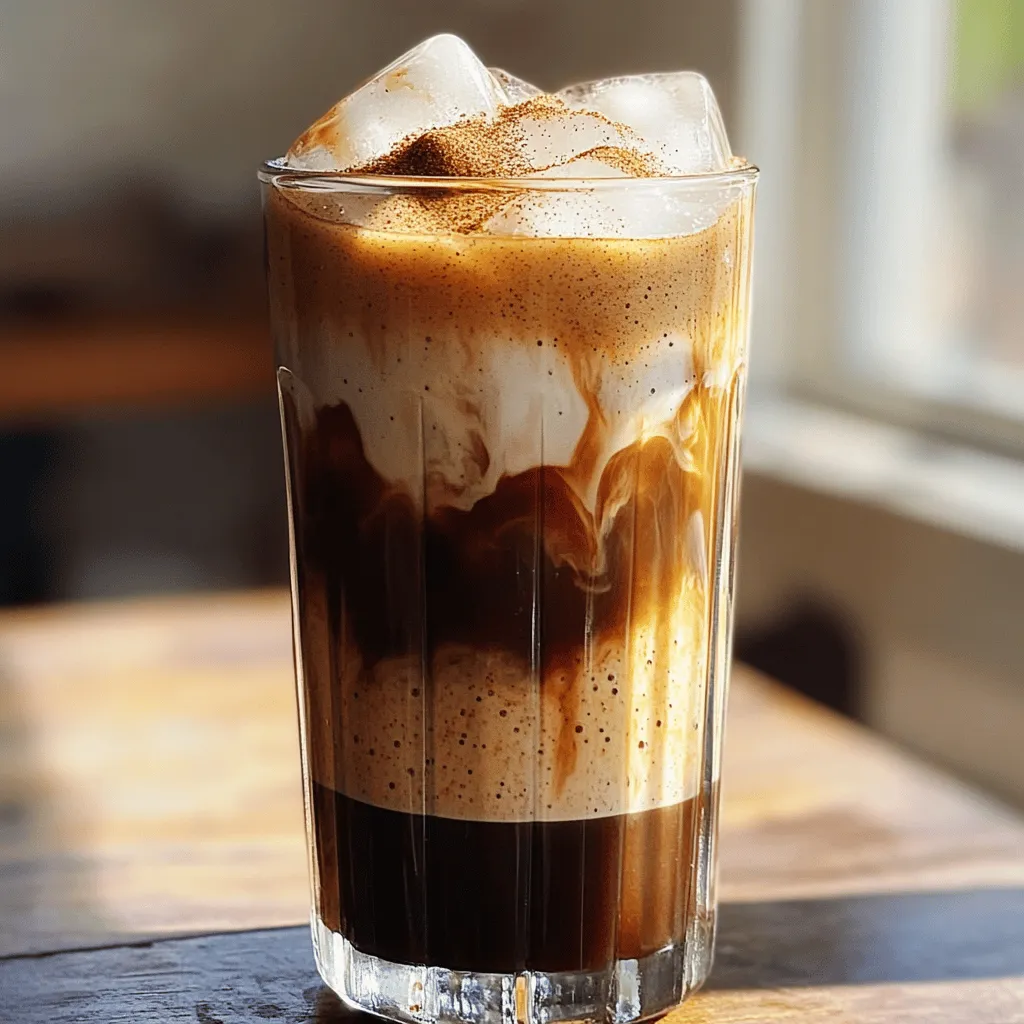
Ready to dive into a refreshing coffee experience? Let me introduce you to the Iced Brown Sugar Oat Milk Shaken

Ready to dive into a refreshing coffee experience? Let me introduce you to the Iced Brown Sugar Oat Milk Shaken
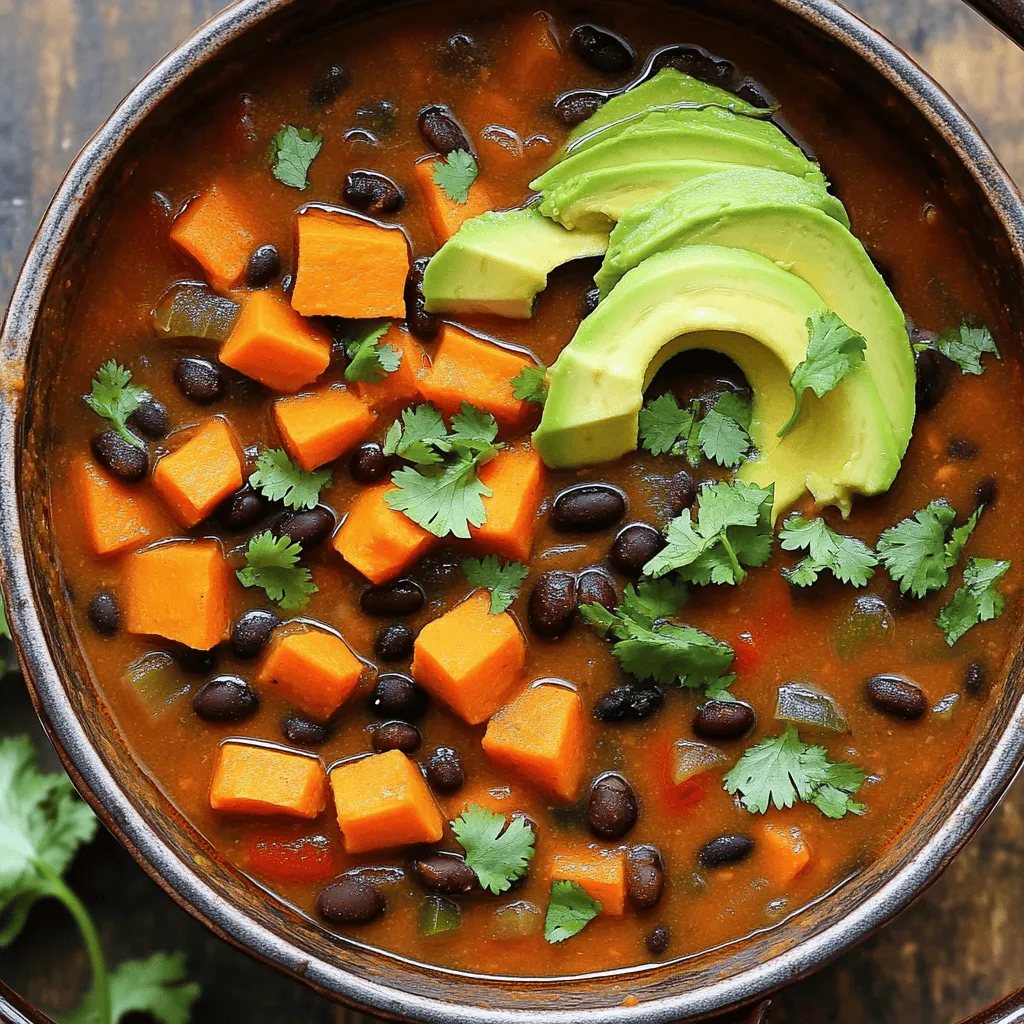
Looking for a cozy, hearty dish that’s packed with flavor? Sweet Potato Black Bean Chili is your answer! This chili

Looking for a sweet treat that’s both fun to make and irresistible to eat? Look no further! Caramel Apple Monkey

Looking for a quick and tasty meal? You’ve found it! My One-Pot Garlic Parmesan Spaghetti is packed with flavor and

Looking for a sweet treat that melts in your mouth? Try my Raspberry Almond Thumbprint Cookies! With their soft texture

Are you ready to spice up your lunch routine? My Cajun Chicken Caesar Wraps pack bold flavors in every bite!
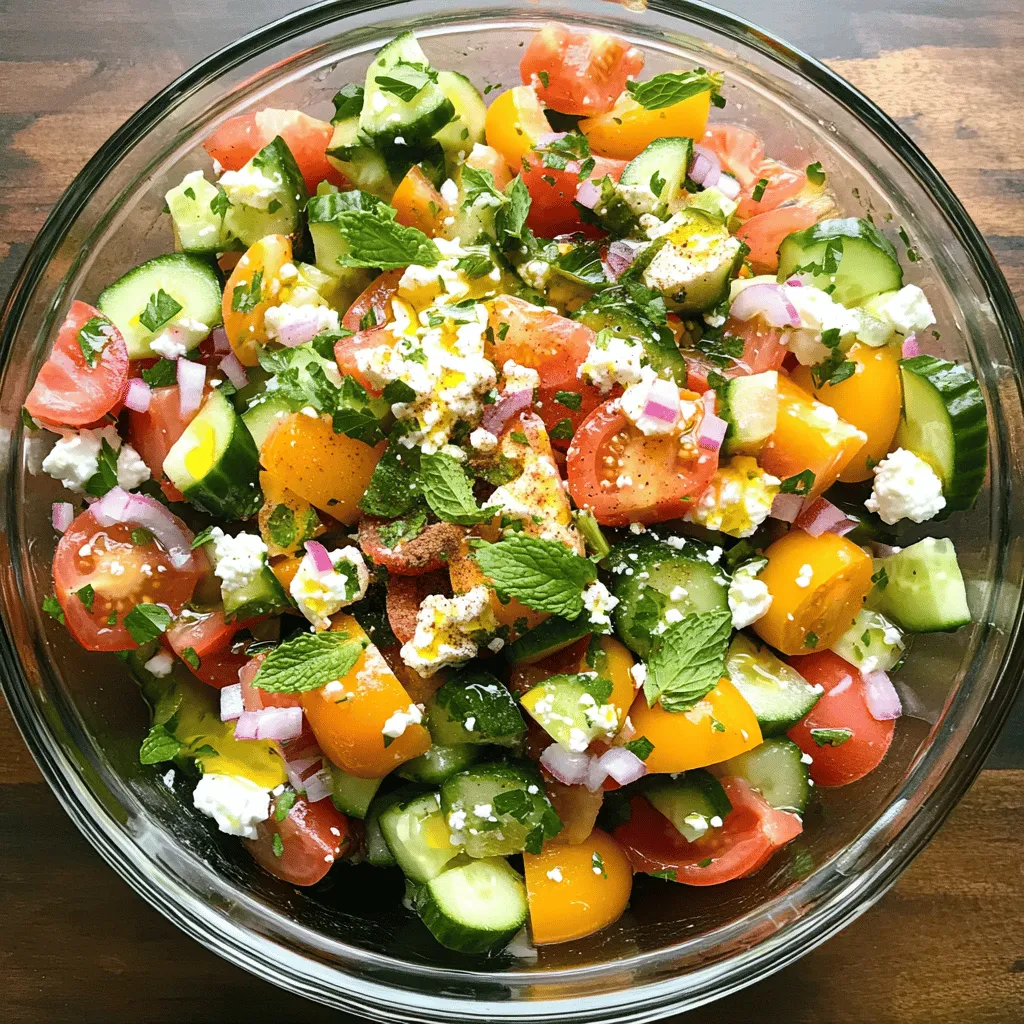
If you’re looking for a fresh and tasty salad, you’re in the right place! My Cucumber Tomato Feta Salad is
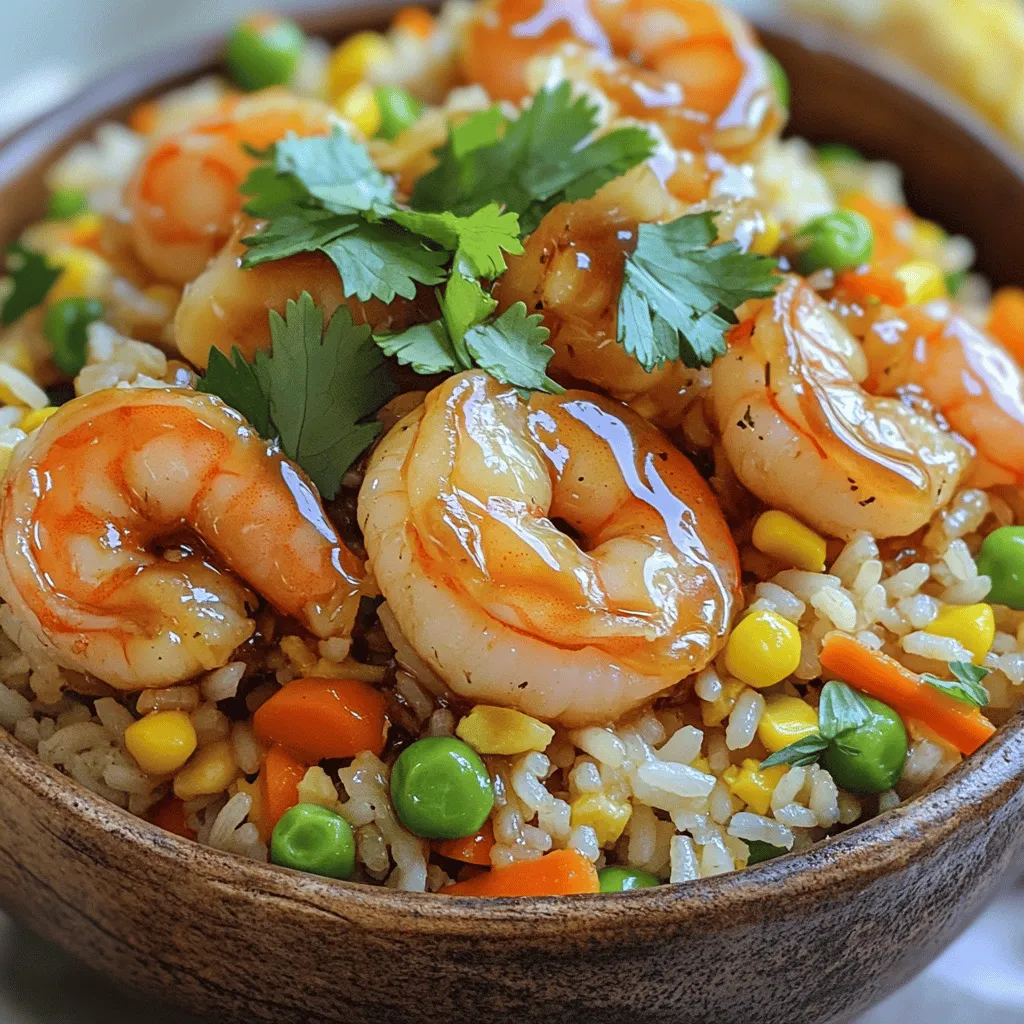
Looking for a quick, tasty meal? Honey Garlic Shrimp Fried Rice has you covered! This dish combines sweet honey, savory

Get ready to indulge in a treat that’s both sweet and simple! My Chocolate Marshmallow Fudge recipe combines rich chocolate,

Get ready to impress your friends and family with a stunning treat: Cranberry Orange Cheesecake Bars. This delightful recipe combines