
Berry Lemonade Popsicles Refreshing Summer Treat
Looking for a fun way to beat the heat this summer? Let me show you how to make Berry Lemonade

Looking for a fun way to beat the heat this summer? Let me show you how to make Berry Lemonade
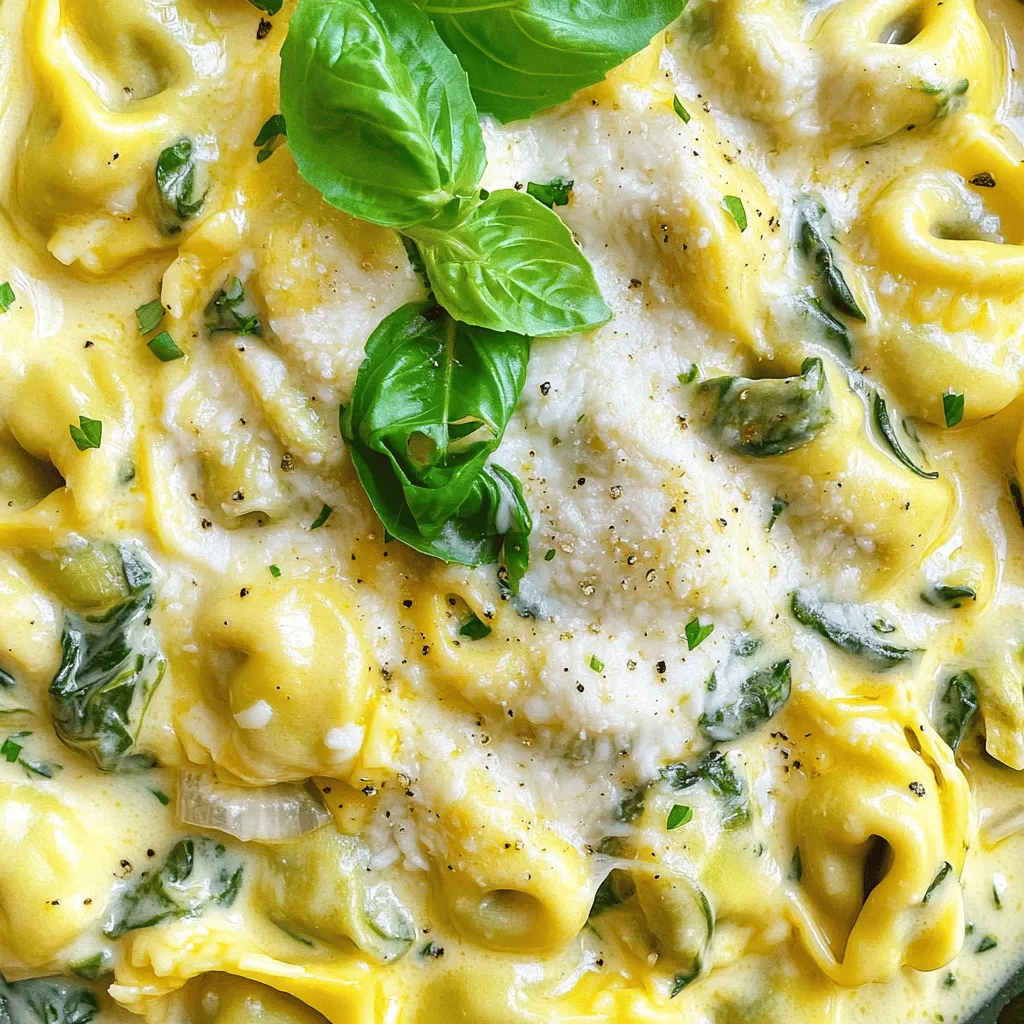
Are you ready to dive into a creamy, dreamy dish? My Creamy Spinach Artichoke Tortellini brings a delightful twist to

Are you ready to spice up your snack game? Honey Sriracha Glazed Salmon Bites are a quick and tasty treat

Craving a sweet treat that’s easy to make and delightfully tasty? You’re in the right place! This Chocolate Covered Strawberry

Are you ready to spice up your meal with a delicious twist? This Mexican Street Corn Pasta Salad brings together
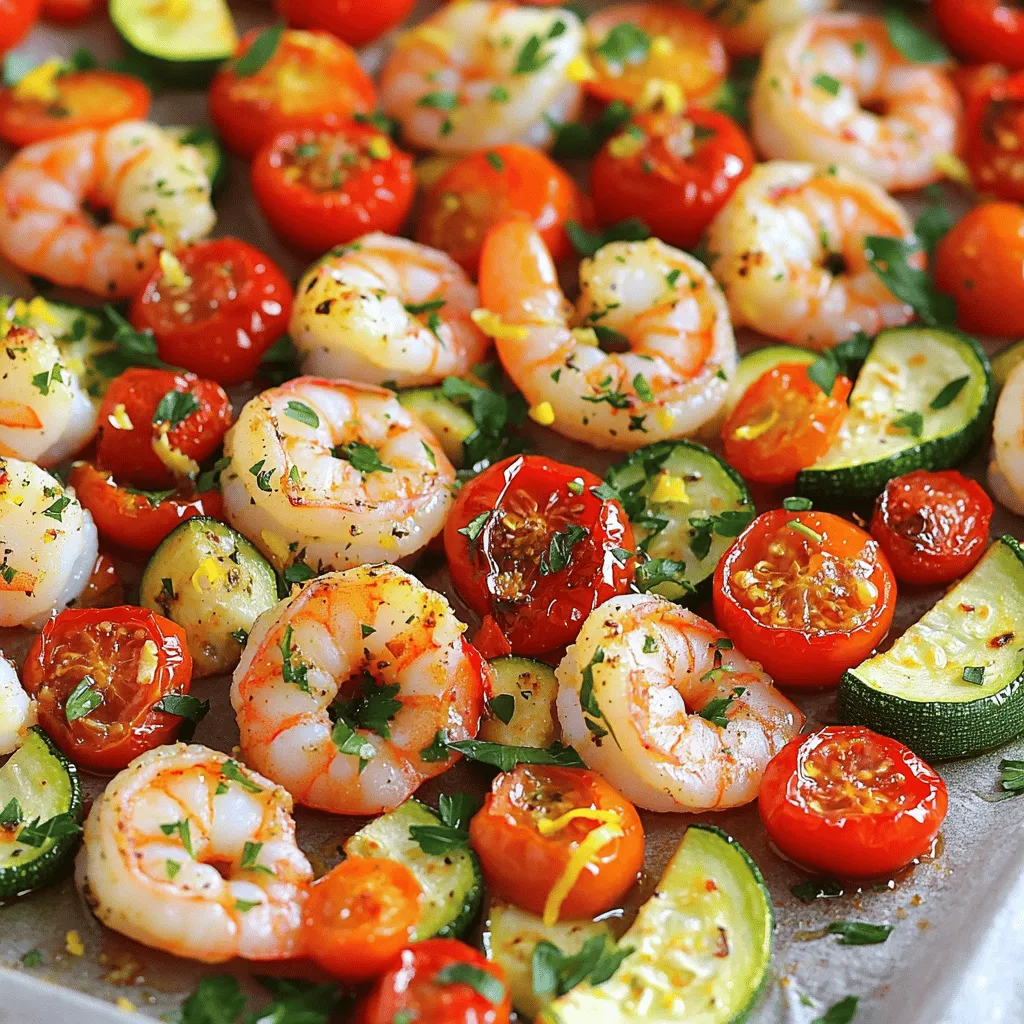
Welcome to a flavorful journey with my Sheet Pan Mediterranean Shrimp recipe! This dish brings together fresh shrimp, vibrant veggies,

If you’re craving a simple yet flavorful dish, Air Fryer Teriyaki Tofu Steaks are a great choice! This recipe combines

Craving a dessert that combines the warm flavors of fall with a twist? Look no further! This No-Bake Salted Caramel

Looking for a quick and creamy dinner that satisfies? You’ve found it with this One-Pot Broccoli Cheddar Orzo! This dish

Ready to impress your family with a delicious dish? These air fryer mozzarella stuffed meatballs blend juicy ground beef with