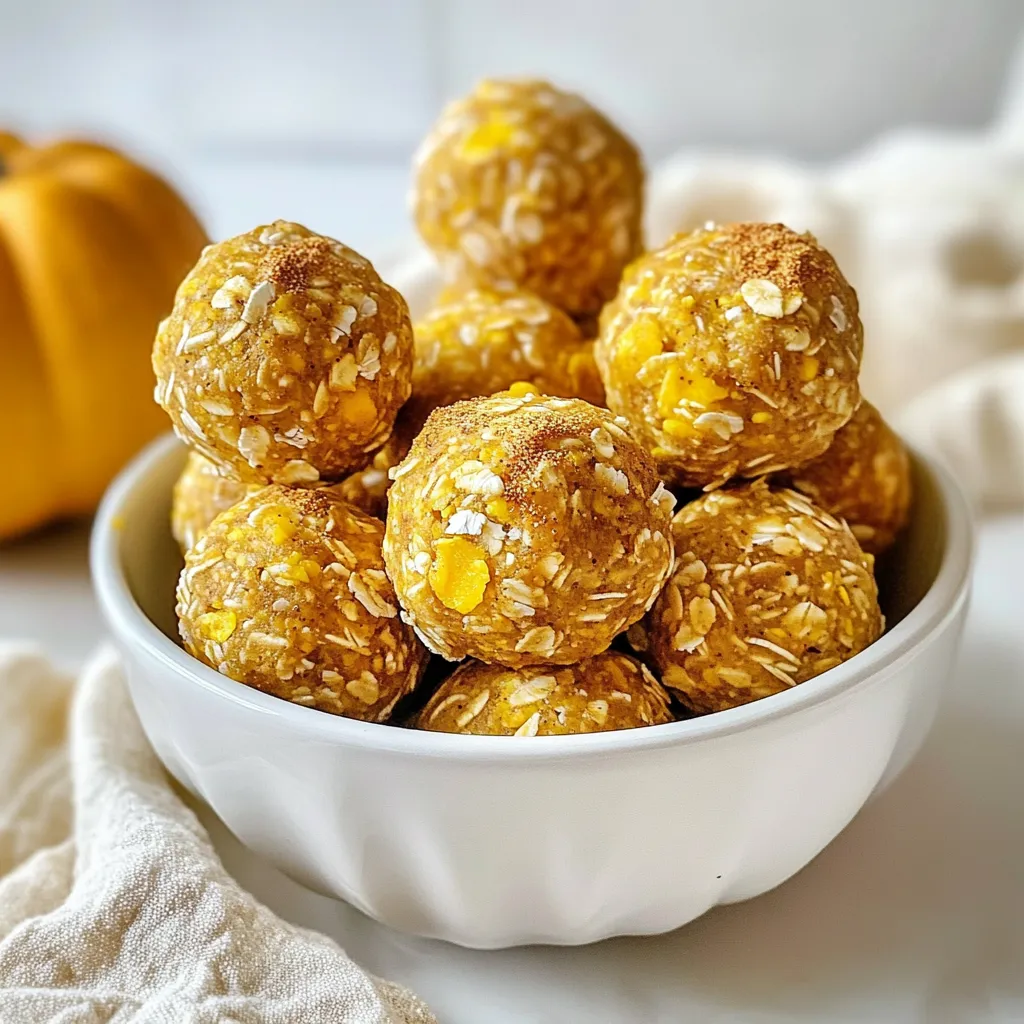
Pumpkin Spice Energy Balls Easy and Tasty Recipe
Get ready to fall in love with my easy Pumpkin Spice Energy Balls recipe! Packed with warm flavors and healthy

Get ready to fall in love with my easy Pumpkin Spice Energy Balls recipe! Packed with warm flavors and healthy
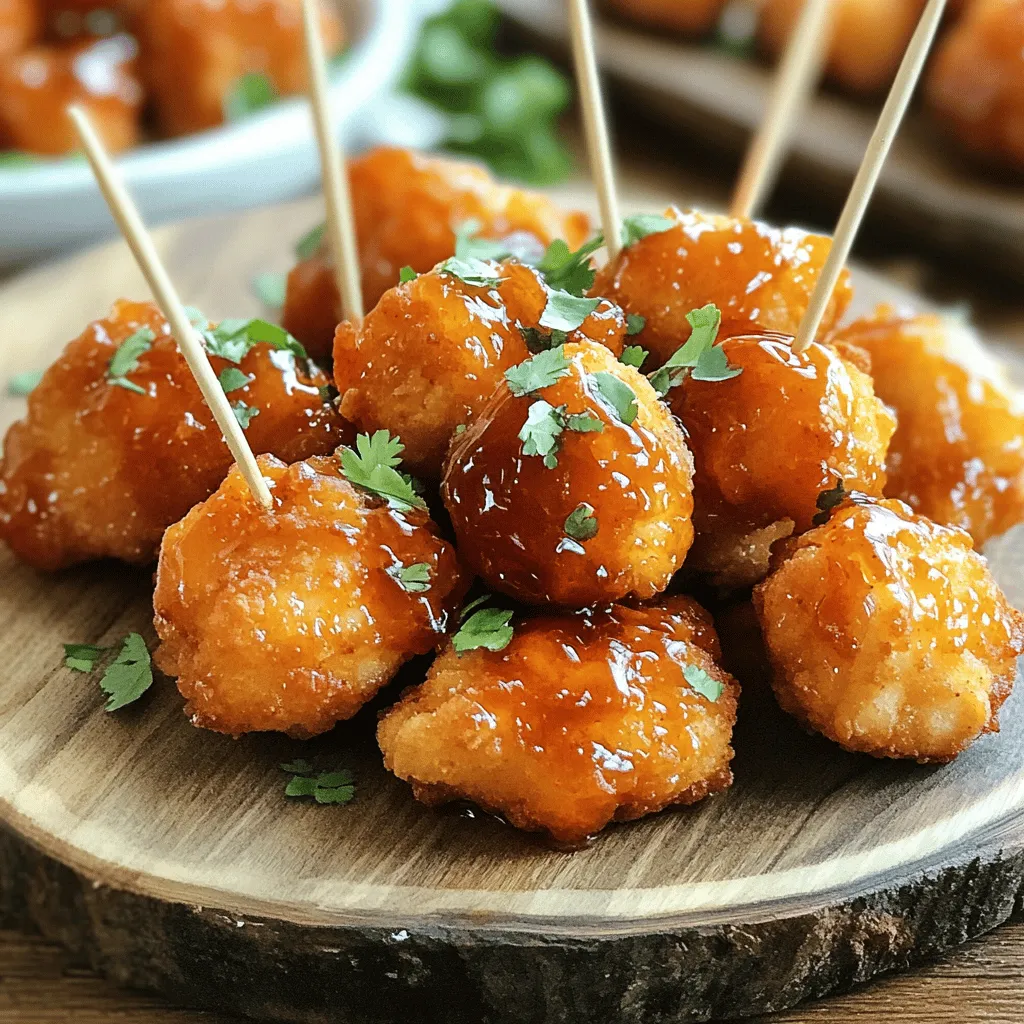
If you’re craving a dish that’s both easy and packed with flavor, you’re in the right place! My Crispy Sriracha
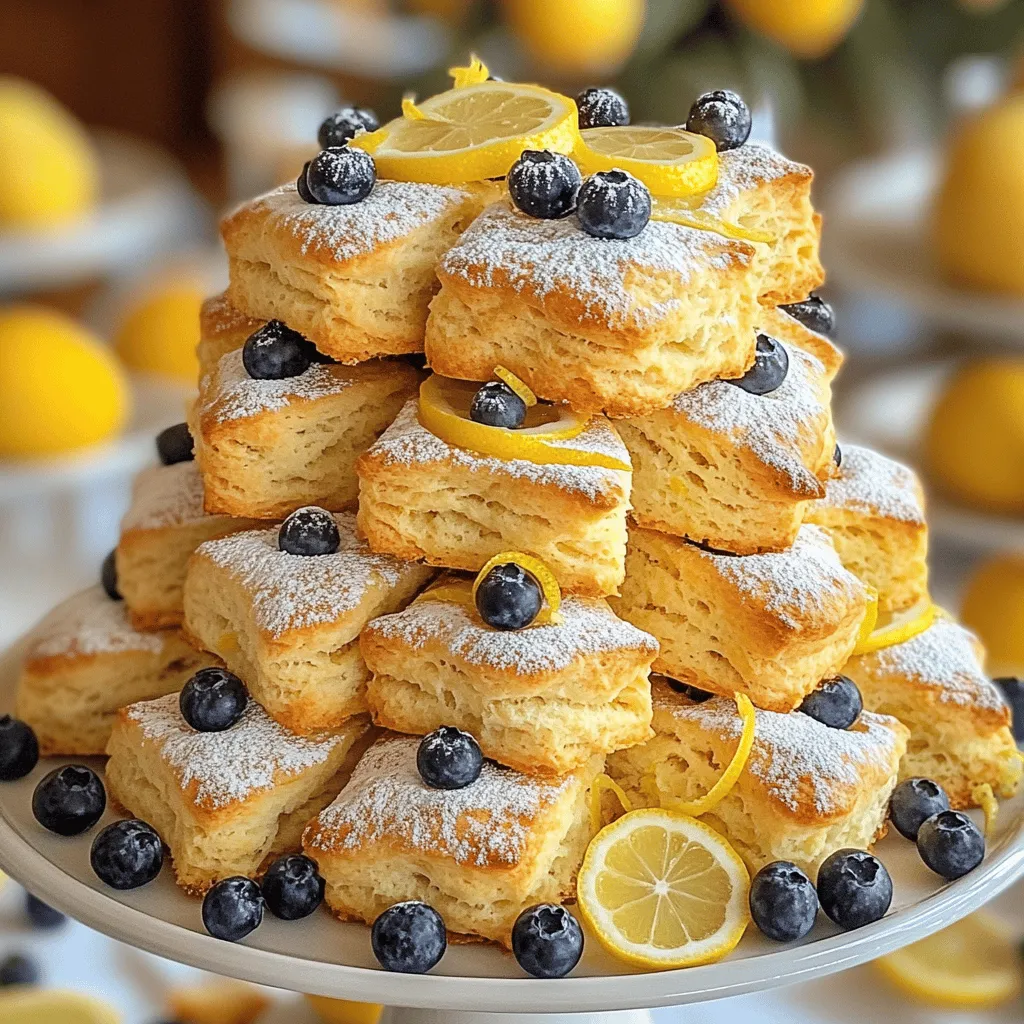
Do you crave bakery-style treats that bring joy with every bite? Let’s learn how to make delicious blueberry lemon scones
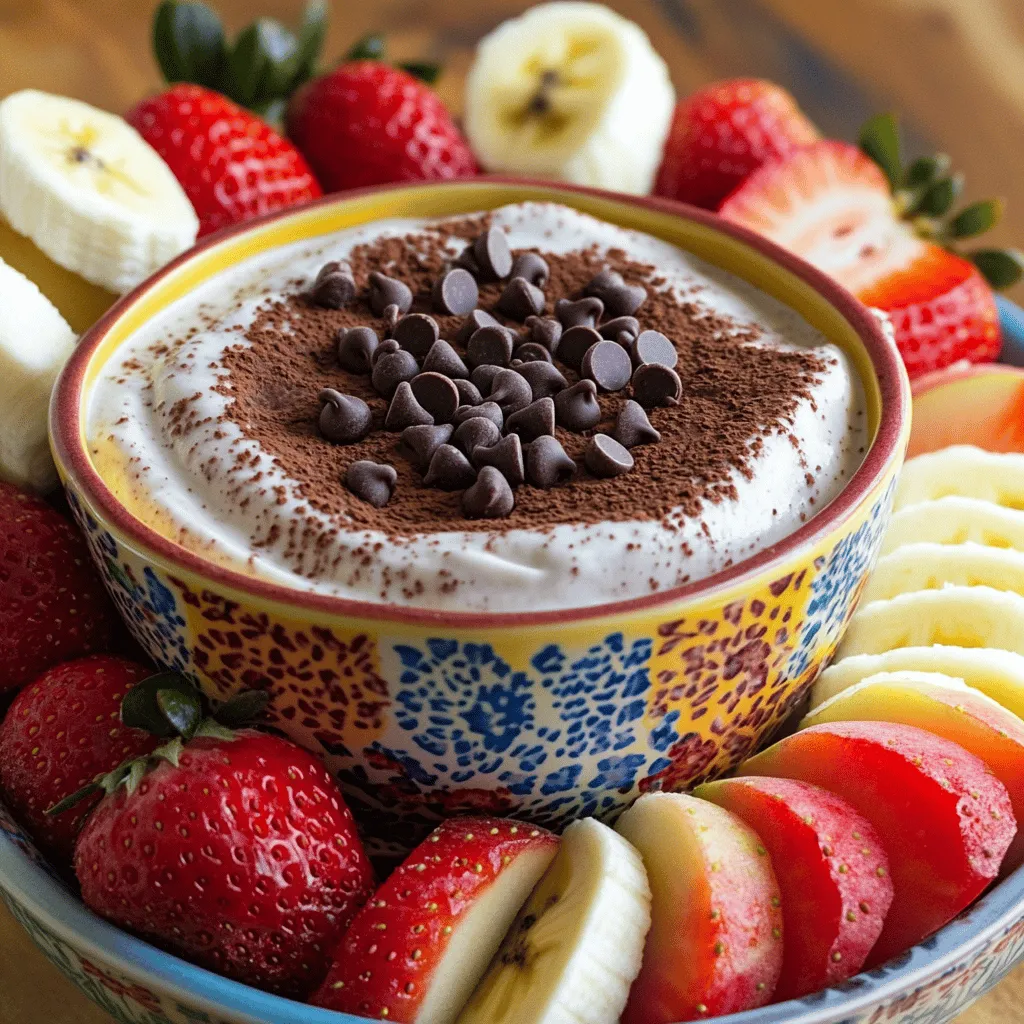
Craving something sweet and healthy? Try my High-Protein Brownie Batter Greek Yogurt Dip! This delicious treat is packed with protein,
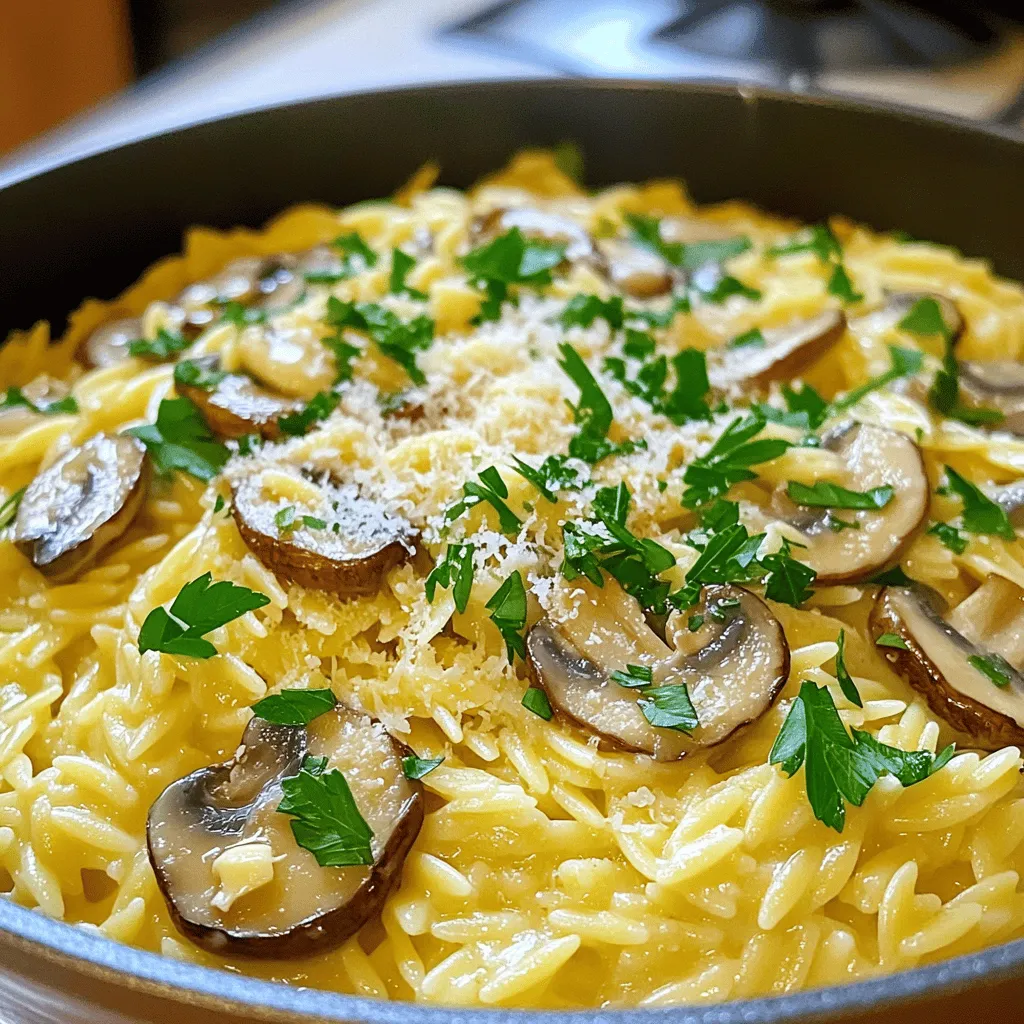
If you’re looking for a quick and delicious meal, you’ve found it! This Minute Garlic Butter Mushroom Orzo is packed
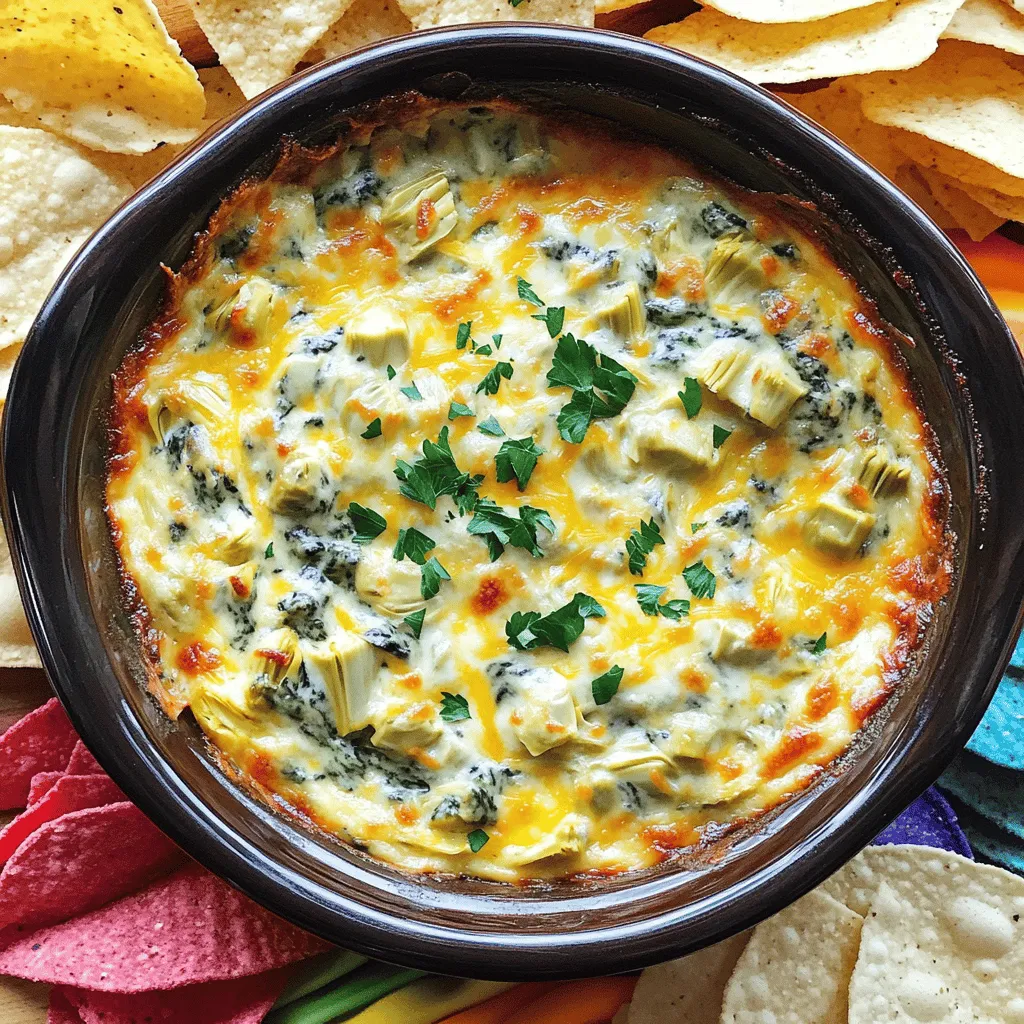
Ready to turn your appetizer game up a notch? My Slow Cooker Creamy Spinach Artichoke Dip will amaze your taste
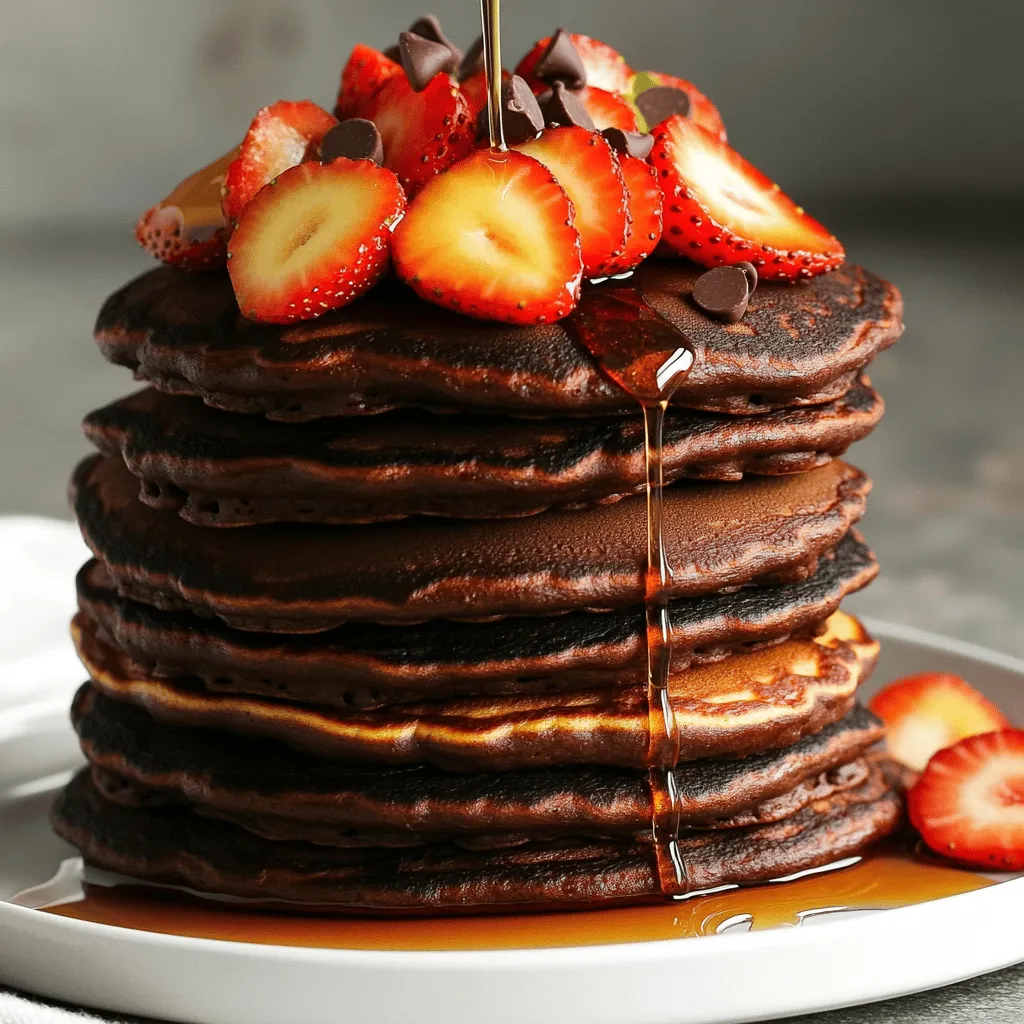
Get ready to delight your taste buds with my Fluffy Chocolate Strawberry Pancake Stack! These pancakes are soft, chocolatey, and
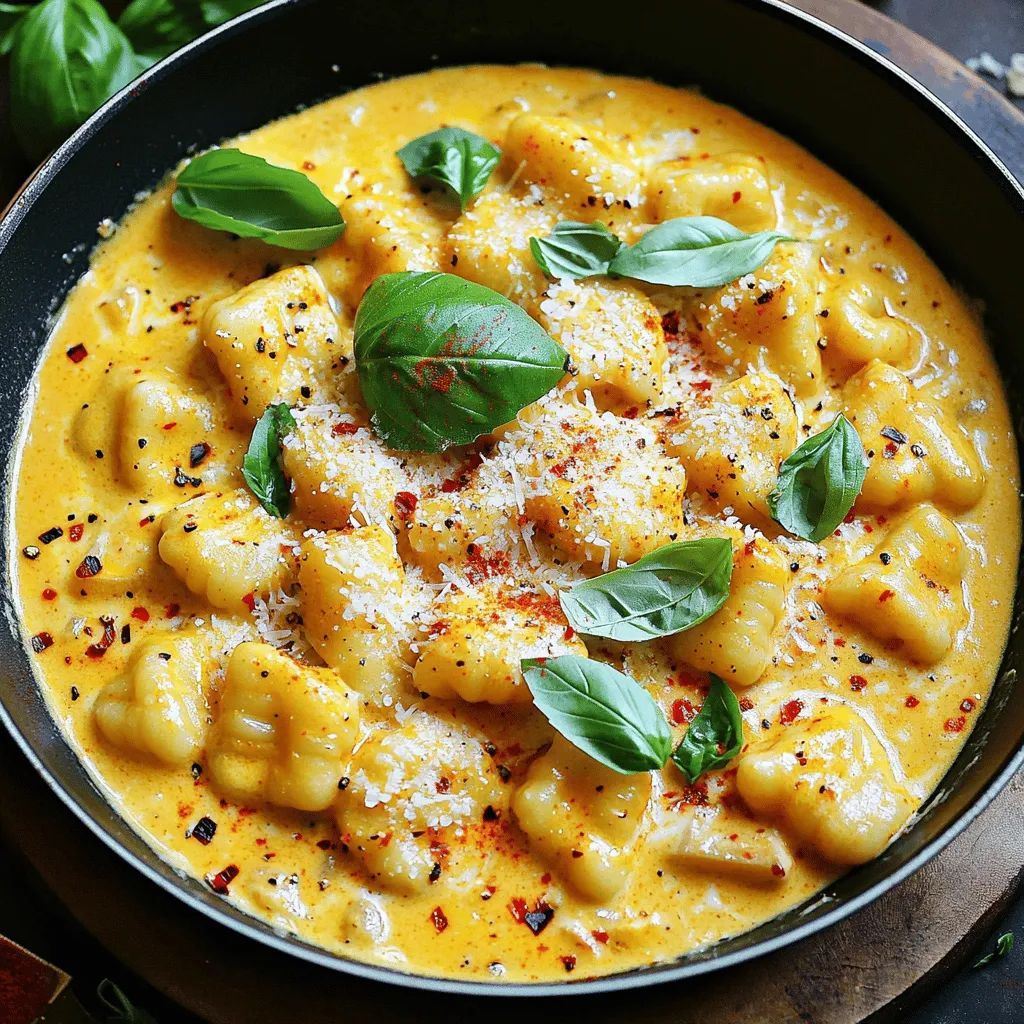
Are you ready to transform your dinner routine? This Creamy Roasted Red Pepper Gnocchi Skillet is a game-changer! I’ll guide
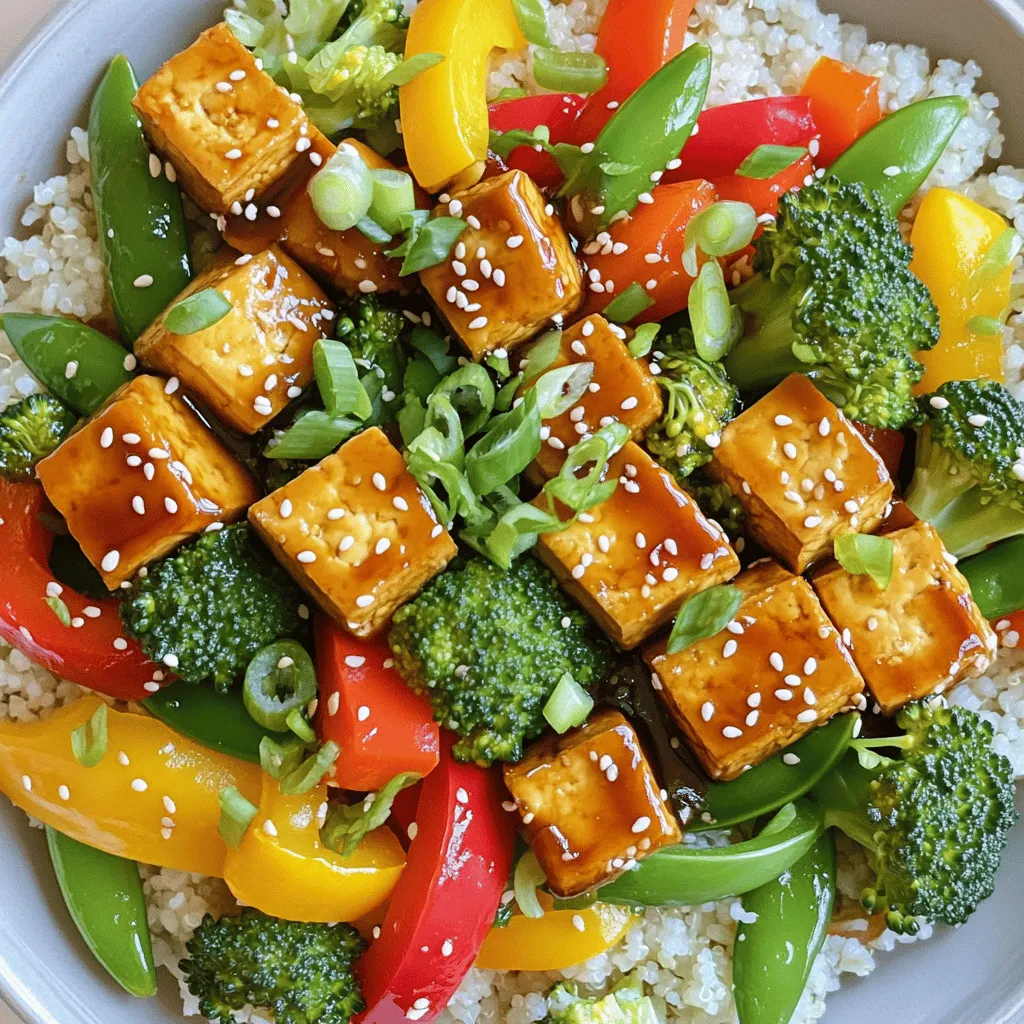
Looking for a quick and delicious meal? This Minute Teriyaki Tofu Stir-Fry is your answer! In just a few steps,
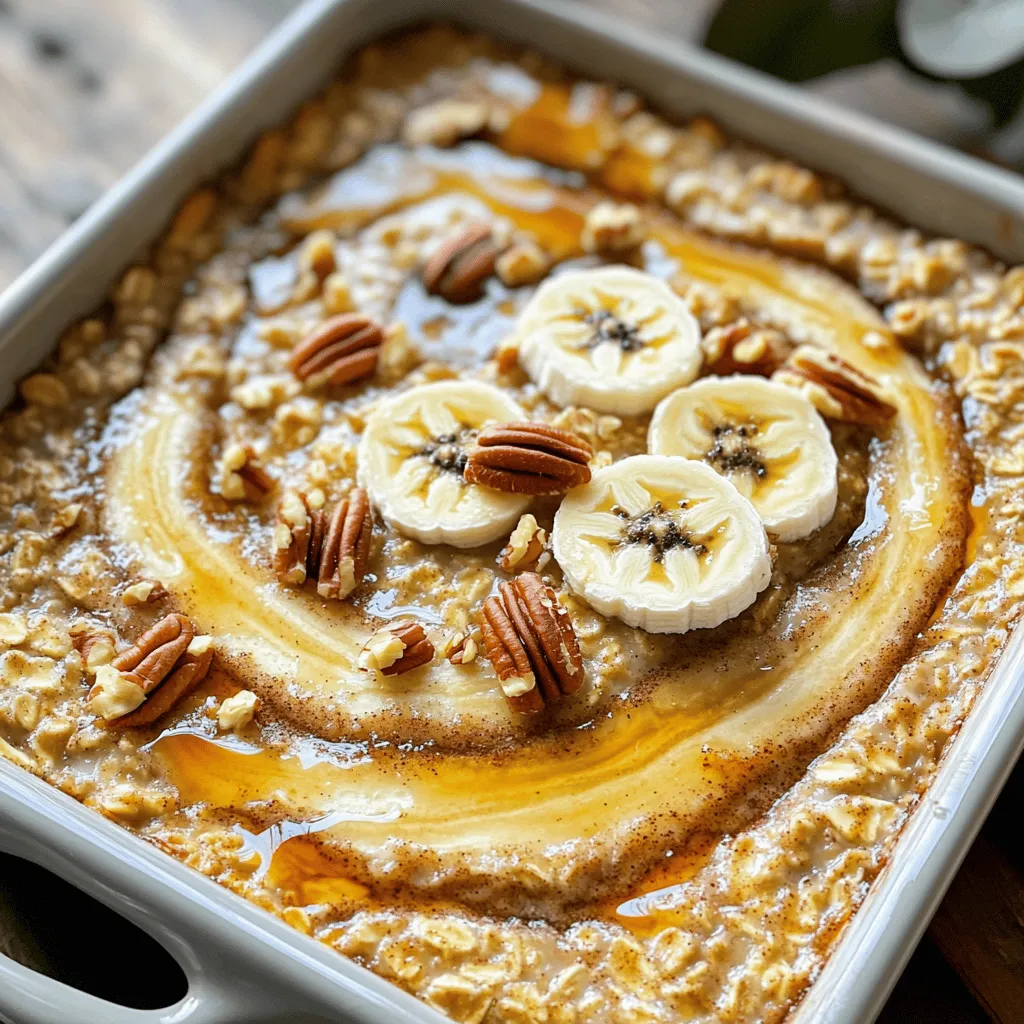
Craving a warm and comforting breakfast? Look no further than TikTok Cinnamon Roll Baked Oats! This simple and tasty recipe