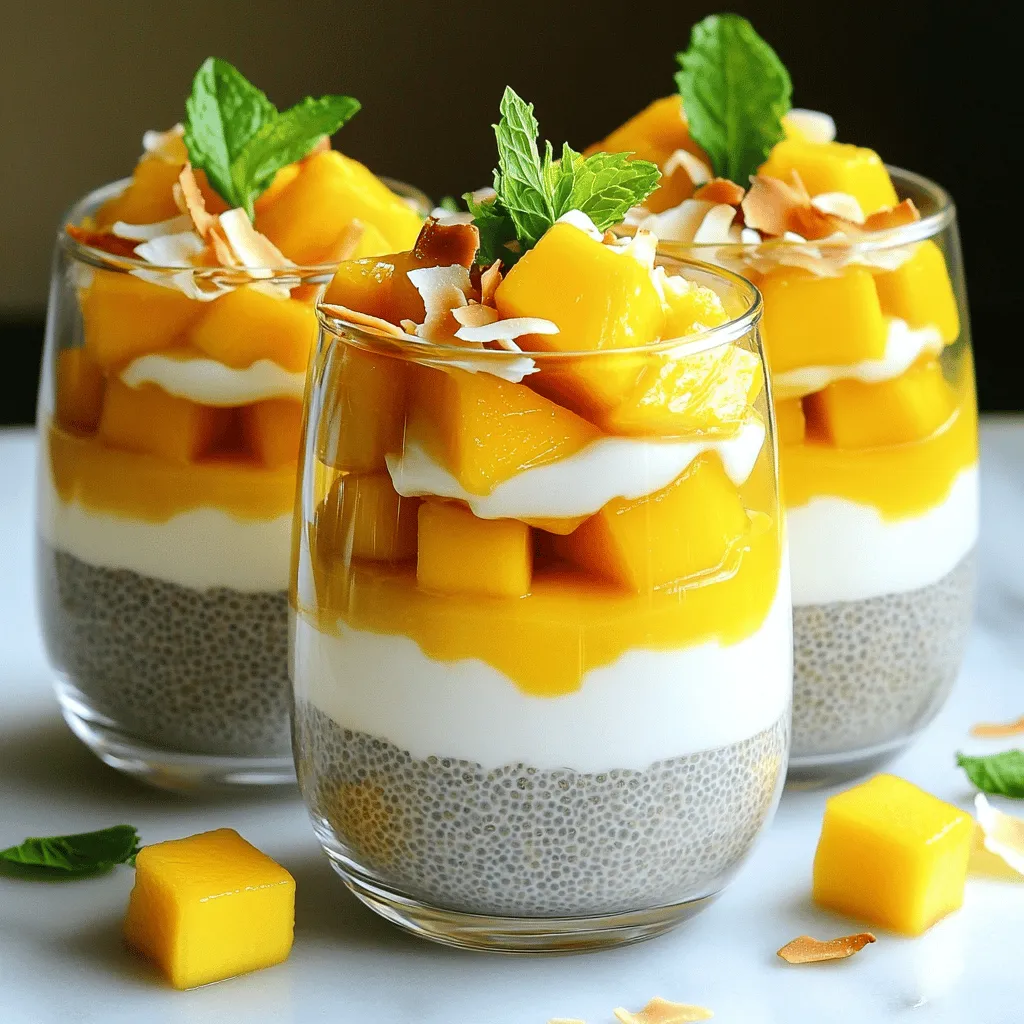
Mango Coconut Chia Pudding Healthy and Simple Recipe
Get ready to indulge in a tropical delight with my Mango Coconut Chia Pudding! This tasty treat is not only

Get ready to indulge in a tropical delight with my Mango Coconut Chia Pudding! This tasty treat is not only
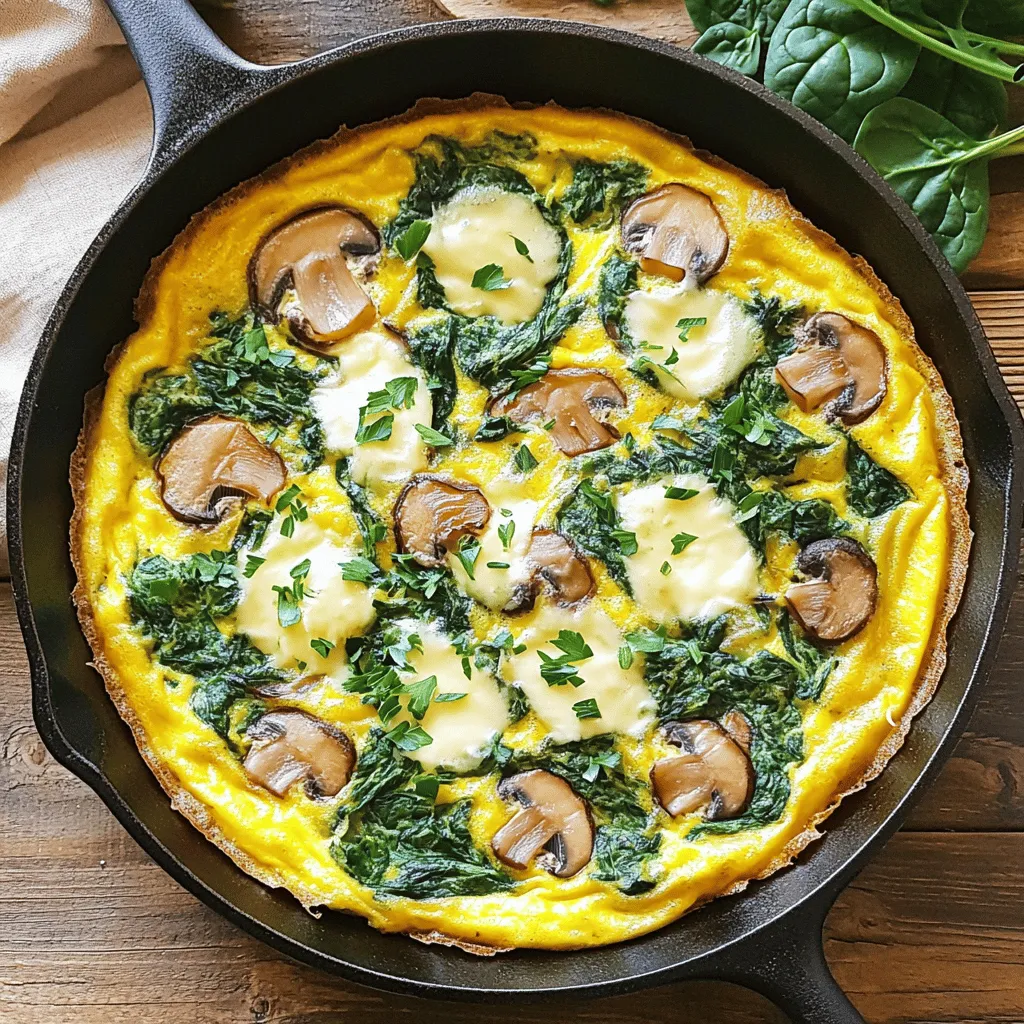
Looking for a simple, tasty meal that packs a punch? A Spinach Mushroom Swiss Frittata might just be what you

Looking for a quick and tasty treat? You’ll love these Chocolate Covered Peanut Clusters! They’re easy to make and perfect
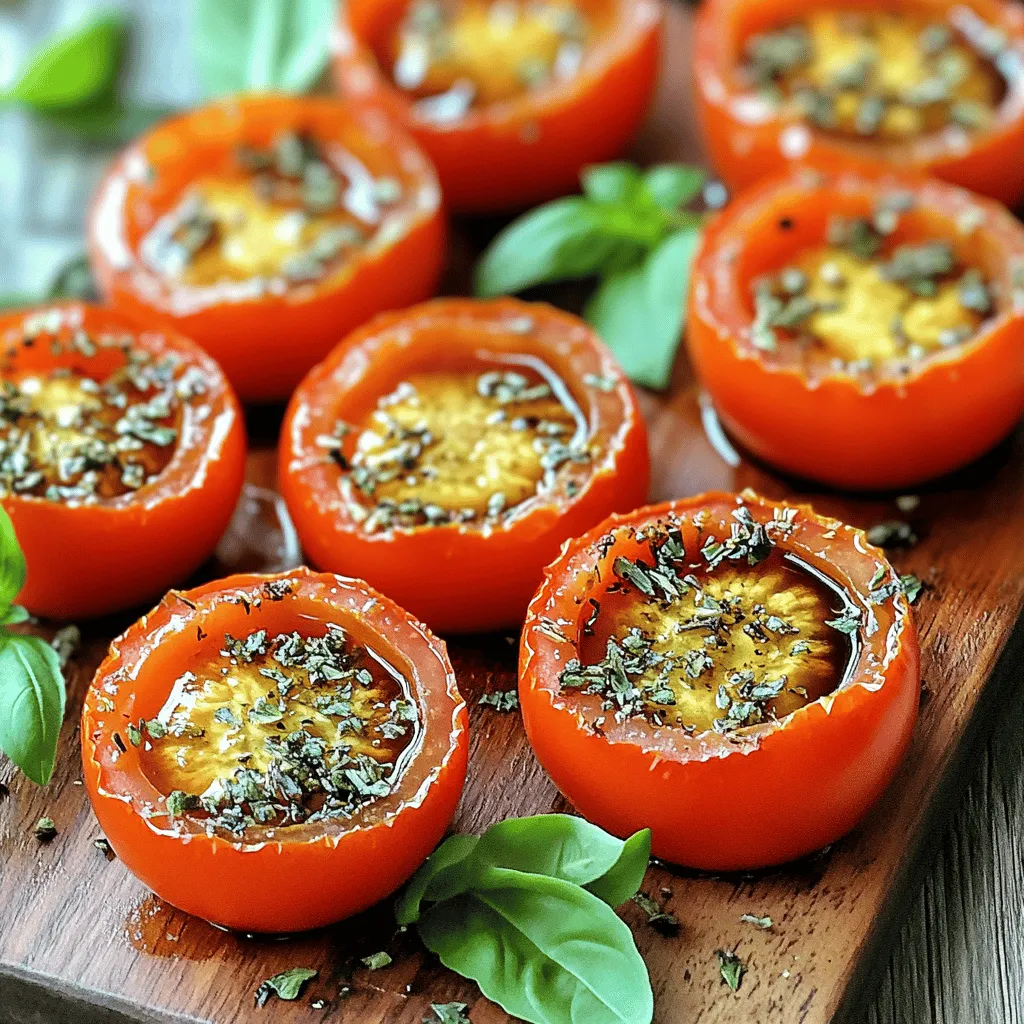
If you crave a dish that bursts with flavor, look no further. Italian Herb Roasted Tomatoes are a simple way
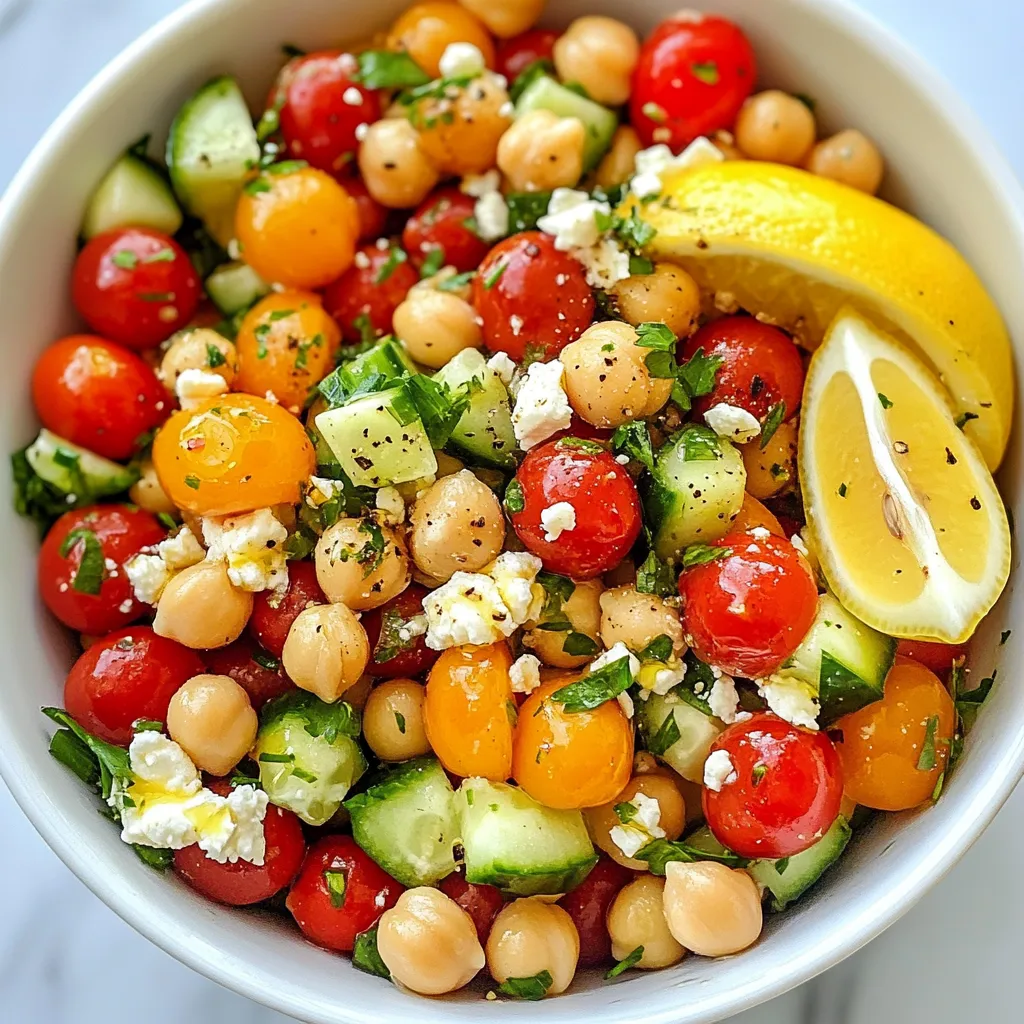
Looking for a dish that bursts with flavor and freshness? The Mediterranean Chickpea Salad hits the mark! It’s packed with
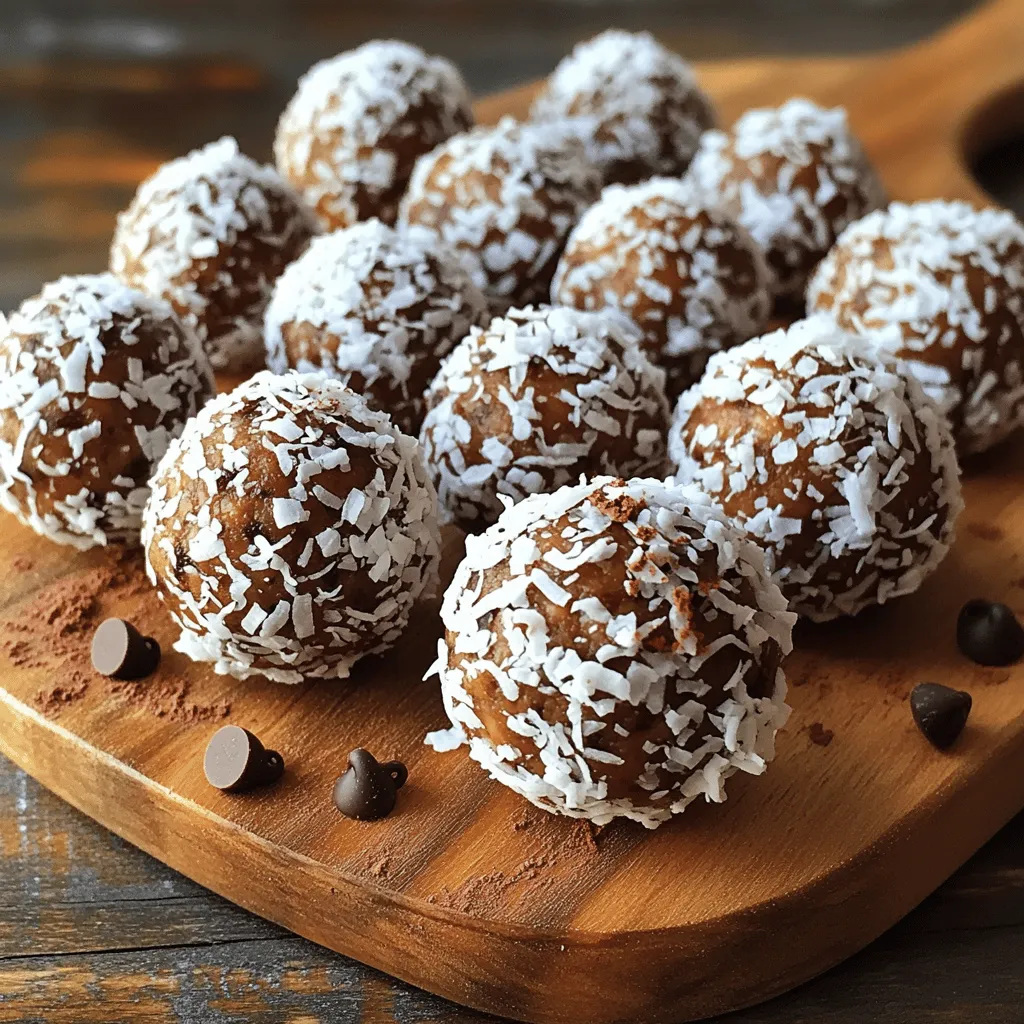
Looking for a quick, healthy snack that satisfies your sweet tooth? Try my Chocolate Coconut Energy Balls! Packed with wholesome
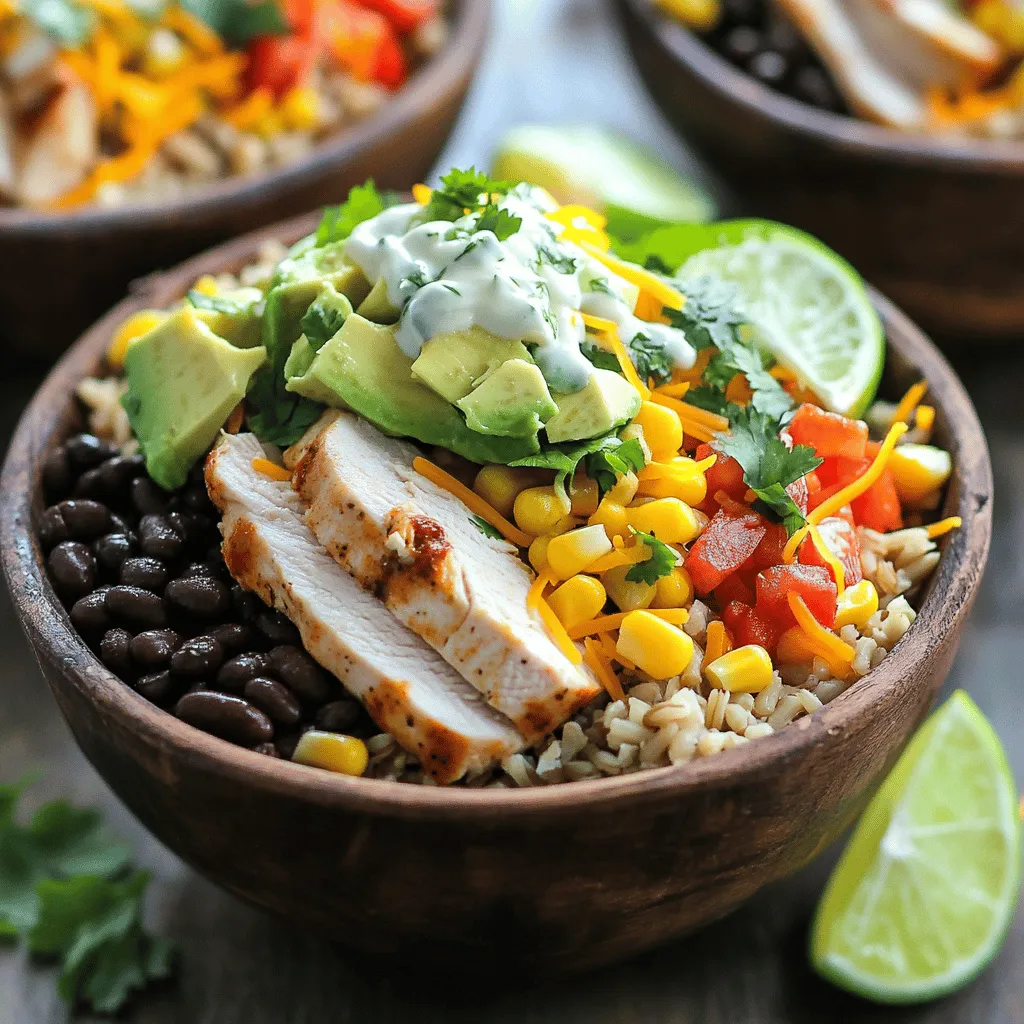
Are you ready to spice up your dinner routine? My Savory Southwest Chicken Burrito Bowls bring bold flavors and easy
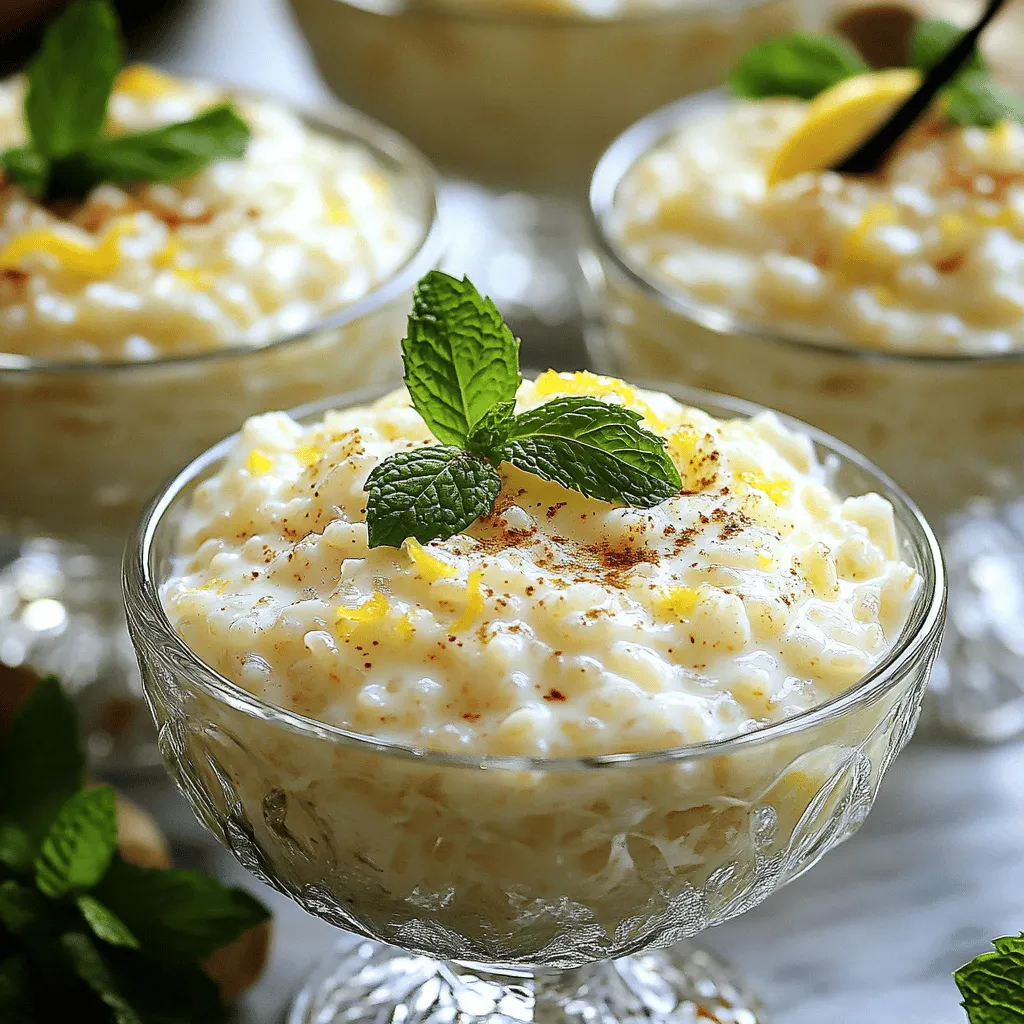
Looking for a comforting dessert that warms the heart? Try my Vanilla Bean Rice Pudding! This creamy treat combines sweet
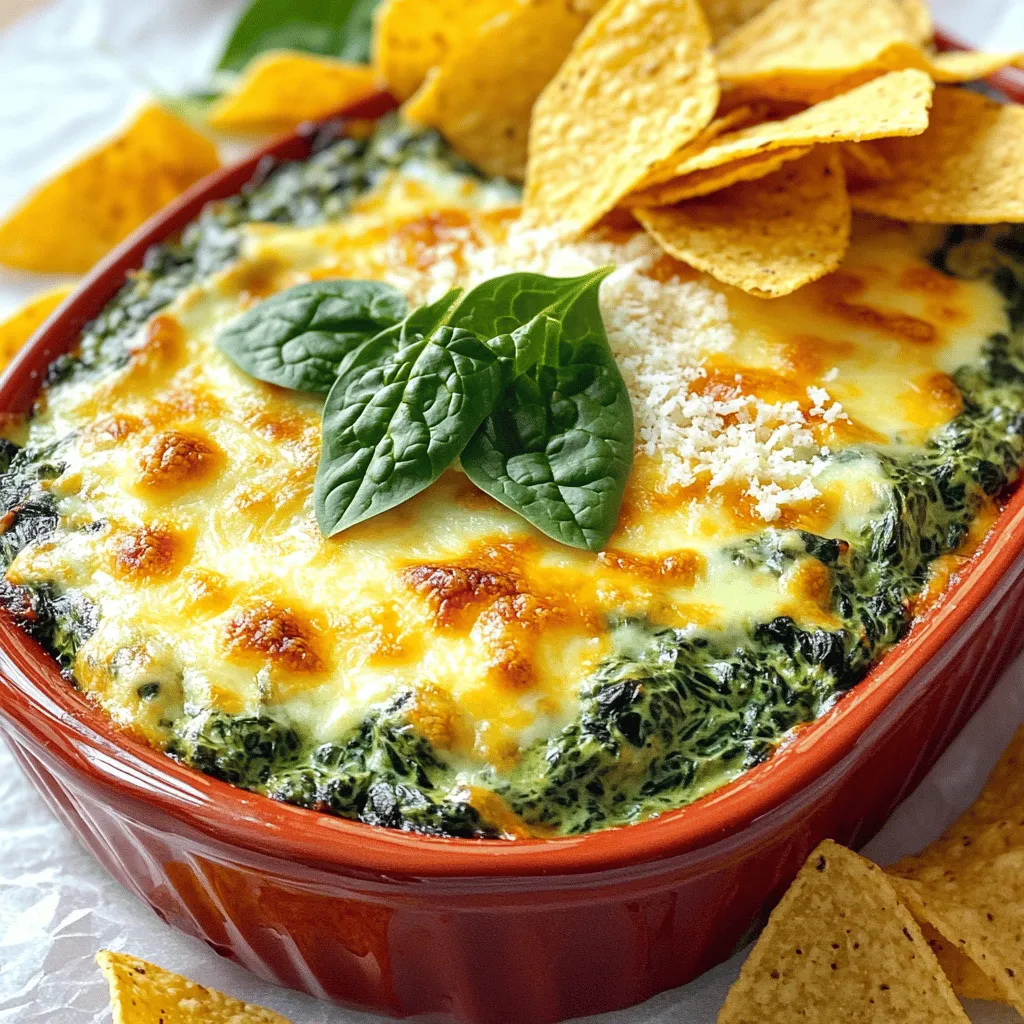
Looking for a dip that will wow your guests? Cheesy Baked Spinach Dip delivers tasty flavors and creamy textures in
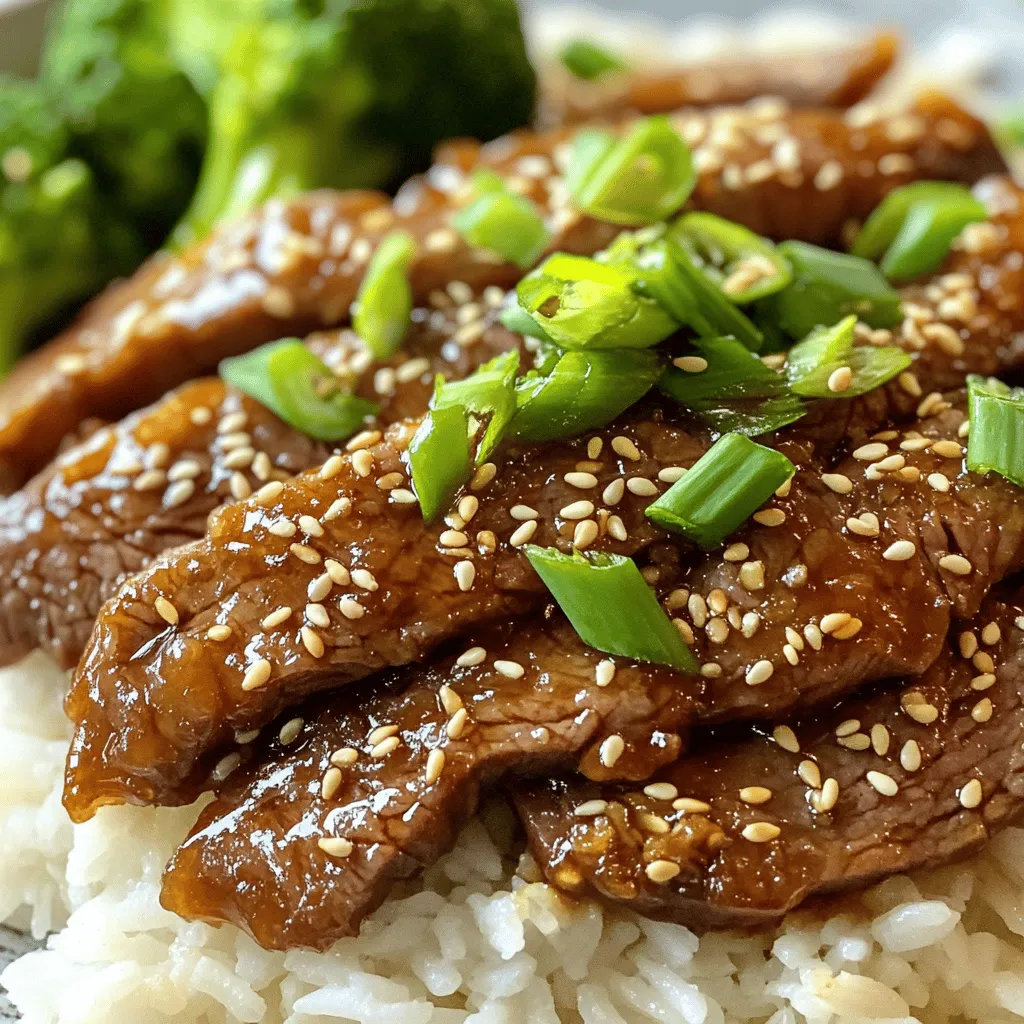
Looking for a dinner that combines sweet and savory flavors? Honey Garlic Sesame Beef is your answer. I’ll guide you