
Delicious Chocolate Hazelnut Crepe Cake Recipe
Craving something sweet and fun? This Delicious Chocolate Hazelnut Crepe Cake Recipe is your answer! You’ll impress friends and family

Craving something sweet and fun? This Delicious Chocolate Hazelnut Crepe Cake Recipe is your answer! You’ll impress friends and family

Get ready to spice up your dinner table with my Spicy Korean Chicken Lettuce Wraps! These wraps are packed with
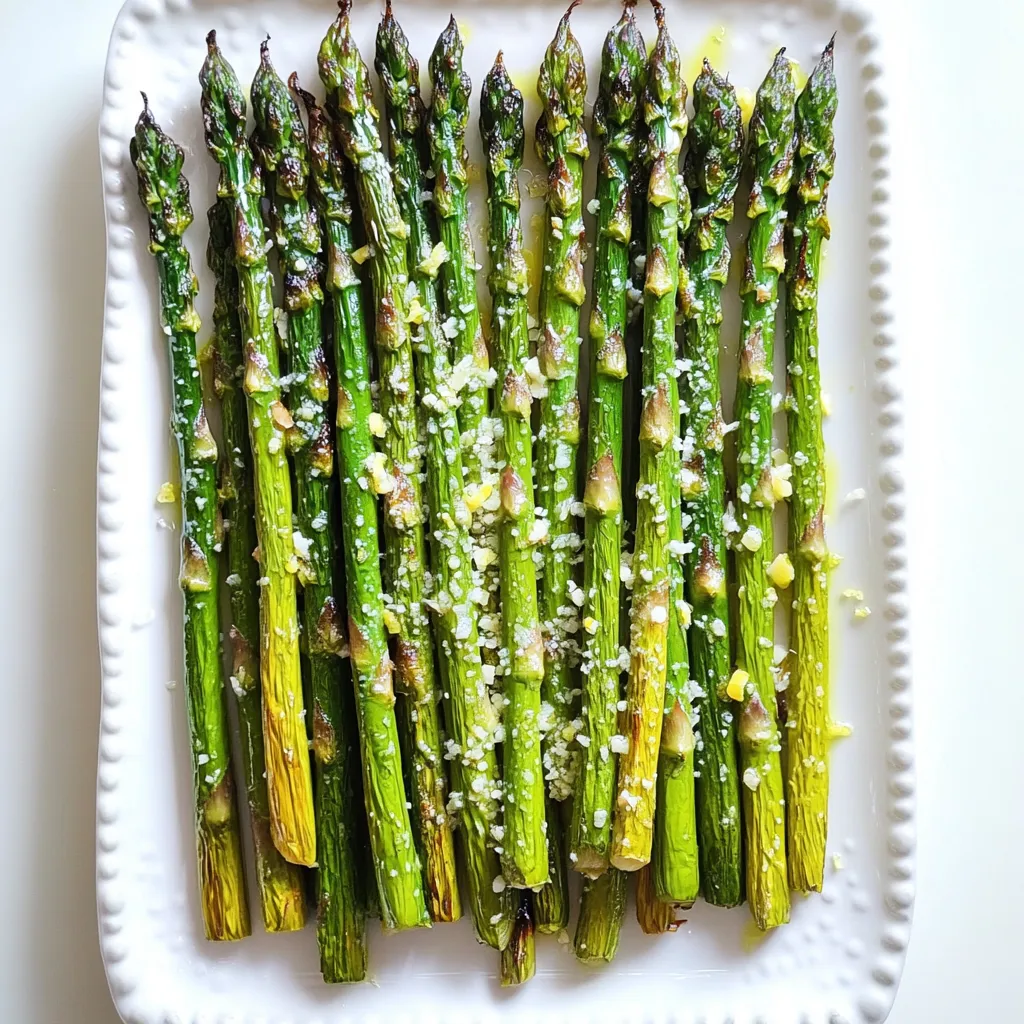
Looking for a quick, healthy dish that dazzles? Let’s dive into Lemon Garlic Roasted Asparagus! This simple recipe brings together
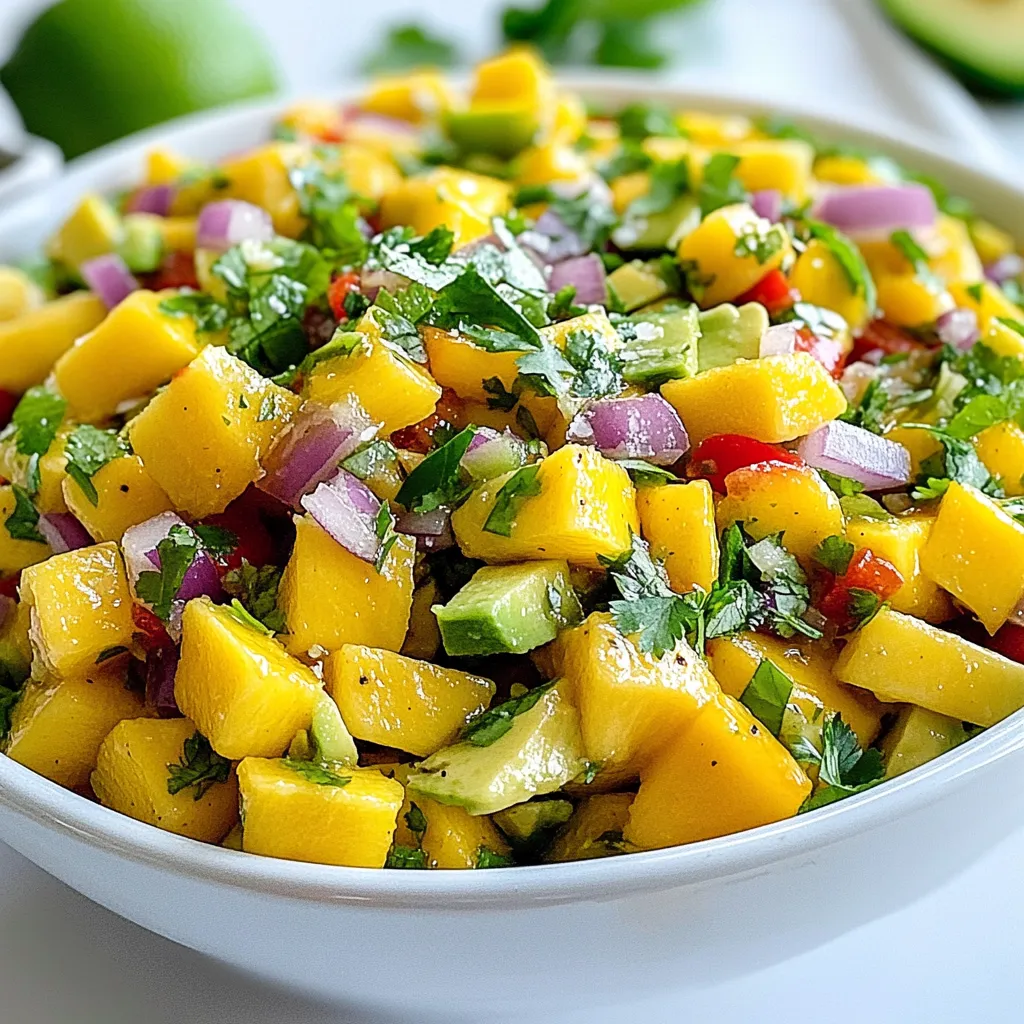
Looking for a fresh and tasty dish? Mango Avocado Salsa is a perfect choice! Packed with sweet mangoes, creamy avocados,

Are you ready for a quick and tasty dinner? Minute Chili Lime Fish Tacos are the perfect dish. They are
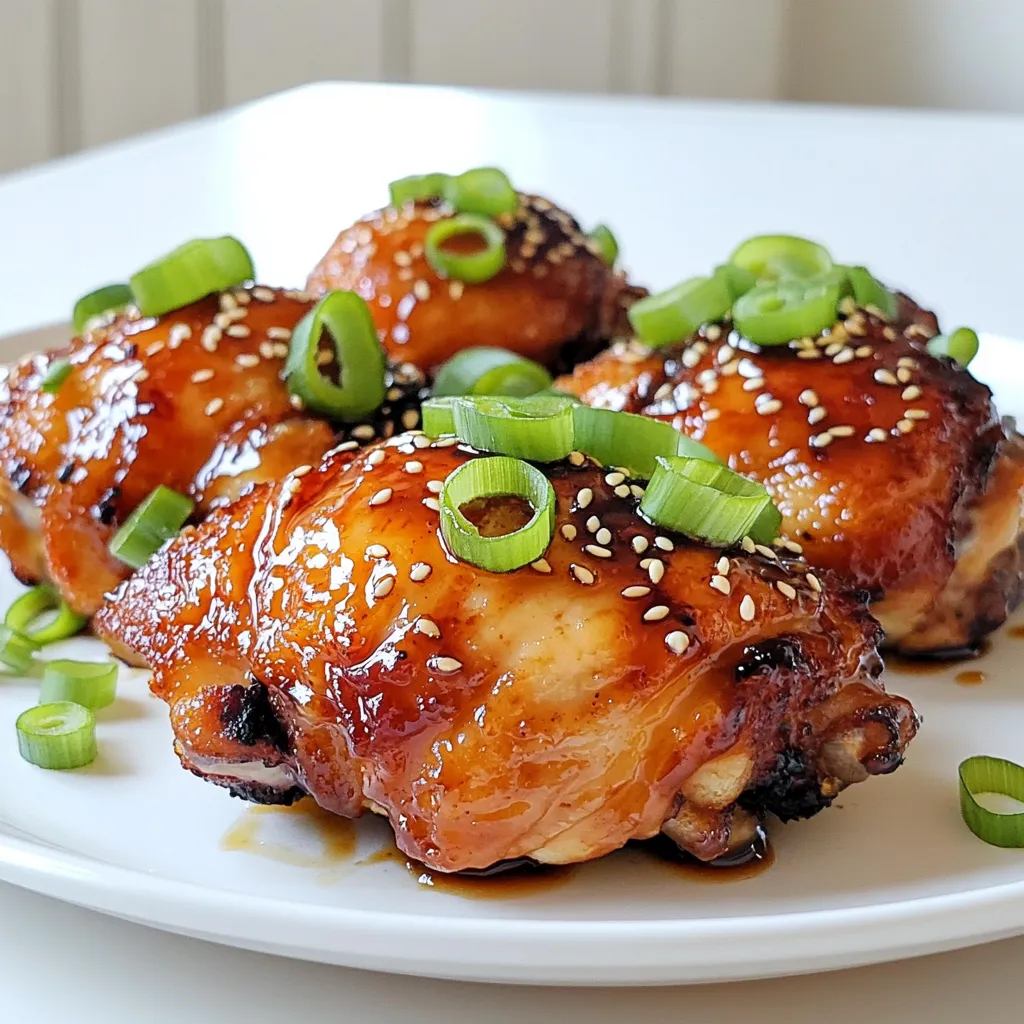
Welcome to a flavor-packed journey with Air Fryer Teriyaki Chicken Thighs! If you crave juicy, tender chicken coated in a

Are you ready to whip up a sweet treat without turning on the oven? In this post, I’ll guide you

Get ready for a tasty treat you won’t forget! Caramel Apple Stuffed Crescent Rolls are the perfect dessert. The sweet
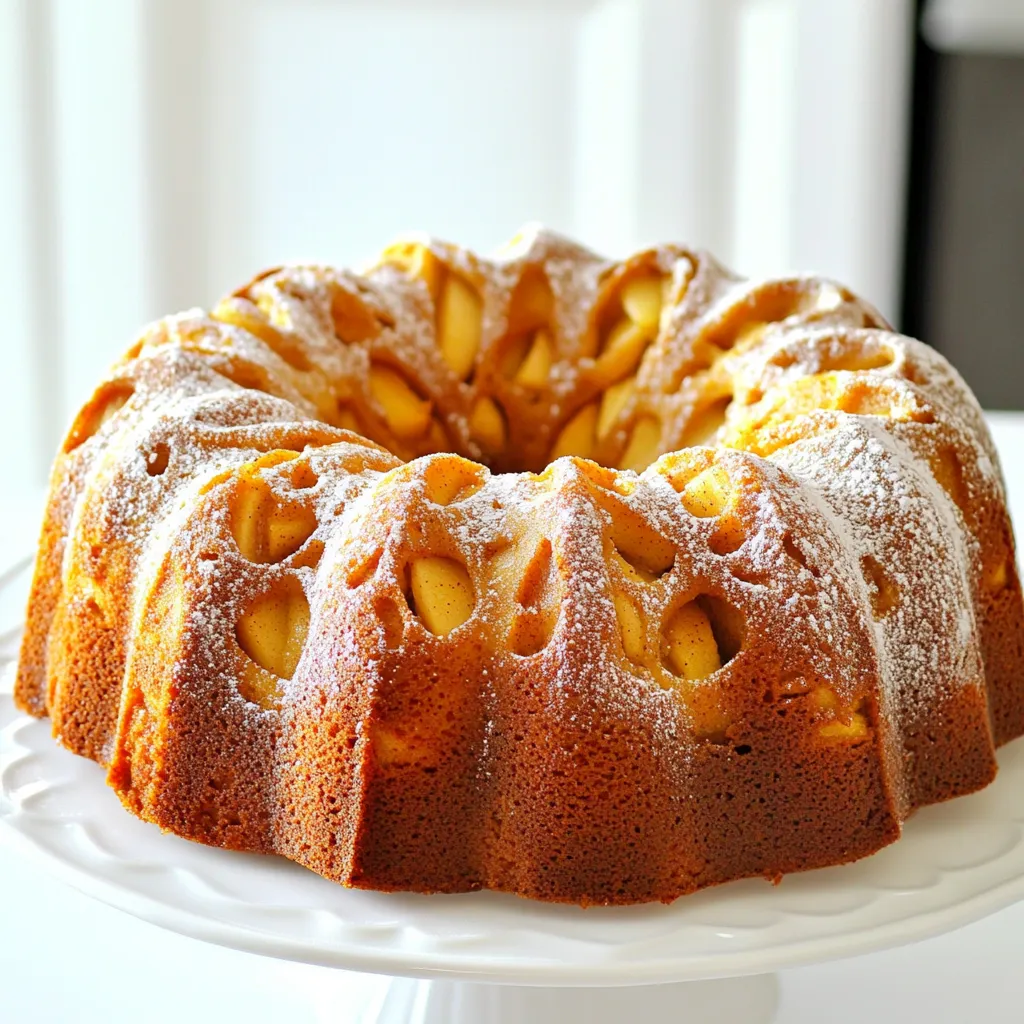
If you love the cozy flavors of fall, you’ll adore this Apple Cider Donut Cake! This easy recipe brings together

Welcome to the comforting world of Slow Cooker Creamy Broccoli Cheddar Soup Delight! If you’re looking for a quick and