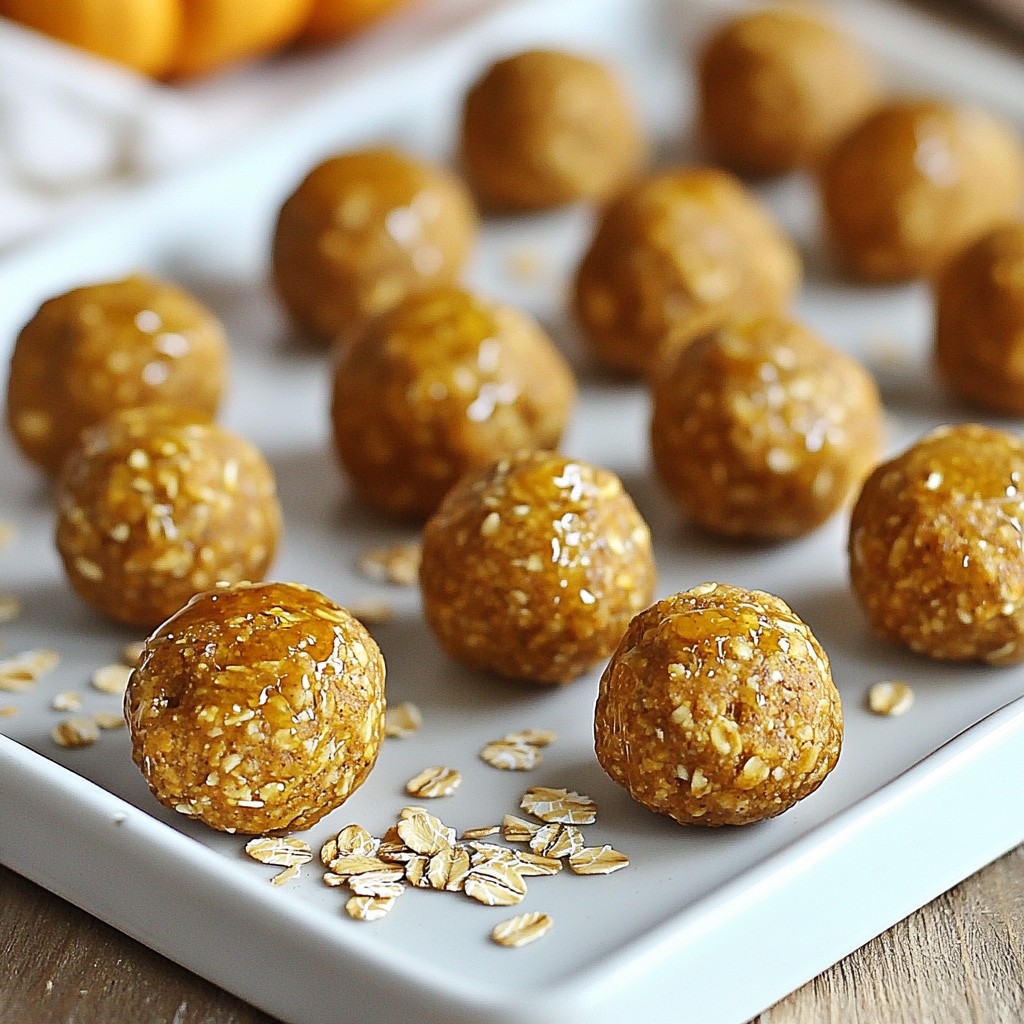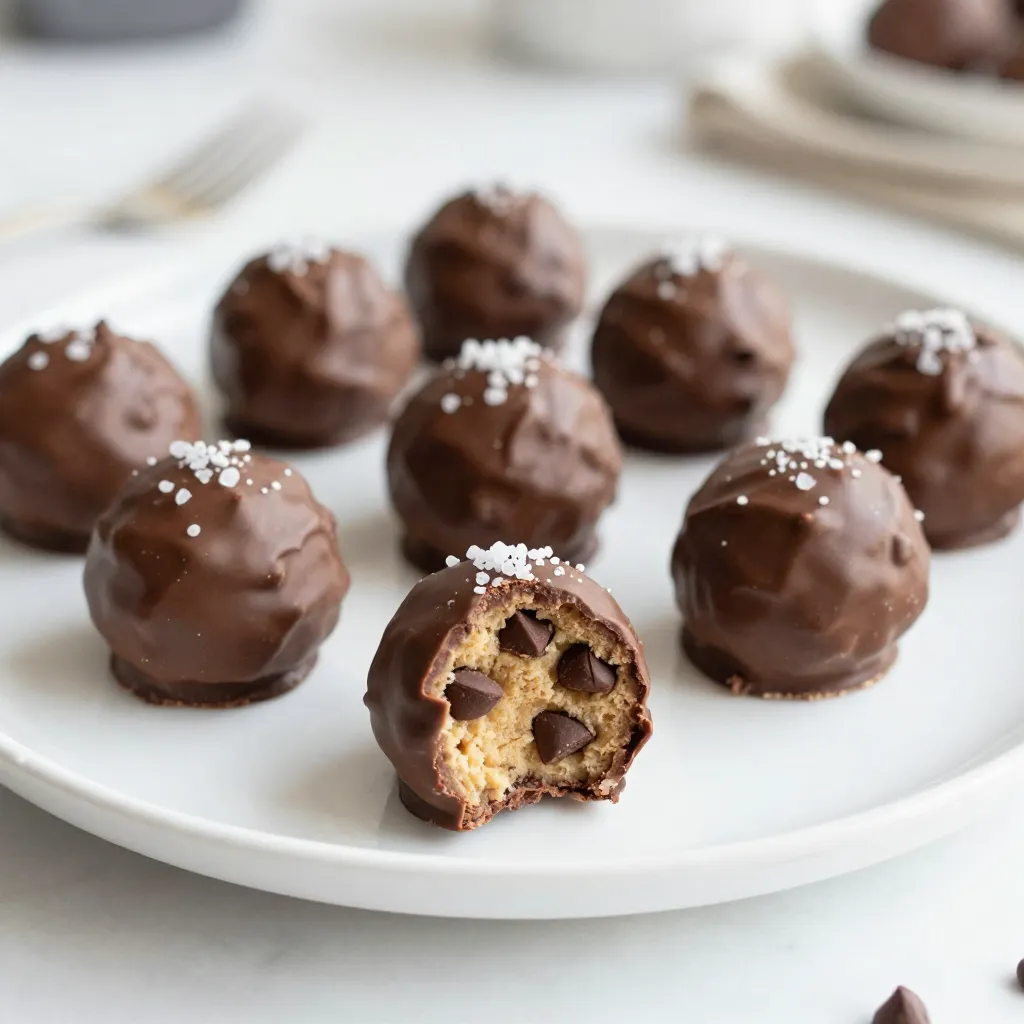
If you love dessert, you’ll adore these Chocolate Chip Cookie Dough Truffles! They are rich, tasty, and easy to make. I’ll share the right ingredients, simple steps, and some fun tips to ensure your treats turn out perfect. Plus, I’ll give you ideas to mix things up with flavors and toppings. Let’s dive in and make your sweet tooth very happy!
Why I Love This Recipe
- Decadent Flavor: These truffles combine the rich taste of chocolate chip cookie dough with a smooth chocolate coating, making every bite irresistible.
- Easy to Make: With simple ingredients and straightforward steps, this recipe is perfect for bakers of all skill levels.
- Perfect for Sharing: These bite-sized treats are ideal for parties, gatherings, or just to enjoy with family and friends.
- Customizable: You can easily add your favorite mix-ins or toppings, allowing you to personalize each truffle to your taste.
Ingredients
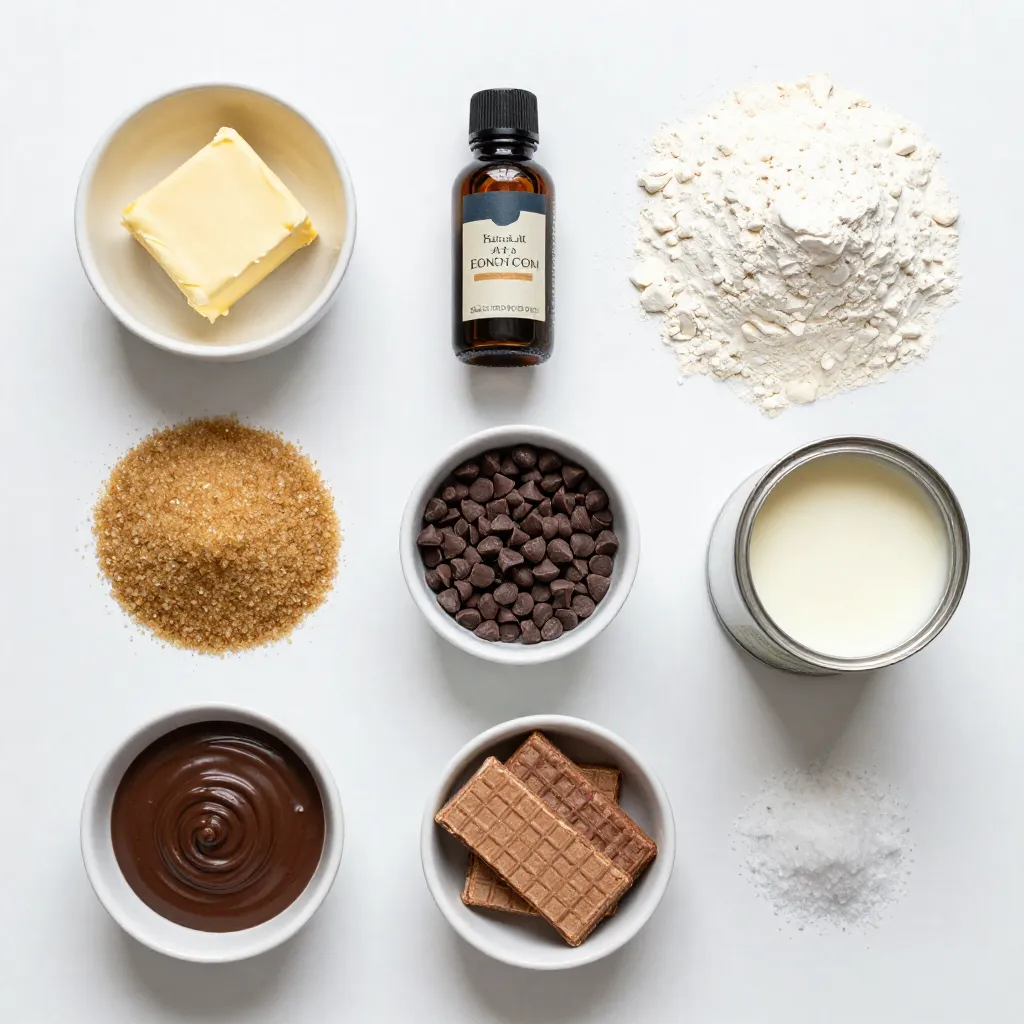
Complete list of ingredients
To make these tasty chocolate chip cookie dough truffles, you will need:
– 1 cup unsalted butter, softened
– 1 cup packed brown sugar
– ½ cup granulated sugar
– 2 teaspoons vanilla extract
– 2 cups all-purpose flour (heat-treated)
– 1 can (14 oz) sweetened condensed milk
– 1 cup mini chocolate chips
– 1 cup chocolate melting wafers (or chocolate chips) for coating
– Sea salt for garnish (optional)
Substitutions for key ingredients
If you need to swap some items, here are great options:
– Use coconut oil instead of butter for a dairy-free option.
– Swap brown sugar with coconut sugar for a more natural sweetener.
– Try almond extract instead of vanilla for a unique twist.
– If you prefer, use dark chocolate chips instead of mini chips.
Importance of heat-treated flour
Heat-treated flour is key for these truffles. It helps kill any harmful bacteria. Raw flour can cause stomach issues if you eat it. To heat-treat flour, spread it on a baking sheet. Bake it at 350°F (175°C) for about 5-7 minutes. Let it cool before mixing it into your dough. This step keeps your truffles safe and delicious.
Step-by-Step Instructions
Mixing the dough
To start, grab a large mixing bowl. Add the softened butter, brown sugar, and granulated sugar. Beat these together until they become light and fluffy. This usually takes about 2 to 3 minutes. Next, pour in the vanilla extract and mix it in well. Now, it’s time for the flour. Remember to use heat-treated flour. To make it, spread the flour on a baking sheet and bake it at 350°F for 5 to 7 minutes. Let it cool before using it. Gradually mix in the flour until everything is combined. Pour in the sweetened condensed milk and stir until it forms a dough. Finally, fold in the mini chocolate chips until they are evenly spread throughout the dough.
Forming and freezing the dough balls
Now that you have your dough ready, it’s time to shape it. Use your hands to roll the dough into small balls, about 1 inch in size. Place these balls on a parchment-lined baking sheet. Make sure to give them some space. Next, pop the baking sheet into the freezer. Let the dough balls chill for about 30 minutes. This step is crucial because it helps the balls firm up, making them easier to coat later.
Melting and coating with chocolate
While the dough balls are freezing, prepare the chocolate coating. Take a microwave-safe bowl and add the chocolate melting wafers or chocolate chips. Heat them in the microwave in 30-second intervals. Stir between each interval until the chocolate is fully melted. Once your dough balls are firm, it’s time to dip them. Use a fork to dip each ball into the melted chocolate. Make sure to coat it evenly. Let any excess chocolate drip off before placing the truffles back on the baking sheet. If you want, sprinkle a little sea salt on top for a nice sweet and salty touch. Finally, refrigerate the truffles for 15 to 20 minutes to let the chocolate set. Now, you can enjoy these delicious treats!
Tips & Tricks
Common mistakes to avoid
One big mistake is not using heat-treated flour. Raw flour can have germs, so always heat it. Another mistake is melting chocolate too fast. Slow and steady is best. If you rush, the chocolate can burn. Also, don’t skip chilling the dough balls. This helps them hold their shape when dipped.
How to achieve the perfect truffle consistency
The dough should feel soft but not sticky. If it’s too wet, add a bit more heat-treated flour. If it’s too dry, mix in a touch of sweetened condensed milk. When you roll the balls, aim for about 1 inch in size. This size gives you the right balance of cookie dough and chocolate.
Storing and serving suggestions
Store the truffles in an airtight container. They last about a week in the fridge. For longer storage, keep them in the freezer. Just let them thaw before serving. These truffles taste great cold or at room temperature. Serve them on a pretty plate for a fun treat!
Pro Tips
- Use Heat-Treated Flour: Make sure to heat-treat your flour to eliminate any potential bacteria, ensuring your cookie dough is safe to eat raw.
- Chill the Dough Balls: Freezing the dough balls before dipping them in chocolate helps them maintain their shape and prevents them from falling apart during coating.
- Perfect Chocolate Coating: When melting chocolate, do it in short intervals and stir in between to achieve a smooth and glossy finish.
- Experiment with Toppings: Feel free to get creative with toppings! Try adding crushed nuts, sprinkles, or different types of sea salt to enhance the flavor and presentation.
Variations
Flavor variations
You can change the flavor of your truffles easily. Try adding chopped nuts for crunch. Walnuts or pecans work well. You can also swap out the mini chocolate chips. Use dark chocolate or white chocolate instead. For a fun twist, add a splash of almond extract. This gives a rich flavor that pairs nicely with chocolate.
No-bake variations
Want a quick treat? You can skip the rolling and freezing step. Instead, press the dough into a lined pan. Once set, cut it into small squares. This gives you cookie dough bars. They taste just as good and are ready faster!
Creative coating ideas
Coating your truffles can be fun and creative! Instead of just chocolate, try these ideas. Roll the truffles in colorful sprinkles. This adds a pop of color. You can also crush cookies, like Oreos, and coat the truffles in them. If you like a salty touch, add crushed pretzels. Each coating adds a new twist to your truffle!
Storage Info
Best practices for storing truffles
To keep your chocolate chip cookie dough truffles fresh, store them in an airtight container. Use parchment paper between layers to avoid sticking. This method keeps them safe and tasty.
Shelf life in the fridge vs. freezer
In the fridge, truffles last about one week. If you want to store them longer, use the freezer. They can stay good for up to three months in the freezer. Just make sure to wrap them well to prevent freezer burn.
Tips for reheating or refreshing truffles
If your truffles lose some of their shine, don’t worry! You can refresh them. Let them sit at room temperature for about 10 minutes. If you want to warm them up, use the microwave. Heat them in 10-second bursts to avoid melting the chocolate coating. Enjoy your truffles at their best!
FAQs
Can I use regular flour instead of heat-treated flour?
No, you should not use regular flour. Regular flour can have harmful bacteria. Heat-treated flour is safe. To heat-treat flour, spread it on a baking sheet. Bake it at 350°F for 5-7 minutes. Let it cool before using. This process makes your truffles safe to eat.
How do I make these truffles egg-free?
These truffles are already egg-free! You do not need eggs for this recipe. The sweetened condensed milk gives the dough a creamy texture. This keeps the truffles rich and tasty without eggs. So, no worries about eggs!
What is the best way to melt chocolate?
The best way to melt chocolate is by using a microwave. Place chocolate in a microwave-safe bowl. Heat it in 30-second intervals. Stir the chocolate between each interval. This helps it melt evenly. You can also melt chocolate on a stove. Use a double boiler for even heating. Always stir to prevent burning.
This blog post covered a lot about making truffles. We talked about the key ingredients, how to mix and freeze the dough, and tips for success. Remember to use heat-treated flour for safety. We also explored fun variations like adding nuts or trying no-bake options.
Storage is key to keeping your truffles fresh. Use what you learned here to create tasty treats. Enjoy the process, and share them with friends! Your truffle game is now stron