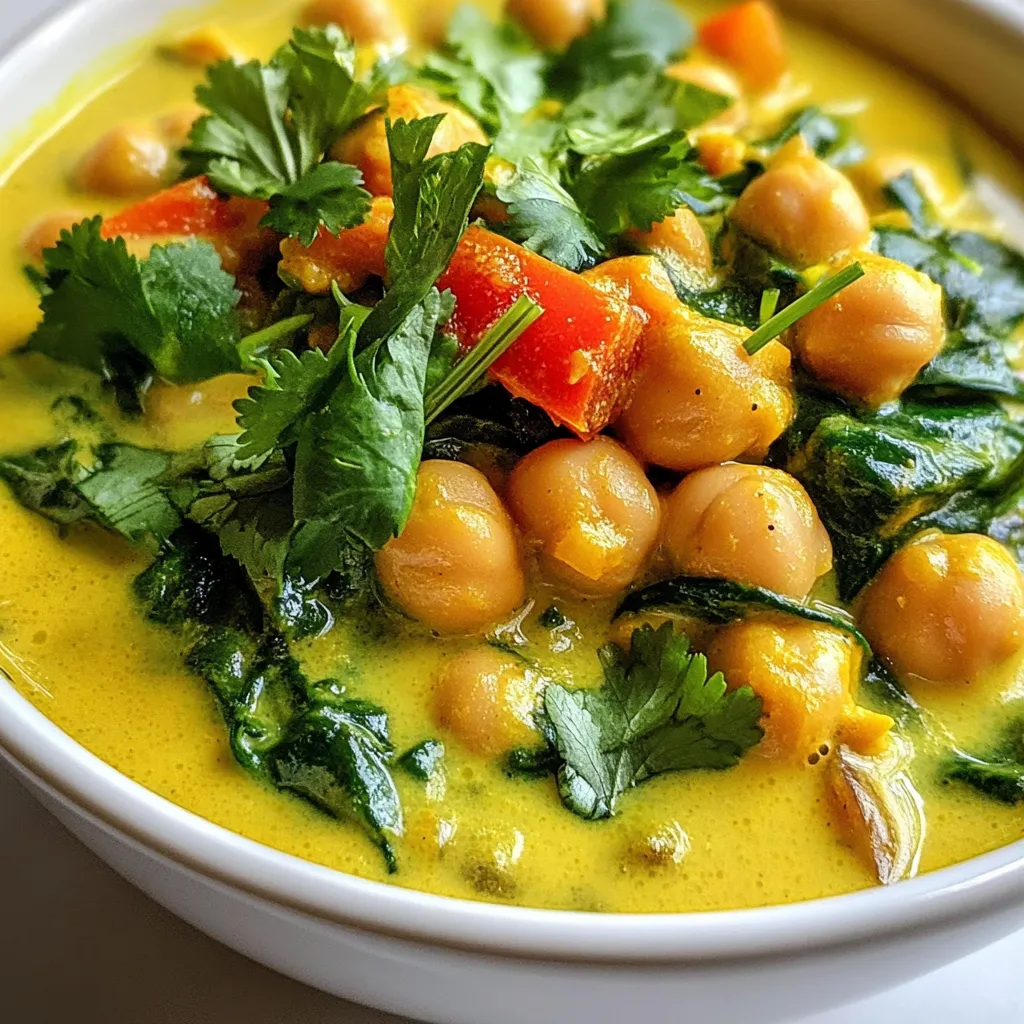
Welcome to a vibrant world of flavor with my Coconut Curry Chickpeas recipe! This dish is not only easy to make, but it’s also bursting with rich, satisfying tastes. Whether you’re a seasoned cook or just starting your kitchen journey, you’ll love the simplicity of this recipe. Let’s dive into the key ingredients and steps that will have your taste buds singing in no time!
Why I Love This Recipe
- Flavorful and Aromatic: This coconut curry chickpeas dish is bursting with vibrant flavors from the spices, garlic, and ginger, creating a comforting and aromatic meal.
- Quick and Easy: With just a few simple steps and minimal prep time, this recipe is perfect for a weeknight dinner or a quick lunch.
- Healthy and Nutritious: Packed with protein from chickpeas and nutrients from spinach and bell peppers, this dish is both filling and nutritious.
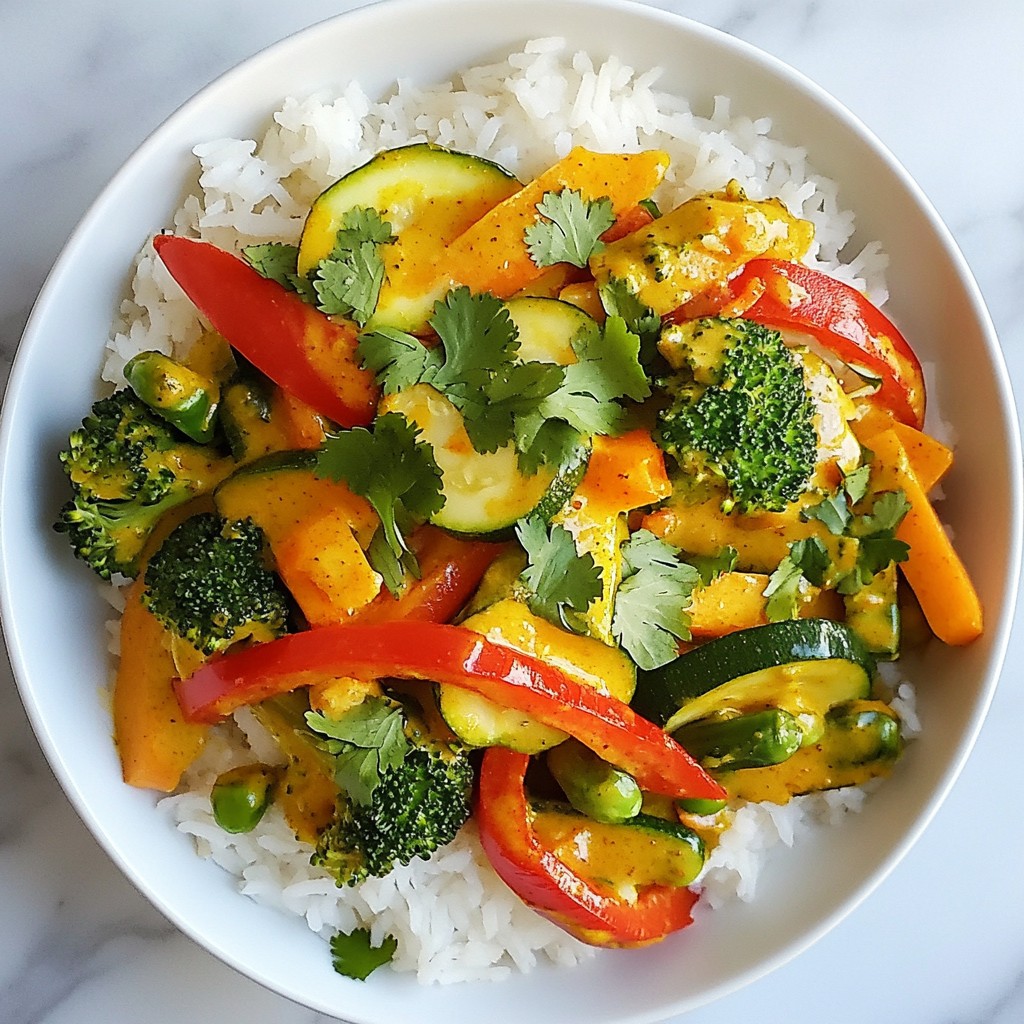
- Versatile Serving Options: This curry pairs beautifully with rice or quinoa, allowing you to customize your meal according to your preferences.
Ingredients
List of Ingredients for Coconut Curry Chickpeas
– 2 cans (15 oz each) chickpeas, drained and rinsed
– 1 can (14 oz) coconut milk
– 1 tablespoon coconut oil
– 1 medium onion, diced
– 3 cloves garlic, minced
– 1 tablespoon fresh ginger, grated
– 1 tablespoon curry powder
– 1 teaspoon ground cumin
– 1 teaspoon turmeric
– 1 teaspoon chili powder (adjust to taste)
– 1 red bell pepper, diced
– 1 cup spinach, fresh or frozen
– Salt and pepper to taste
– Fresh cilantro, chopped (for garnish)
– Cooked rice or quinoa (for serving)
Key Ingredients Explained (Chickpeas, Coconut Milk, Spices)
Chickpeas are the star of this dish. They add protein and fiber. They also soak up all the tasty flavors. Coconut milk gives the curry its rich and creamy texture. It adds sweetness and depth. The spices bring warmth and color. Curry powder, cumin, turmeric, and chili powder create a balance of flavors. Each spice plays a role, making the dish vibrant and exciting.
Substitutions for Common Ingredients
If you can’t find chickpeas, you can use lentils instead. They cook faster and still provide protein. For coconut milk, almond or soy milk can work, but they won’t taste as rich. You might want to add a bit of nut butter for creaminess. If you don’t have red bell pepper, use any color pepper you have. You can also skip spinach or use kale instead. Each change can bring a new flavor twist to your curry.

Step-by-Step Instructions
Preparation Steps Overview
First, gather all your ingredients. You need chickpeas, coconut milk, spices, and fresh veggies. Make sure to drain and rinse the chickpeas. Dice the onion and red bell pepper. Mince the garlic and grate the ginger. This prep will make cooking easier.
Detailed Cooking Instructions
1. Heat the oil: Start by heating 1 tablespoon of coconut oil in a large pot over medium heat.
2. Sauté the onion: Add the diced onion. Cook it for about 5 minutes until it turns soft and clear.
3. Add garlic and ginger: Stir in the minced garlic and grated ginger. Cook for another 1-2 minutes until you smell the great aroma.
4. Toast the spices: Add curry powder, ground cumin, turmeric, and chili powder. Mix well and toast the spices for 1 minute.
5. Pour in the coconut milk: Now, add the can of coconut milk and bring it to a gentle simmer.
6. Add chickpeas and pepper: Stir in the drained chickpeas and diced red bell pepper. Make sure everything is coated in the creamy sauce.
7. Simmer the curry: Let it simmer for 15-20 minutes. Stir occasionally to blend the flavors.
8. Add spinach: If you use fresh spinach, add it in the last 5 minutes. If frozen, add it with the chickpeas.
9. Season and serve: Taste the curry and add salt and pepper as needed. Serve it over cooked rice or quinoa. Top with fresh cilantro for a nice touch.
Tips for Perfect Execution
– Use fresh spices for better flavor.
– Adjust the chili powder to control heat.
– Stir often to prevent sticking.
– Garnish with cilantro right before serving.
– Serve with a side of rice or quinoa for a full meal.
Tips & Tricks
Best Practices for Cooking Chickpeas
– Use canned chickpeas for quick meals. They save time and are easy to use.
– Always drain and rinse canned chickpeas. This helps remove excess sodium.
– If using dried chickpeas, soak them overnight. This cuts down cooking time.
– Cook dried chickpeas until they are tender. A pressure cooker can speed this up.
How to Enhance Flavor Profiles
– Toast spices before adding coconut milk. This boosts their flavor and aroma.
– Add a splash of lime juice before serving. It brightens the dish.
– Fresh herbs like cilantro add freshness. Sprinkle them on top right before serving.
– Consider adding a dash of soy sauce or tamari. This gives a savory kick.
Ideal Cooking Equipment to Use
– Use a large pot for even cooking. It gives enough space for the chickpeas and sauce.
– A wooden spoon is great for stirring. It helps mix the ingredients without scratching the pot.
– A measuring cup is key for liquids. It ensures you use the right amount of coconut milk.
– A sharp knife makes dicing easier. It helps with quick prep of onions and bell peppers.
Pro Tips
- Use Fresh Spices: Fresh spices deliver the best flavor. Consider buying whole spices and grinding them yourself for maximum potency.
- Adjust the Heat: If you prefer a milder dish, reduce the chili powder. You can also add a pinch of sugar to balance out the heat.
- Enhance Creaminess: For an extra creamy texture, blend a portion of the chickpeas with the coconut milk before adding them to the pot.
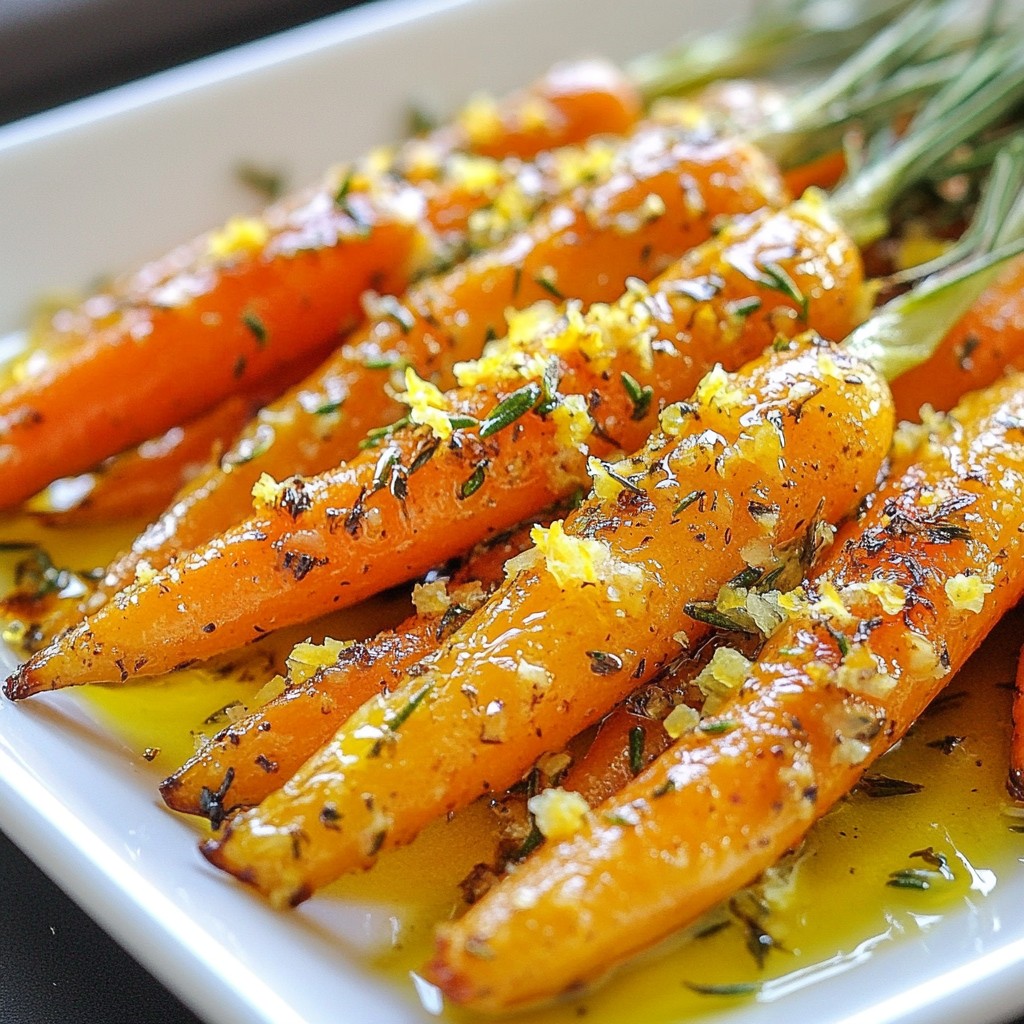
- Boost Nutrients: Add more veggies like carrots or zucchini to increase the nutritional value and add color to your dish.
Variations
Vegan and Vegetarian Adaptations
Coconut curry chickpeas are already vegan and vegetarian. You can enjoy this dish without any changes. The chickpeas and coconut milk provide all the protein and creaminess you need. If you want to add more veggies, try carrots, zucchini, or mushrooms. These will add color and nutrition.
Gluten-Free Options
This recipe is naturally gluten-free. The chickpeas and spices do not contain gluten. If you serve it with rice or quinoa, you also stay gluten-free. Just make sure your rice or quinoa is labeled gluten-free. This way, you avoid any hidden gluten in pre-packaged products.
Spice Level Customization Tips
You can adjust the spice level to suit your taste. Start with one teaspoon of chili powder for mild heat. If you like more spice, add more chili powder. You can also include fresh chilies or red pepper flakes. For less heat, skip the chili powder or use sweet paprika instead. Taste as you go to find your perfect balance!
Storage Info
How to Store Leftovers
After enjoying your coconut curry chickpeas, let them cool first. Then, transfer them to an airtight container. This keeps the dish fresh for later. Store the container in the fridge. Leftovers will stay good for about three days. If you want to keep them longer, freezing is a great option.
Reheating Instructions
When you’re ready to eat the leftovers, take them out of the fridge. You can reheat the coconut curry chickpeas on the stove or in the microwave. If using the stove, place the curry in a pan. Heat it over medium-low heat. Stir often until it warms through. In the microwave, put it in a bowl and cover it. Heat in 30-second bursts until hot.
Freezing Coconut Curry Chickpeas
To freeze the curry, use a freezer-safe container. Leave some space at the top since it will expand. It can last up to three months in the freezer. When you’re ready to enjoy it again, thaw it overnight in the fridge. Reheat it on the stove or microwave as described earlier. This way, you can savor your tasty coconut curry chickpeas anytime!
FAQs
What Can I Serve with Coconut Curry Chickpeas?
You can pair coconut curry chickpeas with several tasty sides. Cooked rice or quinoa works well. The grains soak up the creamy sauce. You can also serve it with naan bread for a fun twist. Adding a fresh salad on the side brings balance to the meal.
Can I Make This Recipe Ahead of Time?
Yes, you can make coconut curry chickpeas ahead of time. This dish tastes even better the next day. Just store it in the fridge in an airtight container. Reheat it gently on the stove or in the microwave before serving.
How Long Does Coconut Curry Last in the Fridge?
Coconut curry chickpeas last for about 3 to 4 days in the fridge. Always check for any strange smells or changes in texture before eating. If you want to keep it longer, consider freezing it for up to 3 months. Just thaw it overnight in the fridge before reheating.
In this post, I shared how to make Coconut Curry Chickpeas. We explored key ingredients like chickpeas and coconut milk. You learned step-by-step cooking instructions and useful tips to boost flavor. I highlighted variations for all diets and explained storage methods for leftovers.
Keep these tips in mind, as they will help you create a tasty dish every time. Enjoy this healthy recipe, and don’t hesitate to experiment with your favorite ingredient