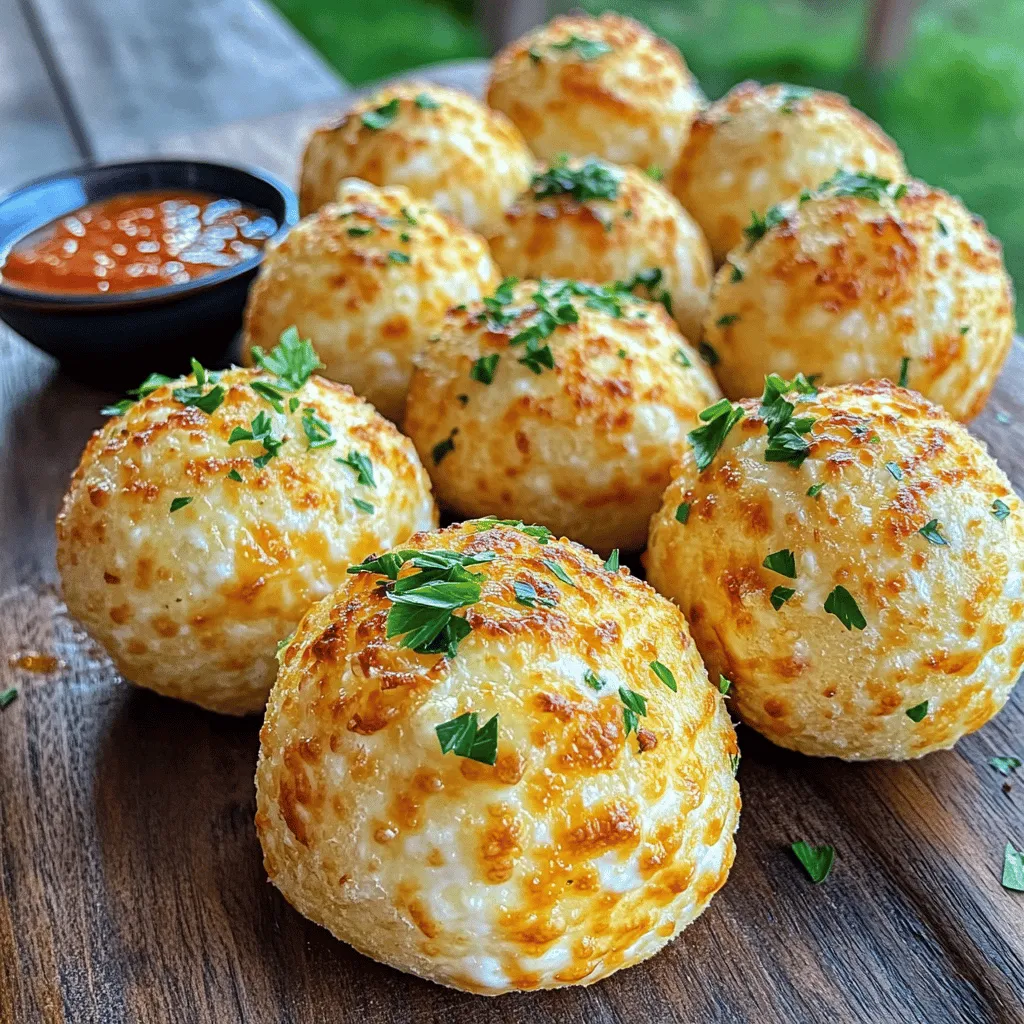
Do you love cheesy snacks? If so, you’re in for a treat! My Delicious Cheesy Garlic Bombs recipe will change your snacking game. These tasty bites are easy to make and perfect for sharing. Whether you’re hosting friends or enjoying a quiet night, these garlic bombs will satisfy your cravings. Ready to explore the simple ingredients and steps to make them? Let’s dive into this cheesy delight!
H2 – What Ingredients Do You Need for the Delicious Cheesy Garlic Bombs?
For tasty cheesy garlic bombs, you need a few simple ingredients. Here’s what to gather:
– All-purpose flour: You’ll need 2 cups for the dough.
– Baking powder: A tablespoon helps the bombs rise.
– Salt: Just 1 teaspoon adds flavor to the dough.
– Milk: Use ¾ cup for moisture and softness.
– Unsalted butter: Melt 3 tablespoons for richness in the dough.
– Mozzarella cheese: A cup of shredded mozzarella gives that gooey texture.
– Ricotta cheese: One cup adds creaminess and flavor.
– Garlic: Four cloves, minced, provide that strong garlic kick.
– Fresh parsley: A ¼ cup, chopped, adds freshness.
– Red pepper flakes: Optional, but ½ teaspoon adds a nice heat.
– Egg: One beaten egg is for brushing the tops before baking.
– Olive oil: A drizzle on top helps with browning.
What Are the Essential Ingredients for This Recipe?
The essential ingredients include flour, baking powder, and cheese. Flour and baking powder create the dough base. Mozzarella and ricotta add the cheesy filling. Garlic and parsley enhance flavors, making each bite burst with taste.
Can You Substitute Any Ingredients for Dietary Restrictions?
Yes, you can make substitutes! For a gluten-free option, use gluten-free flour. If you need dairy-free, try vegan cheese. You can also use almond milk instead of regular milk. Just ensure your chosen substitutes work well together.
What Are Some Popular Cheese Choices for Garlic Bombs?
Mozzarella is a favorite for its meltiness. Ricotta adds creaminess. Other great options include cheddar for sharpness or pepper jack for a spicy kick. Mix different cheeses for a unique flavor profile. The options are endless!
How Do You Prepare and Make the Cheesy Garlic Bombs?
To make cheesy garlic bombs, follow these step-by-step instructions. Start by preheating your oven to 400°F (200°C). Line a baking sheet with parchment paper. This keeps your bombs from sticking.
Next, mix the dry ingredients. In a large bowl, combine the flour, baking powder, and salt. Whisk them together until they blend well.
In a separate bowl, mix the wet ingredients. Combine milk and melted butter. Slowly add this mix to the dry ingredients. Stir until a dough forms.
Now, knead the dough. Lightly flour a clean surface. Knead the dough for about 2-3 minutes. It should feel smooth and soft.
For the cheese filling, mix mozzarella, ricotta, minced garlic, chopped parsley, and red pepper flakes in another bowl. Make sure everything combines nicely.
To form the bombs, divide the dough into 12 pieces. Flatten each piece into a small circle. Place a scoop of the cheese mix in the center.
Seal the bombs by folding the edges of the dough over the filling. Pinch the edges tightly to keep the cheese inside. Repeat this until all the dough is used.
Next, place the bombs on the baking sheet. Brush the tops with the beaten egg for shine. Drizzle olive oil over each bomb for flavor and crispiness.
Bake the bombs for 15-20 minutes. They should turn golden brown and puff up nicely. Remove them from the oven and let them cool for a couple of minutes before serving.
To ensure the dough has the right texture, avoid over-mixing. It should be soft but not sticky. If it’s too dry, add a bit more milk. If it’s too wet, sprinkle in a little extra flour.
For a richer flavor in your filling, consider adding herbs like thyme or basil. You can also mix in some grated Parmesan cheese. These small tweaks can elevate the taste greatly.Enjoy your cheesy garlic bombs as a fun snack or appetizer!
What Tips Can Help You Achieve the Perfect Garlic Bombs?
To make the best garlic bombs, follow a few simple tips.
How Do You Achieve a Golden Brown Finish?
For a golden brown finish, preheat your oven to 400°F (200°C). Brush the tops of the bombs with beaten egg. This gives them a nice color. Olive oil adds extra crisp and flavor. Bake them until they puff up and turn golden. This usually takes about 15-20 minutes.
What Are Common Mistakes to Avoid While Baking?
One common mistake is not measuring ingredients properly. Always use measuring cups and spoons. Another mistake is not allowing the dough to rest. Letting it sit helps the gluten relax, making it easier to shape. Avoid overfilling the bombs with cheese, as this can cause leaks.
How Can You Perfect the Garlic Flavor?
Use fresh garlic for the best taste. Mince it finely to release its oils. Mixing in chopped parsley brightens the flavor. Red pepper flakes can add a nice kick, but adjust to your taste. Balancing these flavors gives your garlic bombs their unique and tasty profile.
These tips will help you make perfect cheesy garlic bombs.Enjoy your cooking!
What Are Some Delicious Variations of Cheesy Garlic Bombs?
For garlic lovers, cheesy garlic bombs bring joy in every bite. You can change them up for fun. Start with a vegan version. Use almond or oat milk instead of regular milk. Replace butter with coconut oil. Use dairy-free cheese for a tasty filling. This works well for everyone who wants to enjoy garlic bombs.
Feeling adventurous? Try unique filling ideas. Add spinach and artichoke for a fresh twist. Mix in some sun-dried tomatoes for a burst of flavor. You could even use spicy jalapeños for a kick. The options are endless, so have fun experimenting.
Baking methods also change the outcome. For a crispy outside, bake them on a stone. If you want softer bombs, cover them with foil for part of the time. Air fryers give a nice crunch too. Just watch them closely to avoid burning.
These variations keep the recipe exciting. You can create a feast from a simple base.Enjoy the fun of making your own tasty versions!
How Can You Serve and Enjoy Cheesy Garlic Bombs?
You can serve cheesy garlic bombs in many fun ways. They are perfect for any gathering. I love them as a snack or appetizer.
What Are the Best Dipping Sauces to Pair with Garlic Bombs?
Marinara sauce is a classic choice. It adds a rich, tangy flavor. Garlic aioli is another great option. It gives a creamy touch. For a spicy kick, try sriracha or a ranch dip. Each sauce enhances the flavors of the cheesy garlic bombs.
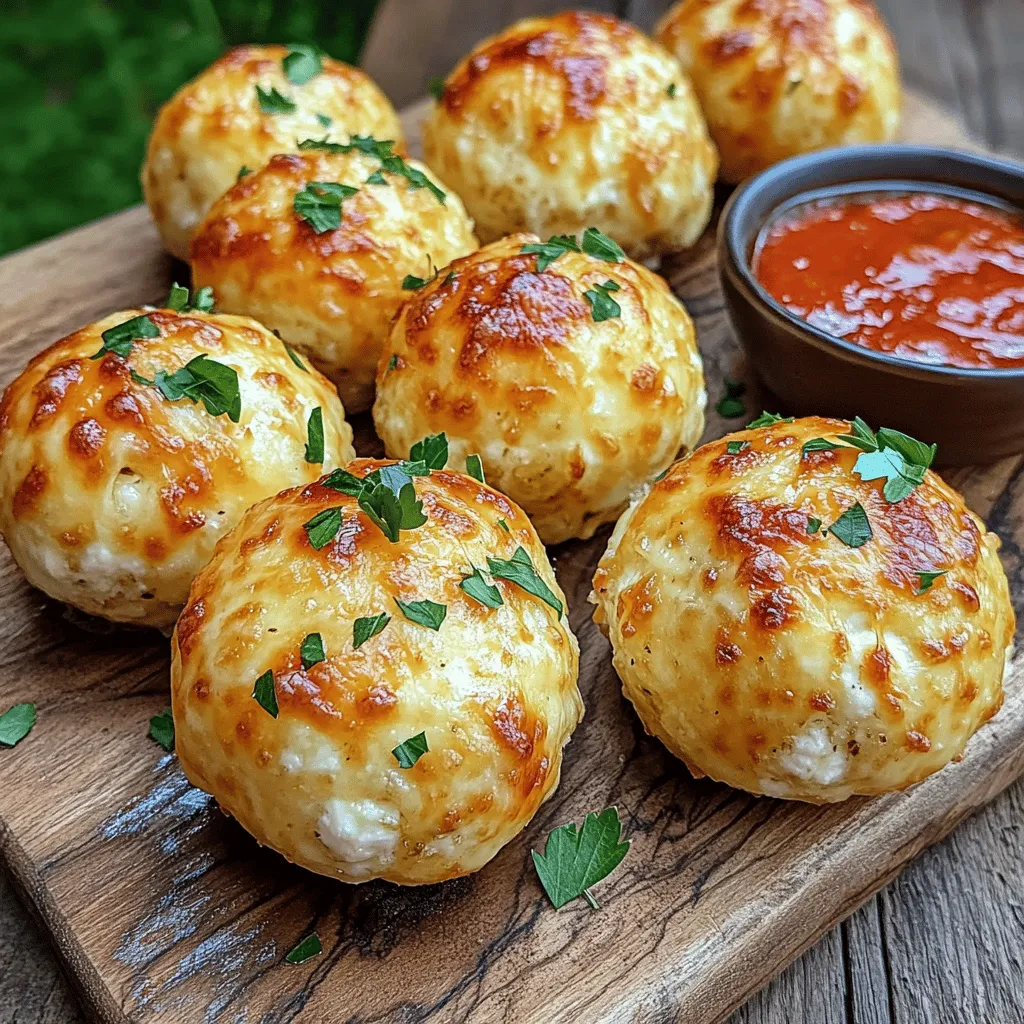
How Can You Present Garlic Bombs for a Party?
Presentation is key for any party. Arrange the cheesy garlic bombs on a wooden board. This adds a rustic feel. You can sprinkle fresh parsley on top for color. Place small bowls of dipping sauces around the bombs. This invites guests to dig in.
What Are Some Complementary Sides to Serve with This Appetizer?
Pair garlic bombs with a fresh salad. A simple green salad with lemon vinaigrette works well. You can also serve them with roasted vegetables. The flavors balance nicely. For a heartier option, consider a creamy soup. Tomato or potato soup pairs great with these cheesy treats.Enjoy making your snack time special!
How Do You Store and Reheat Leftover Garlic Bombs?
Leftover garlic bombs can be a tasty treat for later. First, let’s talk about storage. The best way to store leftover garlic bombs is to let them cool completely. Once cool, place them in an airtight container. This keeps them fresh. You can store them in your fridge for up to three days. If you want to keep them longer, consider freezing.
How do you reheat garlic bombs without losing texture? To reheat, preheat your oven to 350°F (175°C). Place the garlic bombs on a baking sheet. Heat them for about 10-15 minutes. This method keeps them crispy and soft inside. You can also use a microwave, but it may make them a bit soggy.
Can you freeze garlic bombs for later use? Yes, you can freeze them! After you make the garlic bombs, let them cool. Then, wrap each bomb tightly in plastic wrap. Place them in a freezer bag or container. You can freeze them for up to three months. When ready to eat, thaw them in the fridge overnight before reheating.They are easy to make and perfect for snacking!
You now know how to make cheesy garlic bombs from start to finish. We discussed ingredients, preparation steps, baking tips, and serving ideas. You learned about variations and storage methods too.
These savory snacks are sure to impress. With the right techniques, you can achieve that perfect cheese pull and mouthwatering flavor. Enjoy these tasty bites at your next gathering or as a tempting treat. Happy baking!