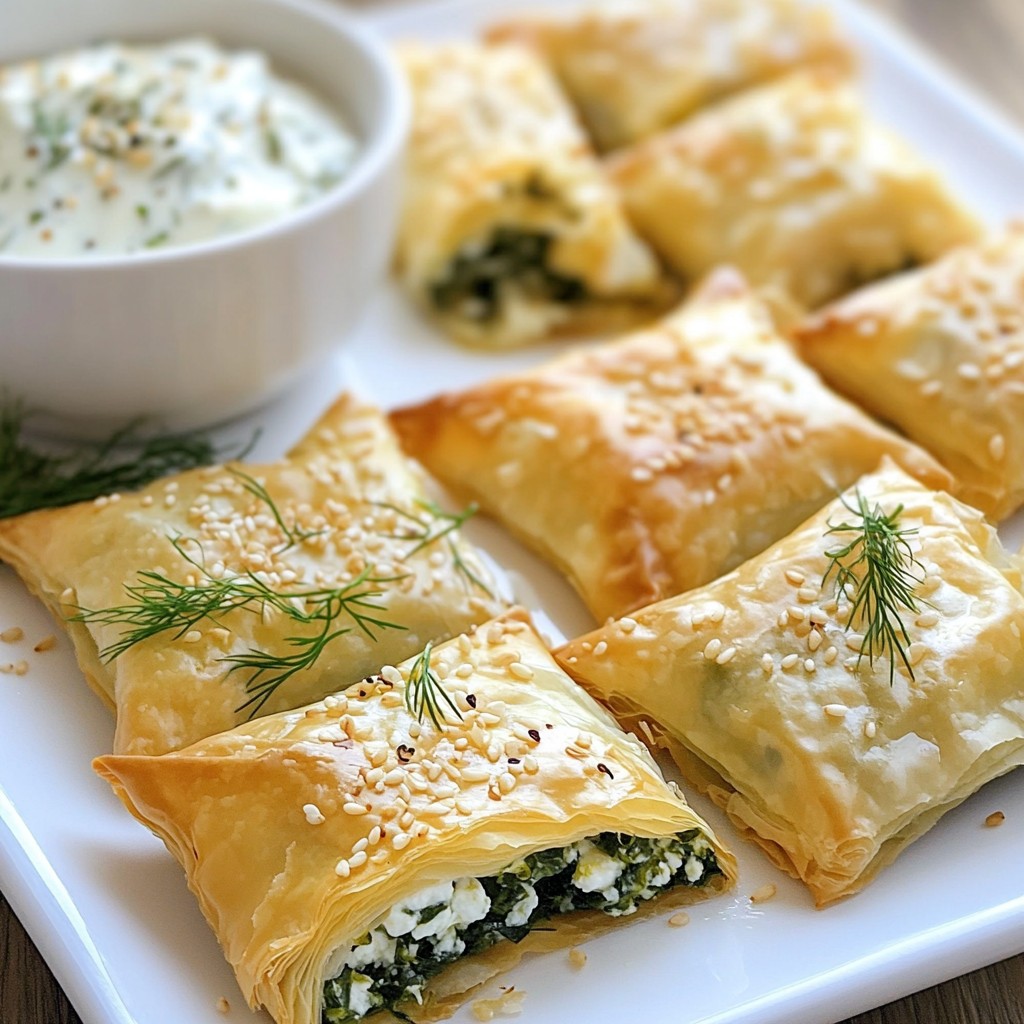
Are you ready to dive into the world of Greek cuisine? Today, I’ll show you how to make Spanakopita, a flaky, flavorful spinach pie that’s easy to whip up. With fresh spinach, creamy cheese, and crispy phyllo, this dish is a must-try! Stick around as I share step-by-step instructions, handy tips, and fun variations to make it your own. Let’s get cooking!
Why I Love This Recipe
- Fresh and Healthy: This spanakopita is packed with fresh spinach and herbs, making it a nutritious choice for any meal.
- Flavorful Filling: The combination of feta cheese, dill, and lemon juice creates a deliciously tangy and savory filling.
- Crispy Texture: The phyllo pastry provides a delightful crunch that contrasts perfectly with the creamy filling.
- Versatile Dish: Spanakopita can be served as an appetizer, main course, or even as a snack, making it a versatile addition to any menu.
Ingredients
Fresh Ingredients for Spanakopita
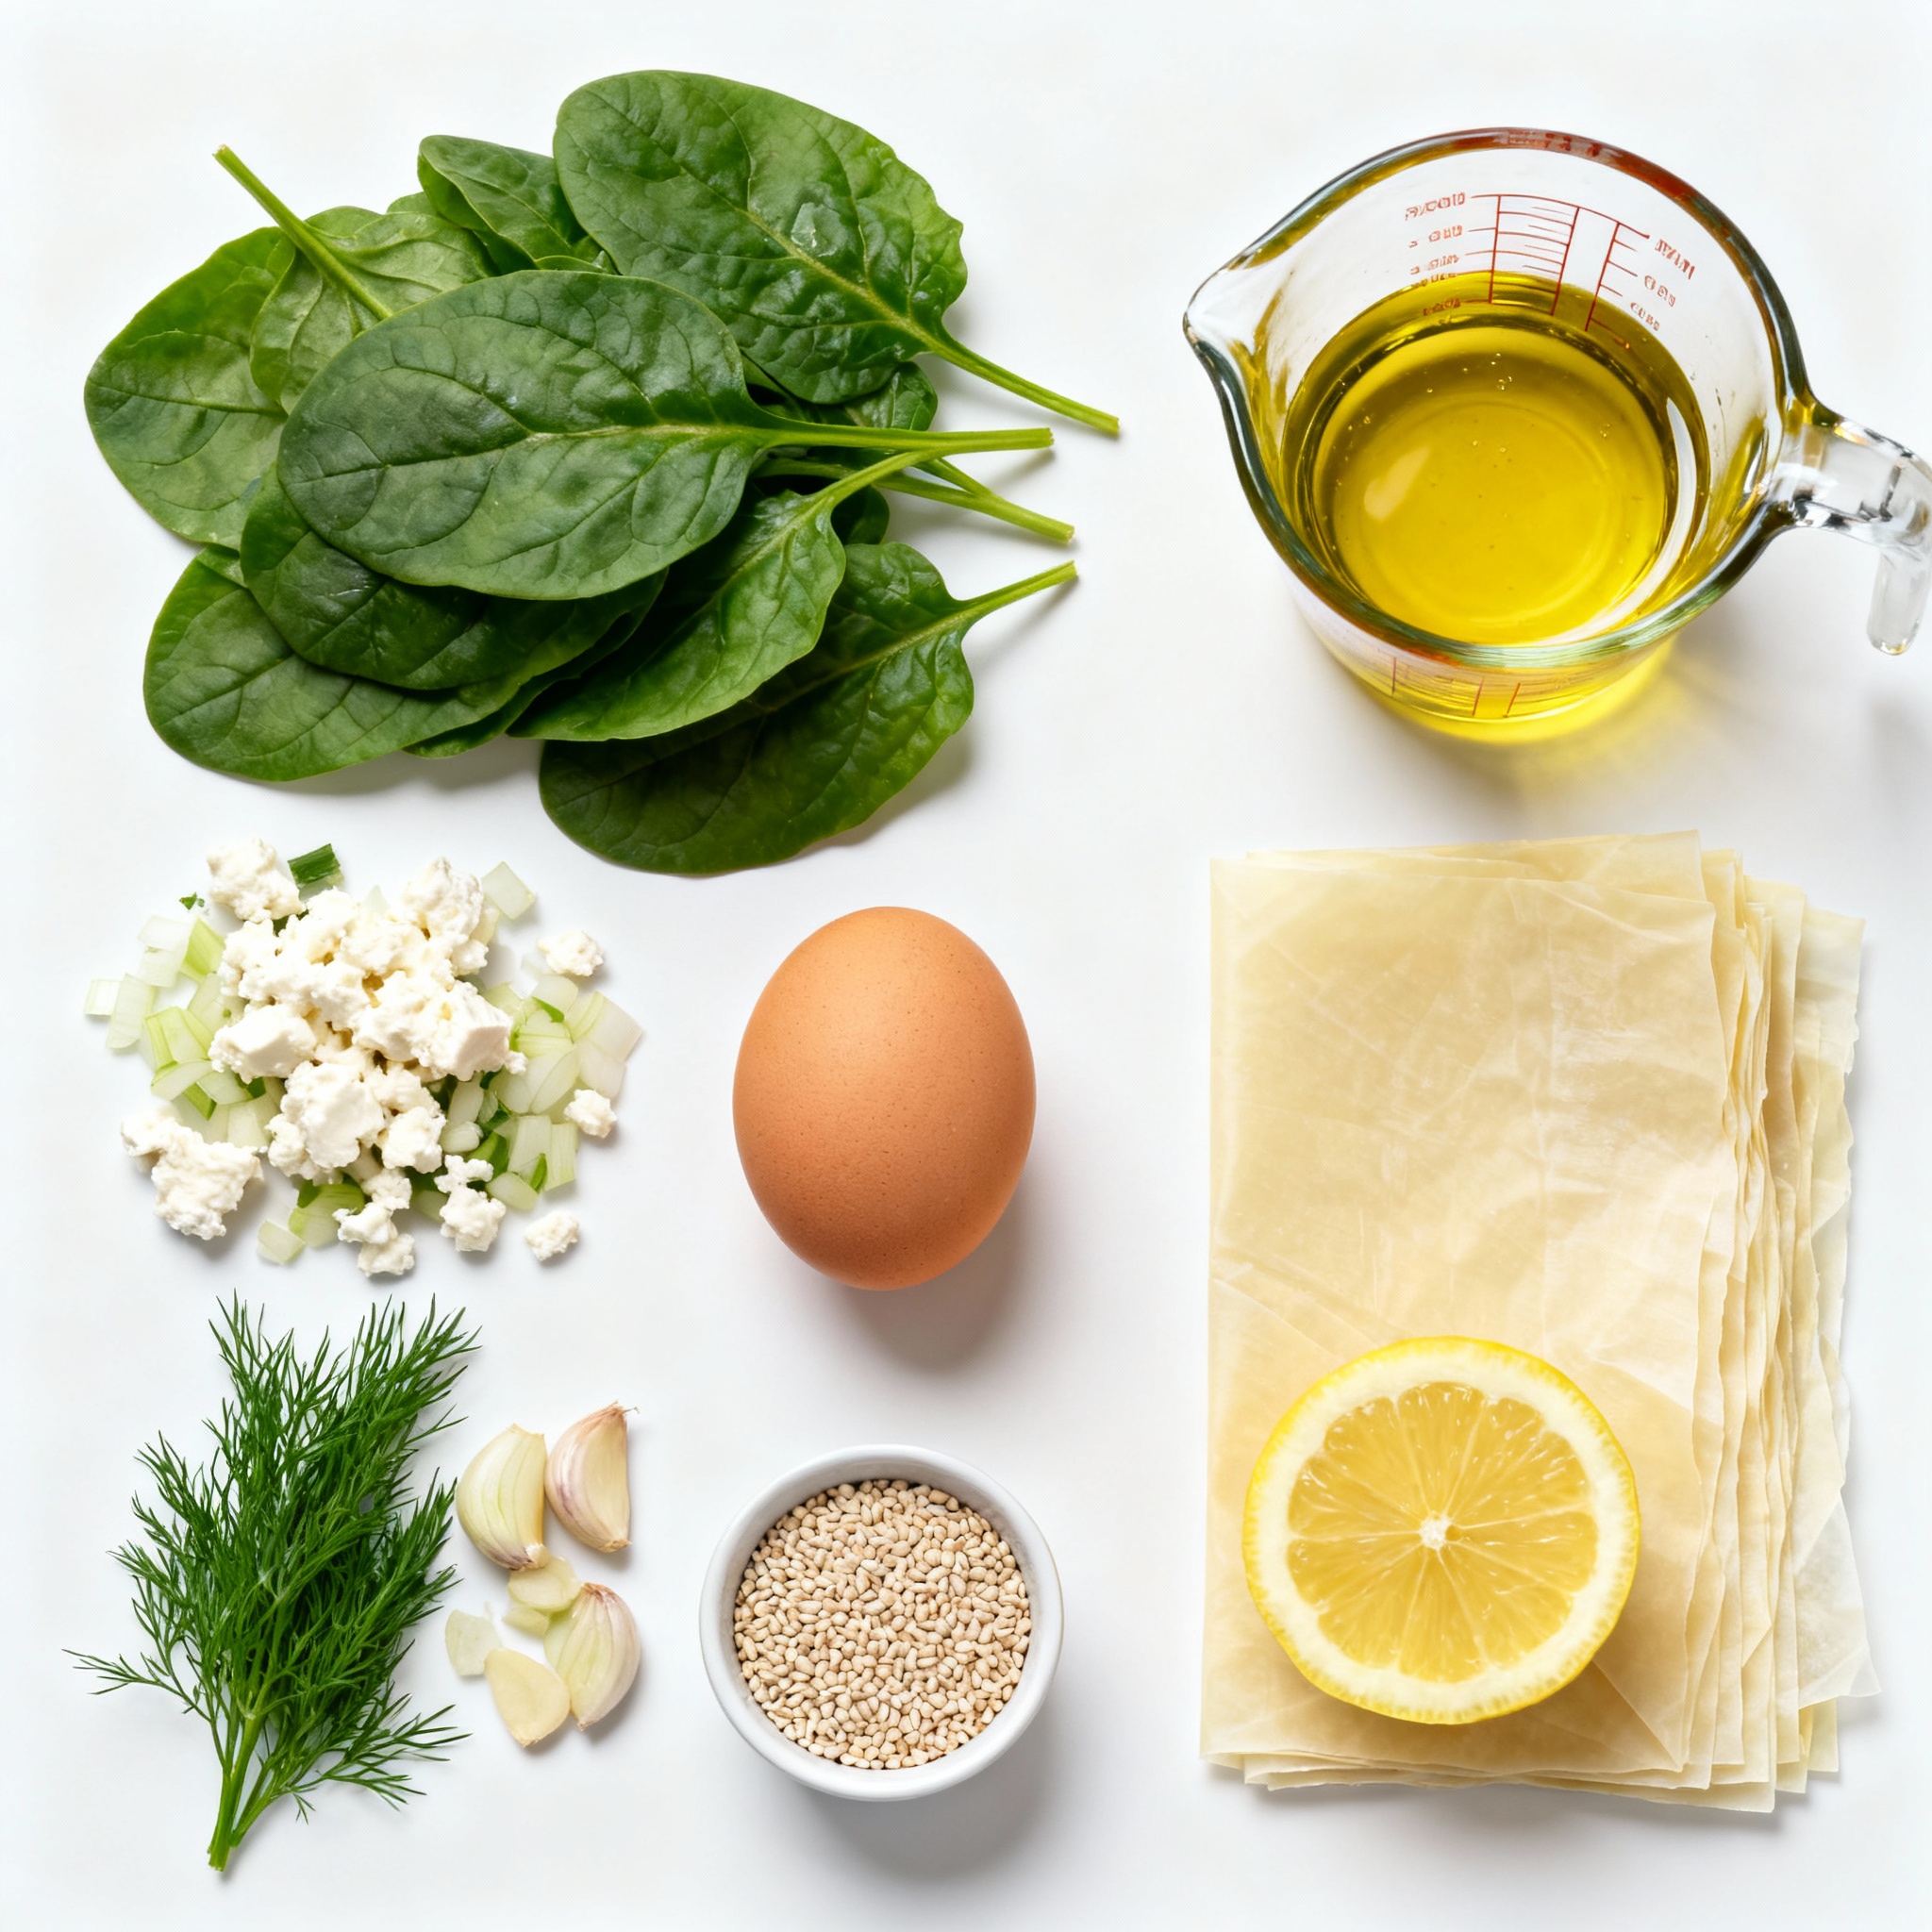
For a tasty spanakopita, start with fresh ingredients. Here’s what you need:
- 1 pound fresh spinach, washed and chopped
- 1 small onion, finely chopped
- 2 cloves garlic, minced
- 1/4 cup fresh dill, chopped (or 2 tablespoons dried dill)
- 1 tablespoon lemon juice
Using fresh spinach gives your pie a vibrant taste. The onion adds sweetness, while garlic brings depth. Dill gives a lovely herb flavor that pairs well with spinach.
Types of Cheese to Use
Cheese is key in spanakopita. I recommend using:
- 1 cup feta cheese, crumbled
Feta cheese is traditional. It has a tangy flavor that balances well with the spinach. You can also mix in other cheeses like ricotta or goat cheese for a different twist. Just keep the feta as your main cheese.
Essential Pantry Staples
Some pantry staples make spanakopita easy to prepare. Here’s what you need:
- 1/4 cup olive oil
- 1 package (1 lb) phyllo pastry, thawed
- 1 large egg, beaten
- Salt and pepper to taste
- Sesame seeds for topping (optional)
Olive oil adds richness and helps the pastry crisp up. Phyllo pastry gives that flaky texture we love. The beaten egg helps bind the filling. Don’t forget to season with salt and pepper! A sprinkle of sesame seeds adds a nice crunch.
Step-by-Step Instructions
Preparation of Spinach Filling
First, heat 2 tablespoons of olive oil in a large skillet. Add 1 small onion, finely chopped. Sauté the onion until it turns translucent, about 3 minutes. Then, add 2 cloves of minced garlic. Cook this mix for another minute until it smells great. Now, it’s time for the star ingredient: the spinach. Add 1 pound of washed and chopped spinach to the skillet. Cook until the spinach wilts, which takes about 5 to 7 minutes. After that, remove the skillet from heat and let the filling cool a bit. In a mixing bowl, combine the spinach mix with 1 cup of crumbled feta cheese, 1/4 cup of chopped fresh dill, 1 beaten egg, and 1 tablespoon of lemon juice. Don’t forget to season with salt and pepper. Mix it all well.
Assembling the Phyllo Pastry
While your filling cools, preheat your oven to 375°F (190°C). Next, lay out the phyllo pastry sheets. Make sure to cover them with a damp towel to keep them from drying out. Take one sheet and brush it lightly with olive oil. Place a second sheet on top and brush it again. Now, scoop 2-3 tablespoons of your spinach filling and place it at one edge of the phyllo pastry. Fold the pastry over to create a roll, sealing the filling inside. Brush the tops with olive oil and sprinkle sesame seeds if you like. Repeat this process until you use all the filling.
Baking and Serving Tips
Place your rolled spanakopita on a baking sheet lined with parchment paper. Make sure to leave space between each piece. Bake in the preheated oven for 25 to 30 minutes. Look for a golden brown color and crispy texture. When they are done, take them out and let them cool for a few minutes. For a lovely presentation, arrange them on a nice platter. Serve with a side of tzatziki sauce and garnish with fresh dill. Enjoy them warm for the best taste!
Tips & Tricks
How to Handle Phyllo Pastry
Phyllo pastry can be tricky but fun. You must work quickly. Keep it covered with a damp towel while you prepare. This keeps it from drying out. If it dries, it can crack and tear. Use a sharp knife to cut it neatly. Brush each layer lightly with olive oil. This adds flavor and helps it crisp up nicely.
Time-Saving Techniques
To save time, prepare your filling ahead of time. You can store it in the fridge for up to a day. You can also layer the phyllo sheets and cut them into squares. This way, you can fill them quickly when ready to bake. Using store-bought phyllo pastry is a great shortcut too. It saves you the effort of making it from scratch.
Best Cooking Equipment
You will need a few simple tools. A large skillet is perfect for cooking the filling. A mixing bowl helps combine all your ingredients. Use a pastry brush for spreading olive oil on the phyllo. A sharp knife helps with cutting the sheets. Finally, a baking sheet lined with parchment paper ensures easy cleanup. These tools make the process smooth and enjoyable.
Pro Tips
- Keep the Phyllo Moist: Always cover the phyllo sheets with a damp towel while working to prevent them from drying out, which can make them brittle and hard to work with.
- Customize Your Filling: Feel free to add other ingredients like sautéed mushrooms or artichokes to the filling for extra flavor and texture.
- Make Ahead: You can prepare the spanakopita and freeze them before baking. Just bake them straight from the freezer, adding a few extra minutes to the cooking time.
- Perfect Golden Color: For a beautiful golden crust, brush the tops of the pastries with melted butter instead of olive oil before baking.
Variations
Vegan Spanakopita Options
You can make a tasty vegan spanakopita by skipping the feta cheese and egg. Substitute the feta with firm tofu. Mash it and mix in some lemon juice and nutritional yeast. This gives a cheesy flavor without dairy. For the egg, use a flax egg. Mix one tablespoon of flaxseed meal with three tablespoons of water. Let it sit for five minutes to thicken. This will help bind the filling together.
Gluten-Free Adaptations
If you need a gluten-free version, use gluten-free phyllo pastry. They sell it in many stores now. Check the package for the best baking times. You can also make your own pastry with gluten-free flour. Just remember to keep it moist. Brush the sheets with olive oil as you layer them to prevent drying out.
Adding Additional Ingredients
Feel free to customize your spanakopita. Add mushrooms for a hearty touch or sun-dried tomatoes for a sweet flavor. You can even toss in some artichoke hearts for a Mediterranean twist. Just make sure to chop everything finely to keep the filling easy to roll. You can also experiment with fresh herbs like parsley or basil for extra freshness.
Storage Info
How to Store Leftover Spanakopita
To store leftover spanakopita, let it cool first. Place the pieces in an airtight container. You can also wrap them in plastic wrap. Store them in the fridge for up to 3 days. This keeps them fresh and tasty for later.
Reheating Instructions
Reheat spanakopita in the oven for the best taste. Preheat your oven to 350°F (175°C). Place the spanakopita on a baking sheet. Heat for about 10-15 minutes until warm and crispy. You can also use a microwave, but it may not keep the crunch.
Freezing Spanakopita for Later
You can freeze spanakopita before or after baking. If freezing before baking, wrap each piece in plastic wrap and place them in a freezer bag. They can last up to 2 months. When ready to bake, remove them from the freezer and bake straight from frozen. If you freeze them after baking, let them cool and store them the same way.
FAQs
What is the history of Spanakopita?
Spanakopita has roots in Greece. Its history dates back to ancient times. The dish combines fresh spinach with flaky pastry. People made it for special occasions and festivals. Over time, it spread to other countries. Each culture adds its twist. Today, spanakopita is a favorite around the world. It symbolizes Greek hospitality and tradition.
Can I make Spanakopita ahead of time?
Yes, you can make spanakopita ahead of time. Prepare the filling and assemble the pastry. Then, cover it well and refrigerate. You can also freeze it for later use. Just make sure to bake it fresh when ready. This way, it stays crispy and delicious.
How long does Spanakopita last in the fridge?
Spanakopita lasts about 3 to 4 days in the fridge. Store it in an airtight container. If you want it to stay fresh longer, freeze it. When properly frozen, it can last for up to 2 months. Just remember to thaw it before baking.
What can I serve with Spanakopita?
Spanakopita pairs well with many dishes. You can serve it with tzatziki sauce for a cool contrast. A fresh Greek salad adds a nice touch. Roasted vegetables also complement the flavors. For a heartier meal, try it with grilled chicken or lamb. Enjoy experimenting with different sides!
Making spanakopita can be fun and tasty. You learned about fresh ingredients, types of cheese, and pantry staples. I shared step-by-step instructions to make the filling, assemble the pastry, and bake it. Tips on handling phyllo, time-saving tricks, and the best equipment will help you succeed. Consider vegan or gluten-free options to suit your needs. Don't forget about storing leftovers and reheating them. With this guide, you can enjoy spanakopita anytime, impressing friends and family with your skills.