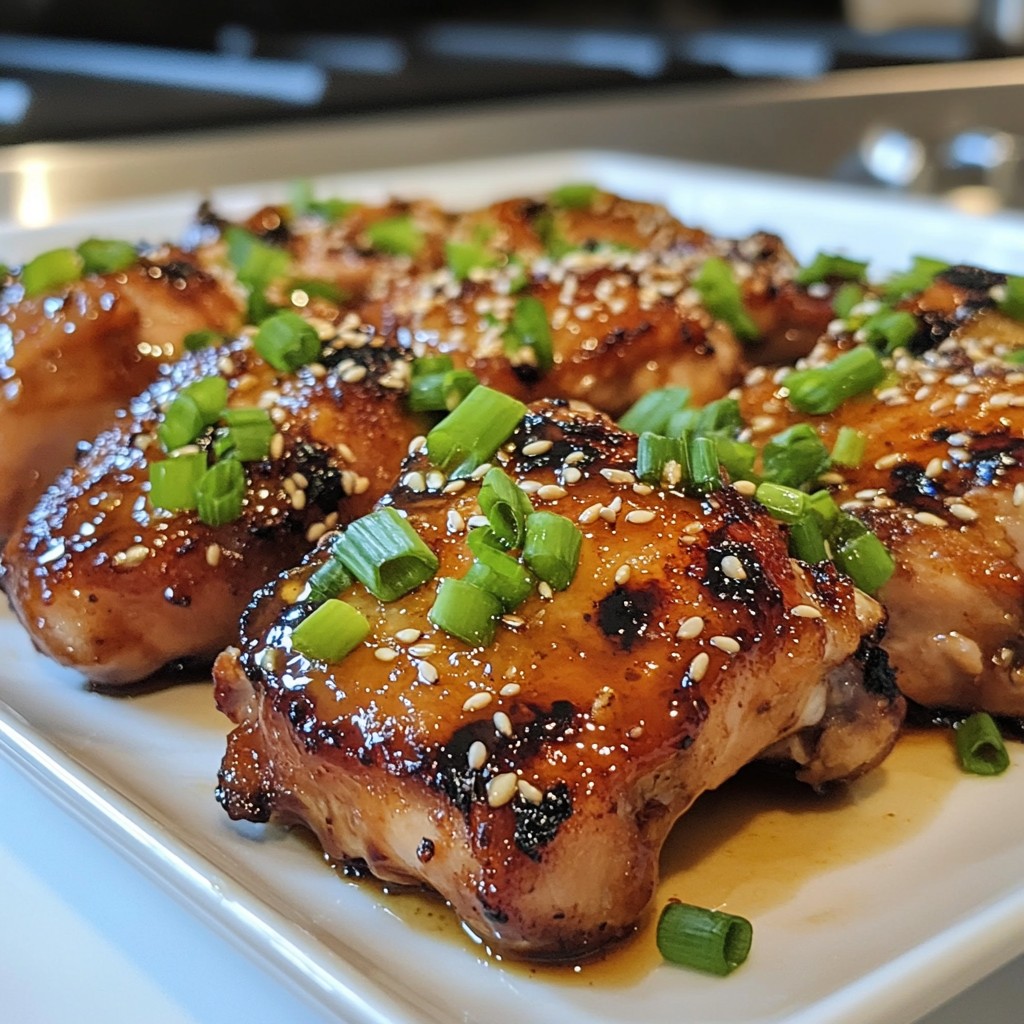
Looking for a meal that's both simple and delicious? Honey Garlic Ginger Chicken is your answer! This quick recipe combines juicy chicken thighs with sweet honey and zesty ginger, making it a sure hit for any dinner table. In just a few easy steps, you can create a dish that's full of flavor and sure to impress. Ready to elevate your dinner game? Let’s dive into this scrumptious recipe!
Why I Love This Recipe
- Delicious Balance: This dish perfectly balances sweet, spicy, and savory flavors, making every bite a delightful experience.
- Quick and Easy: With minimal prep time and straightforward cooking instructions, this recipe is perfect for busy weeknights.
- Healthy Ingredients: Using fresh ginger, garlic, and chicken thighs, this dish is not only tasty but also packed with nutrients.
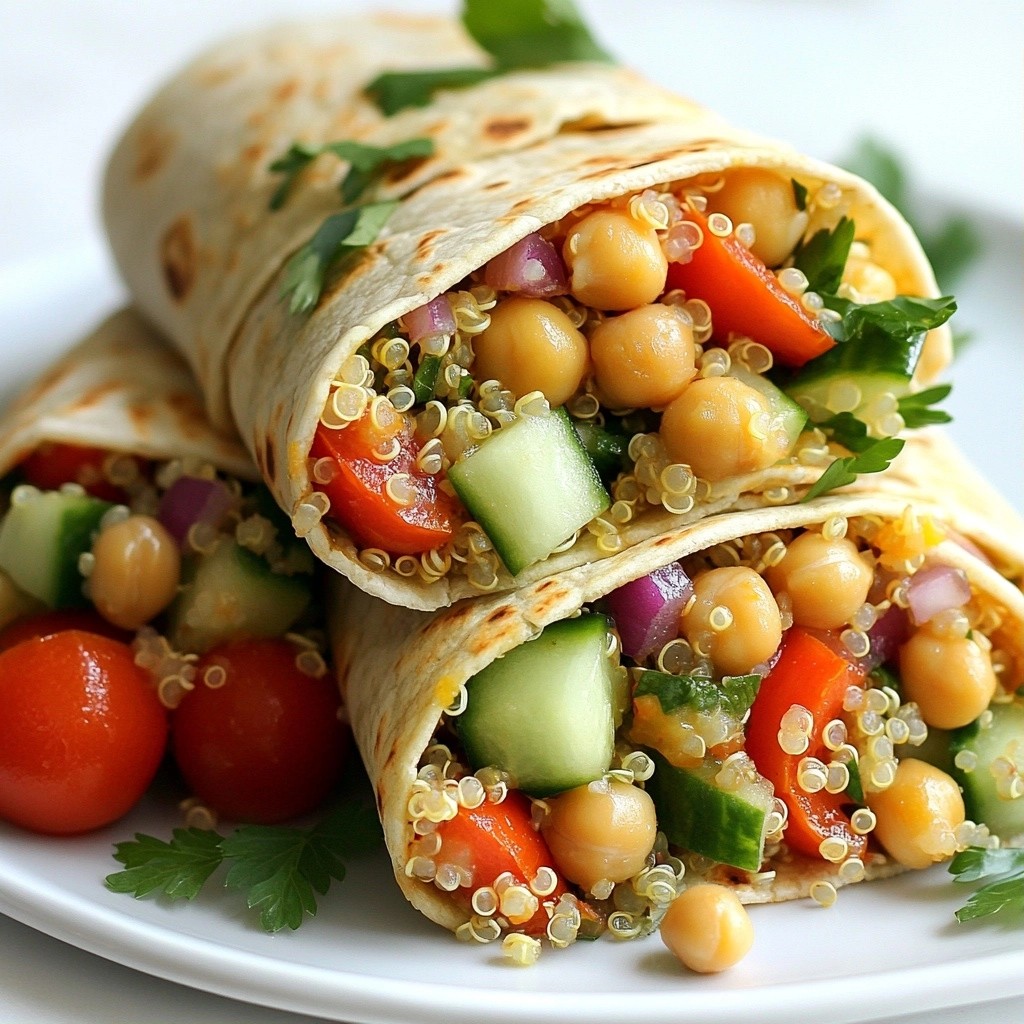
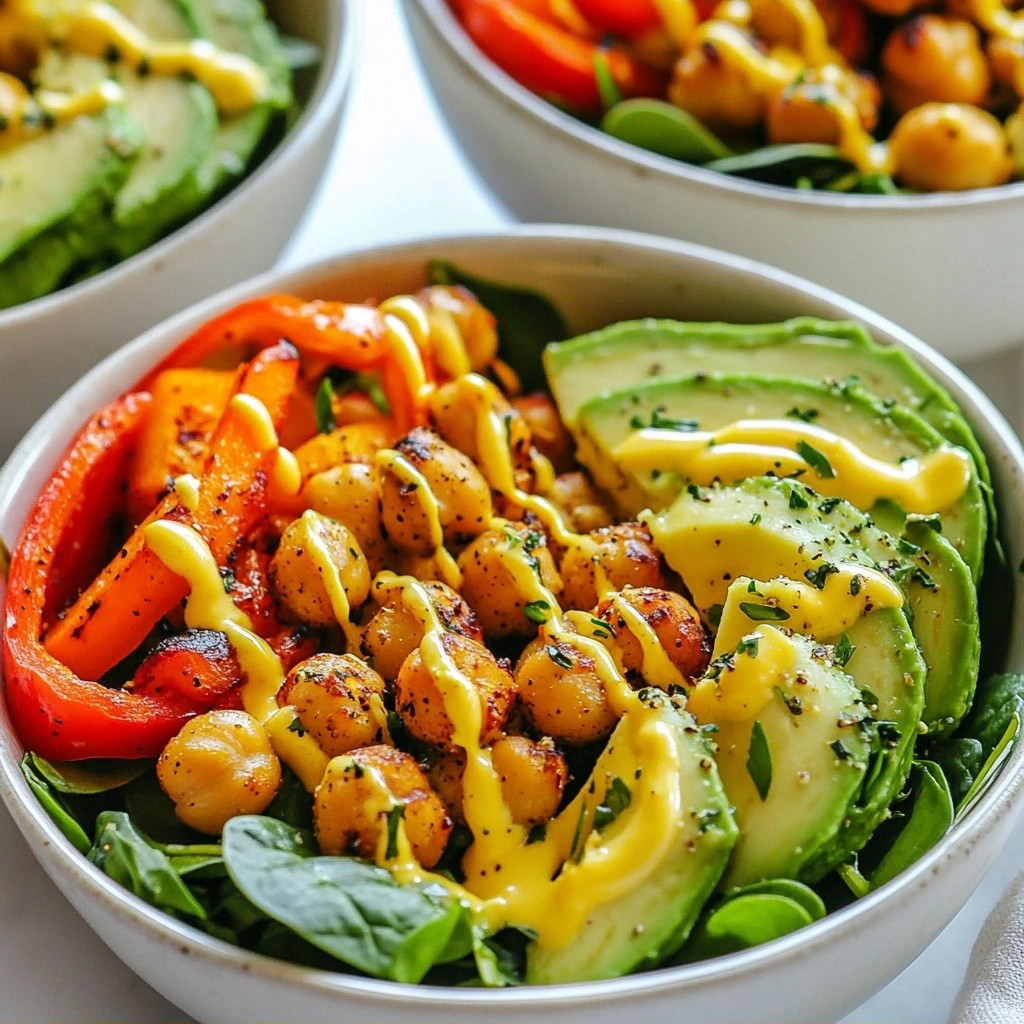
- Versatile Serving Options: Serve it over rice, with vegetables, or in a wrap, making it a versatile choice for any meal.
Ingredients
Main Ingredients
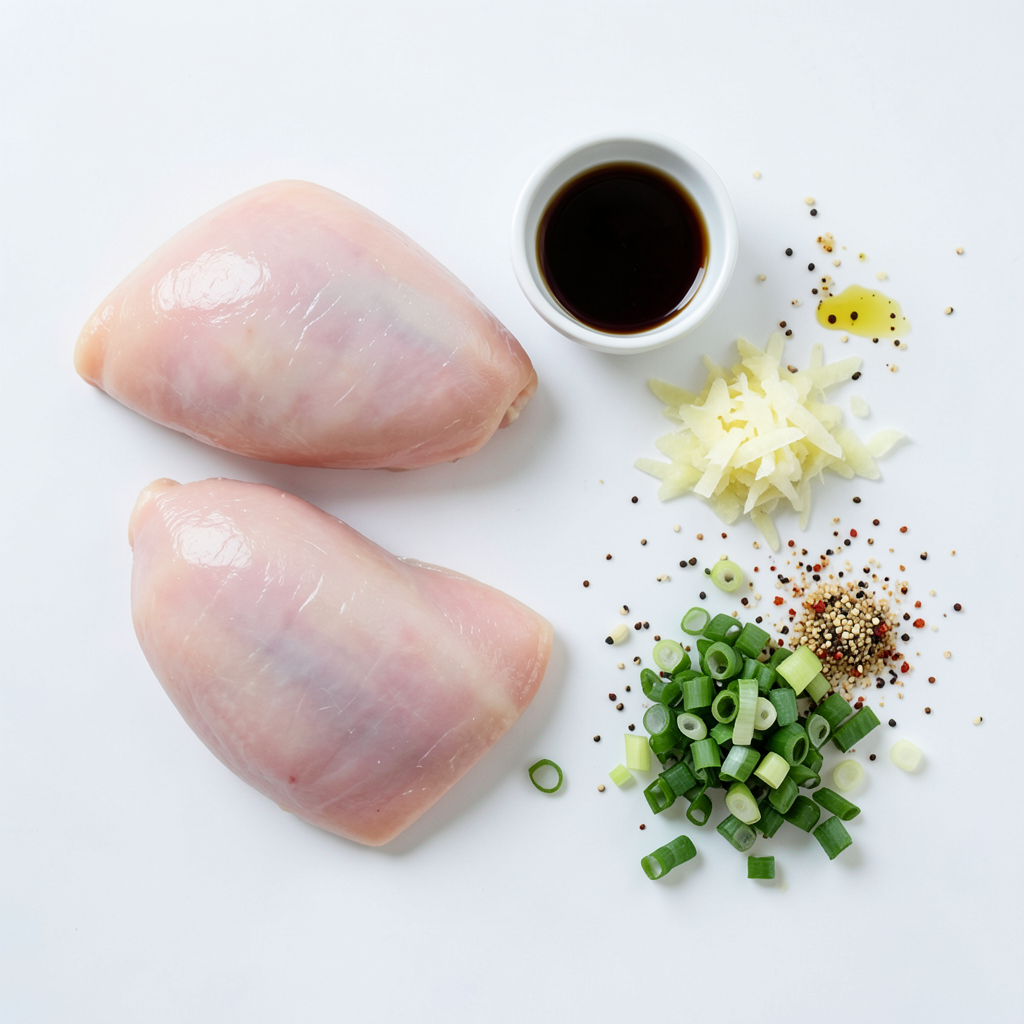
- 4 boneless, skinless chicken thighs
- 1/4 cup honey
- 1/4 cup soy sauce
Flavor Enhancers
- 2 tablespoons freshly grated ginger
- 4 cloves minced garlic
- 1 tablespoon sesame oil
Garnishes
- 1/2 cup chopped green onions
- Sesame seeds for garnish (optional)
This recipe uses simple, fresh ingredients. The chicken thighs stay juicy and tender. Honey adds sweetness, while soy sauce gives a salty depth. Fresh ginger and garlic enhance each bite. Sesame oil brings a nutty touch.
Chopped green onions add color and crunch. Sesame seeds can make the dish look fancy. I love using these garnishes for a bright finish.
Step-by-Step Instructions
Preparing the Marinade
First, grab a medium bowl. Add the honey, soy sauce, ginger, garlic, sesame oil, rice vinegar, and chili flakes. Whisk these ingredients together until they mix well. This step is key for great flavor.
Marinating the Chicken
Next, take your chicken thighs. Place them in a resealable plastic bag or a shallow dish. Pour the marinade over the chicken. Seal the bag or cover the dish. Refrigerate for at least 30 minutes. For even better taste, marinate up to 2 hours.
Baking the Chicken
Now it’s baking time! Preheat your oven to 400°F (200°C). Line a baking sheet with parchment paper. Take the chicken out of the marinade. Let the excess drip off and place it on the baking sheet. Bake for 25 to 30 minutes. Ensure the chicken reaches an internal temperature of 165°F (75°C). Halfway through, baste the chicken with leftover marinade for added flavor.
Tips & Tricks
Marinating Tips
Marinating is key for great flavor. I recommend marinating your chicken for at least 30 minutes. If you have more time, go for 2 hours. This helps the chicken soak up all the tasty goodness from the marinade. To enhance flavor, you can add a splash of lime juice or some chopped herbs. Both options give a fresh twist to the dish.
Baking Tips
When baking, checking the chicken doneness is crucial. Use a meat thermometer to ensure it reaches 165°F (75°C). This keeps the chicken safe to eat. To avoid dryness, don’t overbake it. Halfway through, spoon some leftover marinade over the chicken. This adds moisture and boosts flavor.
Serving Suggestions
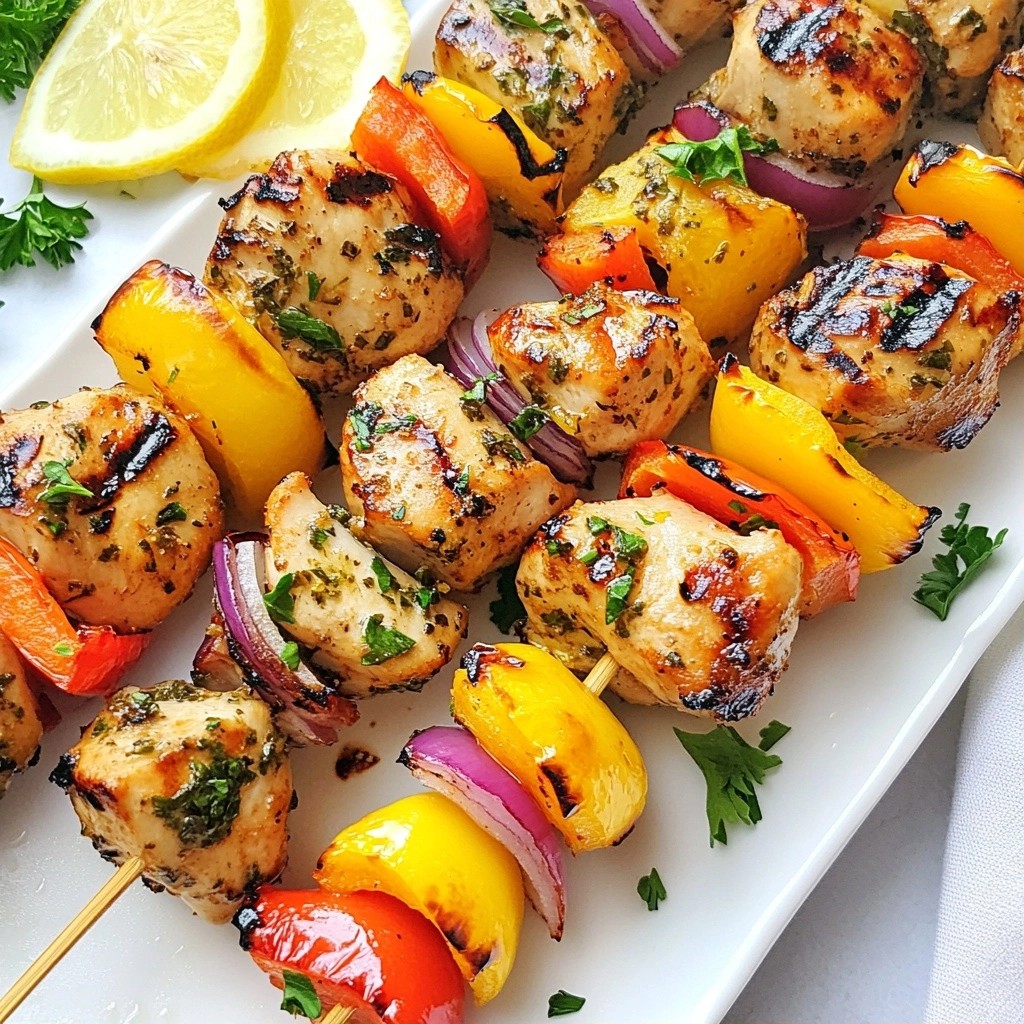
Pair this dish with steamed rice or a fresh salad for a complete meal. For a colorful touch, add some roasted veggies on the side. When plating, slice the chicken and arrange it nicely. Garnish it with green onions and sesame seeds for a pop of color. A well-presented dish makes every meal special!
Pro Tips
- Marinate for Maximum Flavor: Allowing the chicken to marinate for at least 2 hours will enhance the flavors significantly, making the chicken more tender and flavorful.
- Use Fresh Ingredients: Fresh garlic and ginger will provide a more vibrant taste compared to dried or jarred versions, elevating the overall dish.
- Check the Chicken Temperature: Always use a meat thermometer to ensure your chicken reaches an internal temperature of 165°F (75°C) for safe consumption.
- Serve with Sides: Pair this dish with steamed rice or sautéed vegetables to create a well-rounded meal that complements the sweet and spicy flavors.
Variations
Spice Level Adjustments
You can easily change the spice level of your honey garlic ginger chicken. If you like it spicier, add more chili flakes to the marinade. Start with an extra half teaspoon. If you prefer less heat, cut the chili flakes in half. This way, you get a taste that suits you. Always remember, you can adjust to your liking!
Alternative Proteins
Not a fan of chicken? You can swap it out for other proteins. Try boneless turkey thighs for a leaner option. You can also use firm tofu if you want something plant-based. Just cut the tofu into thick slices and marinate as you would with chicken. Each alternative brings its unique flavor to the dish while keeping it delicious.
Vegetarian Option
If you want a plant-based version, use tofu or tempeh. Both soak up the marinade well. Cut the tofu into cubes and press it to remove excess water. Marinate it just like chicken. Bake it at the same temperature until golden. This way, you get a sweet and spicy meal that everyone can enjoy, even those who don’t eat meat.
Storage Info
Refrigeration Tips
After making honey garlic ginger chicken, you may have leftovers. To keep them fresh, store the chicken in an airtight container. Make sure it cools to room temperature first. This helps prevent moisture and keeps your chicken tasty. Leftovers can last in the fridge for up to four days. Always label your container with the date. This way, you know when to use it.
Freezing Instructions
If you want to keep the chicken for a longer time, freezing is a great option. First, let the chicken cool completely. Then wrap it tightly in plastic wrap. After that, place the chicken in a freezer bag. Remember to squeeze out any excess air to avoid freezer burn. You can freeze honey garlic ginger chicken for up to three months. When ready to eat, thaw it in the fridge overnight.
Reheating Methods
To enjoy your honey garlic ginger chicken again, reheating is key. The best way is to use an oven. Preheat your oven to 350°F (175°C). Place the chicken on a baking sheet and cover it with foil. This keeps the chicken moist. Heat for about 15-20 minutes, or until it's warmed through. You can also use a microwave if you're short on time. Just heat it in 30-second intervals, checking often. Enjoy your meal as if it was fresh!
FAQs
How to make Honey Garlic Ginger Chicken without an oven?
You can make Honey Garlic Ginger Chicken on the stovetop. Start by making the marinade as usual. Then, heat a large skillet over medium heat. Add some oil to the pan. Remove the chicken from the marinade and place it in the skillet. Cook the chicken for about 7-8 minutes on each side. Ensure the chicken reaches 165°F. This method gives you a crispy outside and a juicy inside. If you want more flavor, use the leftover marinade to baste the chicken while it cooks.
Can I use bone-in chicken thighs?
Yes, you can use bone-in chicken thighs. Bone-in thighs add flavor and moisture. Just remember that bone-in pieces may take longer to cook. Adjust the cooking time to ensure they reach 165°F inside. You may need to bake them for about 35-40 minutes at 400°F. Always check the chicken with a meat thermometer to be sure.
What can I substitute for soy sauce?
If you need a substitute for soy sauce, try coconut aminos. It has a similar flavor with less sodium. Another option is to mix equal parts of balsamic vinegar and water. This mix can mimic the salty taste of soy sauce. You can also use tamari sauce, which is gluten-free and has a rich flavor. Keep in mind that these substitutes may change the final taste slightly, but they can still work well in this recipe.
You learned about the key ingredients for Honey Garlic Ginger Chicken, like chicken thighs, honey, and soy sauce. We discussed how to make the marinade, marinate the chicken, and bake it to perfection. I shared tips to boost flavors and avoid dryness, plus variations to suit your taste. You can store leftovers correctly or even try a vegetarian option. Enjoy experimenting with these ideas in your kitchen. You’ll impress everyone with your skills, and the meals will taste great. Happy cooking!