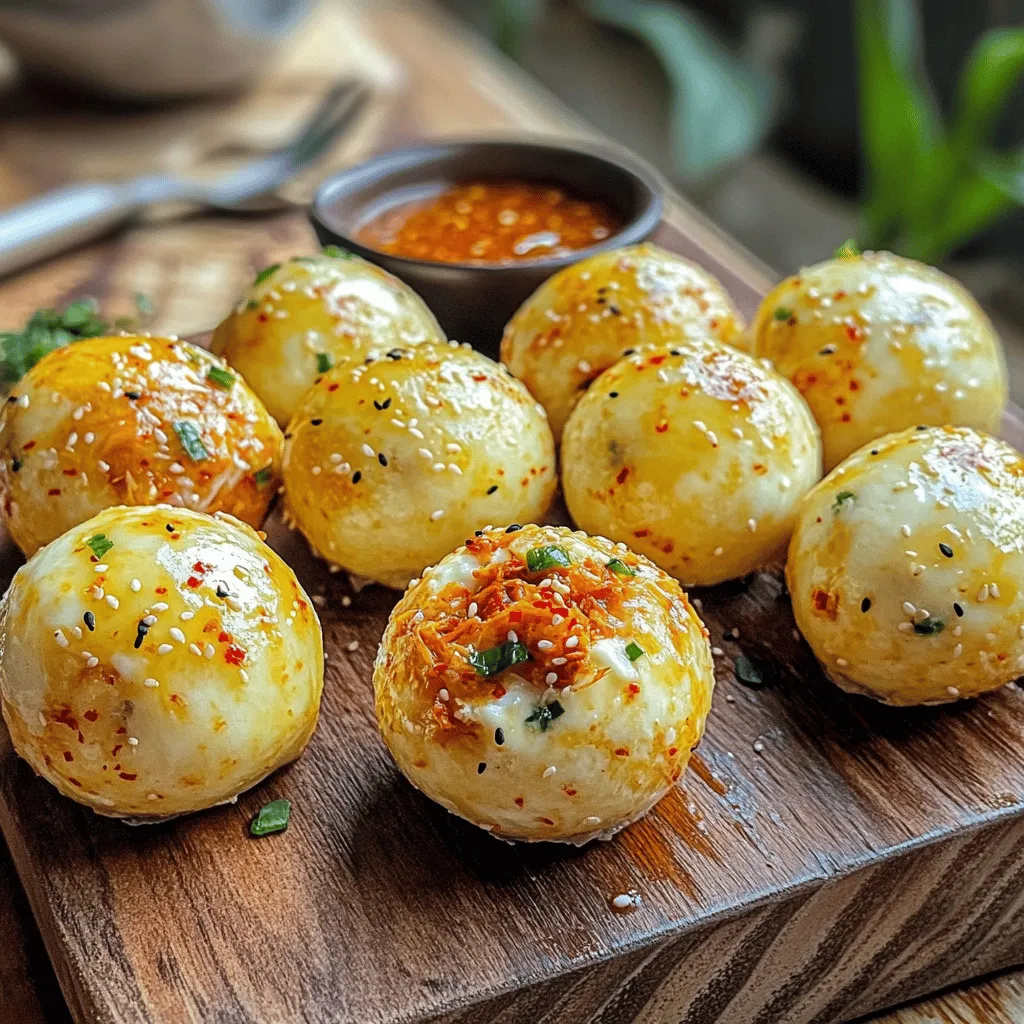
Are you ready for a snack that’s both cheesy and fun? Korean cheese balls pack a flavorful punch with an irresistible gooey center. In this recipe, you’ll learn how to make these delightful bites using simple ingredients like mozzarella cheese and kimchi. Perfect for parties or a cozy night in, these treats will be a hit. Let’s dive into this delicious adventure together!
Ingredients
List of Essential Ingredients
– 1 cup mozzarella cheese, shredded
– 1 cup cooked sticky short-grain rice
– ½ cup finely chopped kimchi
– ½ cup flour (plus extra for dusting)
– 1 large egg, beaten
– 1 teaspoon garlic powder
– 1 teaspoon sesame oil
– ½ teaspoon salt
– ½ teaspoon black pepper
– 1 cup panko breadcrumbs
– Oil for frying
To make Korean cheese balls, gather these key ingredients. You will need mozzarella cheese for that melty goodness. Sticky rice helps bind everything together. Kimchi adds a nice kick and flavor. Flour, egg, and panko breadcrumbs help make a crispy crust. Lastly, oil is essential for frying.
Optional Add-ins
– Other cheese varieties for added flavor
– Additional spices and seasonings
Feel free to mix in other cheeses like cheddar or pepper jack. This can give your cheese balls a fun twist. You can also use spices like paprika or cayenne for extra heat. Be creative and tailor the flavor to your taste!
Equipment Needed
– Mixing bowl
– Dredging station (3 bowls for flour, egg, and breadcrumbs)
– Deep pan or fryer
You’ll need a mixing bowl to combine your ingredients. A dredging station helps coat your cheese balls evenly. Use three bowls: one for flour, one for the egg, and one for breadcrumbs. Finally, a deep pan or fryer is needed to cook them perfectly.
Now you have everything ready to make these cheesy snacks!
Step-by-Step Instructions
Mixing the Ingredients
Start by grabbing a large mixing bowl. In the bowl, combine the following:
– 1 cup mozzarella cheese, shredded
– 1 cup cooked rice (preferably sticky short-grain rice)
– ½ cup finely chopped kimchi
– 1 teaspoon garlic powder
– 1 teaspoon sesame oil
– ½ teaspoon salt
– ½ teaspoon black pepper
Mix these ingredients well. You want the cheese and rice to blend with the kimchi and spices. This step is key, as it builds the flavor base for your cheese balls.
Forming the Cheese Balls
Now it’s time to shape the mixture. Take about 2 tablespoons of the mixture and use your hands to form it into a ball. Make sure it’s compact. Repeat this until you’ve shaped all of the mixture. Place the formed balls on a dish. This process is fun and makes the cheese balls look inviting!
Dredging Process
Next, set up a dredging station. You’ll need three bowls:
– One bowl with flour (½ cup, plus extra for dusting)
– One bowl with a beaten egg (1 large egg)
– One bowl with panko breadcrumbs (1 cup)
Roll each cheese ball in flour first. Make sure to shake off any extra flour. Then dip it in the beaten egg. Finally, roll it in the panko breadcrumbs. This coating gives your cheese balls a crispy texture when fried.
Cooking the Cheese Balls
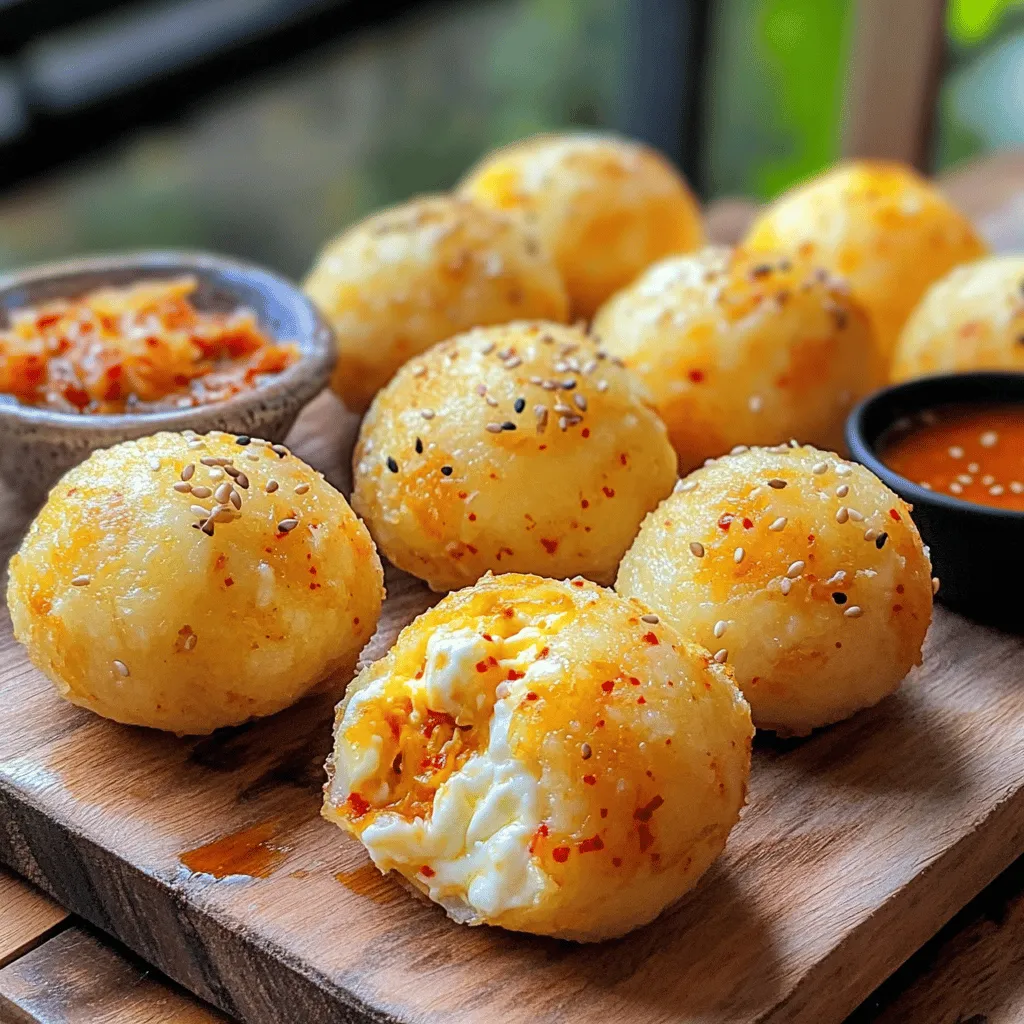
Now, let’s fry the cheese balls. Heat oil in a deep pan or fryer over medium heat. Aim for about 350°F (175°C). Carefully add the cheese balls in batches. Fry them until they turn golden brown and crispy, which takes about 3-4 minutes.
After frying, use a slotted spoon to remove the cheese balls. Drain them on paper towels to soak up any extra oil. Now, they are ready to serve warm! If you like, drizzle them with sesame oil for an extra touch of flavor. You can also enjoy them with a spicy dipping sauce.
Tips & Tricks
Achieving the Perfect Texture
To stop the cheese from leaking during frying, follow these easy tips:
– Use sticky short-grain rice. It holds everything together.
– Make sure to form tight balls. Press the mixture firmly.
– Chill the cheese balls for 15-30 minutes before frying. This helps them keep their shape.
– Coat the balls well in flour, egg, and panko. This creates a strong outer layer.
Flavor Enhancements
Want to amp up the taste? Here are some ideas:
– Add a pinch of chili powder for a little heat.
– Mix in some scallions for freshness.
– Try dipping sauces like soy sauce or spicy mayo. They add great flavor.
– A drizzle of sweet chili sauce can balance out the dish.
Serving Suggestions
Serve your cheese balls with these ideas to enhance your meal:
– Pair them with a fresh salad for a nice crunch.
– Serve with pickled vegetables for a tangy bite.
– Add a side of kimchi for extra flavor and spice.
– Use toothpicks to make them easy for guests to enjoy.
This recipe is all about fun and flavor, so feel free to get creative!
Variations
Different Cheeses to Try
You can switch out mozzarella for other cheeses. Cheddar adds a sharp taste. Gouda gives a creamy touch. For a spicy kick, try pepper jack. Mixing cheeses can create fun flavors. Use a blend of your favorites for a unique twist.
Dietary Adjustments
To make this dish gluten-free, use rice flour instead of regular flour. You can also find gluten-free panko. For a vegan version, replace the cheese with a dairy-free alternative. Use a flax egg instead of a real egg as a binder. These options keep the snack tasty for everyone.
Serving Styles
Get creative with how you serve Korean cheese balls! They shine as appetizers at parties. You can place them on a bed of salad for a crunchy treat. Pair them with a spicy dipping sauce for extra flavor. Serve them with fresh veggies for a colorful platter. Enjoy these cheesy delights in many fun ways!
Storage Info
Storing Leftovers
To keep your cheese balls fresh, store them in an airtight container. Let them cool first. Place a paper towel at the bottom to absorb moisture. You can store them in the fridge for up to three days. If you want to enjoy them later, freezing is a great option.
Reheating Instructions
When reheating, avoid the microwave. It makes them soggy. Instead, use an oven or an air fryer. Preheat your oven to 350°F (175°C). Place the cheese balls on a baking sheet. Heat them for about 10 minutes. For an air fryer, set it to 350°F (175°C) and reheat for 5-7 minutes. This keeps them crispy.
Freezing Tips
Yes, you can freeze cheese balls! To freeze them, first let them cool completely. Then, place them in a single layer on a baking sheet. Freeze until firm, about 1-2 hours. After that, transfer them to a freezer bag. They can last for up to three months. When you’re ready to eat, just reheat from frozen using the oven or air fryer. Enjoy your Korean cheese balls later!
FAQs
What are Korean cheese balls made of?
Korean cheese balls combine simple ingredients for great taste. Here’s what you need:
– 1 cup mozzarella cheese, shredded
– 1 cup cooked rice (preferably sticky short-grain rice)
– ½ cup kimchi, finely chopped
– ½ cup flour (plus extra for dusting)
– 1 large egg, beaten
– 1 teaspoon garlic powder
– 1 teaspoon sesame oil
– ½ teaspoon salt
– ½ teaspoon black pepper
– 1 cup panko breadcrumbs
– Oil for frying
Mozzarella gives the cheesy pull, while the rice adds a nice texture. Kimchi adds spice and tang, making it unique. Garlic powder and sesame oil enhance the flavors.
Can I bake Korean cheese balls instead of frying?
Yes, you can bake them! Baking makes for a lighter snack. Preheat your oven to 375°F (190°C). Place the cheese balls on a baking sheet lined with parchment paper. Spray them lightly with oil. Bake for about 15-20 minutes or until golden brown. They will not be as crispy but still delicious.
Where can I buy pre-made Korean cheese balls?
You can find Korean cheese balls at many places:
– Asian grocery stores
– Local Korean restaurants
– Specialty snack shops
Some grocery chains also carry frozen versions. Check the frozen section for quick snacks!
How can I customize the flavor of Korean cheese balls?
You can easily change the flavor! Here are some ideas:
– Use different cheeses like cheddar or pepper jack for a twist.
– Add herbs like green onion or cilantro for freshness.
– Spice it up with chili flakes or hot sauce.
– Swap kimchi for pickled vegetables for a milder version.
Feel free to mix and match ingredients to make them your own!
Korean cheese balls are fun to make and delicious to eat. We covered key ingredients, step-by-step instructions, and tips for the best taste. Adding different cheeses and flavors makes the recipe even better. Whether frying, storing, or reheating, these cheese balls remain tasty. I hope you feel ready to try making your own. Enjoy the crunchy and cheesy goodness!