
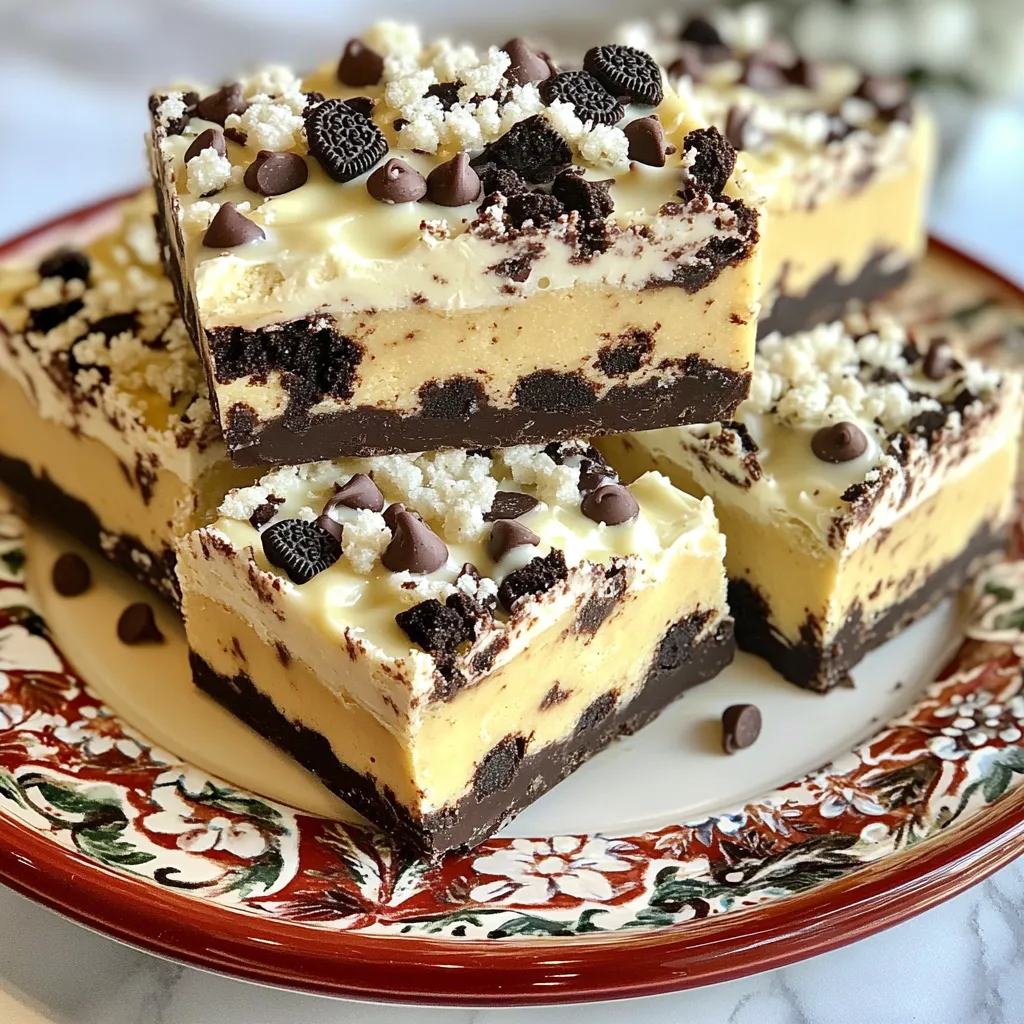
Craving something sweet that’s easy to make? You’re in the right place! These No-Bake Oreo Cookie Dough Bars blend rich flavors and smooth textures, all without turning on the oven. With just a handful of simple ingredients, you can whip up a delicious treat that everyone will love. Get ready to impress your friends and family with this quick recipe that is sure to become a favorite!
Why I Love This Recipe
- Quick and Easy: This no-bake recipe comes together in just 15 minutes, making it a perfect dessert for any occasion!
- No Baking Required: Skip the oven and still enjoy delicious cookie dough bars that are rich and satisfying.
- Oreo Goodness: With crushed Oreos mixed in and on top, every bite is a chocolatey delight that fans of cookies will adore.
- Customizable Toppings: Feel free to add your favorite toppings or mix-ins to make these bars your own!
Ingredients
Detailed Ingredient List
– 1 cup all-purpose flour
– 1/2 cup brown sugar
– 1/4 cup granulated sugar
– 1/2 cup unsalted butter, softened
– 1 teaspoon vanilla extract
– 1/4 teaspoon salt
– 1 cup mini chocolate chips
– 12 Oreo cookies, crushed
– 1 cup white chocolate chips
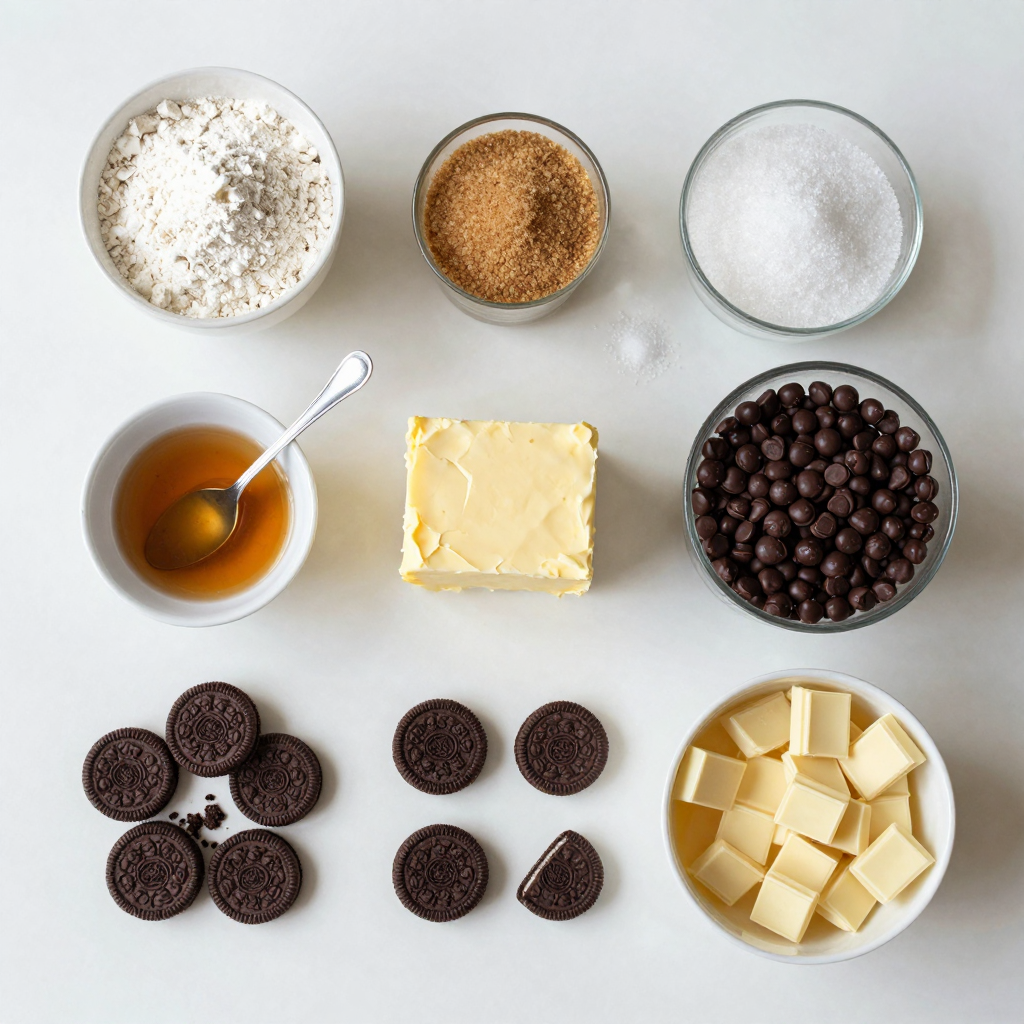
The ingredients for No-Bake Oreo Cookie Dough Bars are simple yet delightful. Each ingredient plays a key role. The all-purpose flour gives structure, while brown and granulated sugars add sweetness. Softened unsalted butter creates that creamy texture. Vanilla extract brings flavor, and salt balances it out. Mini chocolate chips add more joy, and crushed Oreo cookies provide a fun crunch. The white chocolate chips on top give a lovely finish.
Ingredient Substitutions
– Unsalted butter: You can use coconut oil or vegan butter if needed.
– Gluten-free flour options: Try almond flour or any gluten-free blend.
– Sugar substitutes: Use coconut sugar or a sugar alternative like Stevia.
These substitutions work well and help you adjust the recipe. You can still enjoy the same great taste with different dietary needs.
Nutritional Information
– Calories per serving: Each bar has about 200 calories.
– Fat: 10 grams
– Carbohydrates: 28 grams
– Protein: 2 grams
These bars are vegetarian-friendly. They are rich in flavor but should be enjoyed in moderation. If you watch your sugar, consider using substitutes for a lighter treat.
Step-by-Step Instructions
Preparation Steps
1. Start by preheating your refrigerator. This helps the bars set well.
2. In a large bowl, mix the softened butter, brown sugar, and granulated sugar. Beat until creamy.
3. Add the vanilla extract and salt, mixing until combined.
4. Gradually add the all-purpose flour while mixing on low speed. Don’t overmix!
5. Fold in mini chocolate chips and crushed Oreo cookies. Make sure they spread evenly.
Assembling the Bars
1. Line a 9×9 inch baking pan with parchment paper. Leave some overhang for easy removal.
2. Press the cookie dough mixture firmly into the pan. Smooth the top with a spatula.
3. In a microwave-safe bowl, melt the white chocolate chips. Do this in 20-second increments and stir until smooth.
4. Pour the melted white chocolate over the cookie dough layer. Spread it evenly across the top.
Setting the Bars
1. Place the pan in the refrigerator for at least 1-2 hours. This helps the bars firm up.
2. When set, lift the bars out of the pan using the parchment paper. Cut them into squares or rectangles.
3. For serving, place them on a decorative platter. Drizzle with extra melted white chocolate and sprinkle with crushed Oreo crumbs for a nice touch.
Pro Tips
- Use Heat-Treated Flour: To ensure safety when consuming raw flour, heat-treat it by baking it for 5 minutes at 350°F (175°C) before using it in the recipe.
- Chill the Dough: For best results, chill the cookie dough mixture for about 30 minutes before pressing it into the pan; this helps to prevent spreading and gives a firmer texture.
- Experiment with Mix-Ins: Feel free to customize your bars by adding nuts, dried fruits, or different types of chocolate chips to enhance flavor and texture.
- Store Properly: Keep the bars stored in an airtight container in the refrigerator for up to a week, or freeze them for longer storage; just make sure to separate layers with parchment paper.
Tips & Tricks
Ensuring Perfect Texture
To get the right texture, avoid overmixing the dough. Mix just until you see no dry flour. This keeps the bars soft and chewy. When pressing the mixture into the pan, use a spatula to make it even. Start in the middle and push outwards. This helps create a nice flat layer.
Enhancing Flavor
Want to boost the chocolatey taste? Add more mini chocolate chips. You can also mix in flavors like mint or peanut butter. Just fold them in with the chocolate chips for a fun twist. Try using different Oreo flavors for even more variety.
Presentation Ideas
For serving, place the bars on a bright platter. Drizzle extra melted white chocolate over the top for a nice touch. You can also sprinkle crushed Oreo crumbs on top. This not only looks great but adds more flavor too.
Variations
Flavor Variations
You can change the flavor of your Oreo cookie dough bars in fun ways. Try using chocolate Oreos for a rich, chocolatey taste. Just swap the regular Oreos for chocolate ones. The bars will have a deep flavor and a lovely color. You can also explore other flavors. Use peanut butter Oreos or mint Oreos. Each type brings a unique twist to the bars, making them fun for any occasion.
Dietary-Friendly Options
If you want a vegan treat, you can easily make no-bake Oreo cookie dough bars. Replace the butter with coconut oil or vegan butter. Use a plant-based milk for extra moisture if needed. For a low-sugar option, choose sugar substitutes like stevia or erythritol. These swaps keep your bars sweet without the extra calories.
Seasonal and Holiday Tweaks
Make your Oreo cookie dough bars special for holidays. Add festive toppings like sprinkles or crushed candy canes for Christmas. In the fall, you could mix in pumpkin spice or chopped nuts for a seasonal feel. For birthdays, drizzle colorful icing on top. These tweaks turn simple bars into a festive treat that fits any celebration.
Storage Info
Best Ways to Store
To keep your No-Bake Oreo Cookie Dough Bars fresh, use airtight containers. They work great at room temperature if you eat them in a few days. If you want to save them longer, refrigerate them. Just make sure they’re in a sealed container to avoid drying out. For even longer storage, you can freeze them. Wrap each bar in plastic wrap, then place them in a freezer bag. This helps keep them tasty for up to three months.
Shelf Life
These bars last about a week in the fridge. You’ll know they’re bad when they smell off or if the texture changes. If you see any mold, throw them away. Always check before eating!
Reheating and Serving after Storage
To maintain the texture after freezing, let them thaw in the fridge overnight. This keeps them soft and delicious. When serving leftovers, cut them into squares for easy sharing. You can drizzle some melted white chocolate on top for a fresh look. Enjoy them chilled or at room temperature for the best taste!
FAQs
How do I make these gluten-free?
To make these bars gluten-free, you can use gluten-free all-purpose flour. This type of flour blends well. Just substitute it in a one-to-one ratio. It will keep the texture smooth. Make sure your other ingredients are gluten-free too. Check the labels on the Oreo cookies and other items.
Can I use regular-sized Oreo cookies?
Yes, you can use regular-sized Oreo cookies. However, you will need to crush them into smaller pieces. This ensures they mix well in the dough. You may want to use about 8 to 10 regular Oreos instead of 12. The size change will not affect the taste much.
What can I use instead of white chocolate chips?
If you prefer not to use white chocolate chips, you can try milk chocolate or dark chocolate chips. Each option gives a different flavor. You can also use peanut butter chips for a fun twist. Just remember, the flavor will change slightly with different chips.
Can these bars be made in advance?
Yes, you can make these bars ahead of time. They store well in the fridge for up to a week. Just keep them in an airtight container. If you want to store them longer, you can freeze them. Wrap them tightly in plastic wrap before freezing. They stay good for about three months this way.
These cookie dough bars blend common ingredients into a tasty treat. We covered the details on each ingredient, helpful substitutions, and vital nutritional facts.
I shared step-by-step instructions to guide you through preparation, assembly, and cooling. You learned tips to enhance flavor and ensure perfect texture, along with fun variations to explore.
Finally, we discussed storage tips to keep your bars fresh. Enjoy experimenting with these recipes and make them your own!