
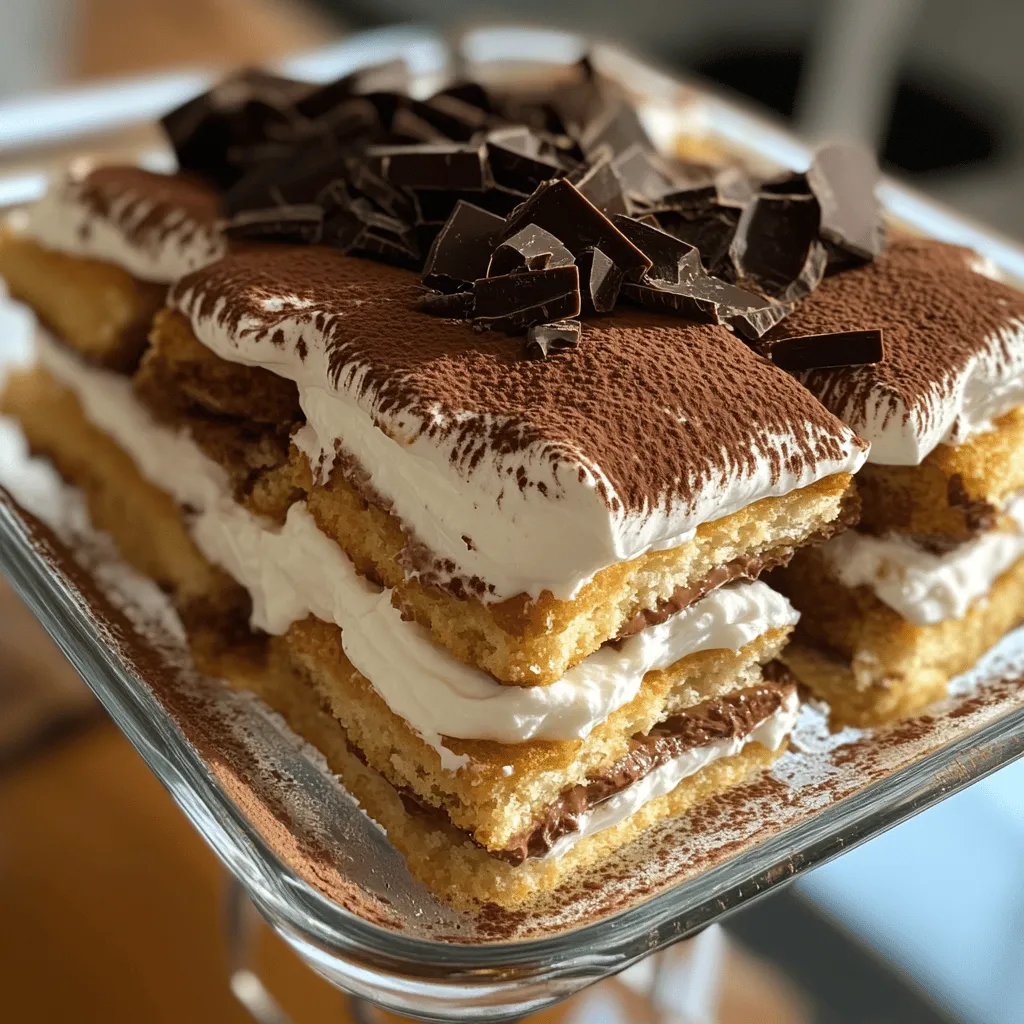
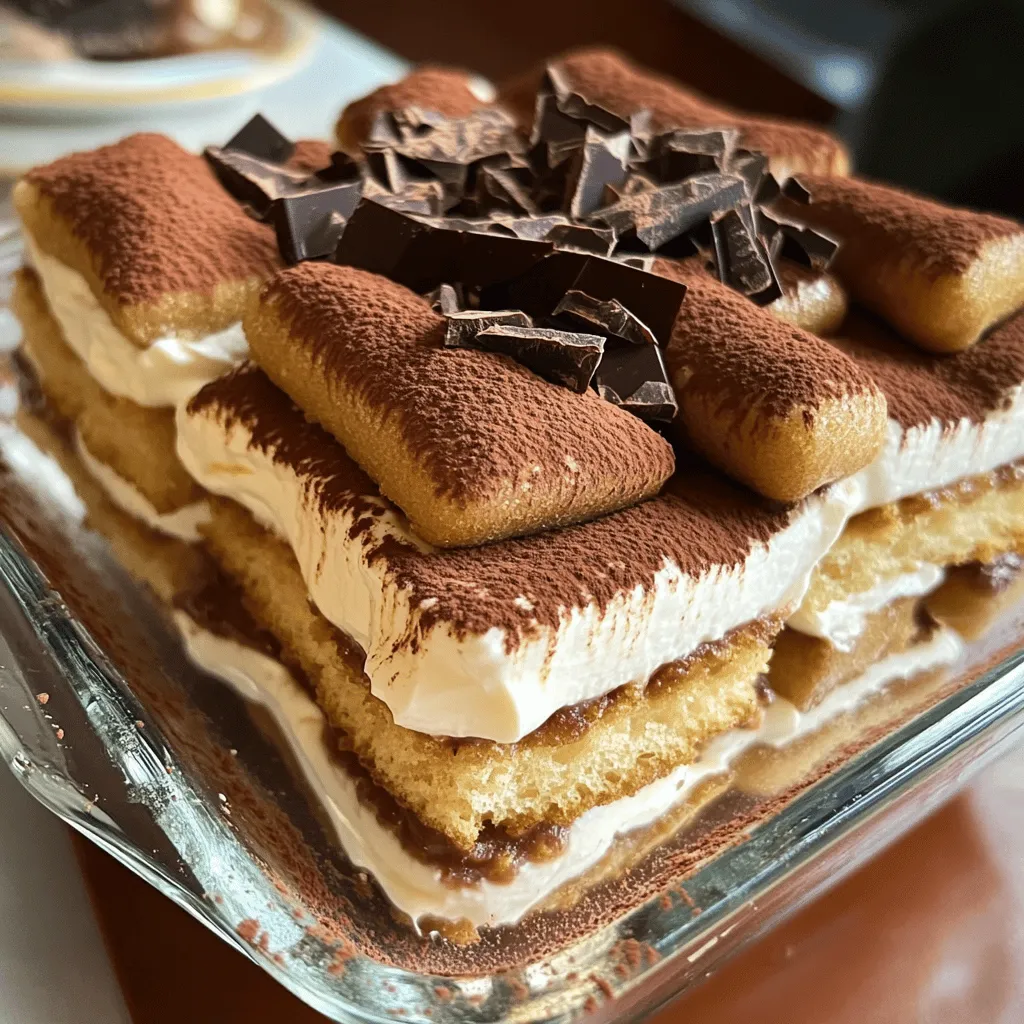
Are you craving a rich and creamy dessert without the fuss of baking? My No-Bake Tiramisu Delight is the perfect fix! With just a handful of simple ingredients, you can whip up this classic Italian treat in no time. I’ll guide you step-by-step to create layers of luscious flavor that impress without stress. Get ready to indulge in a dessert that’s both easy and unforgettable!
Ingredients
List of Required Ingredients
– 2 cups heavy cream
– 1 cup mascarpone cheese
– ½ cup powdered sugar
– 1 teaspoon vanilla extract
– 2 cups strong brewed coffee, cooled
– 1 cup milk
– 24 ladyfinger cookies
– 2 tablespoons cocoa powder for dusting
– Dark chocolate shavings for garnish (optional)
Measurement Tips
To get the best results, measure each ingredient carefully. Use a liquid measuring cup for liquids like heavy cream and milk. For dry items, use a dry measuring cup. When measuring powdered sugar, spoon it into the cup and level it off. This helps keep the ratios right. Cold ingredients work best, especially heavy cream. It whips better when cold. This means a light and fluffy texture for your dessert.
Substitutions for Dietary Needs
If you need a dairy-free version, try using coconut cream instead of heavy cream. You can swap mascarpone with a blend of silken tofu and a bit of lemon juice for tanginess. For gluten-free options, look for gluten-free ladyfinger cookies. Many brands offer tasty alternatives. This way, everyone can enjoy this delightful dessert!
Step-by-Step Instructions
Preparation of the Cream Mixture
First, we need to whip the heavy cream. Pour 2 cups of heavy cream into a large mixing bowl. Use a hand mixer to whip it until you see stiff peaks. This step gives our dessert its light texture.
Next, in another bowl, combine the mascarpone cheese, powdered sugar, and vanilla extract. Use a spatula to mix until creamy. Now, we will gently fold the whipped cream into this mascarpone mixture. Be careful not to deflate the cream. This step adds air and keeps our dessert fluffy.
Assembling the Tiramisu
Now, let’s dip the ladyfingers. In a shallow bowl, mix the cooled coffee and milk. Quickly dip each ladyfinger into the coffee mixture. Make sure not to soak them, as we want them firm. Place the dipped ladyfingers in a 9×9 inch baking dish to form the first layer.
Spread half of the creamy mascarpone mixture evenly over the ladyfingers. Then, repeat this step with another layer of dipped ladyfingers and the rest of the mascarpone filling. Smooth the top with a spatula for a nice finish.
Refrigeration and Serving
Cover your dish with plastic wrap. Now, refrigerate it for at least 4 hours or even overnight. This chilling time helps the flavors blend and the dessert set properly.
When you’re ready to serve, dust the top with cocoa powder. You can also sprinkle dark chocolate shavings for a nice touch. Slice it up and enjoy your delicious no-bake tiramisu!
Tips & Tricks
Achieving the Perfect Texture
To get the best texture, you need stiff peaks in your whipped cream. This means when you lift the whisk, the peaks stand tall and don’t fall. Start by using cold heavy cream for the best results. Whip it on medium speed until you see those stiff peaks form.
When you mix the whipped cream with the mascarpone, do it gently. Use a spatula and fold the mixtures together slowly. This keeps the air in the whipped cream and gives your Tiramisu its light fluffiness.
Avoiding Common Mistakes
Soggy ladyfingers ruin Tiramisu. To avoid this, dip each ladyfinger quickly in coffee and milk. Don’t let them soak too long, or they will get too wet. You want them soft but still firm enough to hold their shape.
Make sure you layer the ingredients evenly. This helps each bite taste balanced. Spread the mascarpone filling smoothly over the ladyfingers. Repeat the layers and make sure they are even for the best presentation.
Customizing Your Dessert
You can adjust the sweetness and flavor of your Tiramisu. If you like it sweeter, add more powdered sugar to the mascarpone mixture. For a richer taste, try adding a splash of coffee liqueur.
Feel free to add flavor extracts, like almond or hazelnut, to give your Tiramisu a unique twist. Garnish with chocolate shavings or fresh berries for extra flair. These small touches make a big difference!
Variations
Flavor Variations
You can change the flavor of your no-bake tiramisu easily. Try adding different liqueurs, like rum or amaretto, to the coffee mixture. This adds depth and warmth to your dessert. For a fun twist, use seasonal flavors. In autumn, pumpkin spice can transform your tiramisu with cozy notes. You can mix in spices like cinnamon or nutmeg for that seasonal flair.
Serving Suggestions
Pair your no-bake tiramisu with other desserts or drinks. It goes well with fresh berries, a scoop of vanilla ice cream, or a dark chocolate brownie. You can also serve it with coffee or a sweet dessert wine. For plating, use clear cups or jars to showcase the layers. Top with cocoa powder and chocolate shavings for an eye-catching finish.
No-Bake Tiramisu for Different Occasions
You can adapt your no-bake tiramisu for holidays and special events. For festive gatherings, add a layer of peppermint extract for a holiday touch. Serve in individual cups for parties or keep it traditional in a baking dish. This makes it easy for guests to enjoy. No matter how you serve it, your no-bake tiramisu will impress everyone.
Storage Information
Best Practices for Storage
To keep your no-bake tiramisu fresh, cover it tightly with plastic wrap. This will help avoid drying out. Place it in the refrigerator right after making it. Tiramisu stays good in the fridge for about 3 to 5 days. The flavors deepen over time, making each bite even better.
Freezing Tiramisu
You can freeze tiramisu, but there are some pros and cons. Freezing helps if you want to keep it longer. However, the texture may change when thawed. To freeze, wrap the dessert well in plastic and foil. When ready to eat, move it to the fridge overnight to thaw. This slow thawing keeps the texture nice.
Signs of Spoilage
Look for signs that your tiramisu has gone bad. If it smells sour or off, it’s best not to eat it. Also, check for any mold on the surface. If you see any, throw it away. The dessert should look creamy and fresh, with no discoloration. Always trust your senses when it comes to food safety.
FAQs
How long does No-Bake Tiramisu need to set?
No-Bake Tiramisu needs at least 4 hours to set. This chilling time is key. It helps the flavors blend together. The longer it sits, the better it tastes! You can also leave it overnight. This makes the dessert richer and creamier.
Can I make Tiramisu in advance?
Yes, you can make Tiramisu ahead of time. It stays fresh in the fridge for up to 2 days. Just cover it well with plastic wrap. This keeps it from drying out. I often prepare it the night before guests arrive. It allows more time to enjoy the occasion.
What can I substitute for mascarpone cheese?
If you don’t have mascarpone cheese, don’t worry! You can use cream cheese as a substitute. Just mix it with a bit of heavy cream. Another option is ricotta cheese blended until smooth. Both will give you a creamy texture.
You now have everything needed to create a delicious No-Bake Tiramisu. We covered the ingredients, measuring tips, and substitutions for dietary needs. I shared step-by-step instructions, along with tips for perfect texture and common mistakes to avoid. You learned about variations and how to store your dessert properly. Remember, the key is in the details and making it your own. Enjoy making this treat for your next event!


