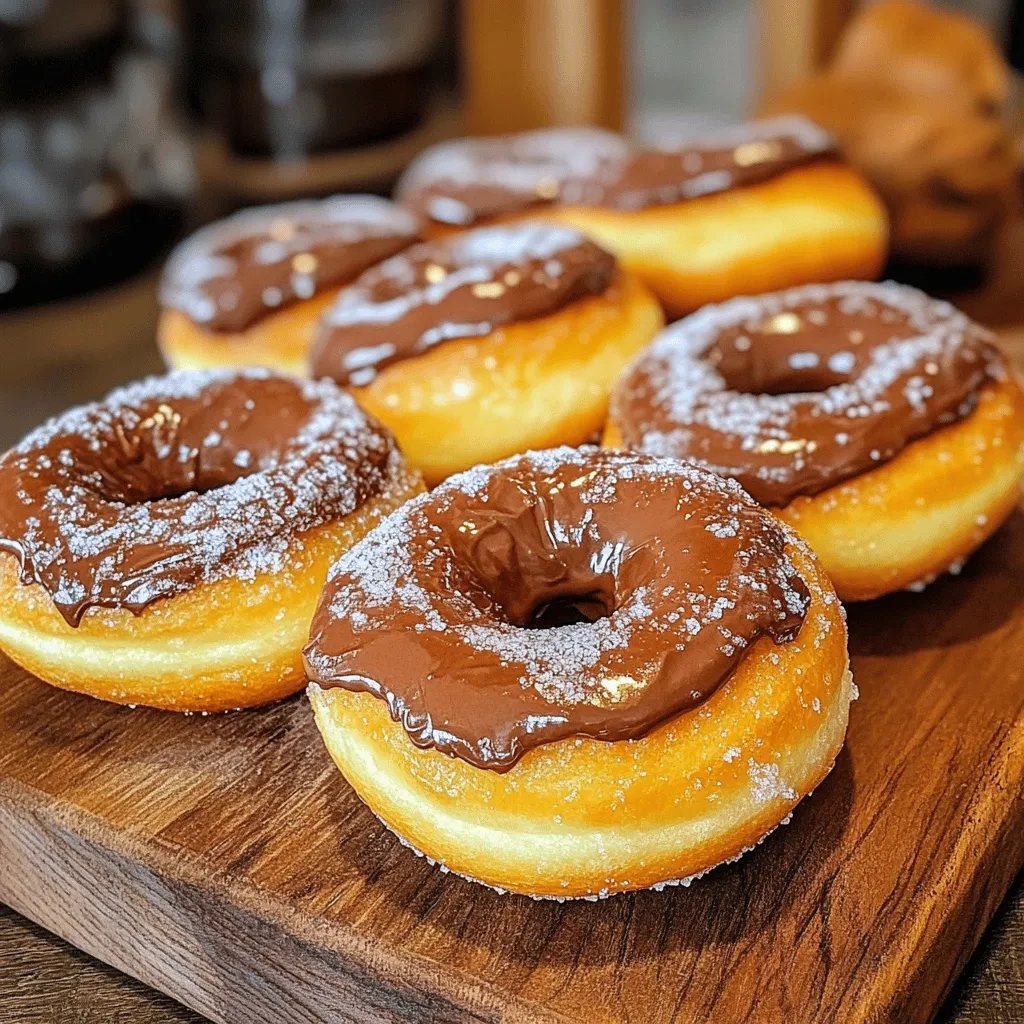
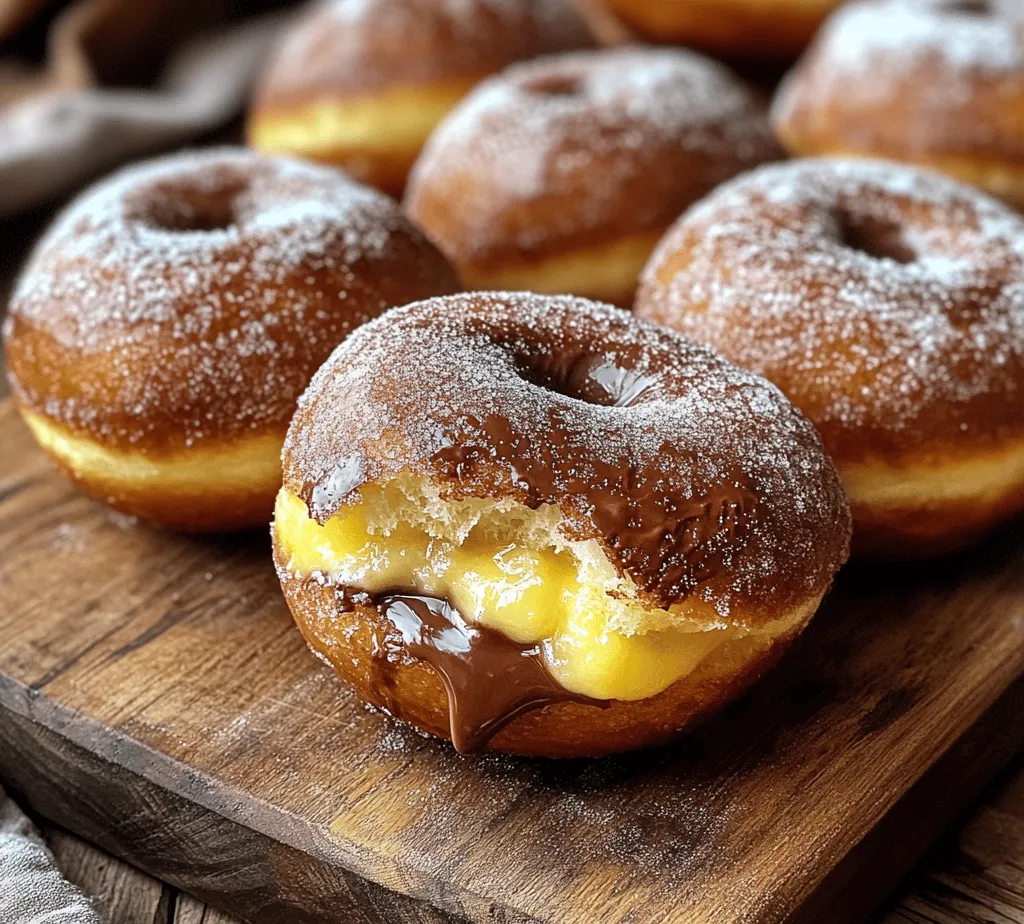
Indulging in delicious homemade treats is one of life’s simple pleasures. Among the myriad of sweet delights, Nutella stuffed donuts hold a special place in many hearts. With their soft and fluffy texture and rich, gooey Nutella filling, these donuts are perfect for breakfast, dessert, or any time you want a sweet pick-me-up. The blend of freshly baked dough and luscious Nutella creates a mouthwatering experience that leaves you craving more. In this article, we will explore a detailed recipe to create these delectable donuts from scratch, covering everything from the ingredients to the precise steps needed to achieve that perfect golden-brown finish.
The Allure of Homemade Donuts
Understanding the Joy of Homemade Treats
There is something undeniably satisfying about creating sweets from scratch. The process of mixing ingredients, watching the dough rise, and eventually tasting the fruits of your labor is incredibly rewarding. When you make donuts at home, you have complete control over every aspect of the recipe, allowing you to customize flavors and fillings to suit your preferences. This personal touch adds to the enjoyment, making each bite not just a treat, but a celebration of your baking skills.
In comparison to store-bought options, homemade donuts shine in both taste and texture. While many commercial varieties can be overly sweet or lack freshness, a homemade donut is soft, fluffy, and bursting with flavor. The experience of biting into a warm, filled donut that you made yourself is unparalleled. The satisfaction derived from a successful batch of donuts is a joy that every baking enthusiast should experience.
Moreover, the versatility of flavors and fillings makes homemade donuts an exciting culinary adventure. While Nutella is a beloved classic, you can easily adapt this recipe to incorporate fruit jams, cream fillings, or even different types of chocolate. This flexibility allows you to explore various flavor combinations, ensuring that each batch can be a unique creation.
Ingredients for Nutella Stuffed Donuts
Essential Components for a Perfect Recipe
To create these scrumptious Nutella stuffed donuts, you will need a few key ingredients. Each component plays a significant role in achieving the ideal texture, flavor, and overall quality of the donuts.
Flour: All-purpose flour serves as the foundation of our donut dough. It provides structure and stability, contributing to the donut’s fluffy texture. For a lighter, airier donut, consider using a combination of all-purpose flour and bread flour, which has a higher protein content that aids gluten development.
Sugar: Granulated sugar is essential for sweetness, but it also helps to activate the yeast. A touch of sugar in the dough encourages browning during frying, giving the donuts a delightful golden color.
Yeast: Active dry yeast is the leavening agent in this recipe, responsible for the dough’s rise. It creates air pockets that make the donuts soft and fluffy. Ensuring the yeast is fresh and properly activated is crucial for a successful rise.
Milk: Whole milk adds moisture and richness to the dough, contributing to its tender texture. The temperature of the milk is also important; it should be warm but not hot, as excessive heat can kill the yeast.
Butter: Unsalted butter enriches the dough and adds flavor. It also contributes to the tender crumb of the donuts. Make sure the butter is softened to room temperature for easier incorporation into the dough.
Eggs: Eggs add moisture, richness, and structure to the donuts. They help bind the ingredients together and create a tender texture.
Finally, the star of the show: Nutella. This creamy hazelnut spread is the perfect filling for our donuts. Using high-quality Nutella enhances the flavor and ensures a rich, gooey center that contrasts beautifully with the soft dough.
Step-by-Step Guide to Making Nutella Stuffed Donuts
Preparing the Dough
How to Activate Yeast for Optimal Results
The first step in creating your Nutella stuffed donuts is to prepare the dough, which begins with activating the yeast. In a small bowl, combine warm milk and a tablespoon of sugar. Sprinkle the yeast over the top and let it sit for about 5-10 minutes. This process, known as proofing, allows the yeast to awaken and start feeding on the sugar, creating bubbles. You’ll know the yeast is ready when the mixture becomes frothy and bubbly.
Importance of the Temperature of Milk in Yeast Activation
The temperature of the milk is critical during this step. Ideally, the milk should be around 110°F (43°C). If it’s too hot, it can kill the yeast, preventing the dough from rising. If it’s too cold, the yeast won’t activate properly, resulting in dense donuts. Using a kitchen thermometer can help ensure accuracy, but if you don’t have one, a good rule of thumb is to feel the warmth of the milk; it should feel comfortably warm to the touch.
Mixing Wet and Dry Ingredients
Once your yeast is activated, it’s time to mix the wet and dry ingredients. In a large mixing bowl, combine the flour, sugar, and salt. Make a well in the center and add the activated yeast mixture, softened butter, and eggs. Using a wooden spoon or spatula, gently mix the ingredients until they start to come together.
Tips for Achieving the Right Consistency
The goal is to create a soft, sticky dough. If the dough feels too dry, add a little more milk, a tablespoon at a time, until it reaches the desired consistency. Conversely, if the dough is too wet, sprinkle in a bit more flour until it firms up slightly. Remember that the dough will be easier to work with after kneading, so don’t be too concerned if it feels a bit sticky at this stage.
The Significance of Kneading in Gluten Development
Kneading is an essential step in developing gluten, which provides structure and elasticity to the donut dough. Once the dough comes together, turn it out onto a lightly floured surface and knead it for about 8-10 minutes. Use the heel of your hand to push the dough away from you, then fold it back over itself. Rotate the dough a quarter turn and repeat the process. The dough should become smooth and elastic, indicating that the gluten has developed properly.
First Rise: Creating the Perfect Texture
After kneading, place the dough in a lightly greased bowl, cover it with a clean kitchen towel or plastic wrap, and let it rise in a warm, draft-free area. This first rise is crucial for achieving the light and fluffy texture of the donuts.
Explanation of the Dough Rising Process
During this rising period, the yeast ferments the sugars in the dough, producing carbon dioxide and causing the dough to expand. The dough should double in size, which may take about 1-2 hours depending on your kitchen’s temperature.
Visual Cues for Knowing When the Dough Has Risen Enough
To check if the dough has risen sufficiently, gently press your finger into the surface. If the indentation remains and doesn’t spring back, the dough is ready for the next step. If it springs back too quickly, give it a bit more time to rise.
Shaping the Donuts
Once the dough has completed its first rise, it’s time to shape the donuts. Turn the dough out onto a floured surface and gently punch it down to release any air bubbles. Roll the dough out to about half an inch thick.
Techniques for Rolling and Cutting Out Donuts
Using a donut cutter or two round cookie cutters (one larger and one smaller), cut out the donut shapes. Place the cut donuts on a parchment-lined baking sheet, leaving space between each donut to allow for the second rise. Don’t forget to cut out the centers if you’re using a cutter that doesn’t do it for you!
The Importance of Uniform Thickness for Even Cooking
For even cooking, it’s important to maintain a uniform thickness across all donuts. If some are thicker than others, they may cook at different rates, resulting in some being undercooked while others are overdone. Try to keep your rolling as consistent as possible.
Second Rise: Ensuring Fluffiness
Once the donuts are shaped, cover them again with a towel or plastic wrap and allow them to rise for another 30-45 minutes. This second rise is vital for achieving a light and fluffy texture.
In this part of the article, we have delved into the delightful process of making Nutella stuffed donuts, covering everything from the joy of homemade treats to the step-by-step guide for creating the perfect dough. In the next section, we will explore the frying process, tips for achieving the perfect golden brown finish, and how to fill these irresistible donuts with Nutella. Stay tuned for more delicious insights!
Understanding the Science Behind the Second Rise
The second rise, often referred to as the proofing stage, is crucial for achieving light and airy donuts. During this time, the yeast continues to ferment, producing carbon dioxide gas that gets trapped in the dough. This process causes the dough to expand, leading to a softer and more tender texture. The second rise allows the gluten in the dough to relax, which is essential for the final product’s chewiness and structure.
By allowing the donuts to rise a second time, you ensure that they don’t become dense and heavy after frying. The longer you let them proof, the more flavorful they become, as the yeast develops deeper flavors. Ideally, this rise should last about 30 to 45 minutes, but you may need to adjust based on your kitchen environment. Warmer areas will speed up the rising process, while cooler spaces will slow it down, so keep an eye on your dough and let it double in size for optimal results.
Frying the Donuts
Frying donuts at home can be a delightful experience, but it’s essential to prioritize safety and precision to achieve that perfect golden-brown exterior.
Safety Tips for Frying at Home
1. Use a Deep Fryer or Heavy Pot: Choose a deep fryer or a heavy-bottomed pot to maintain a consistent temperature. Avoid using lightweight pans that may heat unevenly.
2. Monitor Oil Levels: Ensure that you have enough oil to submerge the donuts fully. Too little oil can lead to uneven cooking and burnt edges.
3. Keep a Fire Extinguisher Nearby: Always have a fire extinguisher on hand when frying. In case of any flare-ups, it is crucial to act quickly.
4. Use a Candy Thermometer: When frying, it’s essential to monitor the oil temperature closely. A candy thermometer will help you maintain the right heat without guesswork.
Indicators for the Right Oil Temperature
The ideal frying temperature for donuts is around 350°F to 375°F (175°C to 190°C). If the oil is too hot, the donuts will brown too quickly on the outside while remaining raw in the center. If the oil is too cool, the donuts will absorb more fat and become greasy.
1. Testing Oil Temperature: You can test the oil by dropping a small piece of dough into it. If it sizzles and rises to the surface, the oil is ready. Another method is to use a wooden spoon; if bubbles form around the spoon, the oil is at the right temperature.
2. Fry in Batches: To maintain oil temperature, fry only a few donuts at a time. Overcrowding the pot can lower the oil temperature and affect cooking.
Techniques for Achieving That Perfect Golden-Brown Exterior
1. Fry Until Golden: Depending on the size of your donuts, frying generally takes about 2-3 minutes per side. Keep an eye on them to ensure they achieve a beautiful golden color without overcooking.
2. Flip Carefully: Use a slotted spoon or tongs to gently flip the donuts. This helps avoid splashing hot oil and ensures even cooking.
3. Drain Excess Oil: Once cooked, transfer the donuts to a plate lined with paper towels to absorb excess oil. This step is vital for achieving a non-greasy finish.
Filling the Donuts with Nutella
Filling your donuts with Nutella is a delightful step that adds an indulgent touch to your homemade treats.
Best Practices for Using a Piping Bag
1. Prepare the Piping Bag: Use a piping bag fitted with a round tip for easy filling. If you don’t have a piping bag, a resealable plastic bag with the corner snipped off can work just as well.
2. Fill the Bag: Spoon Nutella into the piping bag, ensuring that it’s filled but not overstuffed. This allows for better control when filling the donuts.
3. Insert and Fill: To fill the donuts, insert the piping tip into the side of the donut and squeeze gently. Fill until you feel slight resistance, indicating that the donut is filled but not overly stuffed.
How to Achieve the Ideal Nutella-to-Dough Ratio
To ensure the perfect balance of Nutella and dough, aim for about one tablespoon of Nutella per donut. This allows for a rich filling without overwhelming the donut itself. Adjust the amount based on personal preference, but be cautious not to overfill, as this can lead to leaks during frying or serving.
Dusting the Donuts with Sugar
The final touch for your Nutella stuffed donuts is the perfect dusting of sugar that enhances their appeal.
Tips for Achieving the Perfect Powdered Sugar Coating
1. Choose the Right Sugar: Use powdered sugar for a delicate finish. You can also mix in a bit of cinnamon for added flavor.
2. Dust While Warm: Dust the donuts with sugar while they are still warm. This allows the sugar to adhere better and creates a delightful sweetness that complements the rich Nutella filling.
3. Avoid Sifting Too Much: While sifting is essential for even distribution, too much can lead to a stark white coating that may not look as appetizing. A light dusting is typically sufficient.
Presentation Ideas for Serving
To present your Nutella stuffed donuts beautifully, consider these ideas:
– Platter Arrangement: Arrange the donuts on a decorative plate or platter, stacking them slightly for a casual look.
– Garnish: Add fresh berries or mint leaves around the plate for a pop of color.
– Drizzle: Drizzle melted chocolate or caramel sauce over the donuts for an extra touch of indulgence.
Nutritional Information
Understanding the nutritional profile of your Nutella stuffed donuts can help you enjoy them within a balanced diet.
Breakdown of Calories and Nutrients per Serving
On average, each Nutella stuffed donut contains approximately:
– Calories: 250-300
– Fat: 15g
– Carbohydrates: 30g
– Sugar: 10g
– Protein: 4g
Keep in mind that these values can vary based on the specific ingredients and portion sizes used.
Considerations for Dietary Restrictions
If you have dietary restrictions, consider the following alternatives:
– Gluten-Free Flour: Substitute regular flour with a gluten-free blend for those with gluten intolerance.
– Low-Sugar Alternatives: Use sugar substitutes or reduced-calorie sweeteners to lower the sugar content.
– Dairy-Free Options: Ensure that the oil used for frying is free from dairy, or consider using a dairy-free filling alternative.
Variations and Customizations
One of the best parts of making donuts at home is the opportunity to get creative with flavors and fillings.
Exploring Different Flavor Profiles
1. Alternative Fillings: Instead of Nutella, experiment with different fillings such as fruit jams, pastry creams, or other spreads like peanut butter or cookie butter.
2. Suggestions for Flavoring the Dough: Consider adding spices like cinnamon, nutmeg, or vanilla extract to the dough for extra flavor. A hint of orange or lemon zest can also brighten the taste.
3. Ideas for Toppings Beyond Powdered Sugar: In addition to powdered sugar, try coating your donuts in crushed nuts, sprinkles, or a drizzle of chocolate ganache for an exciting variation.
Perfect Pairings for Nutella Stuffed Donuts
Enhancing your donut experience can be as simple as pairing them with the right beverages.
Beverage Choices to Complement Your Donuts
1. Coffee: A rich, dark roast coffee can balance the sweetness of the donuts beautifully. Try pairing with a cappuccino or espresso for a classic combination.
2. Tea: For a lighter option, consider herbal teas like chai or chamomile, which can complement the sweetness without overpowering the flavors.
3. Hot Chocolate: If you’re looking for an indulgent treat, serve your donuts with a warm cup of hot chocolate. The combination of flavors will satisfy any sweet tooth.
4. Seasonal Beverages: For a festive touch, pair donuts with seasonal drinks like pumpkin spice lattes in the fall or refreshing iced teas in the summer.
Conclusion
Creating Nutella stuffed donuts at home is not just about satisfying a sweet tooth; it’s an experience that invites creativity and experimentation in the kitchen. From the delightful aroma of donuts frying to the joy of taking that first bite filled with Nutella, making these treats is an enjoyable journey that ends in delicious satisfaction. With this comprehensive guide, you are well-equipped to impress family and friends with your baking prowess. Embrace the art of donut-making and savor the rewards of your culinary efforts. Whether you stick to the classic Nutella filling or explore exciting variations, each batch of donuts you create will be a testament to your love for baking and flavor. Enjoy the process, and happy frying!