
Get ready to enjoy a sweet and healthy treat with my Peanut Butter Chocolate Chip Granola Bars! These easy-to-make bars are not only packed with flavor, but they’re also perfect for busy days or a quick snack. In this post, I’ll guide you through each step, from gathering ingredients to storage tips. Whether you’re a novice in the kitchen or a seasoned pro, you’ll find great ideas to customize and elevate your snack game!
Why I Love This Recipe
- Deliciously Nutty: The combination of creamy peanut butter and crunchy nuts creates a rich flavor that satisfies cravings.
- Easy to Make: This recipe requires minimal ingredients and just a few simple steps, making it perfect for any home cook.
- Customizable: You can easily swap in your favorite nuts, dried fruits, or sweeteners to make these bars your own.
- Healthy Snacking: These granola bars are a great source of energy and nutrients, making them ideal for on-the-go snacks.
Ingredients
Main Ingredients
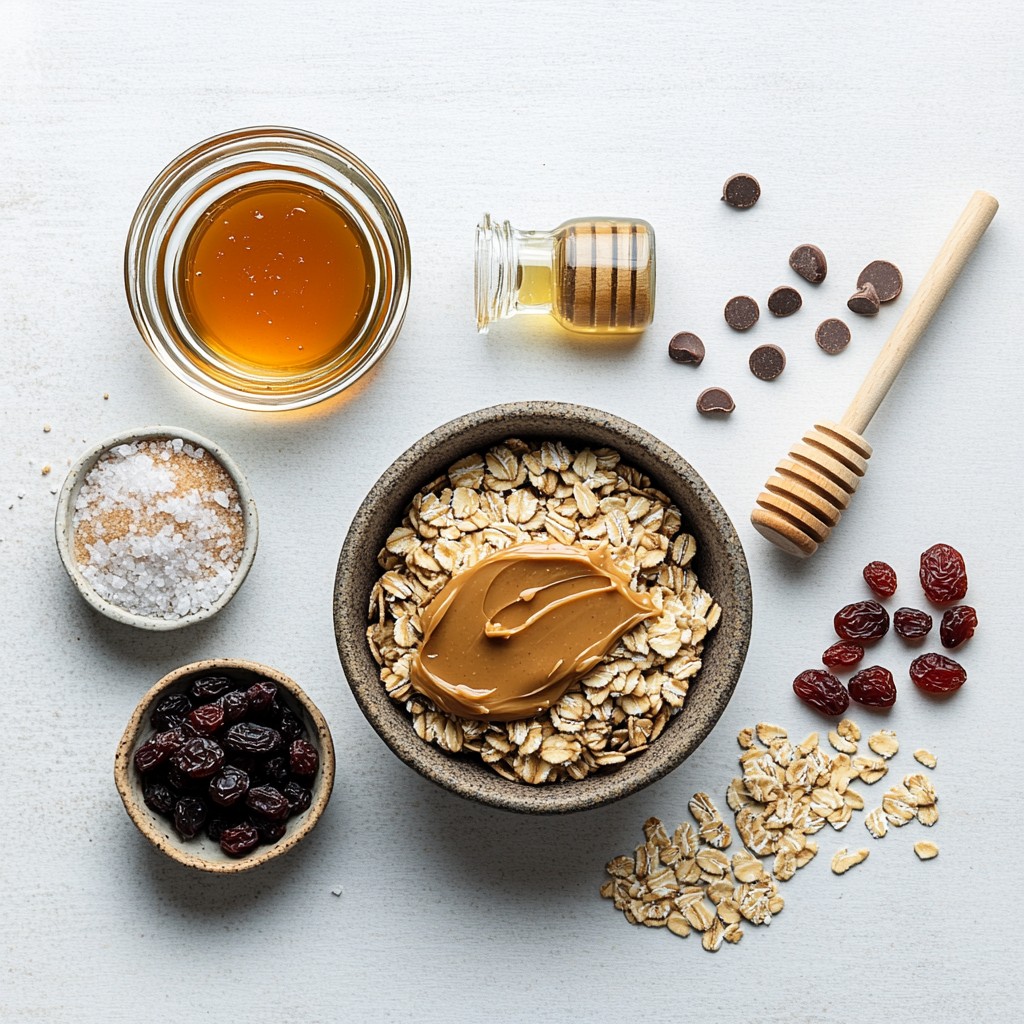
- 2 cups rolled oats
- 1 cup creamy peanut butter
- 1/2 cup honey or maple syrup
- 1/2 cup brown sugar
- 1/2 teaspoon vanilla extract
- 1/2 teaspoon salt
- 1/2 cup mini chocolate chips
- 1/4 cup chopped nuts (like almonds or walnuts)
- 1/4 cup dried fruit (such as cranberries or raisins)
These ingredients come together to create a tasty treat that is both chewy and crunchy. Rolled oats serve as the base, giving the bars a hearty texture. Creamy peanut butter adds a rich flavor and helps bind everything. You can use honey or maple syrup for sweetness. Brown sugar enhances the flavor and adds moisture.
The vanilla extract brings warmth, while a pinch of salt balances the sweetness. Mini chocolate chips add a fun burst of chocolate. Chopped nuts give a satisfying crunch and extra nutrients. Dried fruit adds a chewy texture and sweetness, making each bite delightful.
This combination is not only delicious but also packed with energy, making it a great snack for any time of day. You can easily customize these ingredients to fit your taste. For example, swap in your favorite nut or dried fruit. Enjoy creating these bars that are sure to please everyone!
Step-by-Step Instructions
Preparation Steps
1. Preheat your oven. Set it to 350°F (175°C). Line an 8x8-inch baking dish with parchment paper. Leave some overhang for easy removal.
2. Mix the dry ingredients. In a large bowl, combine 2 cups of rolled oats, 1/4 cup chopped nuts, and 1/4 cup dried fruit. Stir well to mix.
3. Prepare the peanut butter mixture. In a saucepan, over medium heat, add 1 cup of creamy peanut butter, 1/2 cup honey (or maple syrup), 1/2 cup brown sugar, 1/2 teaspoon vanilla extract, and 1/2 teaspoon salt. Stir until smooth, about 2-3 minutes.
4. Combine all ingredients. Pour the warm peanut butter mixture over the oat mix. Stir until everything is coated. Fold in 1/2 cup mini chocolate chips until evenly spread.
Baking Process
1. Transfer the mixture. Pour the combined mix into the prepared baking dish. Use a spatula to press it down firmly. Make sure it is compact to hold together.
2. Bake the bars. Place the dish in the oven and bake for 15-20 minutes. Watch for the edges turning golden brown.
3. Cool and cut into bars. Remove from the oven and let it cool completely in the dish. Once cool, lift the bars out using the parchment paper. Cut them into squares or rectangles.
Tips & Tricks
Perfecting the Texture
To make sure your granola bars hold up well, you need a compact mixture. Press down hard when you put it in the baking dish. This action helps bind the ingredients together. When baking, watch for the edges to turn golden brown. This color shows that the bars are ready. If the edges are golden, the center will be perfectly chewy.
Flavor Enhancements
You can make these bars even better by adding spices. Try cinnamon or nutmeg for warmth. You can also toss in some extra ingredients. Think about coconut flakes or chia seeds. Adjust the sweetness to match your taste. If you prefer less sweet, use less brown sugar or honey.
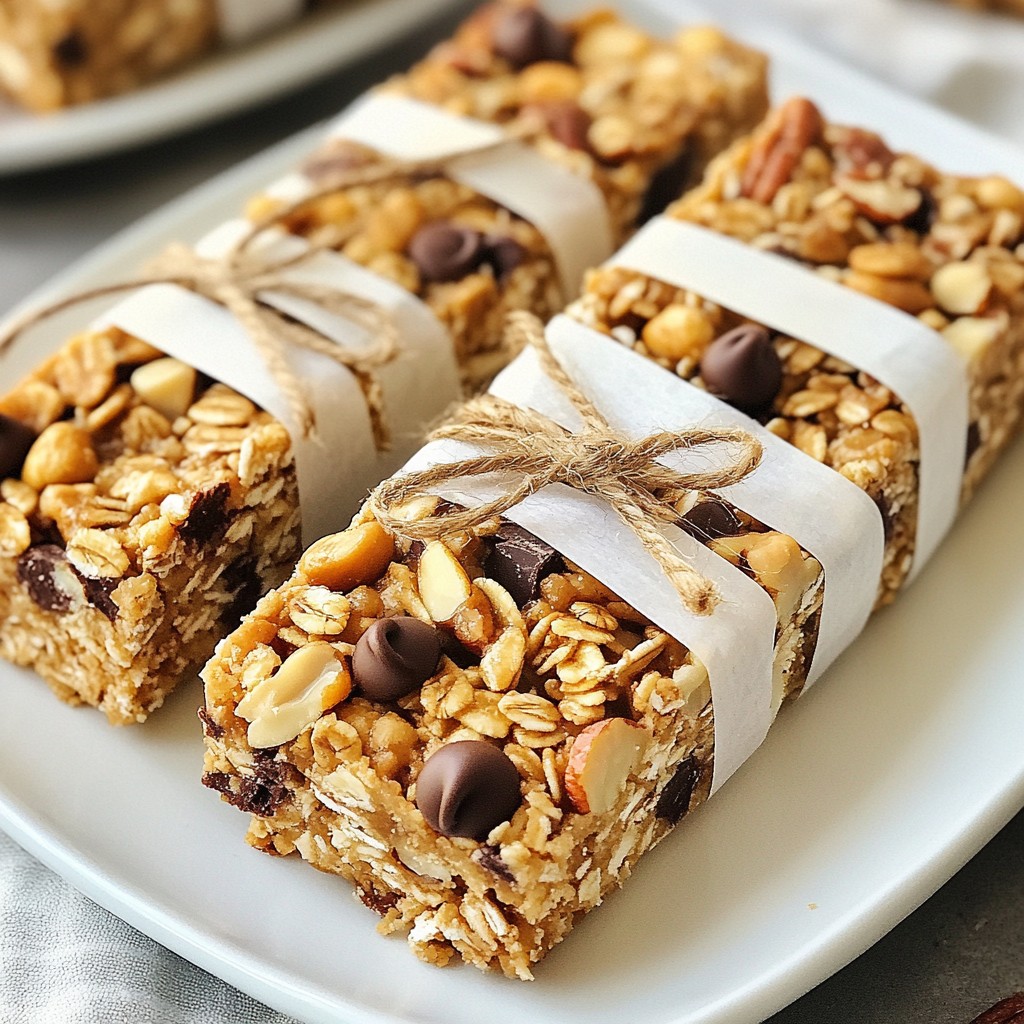
Presentation Tips
Wrap each granola bar in parchment paper. This keeps them fresh and makes them easy to grab. Tie with twine for a rustic look. This adds a nice touch for gifts or snacks on the go. You can also stack them in a jar for a fun display on your kitchen counter.
Pro Tips
- Use Fresh Ingredients: Opt for fresh nuts and dried fruits for enhanced flavor and texture in your granola bars.
- Customize Your Mix-ins: Feel free to experiment with different nuts, seeds, or even coconut flakes to create your unique version of these bars.
- Chill Before Cutting: After baking, let the bars cool completely before cutting; chilling them in the fridge for an hour can help achieve cleaner cuts.
- Store Properly: Keep the granola bars in an airtight container at room temperature for up to a week or refrigerate for longer freshness.
Variations
Nut-Free Option
If you want a nut-free granola bar, use sunflower seed butter. This smooth spread tastes great and works well in the recipe. You can also try soy nut butter or pumpkin seed butter. Both options keep the bars creamy without nuts.
Different Add-ins
You can customize your granola bars with different add-ins. Try adding dried fruits like apricots or figs. You can also mix in seeds like pumpkin or chia. For a crunchy bite, add nuts like almonds or pecans.
When it comes to chocolate, you have choices! Use dark chocolate for a rich flavor. Milk chocolate gives a sweeter taste, while white chocolate adds creaminess. Mix and match to find your favorite combination.
Dietary Considerations
Making these granola bars gluten-free is easy. Simply use gluten-free rolled oats. This keeps the texture while meeting gluten-free needs.
If you want a vegan option, swap honey for maple syrup or agave nectar. This change makes the bars safe for everyone. Enjoy exploring these variations to fit your taste!
Storage Info
Best Practices for Storage
To keep your peanut butter chocolate chip granola bars fresh, store them in an airtight container. I suggest using a glass or plastic container with a tight lid. This helps to prevent air from getting in and drying them out. You can also wrap each bar in parchment paper. This makes them easy to grab for snacks or lunches. Keep the container in a cool, dry place, away from direct sunlight.
Shelf Life
These granola bars can last up to one week at room temperature. For longer storage, you can freeze them. Wrap each bar in plastic wrap and then place them in a freezer-safe bag. They can stay good in the freezer for up to three months. When you want to enjoy them, just take out a bar and let it thaw at room temperature. This way, you always have a tasty snack ready to go!
FAQs
How can I make these granola bars healthier?
You can swap some ingredients for healthier options. Use less brown sugar or honey. You can replace part of the rolled oats with ground flaxseed or chia seeds. Add more nuts or seeds for extra crunch and nutrition. Consider using dark chocolate chips instead of milk chocolate for less sugar.
Can I substitute ingredients if I don’t have some on hand?
Yes, you can! If you lack rolled oats, try quick oats. Creamy peanut butter can be switched with almond or cashew butter. Maple syrup works great if you don’t have honey. You can also use any nuts or dried fruits you like. Just make sure they are chopped or small enough.
What can I use instead of honey?
Maple syrup is a great option. You can also use agave nectar or brown rice syrup. Each sweetener brings its own flavor, so choose one you enjoy. Just keep in mind, the texture might change slightly, but the bars will still be tasty.
How do I know when the granola bars are done baking?
Look for golden brown edges. The center might still seem soft, but it will firm up as it cools. Bake for about 15-20 minutes. If you smell a nutty aroma, that’s a good sign too!
Can I add protein powder to the recipe?
Yes, you can add protein powder! Mix in a scoop with the dry ingredients. This will boost the protein content without changing the flavor much. It’s a great way to make these bars a more filling snack.
You can make delicious granola bars using simple ingredients and easy steps. We discussed the key items like oats, peanut butter, and honey, plus how to mix and bake them. I shared tips for the best texture, flavor enhancements, and fun serving ideas. Remember, you can customize your bars to fit your taste or dietary needs. Store them well to keep them fresh and ready to enjoy. Now, it’s time to create your own perfect granola bars and share them with others!


