
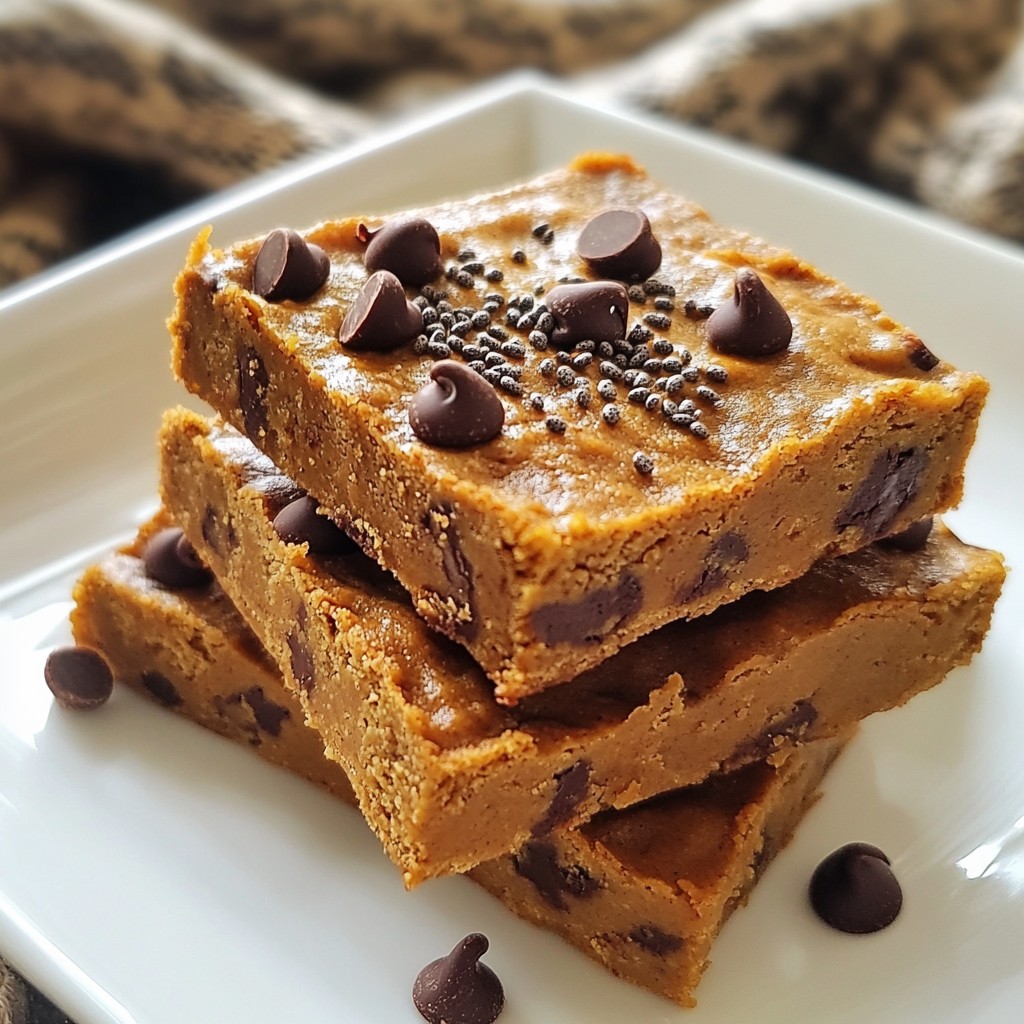
Craving a tasty snack that fuels your body? Look no further! This Peanut Butter Chocolate Chip Protein Bars recipe combines flavor and nutrition. With simple ingredients like natural peanut butter and dark chocolate chips, you'll love how easy they are to make. Plus, they're perfect for any time of the day—pre-workout, post-workout, or just when you need a pick-me-up. Let’s dive into this delicious recipe together!
Why I Love This Recipe
- Healthy Energy Boost: These protein bars are packed with nutritious ingredients like peanut butter, oats, and chia seeds, making them a great source of sustained energy.
- Easy to Make: This recipe requires minimal prep time and simple steps, making it perfect for beginners and busy individuals alike.
- Customizable: You can easily modify the recipe by adding nuts, seeds, or different flavored protein powders to suit your taste preferences.
- Deliciously Satisfying: The combination of peanut butter and dark chocolate makes these bars not only healthy but also irresistibly tasty!
Ingredients
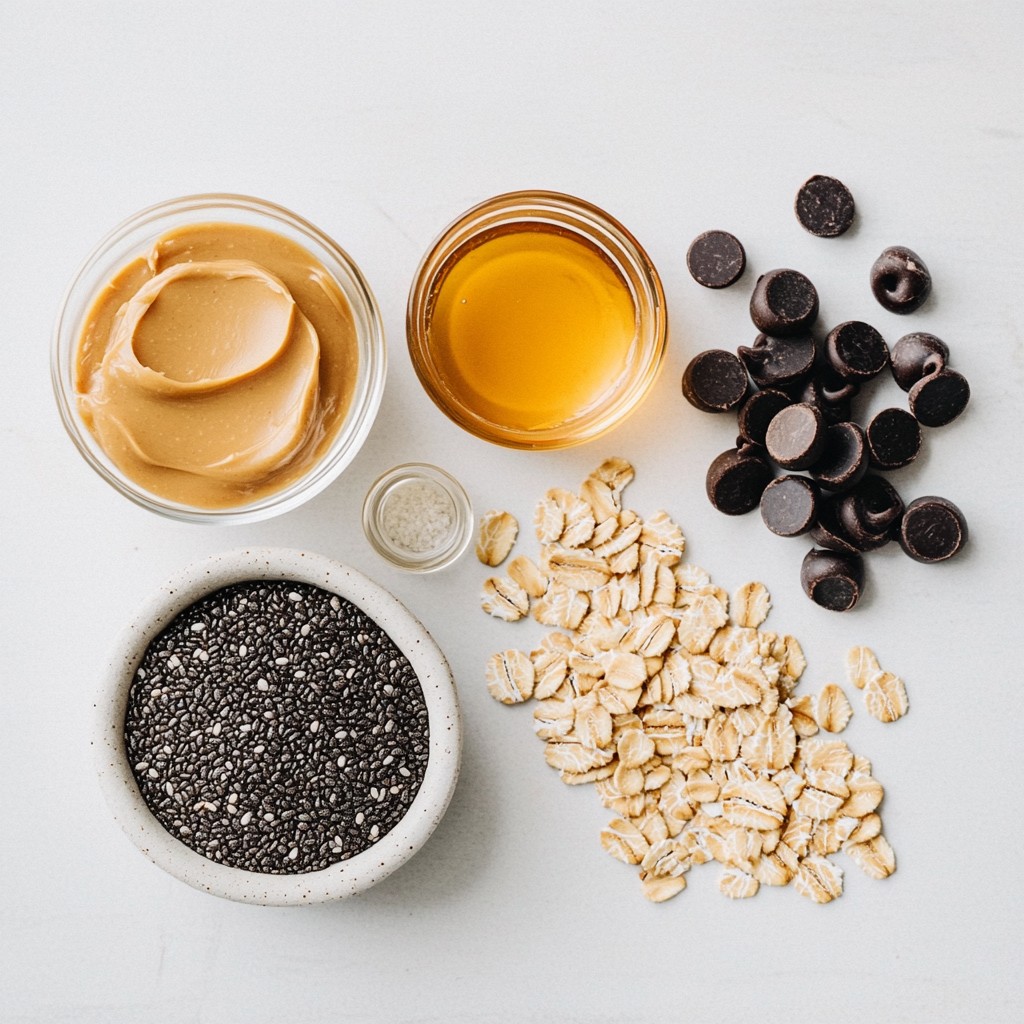
To make the Peanut Butter Chocolate Chip Protein Bars, gather these simple ingredients:
- 1 cup natural peanut butter
- 1/2 cup honey or maple syrup
- 2 cups rolled oats
- 1/2 cup protein powder (vanilla or chocolate flavored)
- 1/2 cup dark chocolate chips
- 1/4 cup chia seeds
- 1/2 teaspoon vanilla extract
- A pinch of salt
These ingredients bring together great taste and nutrition. Natural peanut butter gives a rich flavor and healthy fats. Honey or maple syrup adds sweetness and moisture. Rolled oats provide a nice chewy texture and fiber. Protein powder boosts protein content, making these bars a great snack.
Dark chocolate chips add a touch of indulgence. Chia seeds offer omega-3s and help bind the mixture. A little vanilla extract enhances the flavors, and salt balances the sweetness. Each ingredient plays a role in creating a delicious and nutritious protein bar.
Step-by-Step Instructions
Prepping the Baking Dish
Start by preheating your oven to 350°F (175°C). Next, grab an 8x8-inch baking dish. Line it with parchment paper for easy removal later. This step helps keep the bars intact when you take them out.
Mixing the Ingredients
In a medium bowl, combine 1 cup of natural peanut butter with 1/2 cup of honey or maple syrup. Mix them until smooth. Then, add 2 cups of rolled oats, 1/2 cup of protein powder, and 1/4 cup of chia seeds. Don’t forget 1/2 teaspoon of vanilla extract and a pinch of salt. Stir everything until it forms a thick dough. Finally, gently fold in 1/2 cup of dark chocolate chips. Make sure they are spread evenly through the mixture.
Baking and Cooling Process
Spoon the mixture into your prepared baking dish. Use a spatula to press it down firmly and evenly. Bake in the oven for about 15 to 20 minutes. You want the edges to turn slightly golden and the bars to feel set. Once baked, take them out and let them cool in the dish for about 10 minutes. After that, transfer the bars to a cooling rack. Let them cool completely before cutting them into squares or rectangles.
Tips & Tricks
Perfecting the Texture
To get the best texture for your bars, keep a few things in mind. Use natural peanut butter for a rich flavor. If your mix feels too crumbly, add a little more honey or maple syrup. This will help bind the ingredients better. Also, make sure you press the mixture firmly into the pan. A good press gives the bars a nice, chewy bite.
Substitutions for Ingredients
You can swap out some ingredients if you want. If you don’t have honey, maple syrup works great. For protein powder, feel free to use any flavor you enjoy. You can also replace dark chocolate chips with white chocolate or even dried fruits for a new twist. Just remember, these swaps can change the taste and texture, so experiment to find your favorite mix.
Serving Suggestions
These bars are tasty on their own. You can also serve them in fun ways. Cut the bars into shapes like hearts or stars for kids. Wrap them in colorful parchment paper for a nice gift. If you want a special touch, drizzle some melted chocolate on top. This not only looks great but adds more flavor, too. Enjoy your bars as a snack or a post-workout treat!
Pro Tips
- Storage Tip: Keep these bars in an airtight container in the fridge to maintain freshness for up to two weeks.
- Nut Butter Variations: Experiment with different nut butters like almond or cashew for unique flavors.
- Protein Powder Choice: Choose a protein powder that aligns with your dietary preferences, whether it's plant-based or whey.
- Sweetness Level: Adjust the amount of honey or maple syrup based on your taste preference; less for a less sweet bar.
Variations
Add-ins and Flavor Enhancements
You can customize these bars with fun add-ins. Try adding dried fruit like cranberries or raisins. Nuts like almonds or walnuts also work great. For a crunch, consider adding sunflower seeds or pumpkin seeds. You can even mix in a tablespoon of cocoa powder for a richer chocolate flavor. If you like spice, a dash of cinnamon can add warmth and depth. Each add-in gives your bars a unique twist.
Alternative Sweeteners
If you want less sugar, you can swap honey or maple syrup. Agave syrup is a great choice that keeps it sweet. Stevia or monk fruit sweetener can work well too. Just ensure you use the right amount, as these sweeteners are often much sweeter than honey. Experiment to find what you enjoy most. Sweetness can change the whole taste of your bars.
Gluten-Free Options
To make your bars gluten-free, use certified gluten-free oats. These oats are processed in a way that avoids gluten contamination. You can also check your protein powder for gluten content. Many brands offer gluten-free options. With these swaps, you can enjoy delicious bars without worrying about gluten.
Storage Info
How to Store Protein Bars
To keep your peanut butter chocolate chip protein bars fresh, store them in an airtight container. Place parchment paper between layers to prevent sticking. You can keep them at room temperature for up to a week. If you want them to last longer, store them in the fridge. They can stay fresh there for about two weeks.
Freezing for Longer Shelf Life
Freezing is a great way to extend the life of your protein bars. Cut the bars into squares or rectangles before freezing. Wrap each bar in plastic wrap or foil. Then, place them in a freezer-safe bag. These bars can last up to three months in the freezer. When you’re ready to eat, simply take one out to thaw at room temperature.
Best Practices for Reheating
If you prefer warm bars, reheating is easy. Just take a bar from the fridge or freezer. Place it on a microwave-safe plate. Heat it in the microwave for about 10 to 15 seconds. Check to see if it’s warm enough for you. Avoid overheating, as this can make the bars dry. Enjoy your tasty treat!
FAQs
Can I use a different nut butter?
Yes, you can use other nut butters. Almond butter or cashew butter work well. Both give a nice flavor. Just keep the same amount as peanut butter.
How long do these bars last?
These bars last about one week at room temperature. For longer storage, keep them in the fridge. They can last up to two weeks when chilled.
Can I make these bars vegan?
Yes, you can make these bars vegan. Use maple syrup instead of honey. Choose a plant-based protein powder too. This way, you keep the bars tasty and vegan-friendly.
Can I add more protein?
Absolutely! You can add more protein powder. Just remember to keep the other ingredients balanced so the bars stay moist and tasty.
What’s the best way to cut these bars?
Use a sharp knife for clean cuts. Wait until the bars cool completely. This helps them hold their shape when you cut them.
Can I use rolled oats or quick oats?
Rolled oats work best for texture. Quick oats can make the bars softer. If you only have quick oats, they will still taste great!
Can I add nuts or seeds?
Yes! Chopped nuts or seeds can add crunch. Try walnuts or pumpkin seeds for great flavor and texture.
How can I make these bars sweeter?
If you like sweeter bars, add a bit more honey or maple syrup. You can also mix in some dried fruits for extra sweetness.
Can I make these bars in advance?
Definitely! They are great for meal prep. Make them ahead of time and grab them for snacks or breakfast.
This blog post offered a clear guide to making delicious protein bars. You learned about the key ingredients, step-by-step instructions, and helpful tips for perfecting your bars. We explored variations and storage tips to maximize freshness. Remember, you can customize these bars easily by changing sweeteners or add-ins. Overall, these protein bars make a healthy snack that fits many diets. Enjoy making them your own!


