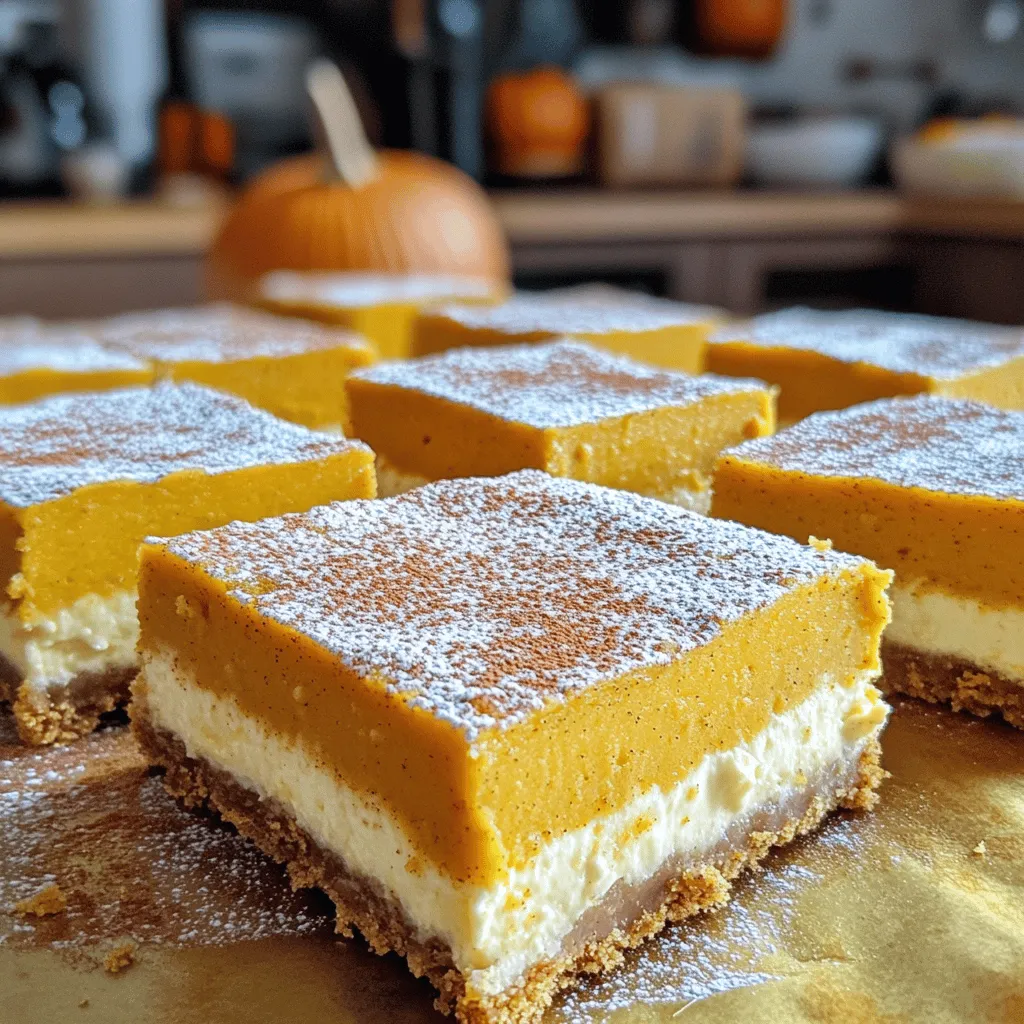
How do I know when they are done baking?They combine a sweet, creamy filling with a crunchy crust.
List of Ingredients
– 1 ½ cups graham cracker crumbs
– ½ cup unsalted butter, melted
– 2 tablespoons brown sugar
– 1 teaspoon cinnamon
– 1 (8 oz) package cream cheese, softened
– ½ cup granulated sugar
– ¼ cup brown sugar
– 1 teaspoon vanilla extract
– 1 large egg
– 1 cup pumpkin puree
– 1 teaspoon pumpkin pie spice
– 1 tablespoon all-purpose flour
– Pinch of salt
Substitutes for Key Ingredients
If you need substitutes, there are many options. You can use digestive biscuits instead of graham crackers. For butter, coconut oil works well. If you can’t find pumpkin pie spice, mix cinnamon, ginger, and nutmeg. For a dairy-free option, try vegan cream cheese.
Step-by-Step Instructions
Preparation of the Crust
First, preheat your oven to 350°F (175°C). Get an 8×8-inch baking pan and line it with parchment paper. Leave some overhang so you can lift out the bars later. In a mixing bowl, combine 1 ½ cups of graham cracker crumbs, ½ cup of melted unsalted butter, 2 tablespoons of brown sugar, and 1 teaspoon of cinnamon. Mix it all until it’s crumbly. Press this mixture firmly into the bottom of the pan to form a nice, even crust. Bake it for 10 minutes and let it cool slightly.
Making the Cheesecake Mixture
In a large bowl, beat 1 (8 oz) package of softened cream cheese until smooth. Add ½ cup of granulated sugar, ¼ cup of brown sugar, and 1 teaspoon of vanilla extract. Mix until creamy. Now, add 1 large egg and beat just until mixed in. Be careful not to overmix! Next, add in 1 cup of pumpkin puree, 1 teaspoon of pumpkin pie spice, 1 tablespoon of all-purpose flour, and a pinch of salt. Mix until everything is combined and smooth.
Baking and Cooling Process
Pour the pumpkin cheesecake mixture over the cooled graham cracker crust. Spread it out evenly. Bake in the oven for 30-35 minutes. The edges should be set, and the center will be a bit jiggly. After baking, let it cool to room temperature. Then, refrigerate for at least 4 hours or overnight until it sets completely. When ready, lift the bars out using the parchment paper and cut them into squares. Enjoy your delicious pumpkin cheesecake bars!
Tips & Tricks
How to Achieve the Perfect Texture
To get the best texture in your pumpkin cheesecake bars, keep these points in mind:
– Use softened cream cheese. This helps create a smooth filling.
– Mix the cheesecake batter gently. Overmixing can lead to cracks.
– Ensure your egg is at room temperature. This helps it blend well.
– Bake until the edges are set. The center should still jiggle slightly.
Common Mistakes to Avoid
Here are some common mistakes to watch for:
– Don’t skip cooling the crust. A warm crust can affect the filling.
– Avoid using too much pumpkin pie spice. A little goes a long way.
– Don’t rush the chilling process. Let the bars cool completely in the fridge.
– Use fresh pumpkin puree for the best flavor. Canned pumpkin can be watery.
Presentation Tips for Serving
Make your pumpkin cheesecake bars look as good as they taste:
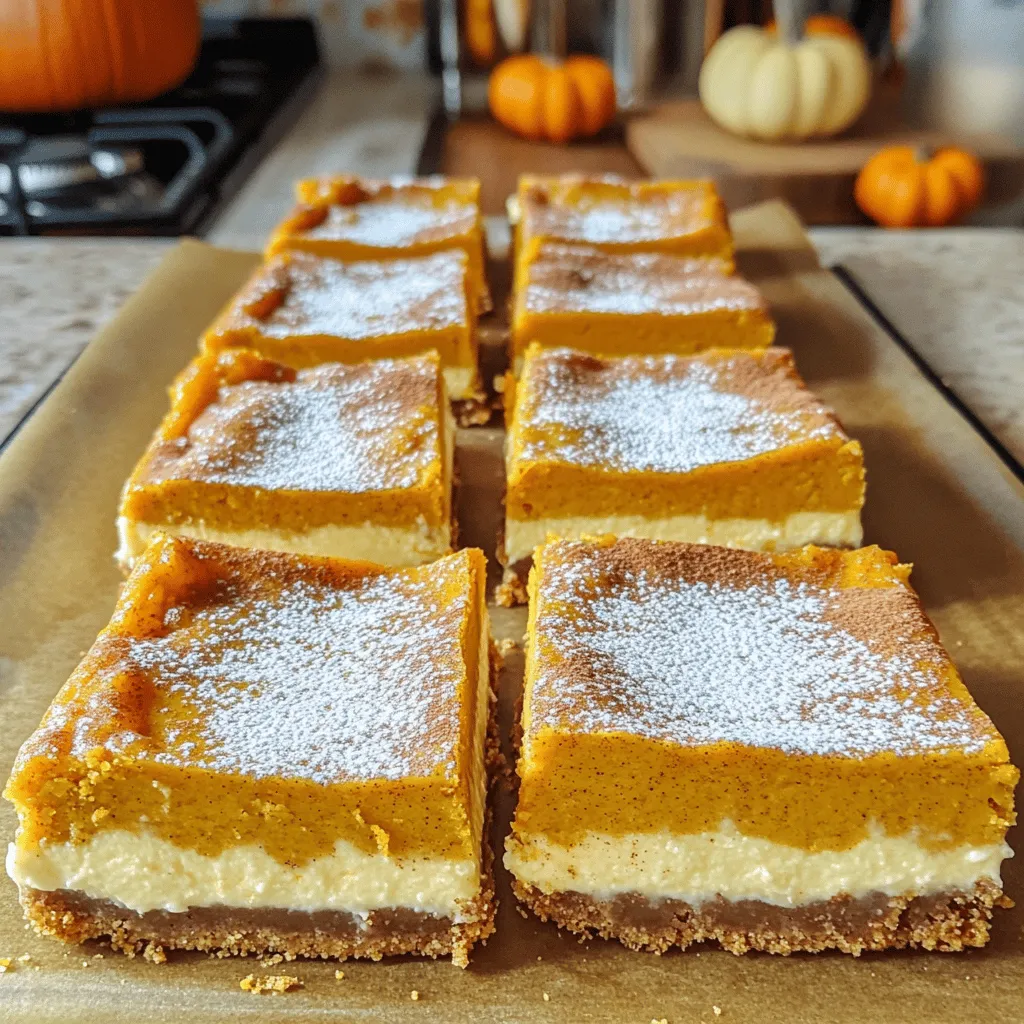
– Cut them into even squares for a neat look.
– Dust the top with powdered sugar. This adds a sweet touch.
– Add a sprinkle of cinnamon for color and flavor.
– Serve with dollops of whipped cream for a creamy finish.Enjoy your delightful fall dessert!
Variations
Alternative Crust Options
You can switch up the crust for your pumpkin cheesecake bars. Instead of graham crackers, try using crushed cookies like Oreos or ginger snaps for a fun twist. You can also use almond flour for a gluten-free option. Just mix the crumbs with melted butter and press firmly into the pan.
Different Flavor Profiles
Feel free to get creative with flavors! Add a touch of orange zest for brightness. You can also mix in some maple syrup for a rich taste. For a spiced kick, try adding a bit of nutmeg or cloves. These small changes can make a big difference in flavor.
Toppings and Garnishes
Toppings can elevate your bars. Consider using whipped cream to add creaminess. A drizzle of caramel sauce brings sweetness and a lovely look. You can also sprinkle chopped nuts or crushed cookies on top for some crunch. Dusting with powdered sugar is another easy way to make them more festive.
Storage Info
Best Practices for Storage
To keep your pumpkin cheesecake bars fresh, store them in an airtight container. This helps to lock in moisture and flavor. Use parchment paper to separate layers if you stack them. This will prevent sticking. Always let the bars cool completely before storing. Warm bars can create condensation, which can affect texture.
How Long They Last in the Refrigerator
These cheesecake bars last about 4 to 5 days in the refrigerator. Make sure to keep them covered well. If you notice any signs of spoilage, like an off smell or change in texture, it’s best to toss them. Keeping the bars in the coldest part of your fridge helps extend their life.
Freezing Pumpkin Cheesecake Bars
You can freeze pumpkin cheesecake bars for up to three months. To freeze, cut them into squares and wrap each piece in plastic wrap. Then, place them in a freezer-safe container. When you are ready to enjoy them, just take out the number of bars you want. Let them thaw in the fridge overnight before serving. This keeps the texture nice and creamy.
FAQs
Can I make these bars ahead of time?
Yes, you can make these bars ahead of time. I often bake them the day before a gathering. Once they cool, place them in the fridge. They taste even better after chilling overnight. Make sure to cover them well to keep them fresh. This way, you save time on the day of your event.
What size pan should I use?
For this recipe, you should use an 8×8-inch baking pan. This size gives the bars a nice thickness. If you use a larger pan, the bars may be too thin and bake faster. A smaller pan will make them too thick and take longer to cook. Stick with the 8×8 size for the best results.
How do I know when they are done baking?
You can tell the bars are done when the edges are set. The center should still jiggle slightly. This means it will firm up as it cools. If you bake them too long, they can become dry. Keep an eye on the timer and check them around the 30-minute mark. Enjoy your baking!
You learned how to make delicious pumpkin cheesecake bars. We covered the ingredients, from the basic recipe to great substitutes. The step-by-step guide showed you how to prepare the crust and bake the cheesecake. You now have tips for a smooth texture and common mistakes to avoid. Don’t forget the fun variations and how to store your bars properly. Enjoy making these treats and impress your friends or family! Happy baking!