
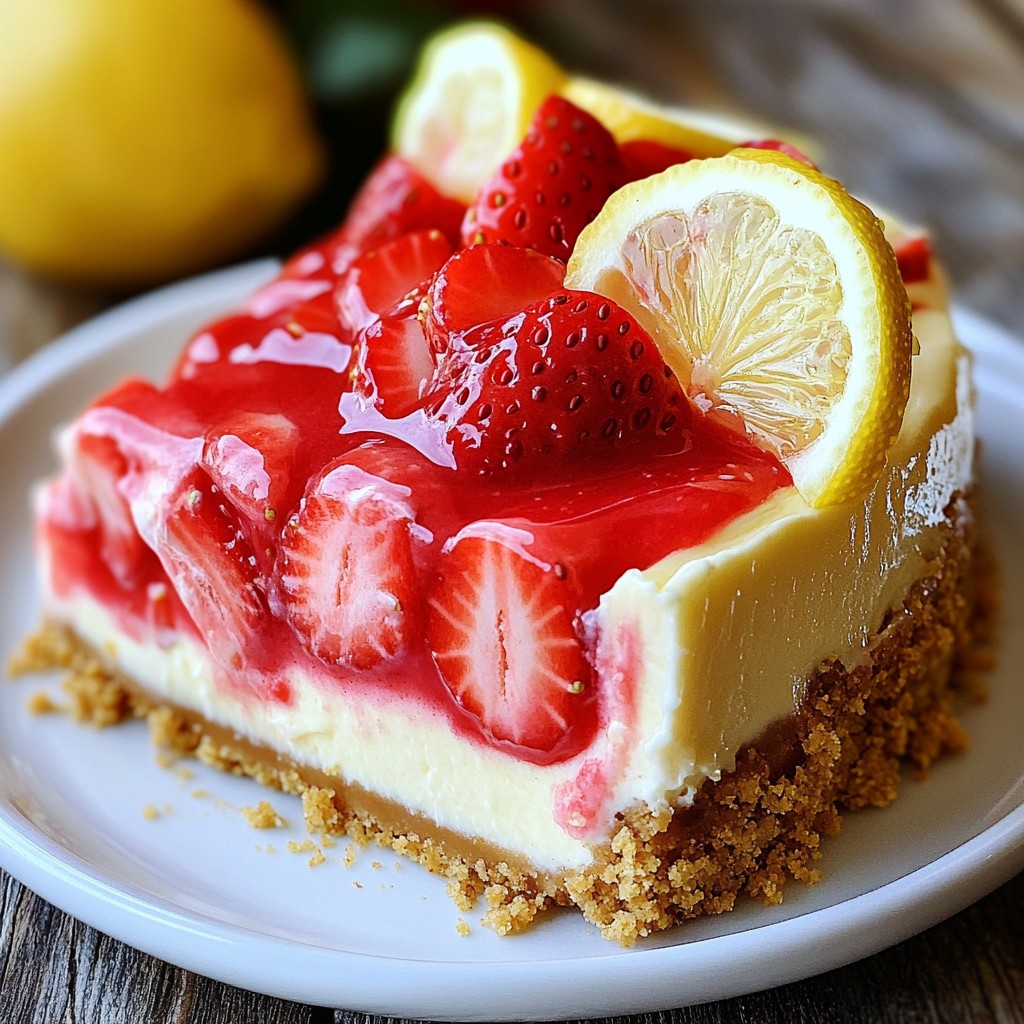
Get ready to indulge in a refreshingly sweet treat: Strawberry Lemonade Cheesecake! This guide will walk you through each step to create a delightful dessert that combines tangy lemon and luscious strawberries. You'll impress family and friends with the perfect blend of flavors and textures. With easy-to-follow instructions and handy tips, you'll be a cheesecake expert in no time. Let's dive into this exciting recipe and make your dessert dreams come true!
Why I Love This Recipe
- Delicious Flavor Combination: The sweet strawberries and tart lemon create a refreshing and vibrant taste that’s perfect for any occasion.
- Beautiful Presentation: The marbled effect of the strawberry puree makes this cheesecake not only tasty but visually stunning, perfect for impressing guests.
- Easy to Make: This recipe is straightforward, making it accessible for both novice and experienced bakers alike.
- Perfect for Any Season: Whether it's summer or winter, the light and fruity flavors make this cheesecake a year-round favorite!
Ingredients
Detailed List of Ingredients
- 1 ½ cups graham cracker crumbs
- ½ cup unsalted butter, melted
- 1 tablespoon sugar
- 2 (8 oz) packages cream cheese, softened
- 1 cup granulated sugar
- 3 large eggs
- 1 teaspoon vanilla extract
- 1 tablespoon lemon zest
- ¼ cup fresh lemon juice
- 1 cup strawberry puree (made from fresh strawberries)
- 2 tablespoons cornstarch
- Fresh strawberries and lemon slices for garnish
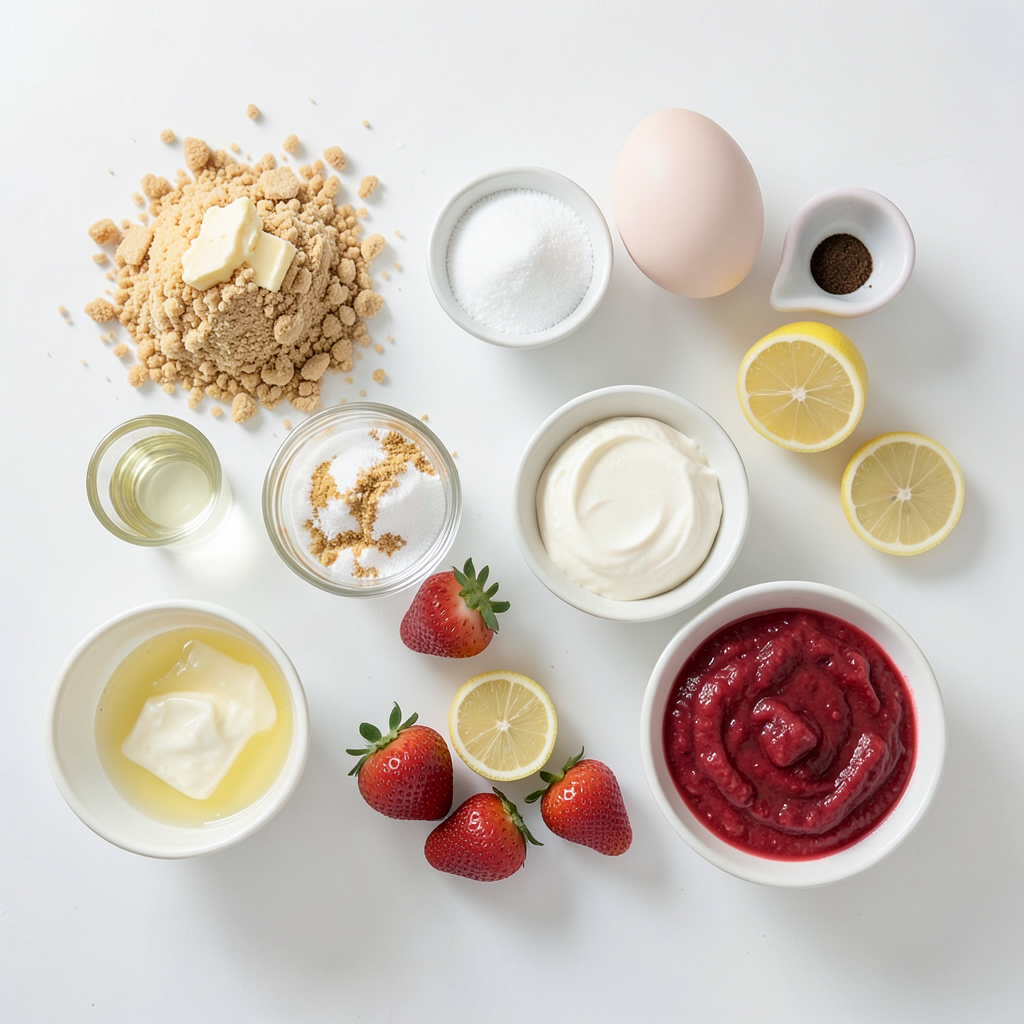
Gathering the right ingredients is key. I love using fresh strawberries for the puree. It gives the cheesecake a bright flavor. The graham cracker crumbs create a crunchy base. Melted unsalted butter helps bind the crust. A touch of sugar adds a hint of sweetness.
Cream cheese is the star here. I always choose full-fat for a rich texture. Granulated sugar sweetens the filling just right. Adding eggs helps the cheesecake set perfectly. I use vanilla extract for warmth and depth.
Lemon zest and fresh lemon juice brighten the cheesecake. They bring a refreshing taste. Cornstarch helps the filling firm up as it bakes. Finally, fresh strawberries and lemon slices make lovely garnishes. They add color and a fresh touch to each slice.
Make sure you have everything ready before you start. This way, the process flows smoothly. Enjoy the fun of making this dessert!
Step-by-Step Instructions
Preparation and Baking Process
1. Preheat the oven and prepare the pan
First, set your oven to 325°F (160°C). Grease a 9-inch springform pan. This will help your cheesecake come out easily.
2. Create the graham cracker crust
In a mixing bowl, combine 1 ½ cups of graham cracker crumbs, ½ cup of melted unsalted butter, and 1 tablespoon of sugar. Mix it well until all crumbs are coated. Press this mixture firmly into the bottom of your pan to form a crust. Bake for 10 minutes, then take it out and let it cool.
3. Make the cheesecake filling
In a large bowl, beat 2 packages of softened cream cheese using an electric mixer. Mix until smooth. Gradually add 1 cup of granulated sugar while continuing to mix. This makes the filling creamy and sweet.
4. Incorporate the strawberry puree
Add 3 large eggs one at a time. Mix well after each addition. Stir in 1 teaspoon of vanilla extract, 1 tablespoon of lemon zest, and ¼ cup of fresh lemon juice. In another bowl, mix 1 cup of strawberry puree with 2 tablespoons of cornstarch until smooth. Fold this into the cream cheese mix gently. This creates a lovely marbled look.
5. Bake and cool the cheesecake
Pour the cheesecake batter over your cooled crust, smoothing the top. Bake it in the preheated oven for 50 to 60 minutes. The center should be set but still have a slight jiggle. Turn off the oven and crack the door. Let the cheesecake cool in the oven for 1 hour. Once cool, place it in the fridge for at least 4 hours, or overnight. This helps it set perfectly.
Tips & Tricks
Perfecting Your Cheesecake
To make the best cheesecake, you need the right texture. Start with cream cheese that is at room temperature. This helps it mix smoothly.
When mixing, don't overbeat. Too much air can cause cracks. Mix until just combined for a creamy feel.
Cooling your cheesecake is key. After baking, let it cool in the oven with the door cracked. This helps prevent sudden temperature changes that can crack the surface.
Once it's cool, chill it in the fridge for at least four hours. Overnight is even better. This allows the flavors to meld and the texture to firm up.
Garnishing Ideas
Garnishing adds fun and flavor. Use fresh strawberries and lemon slices for a pop of color. They make the dessert look stunning.
For a zesty touch, drizzle some lemon juice on top. It brightens the taste and adds a nice shine.
For a more elegant look, arrange the fresh fruits artfully. A well-presented cheesecake is always a showstopper at any gathering.
Pro Tips
- Use Room Temperature Cream Cheese: Ensure your cream cheese is at room temperature for a smoother batter and easier mixing.
- Chill Overnight: For the best flavor and texture, let the cheesecake chill in the refrigerator overnight before serving.
- Marble Carefully: When adding the strawberry puree, fold it gently to create a marbled effect without overmixing.
- Check for Doneness: The cheesecake is done when the center is set but still slightly jiggly; it will firm up as it cools.
Variations
Flavor Modifications
You can change the flavor of your cheesecake in fun ways. Here are some ideas:
- Incorporating different fruit purees: Try using mango, raspberry, or blueberry puree instead of strawberry. Each fruit adds its own taste and color to your cheesecake.
- Using different types of cheese: Swap cream cheese for mascarpone or ricotta. These cheeses have unique textures and flavors that can give your cheesecake a fresh twist.
- Adjusting sweetness levels: If you prefer a less sweet dessert, reduce the granulated sugar. You can also use honey or maple syrup for a natural sweetness.
Recipe Adaptations
You can also adapt the recipe to fit your dietary needs. Here are some options:
- Gluten-free crust options: Use almond flour or gluten-free cookies instead of graham crackers. These alternatives create a delicious crust without gluten.
- Vegan cheesecake alternatives: For a vegan version, use cashew cream or tofu instead of cream cheese. You can also use coconut cream for a rich texture.
- Low-sugar variations: Replace granulated sugar with a sugar substitute like stevia or erythritol. This change helps to cut calories while keeping the flavor.
Storage Info
Proper Storage Techniques
When you have leftover cheesecake, the best way to store it is in the fridge. Wrap the cheesecake tightly with plastic wrap or place it in an airtight container. This keeps it fresh and prevents it from absorbing smells.
If you want to keep it longer, you can freeze the cheesecake. First, let it cool completely. Then, slice it into pieces. Wrap each slice in plastic wrap and place them in a freezer bag. Be sure to remove as much air as possible before sealing.
To thaw frozen cheesecake, move it to the fridge. Let it sit for several hours or overnight. This ensures it thaws slowly and remains creamy. Serve it chilled. You can add fresh strawberries or lemon slices for a nice touch.
Shelf Life
In the fridge, this cheesecake lasts about 5 to 7 days. Make sure it stays covered to keep it fresh. If you freeze it, the cheesecake can last up to 2 months. After that, it may lose some flavor and texture.
For the best taste, eat it within the first month. Enjoy your delicious strawberry lemonade cheesecake anytime with these simple storage tips!
FAQs
Common Questions About Strawberry Lemonade Cheesecake
Can I use frozen strawberries for the puree? Yes, you can use frozen strawberries. Just thaw them before blending. This will help you create a smooth puree. The flavor will still be great, but fresh strawberries have a brighter taste.
What can I substitute for cream cheese? If you need a substitute, try using Greek yogurt or silken tofu. Both will give a creamy texture. They will change the taste a bit, but they can work well in this recipe.
How do I know when the cheesecake is done baking? Check the cheesecake at 50 minutes. The center should be set but slightly jiggly. If you see a slight jiggle, it’s ready. It will firm up as it cools.
Can I make this cheesecake in advance? Yes, you can make it a day ahead. Just refrigerate it after cooling. This will allow the flavors to blend nicely. Plus, it saves you time on the day you serve it!
This blog post detailed how to make a delicious strawberry lemonade cheesecake. You learned about essential ingredients and a simple step-by-step process. Tips helped you achieve the perfect texture and elegance. Variations showed ways to make this dessert fit your needs. Finally, storage info ensures you keep your cheesecake fresh for longer.
I hope you feel inspired to try making this treat. It’s tasty, fun, and sure to impress. Enjoy your cheesecake adventures!


