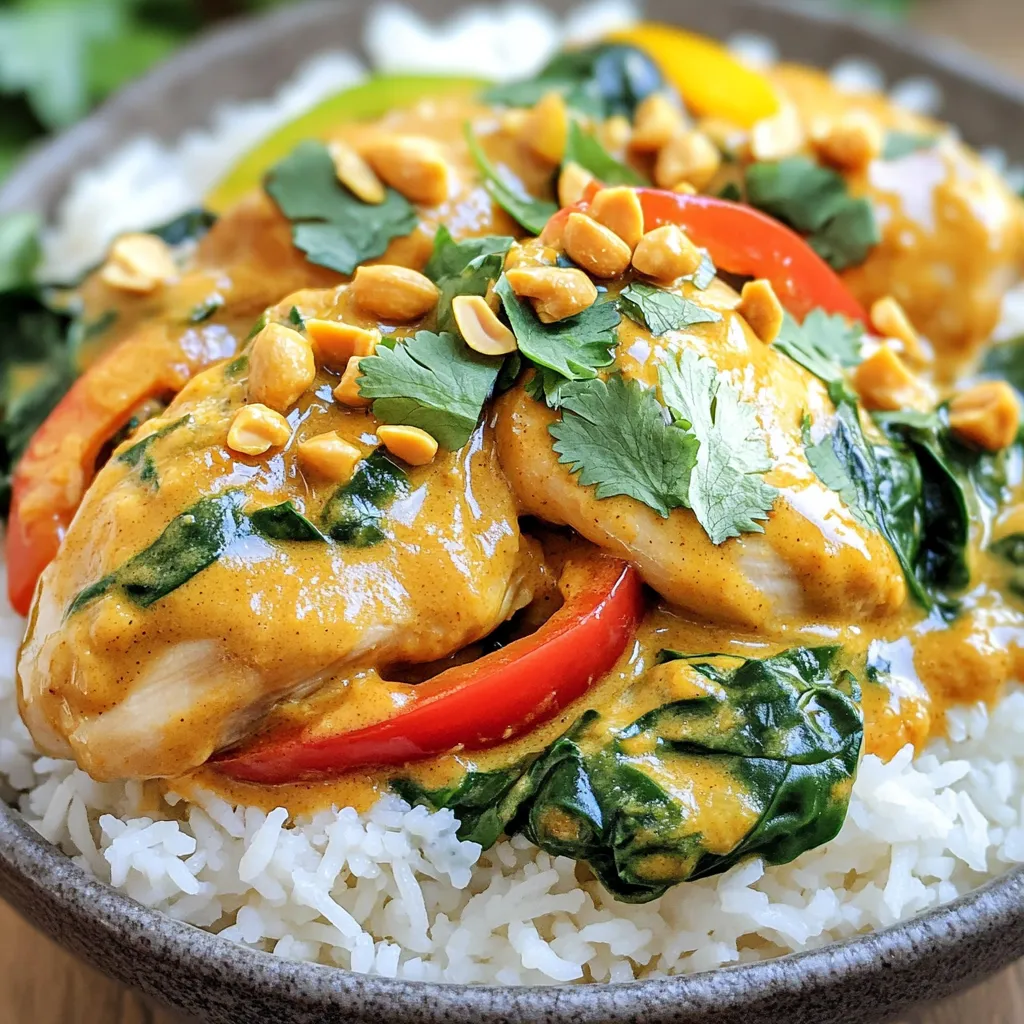
Slow Cooker Thai Peanut Chicken Curry Flavorful Dish
If you’re craving a warm, rich dish that will impress your taste buds, you need to try Slow Cooker Thai

If you’re craving a warm, rich dish that will impress your taste buds, you need to try Slow Cooker Thai
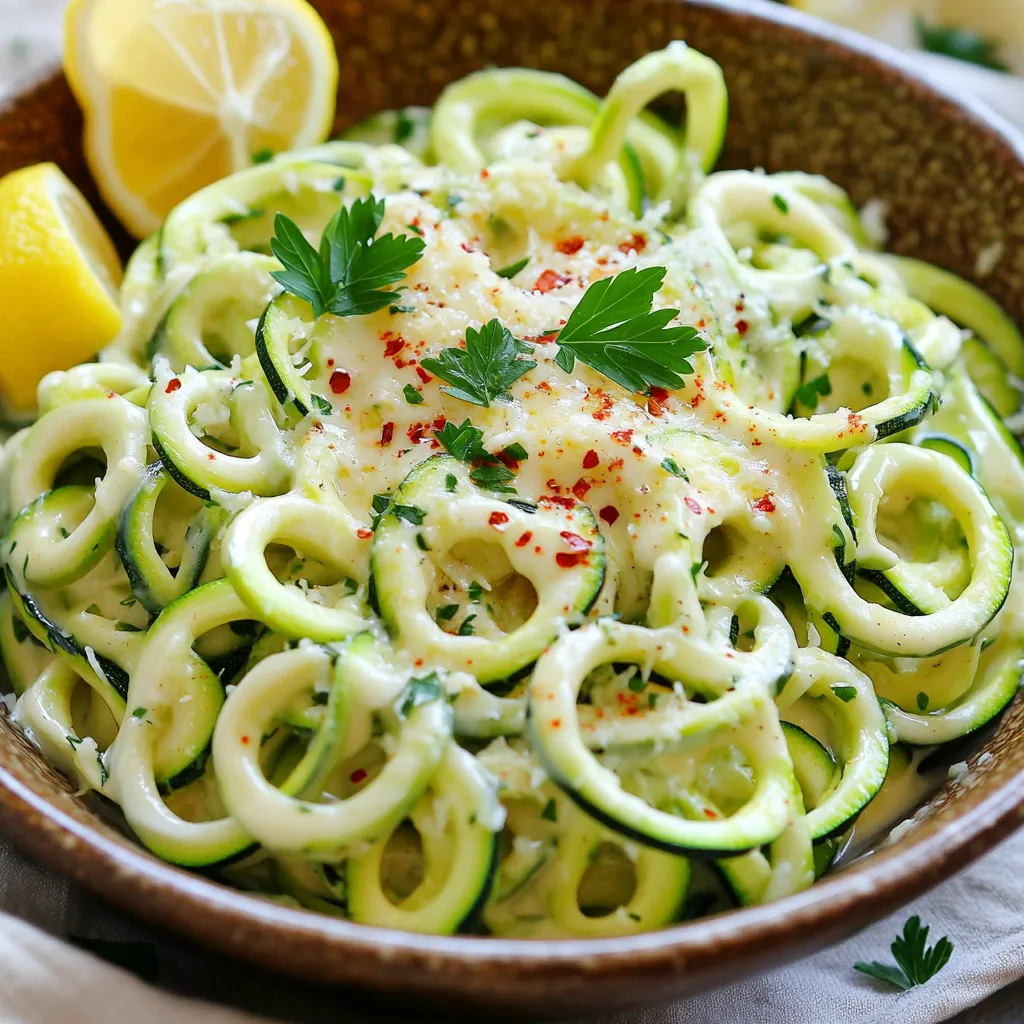
Are you looking for a quick and tasty meal? Minute Garlic Butter Zucchini Noodles are your solution! With just a

Are you ready to treat yourself to a sweet and simple delight? My Caramel Apple Monkey Bread combines gooey caramel,
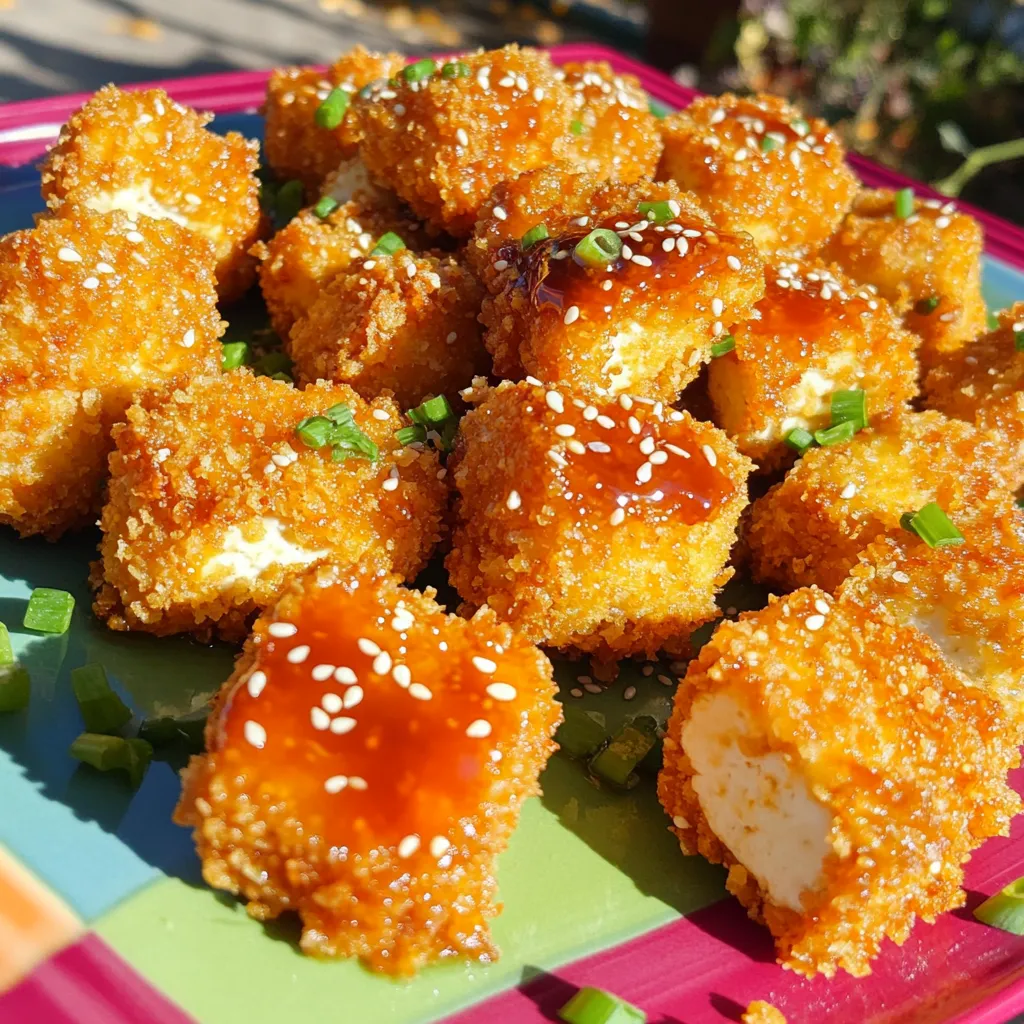
Looking for a fun way to make healthy snacks? Try my Air Fryer Honey Sriracha Tofu Nuggets! These bites are

Craving something rich and chocolatey? You’re in luck! My easy Double Chocolate Muffins recipe is a must-try. With simple ingredients

Cozy up this fall with a mouthwatering Pumpkin Spice French Toast Casserole. This warm, sweet dish is perfect for chilly

Looking for a simple, delicious meal that’s full of flavor? You’re in the right place! This Slow Cooker Creamy Enchilada
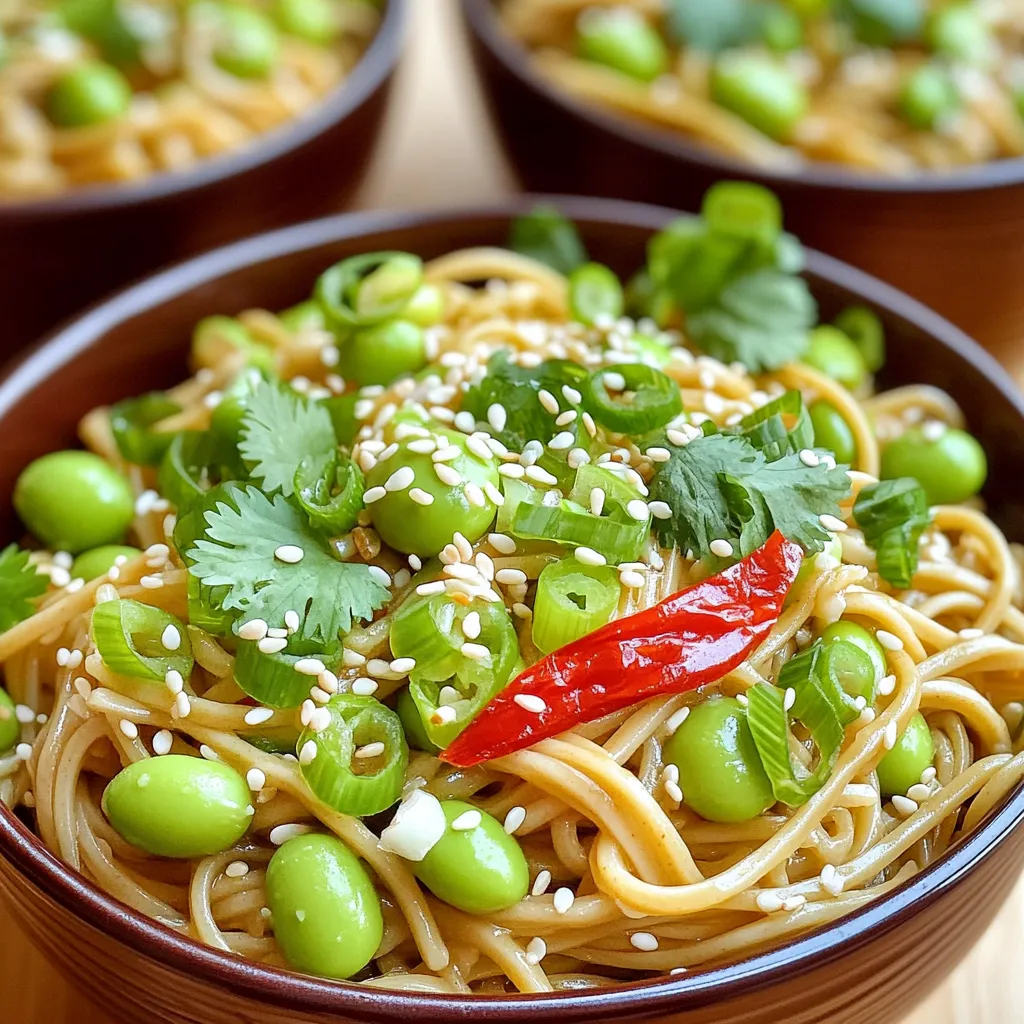
Are you craving a quick meal packed with flavor? Look no further! In just minutes, you can whip up these

Want a sweet treat without the oven? Let me introduce you to No-Bake Birthday Cake Energy Balls! These easy-to-make snacks

Looking for a quick and tasty dinner idea? Try my Sheet-Pan Sweet and Sour Chicken! This easy weeknight meal blends