Blueberry Cottage Cheese Smoothie Fresh and Easy Recipe
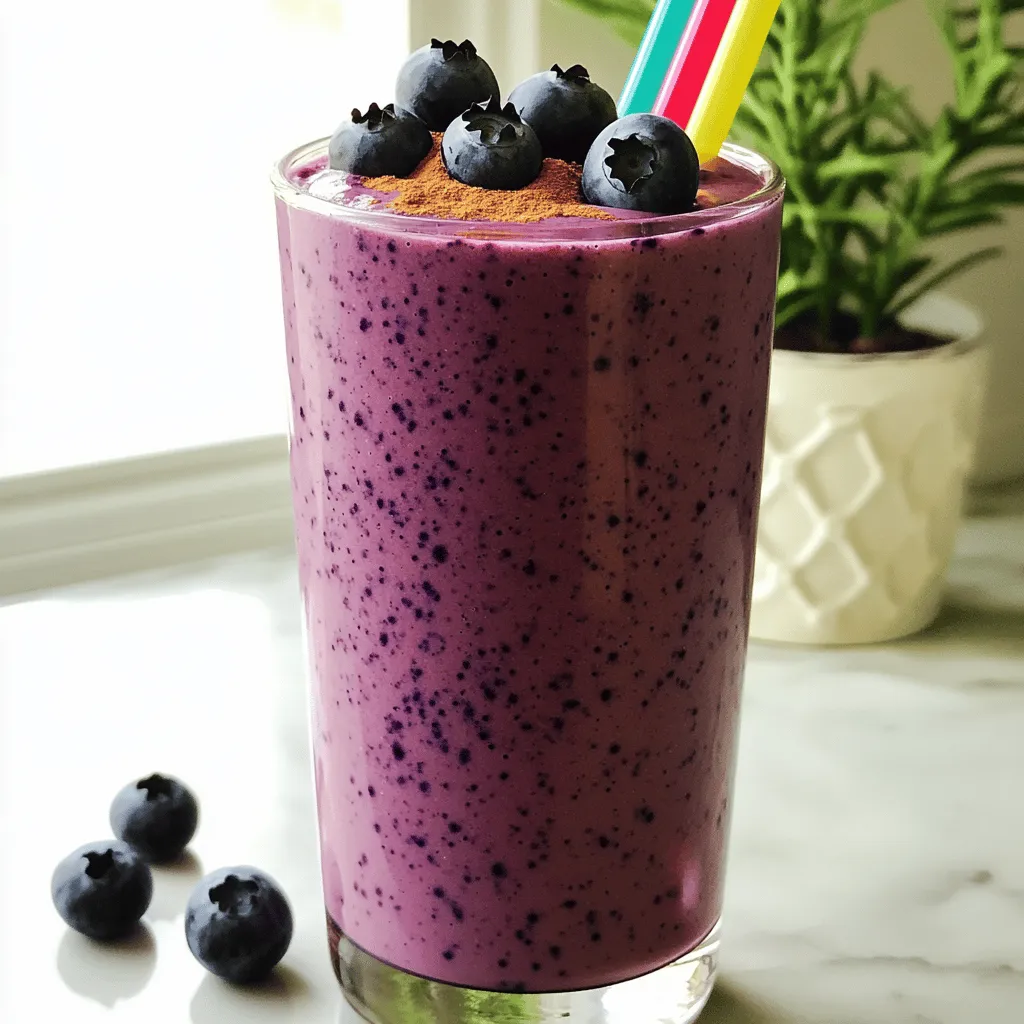
Looking for a quick, tasty, and healthy boost? This Blueberry Cottage Cheese Smoothie is just the ticket. Packed with protein,

Looking for a quick, tasty, and healthy boost? This Blueberry Cottage Cheese Smoothie is just the ticket. Packed with protein,
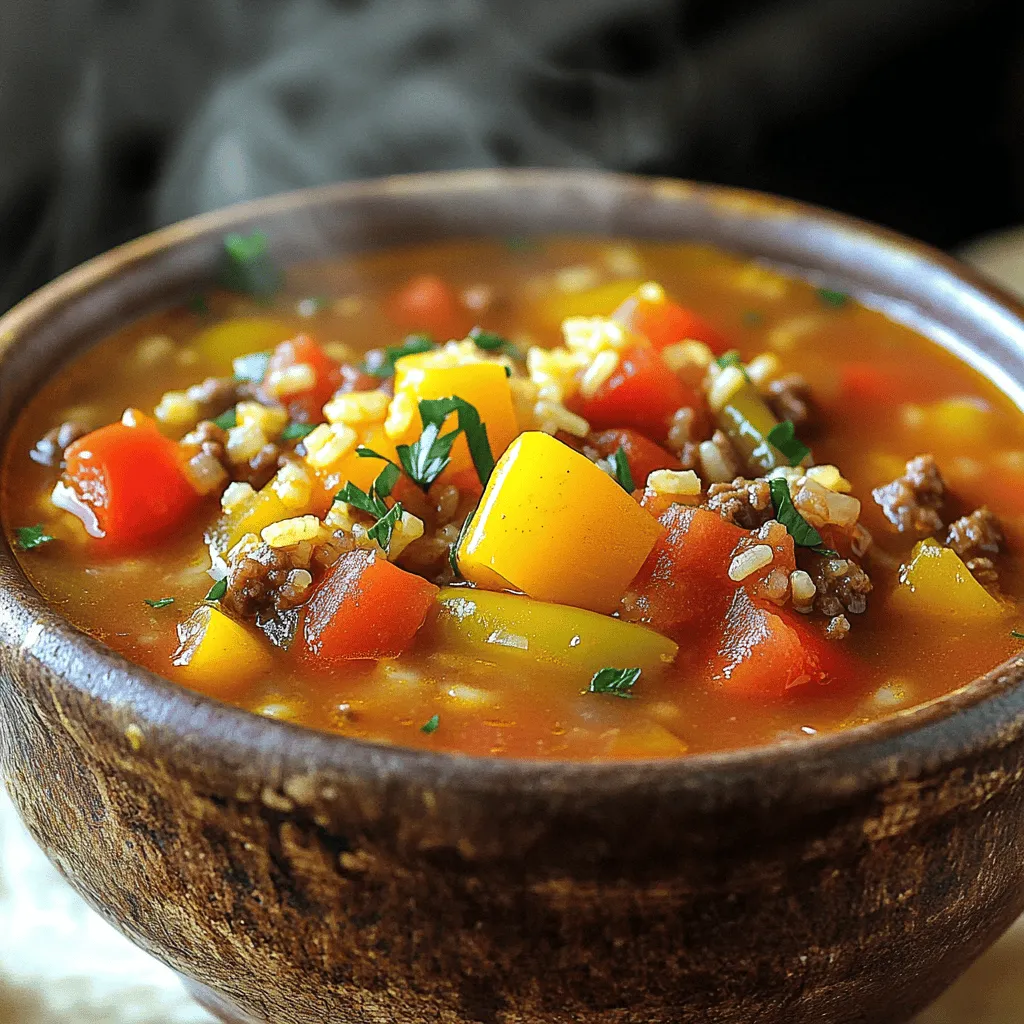
Looking for a warm, comforting meal? Try my Satisfying Slow Cooker Stuffed Pepper Soup! This easy recipe combines juicy bell
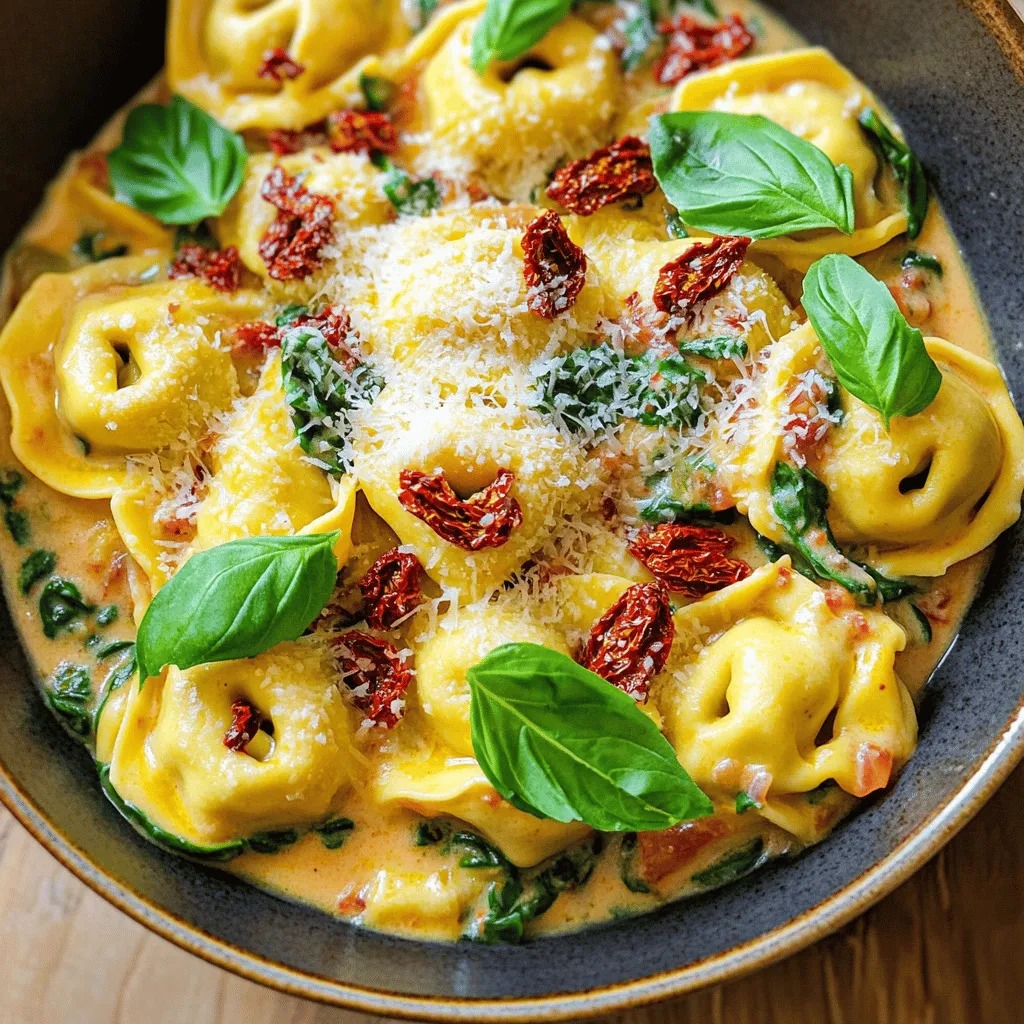
Are you ready to elevate your dinner game? This Sun-Dried Tomato Tortellini Skillet is a quick, easy dish packed with
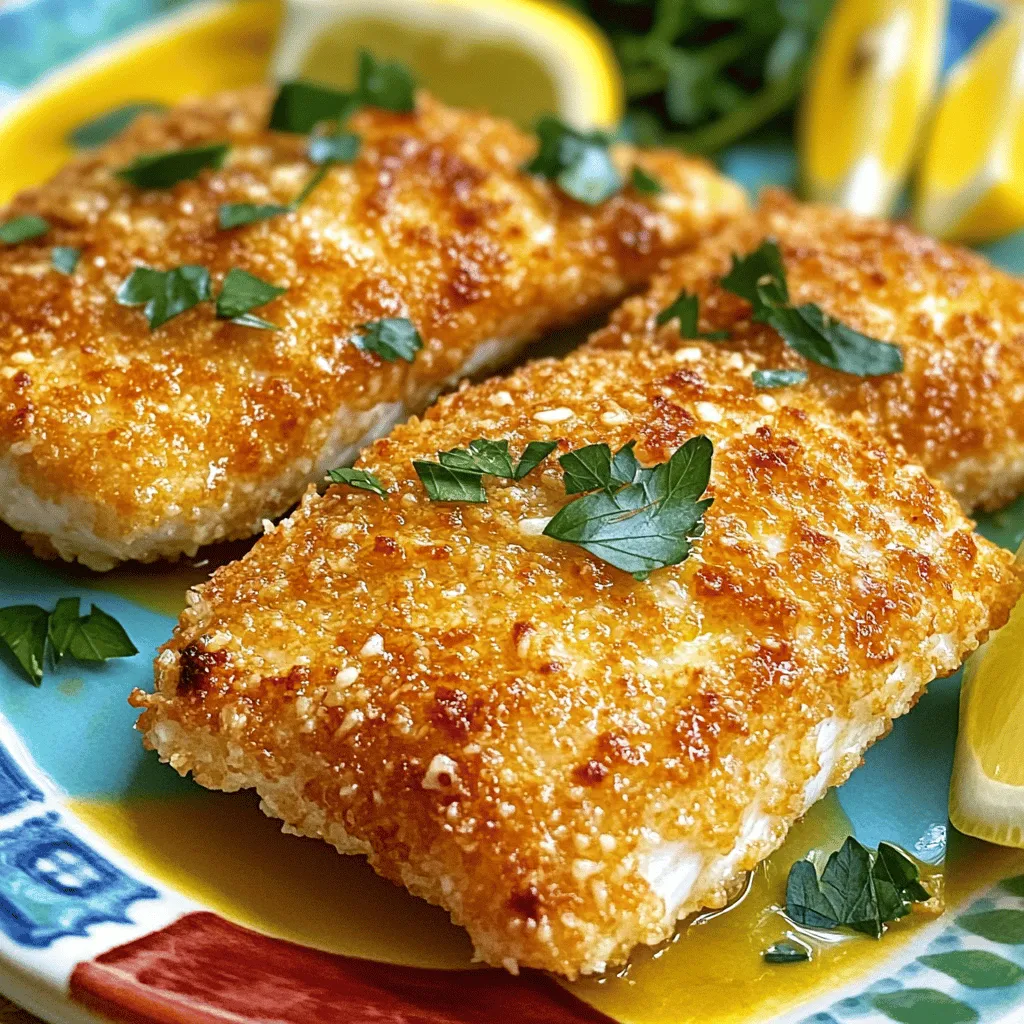
If you’re looking for a quick and tasty meal, try Air Fryer Parmesan Crusted Tilapia. This dish is easy to

Looking for a fun meal that’s bursting with flavor? Let’s dive into Sheet-Pan BBQ Chicken Nachos! This recipe combines tender
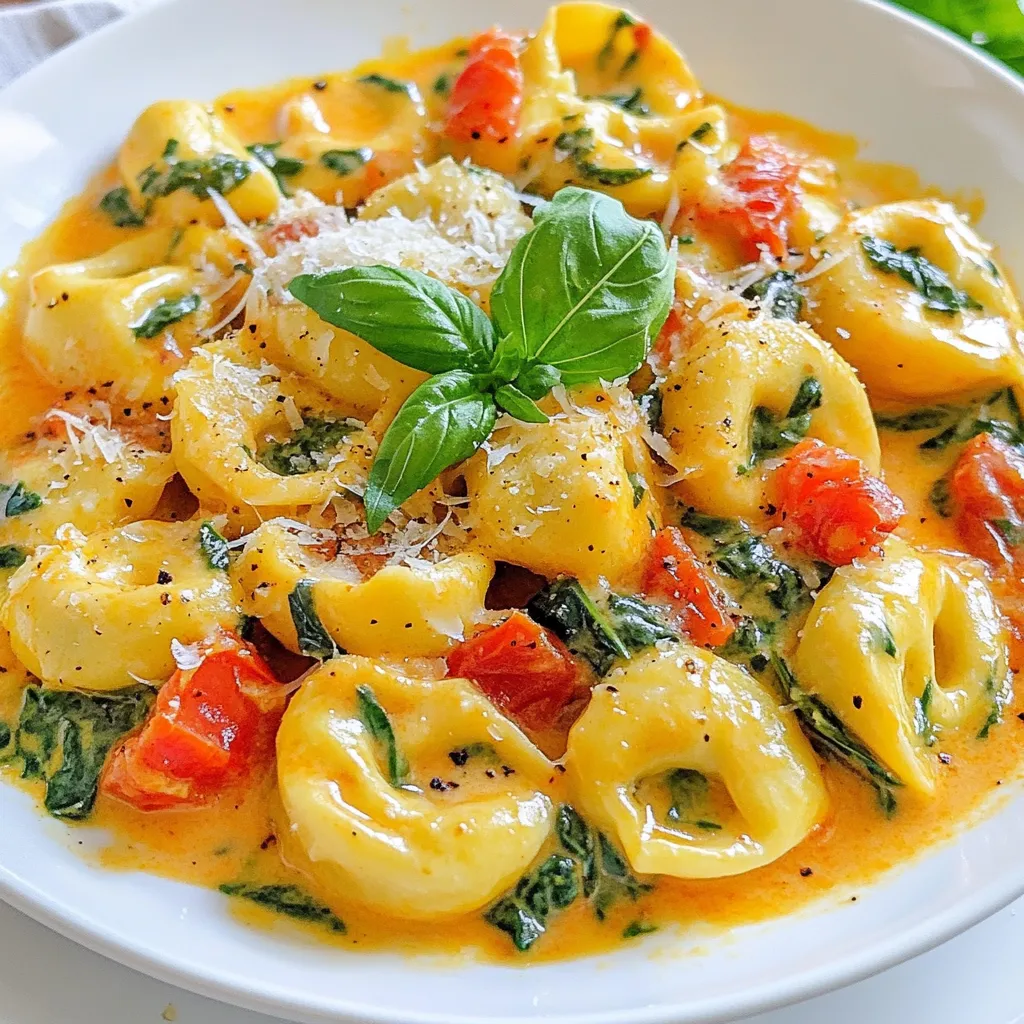
Looking for a quick and easy meal that packs a punch? My Creamy Tomato Spinach Tortellini is just what you

If you’re craving a quick, tasty meal, look no further than cilantro lime shrimp tacos. These easy tacos are bursting

Are you ready to dive into the cozy flavors of fall? My Pumpkin Spice Granola Yogurt Parfaits are an easy
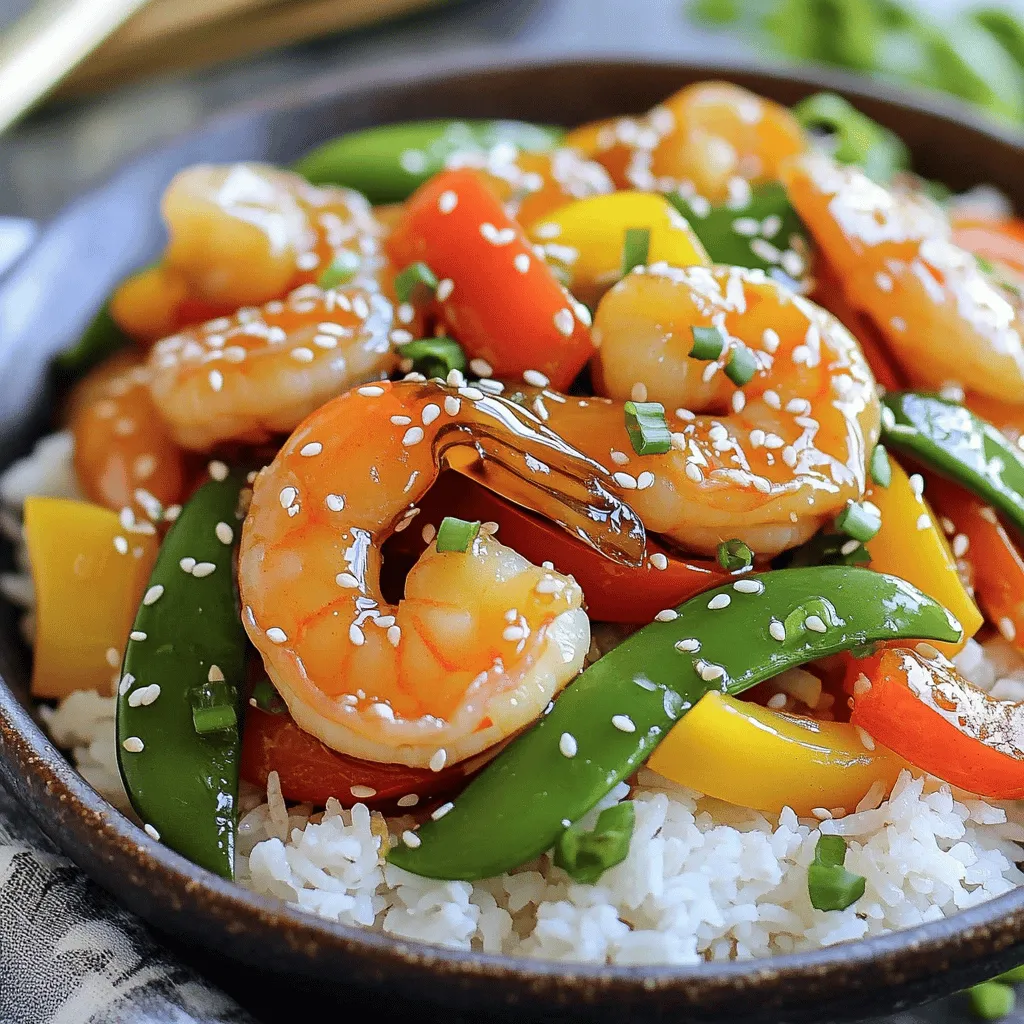
If you’re searching for an easy and tasty dish, honey garlic shrimp stir fry is perfect. This dish is packed

Are you ready to impress your family and friends with a delicious Maple Pecan Sweet Potato Casserole? This recipe is