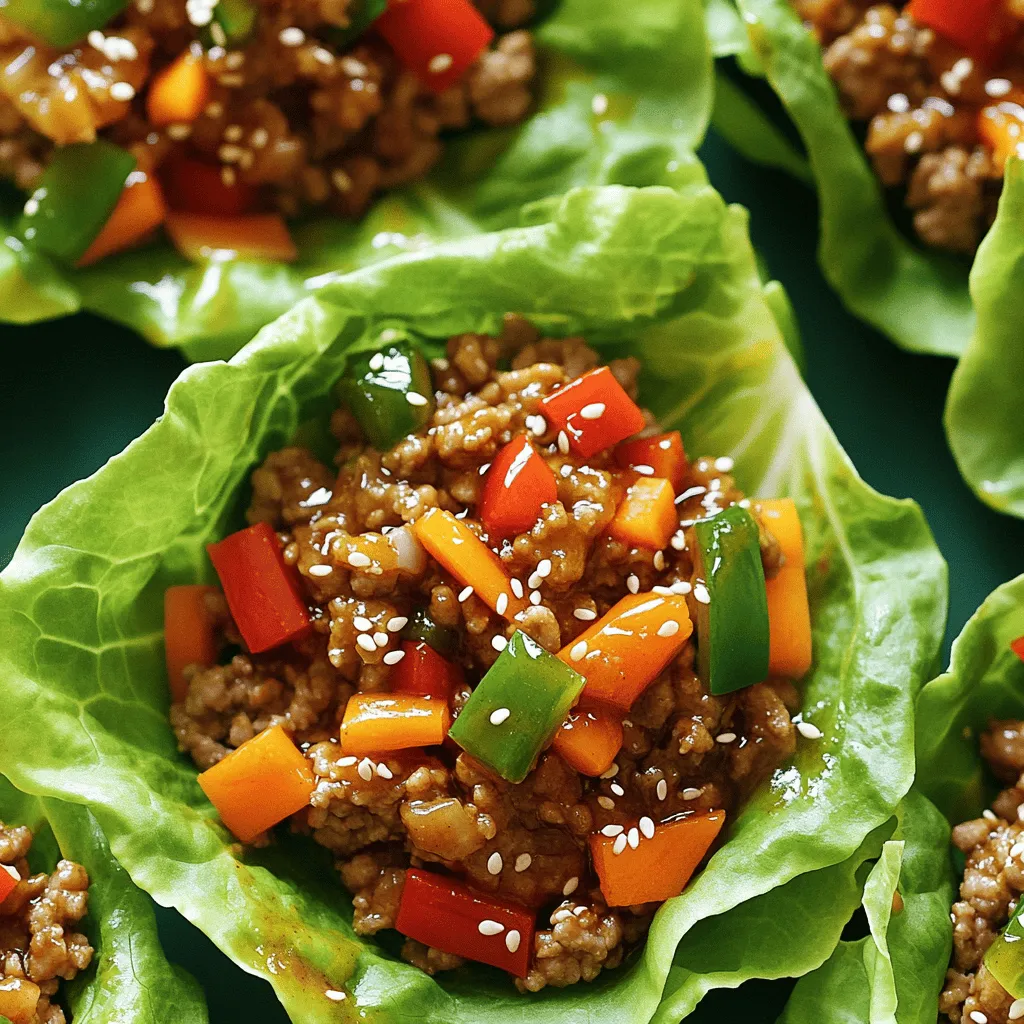
Teriyaki Turkey Lettuce Wraps Simple and Healthy Dish
Are you ready to make a meal that’s both simple and delicious? Teriyaki turkey lettuce wraps are perfect for a

Are you ready to make a meal that’s both simple and delicious? Teriyaki turkey lettuce wraps are perfect for a
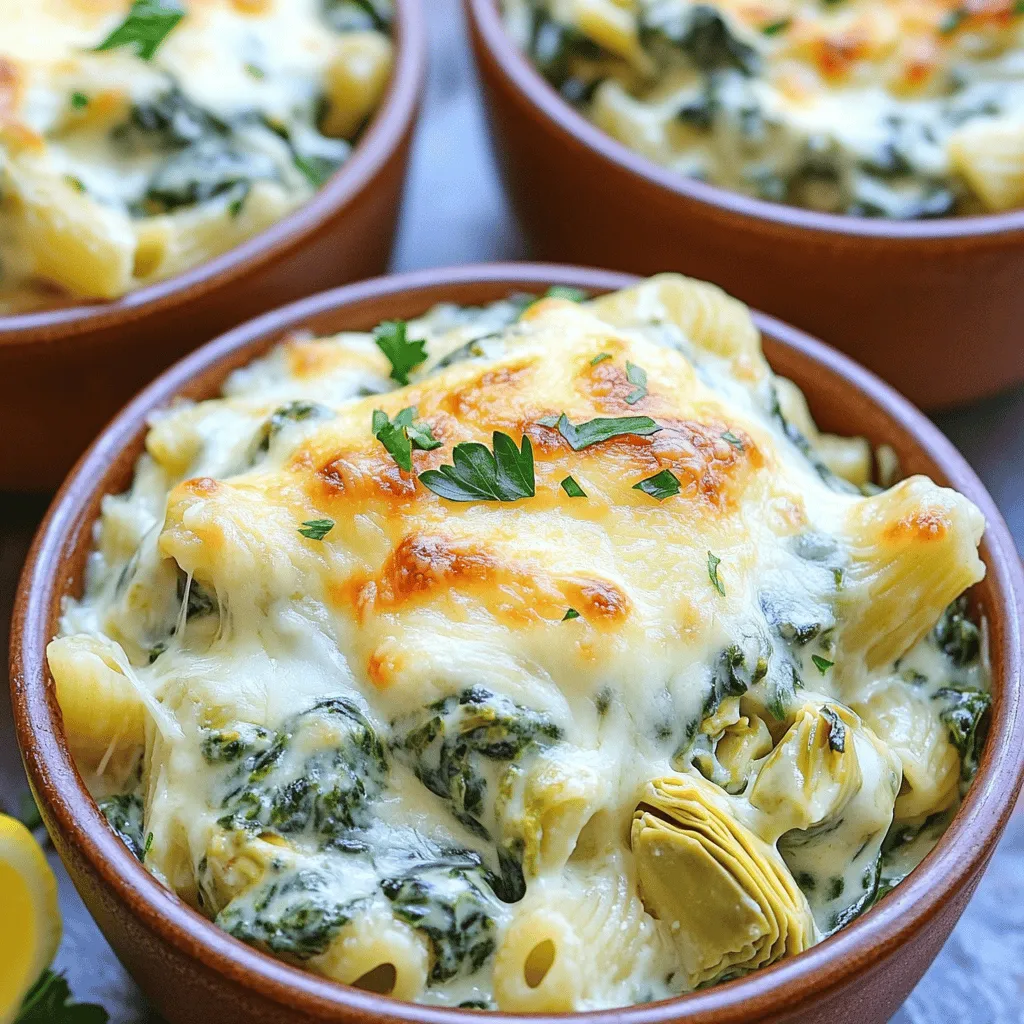
Are you ready to delight your taste buds? This Creamy Spinach Artichoke Pasta Bake is a cozy dish that everyone

Looking for a healthy snack to fuel your day? Chocolate Espresso Energy Balls offer the perfect blend of rich chocolate
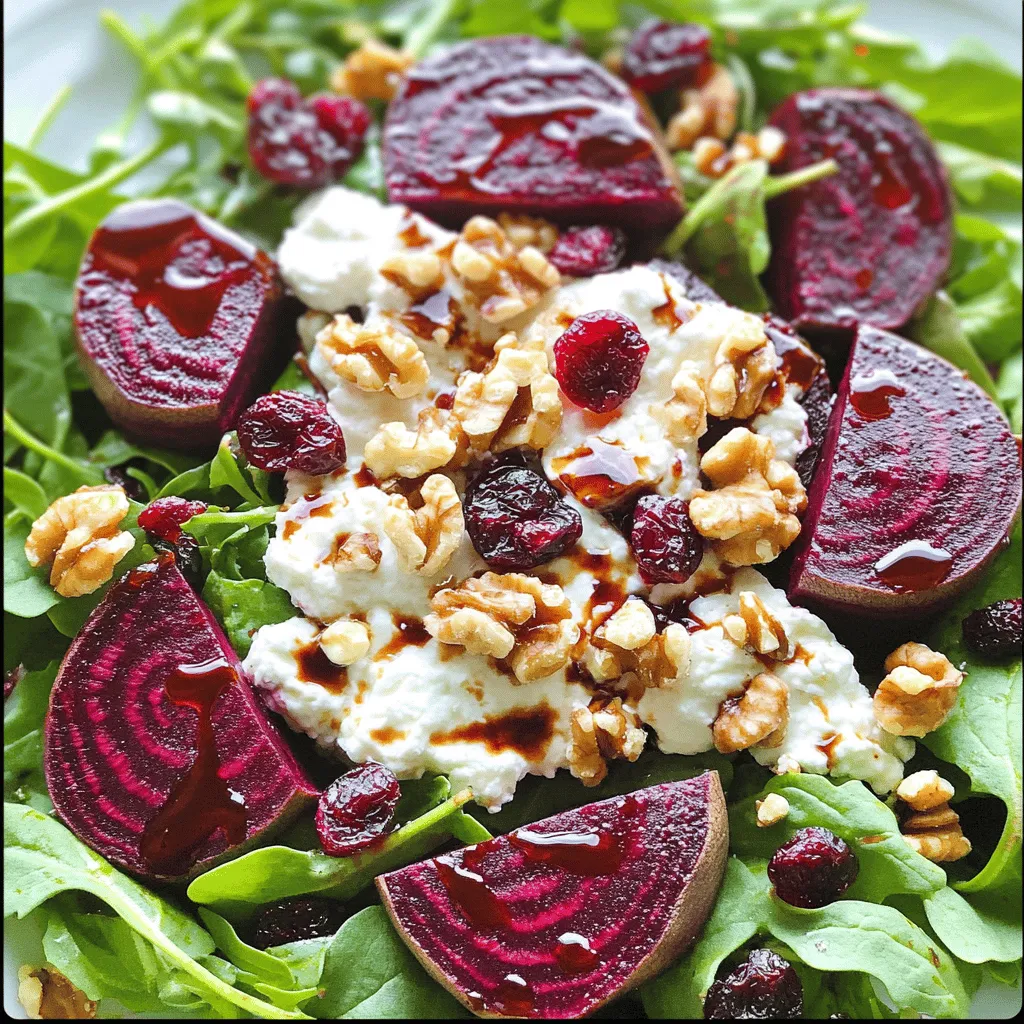
Looking for a fresh and vibrant salad? You’re in the right place! This Roasted Beet Goat Cheese Salad is packed

Get ready for a flavor burst with my Sticky Orange Ginger Chicken! This dish is packed with juicy chicken thighs

Welcome to the world of baking magic! Today, I’ll show you how to create a stunning Matcha Strawberry Layer Cake

Craving a sweet treat that combines rich chocolate and creamy peanut butter? Look no further! These Peanut Butter Cup Brownie

Get ready to spice up your dinner routine with my Sheet Pan Orange Chicken and Broccoli Delight! This easy recipe
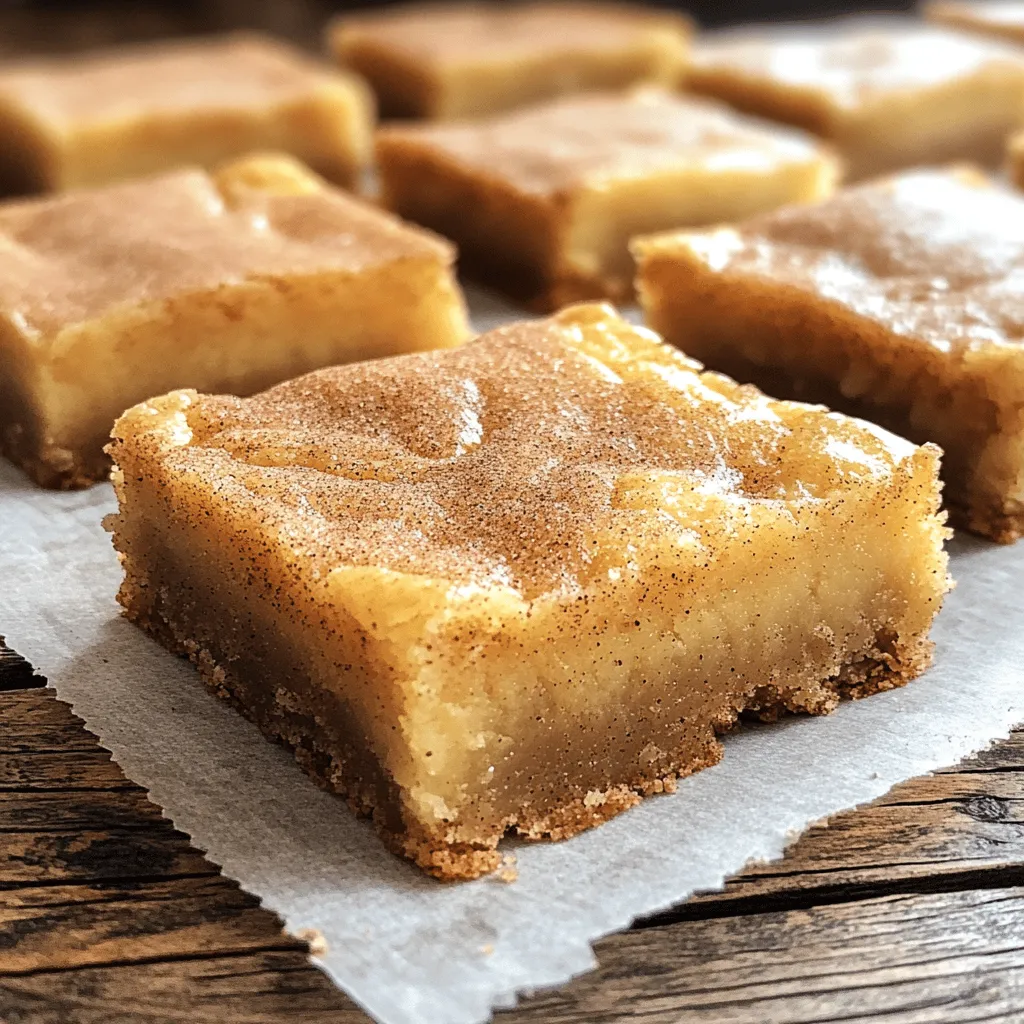
Are you ready to bake the sweetest and softest treat? Snickerdoodle blondies are the perfect blend of chewy, buttery goodness
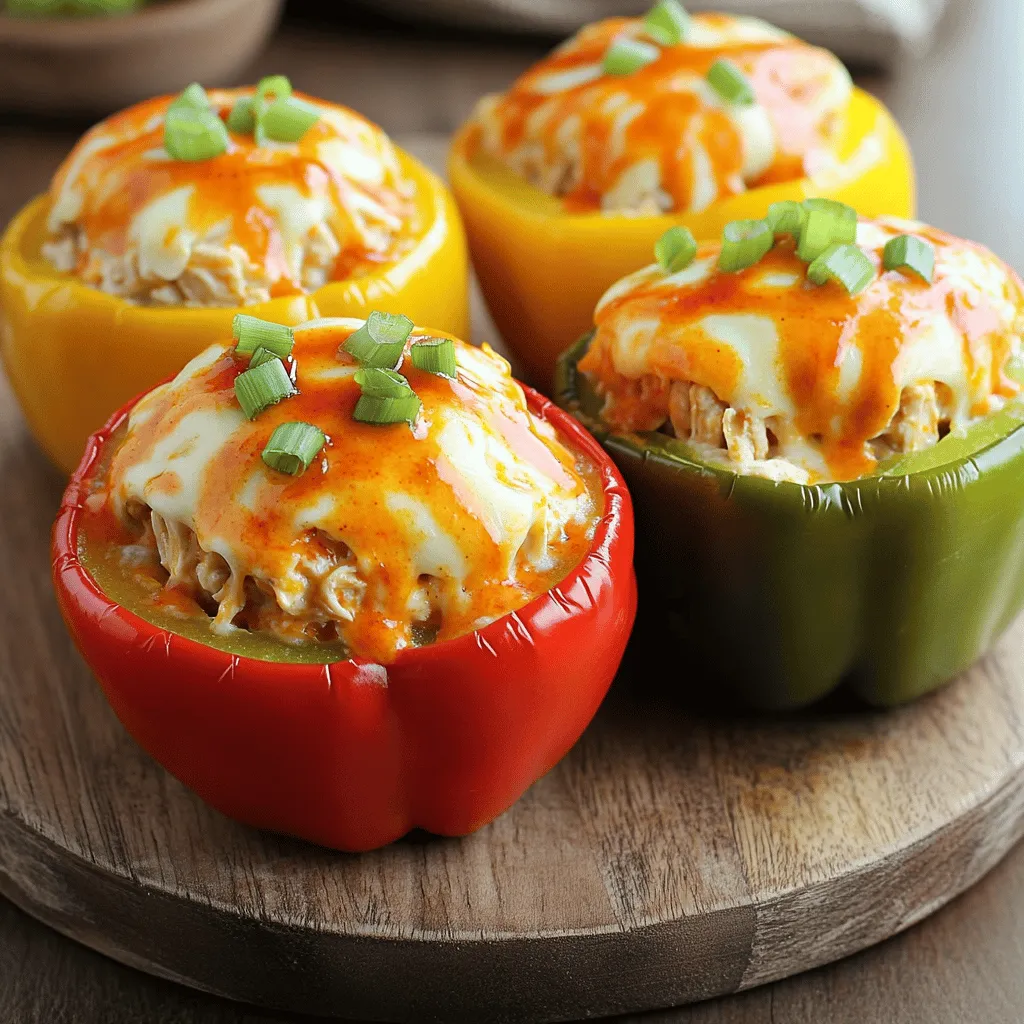
Looking for a tasty and easy dinner idea? Buffalo Chicken Stuffed Peppers are the answer! These flavorful peppers are filled