
Strawberry Shortcake Muffins Bakery Style Delight Guide
Welcome to your ultimate guide for making Strawberry Shortcake Muffins in bakery style! Get ready to whip up sweet, fluffy

Welcome to your ultimate guide for making Strawberry Shortcake Muffins in bakery style! Get ready to whip up sweet, fluffy

If you love warm, cozy desserts, you’ll adore my Caramelized Banana Bread Pudding. This treat is sweet, soft, and easy
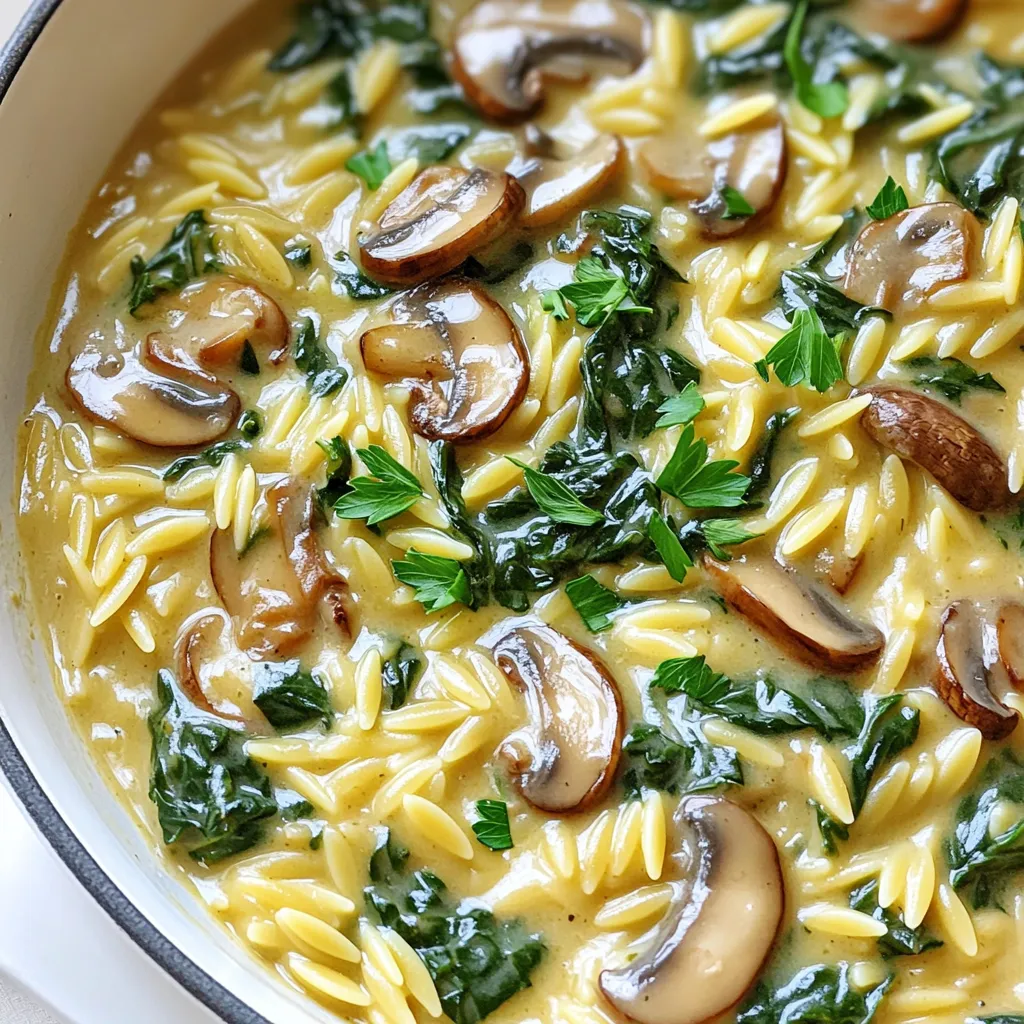
Craving a quick and tasty meal? Try my Creamy Mushroom Spinach Orzo Skillet Delight! This dish combines flavorful ingredients in
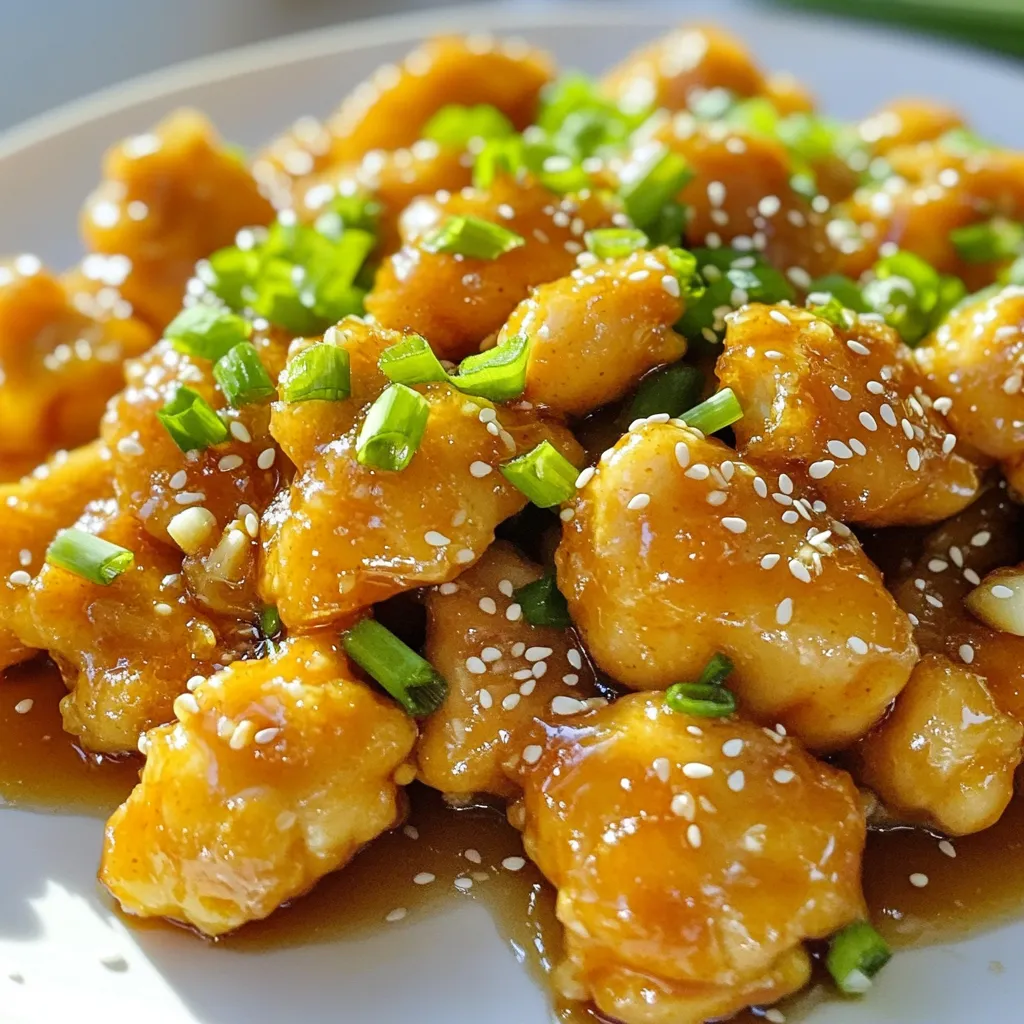
Are you craving a delicious meal that’s better than takeout? This Honey Garlic Chicken recipe is here to save the
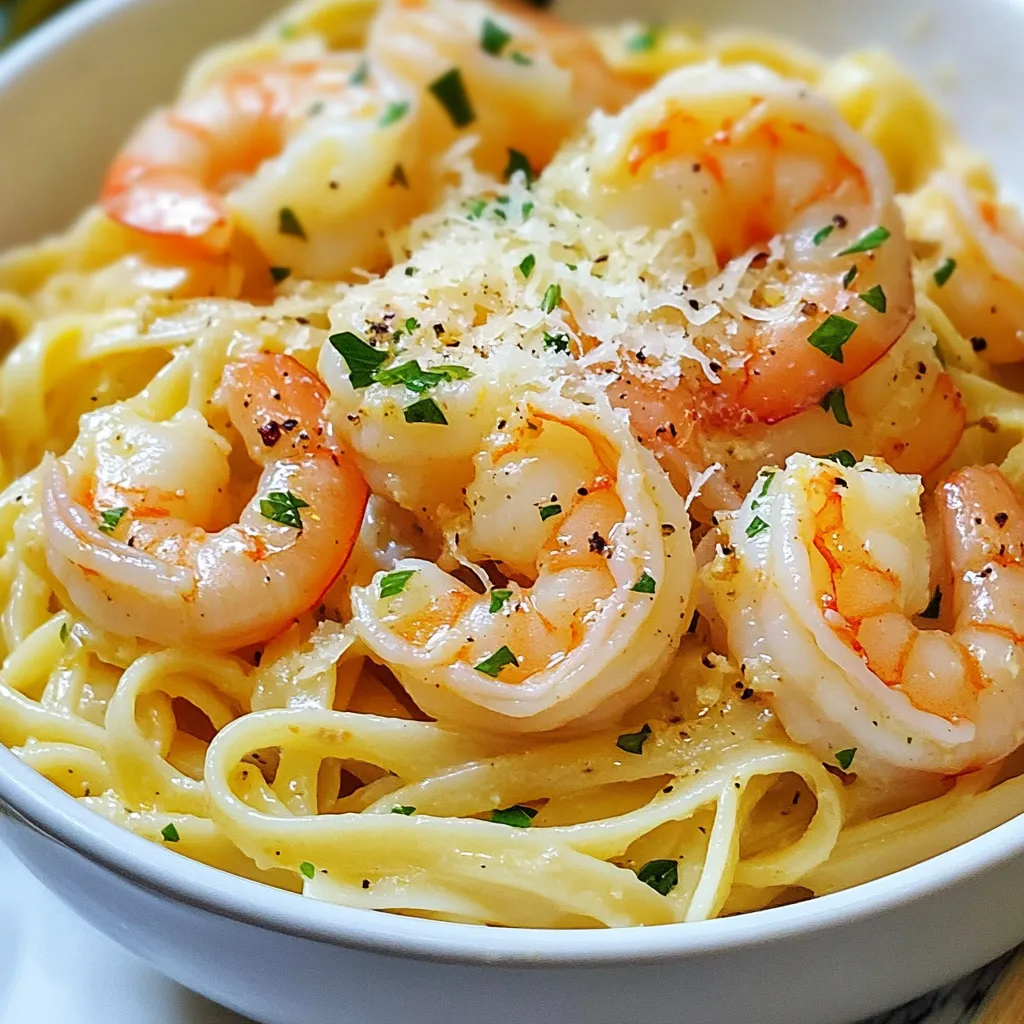
Craving a quick and tasty dinner? You’re in luck! This Shrimp Scampi Linguine recipe will make your taste buds dance.
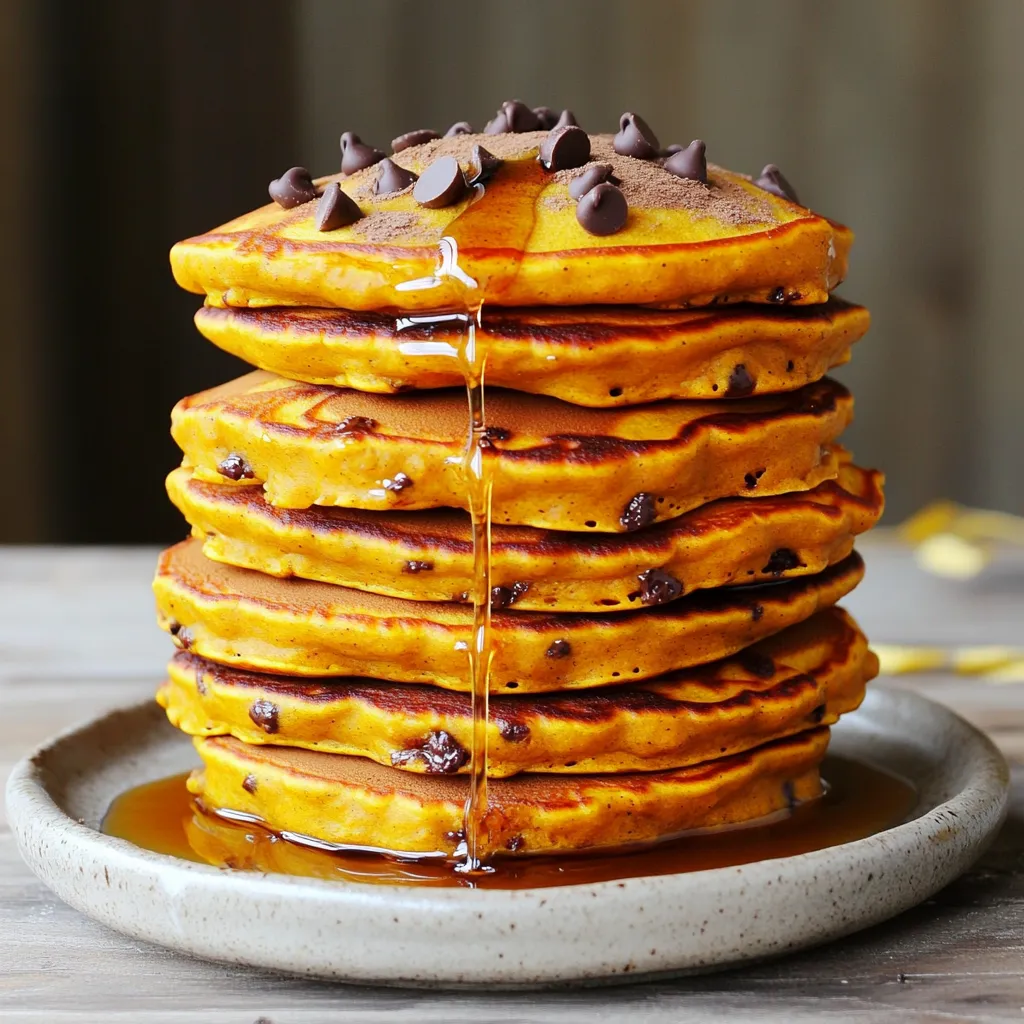
Welcome to a breakfast experience you won’t forget! Pumpkin chocolate chip pancakes fill your morning with warmth and sweetness. They’re
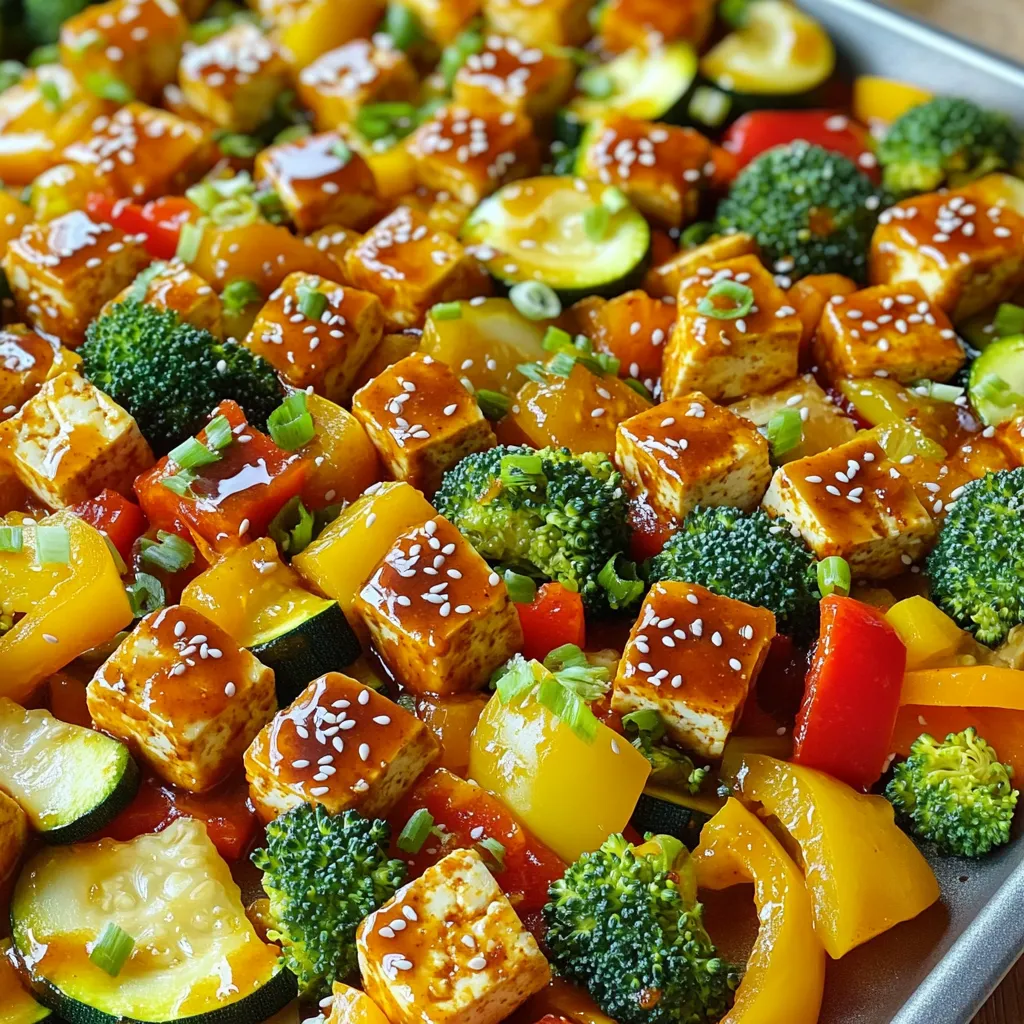
Are you craving a quick, tasty meal that’s both nourishing and fun to make? Look no further than my Sheet
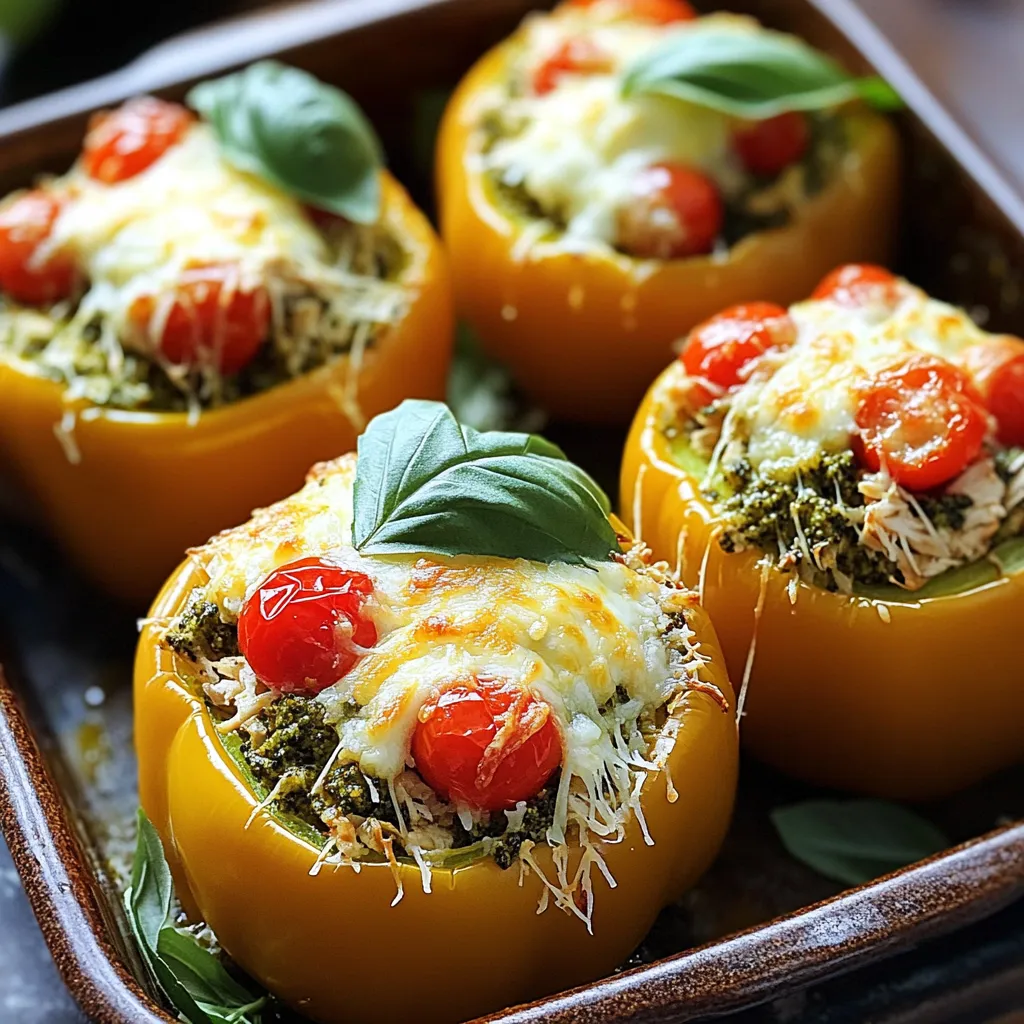
Looking for a delicious and healthy dinner option? Look no further! Pesto Chicken Stuffed Peppers are packed with flavor and
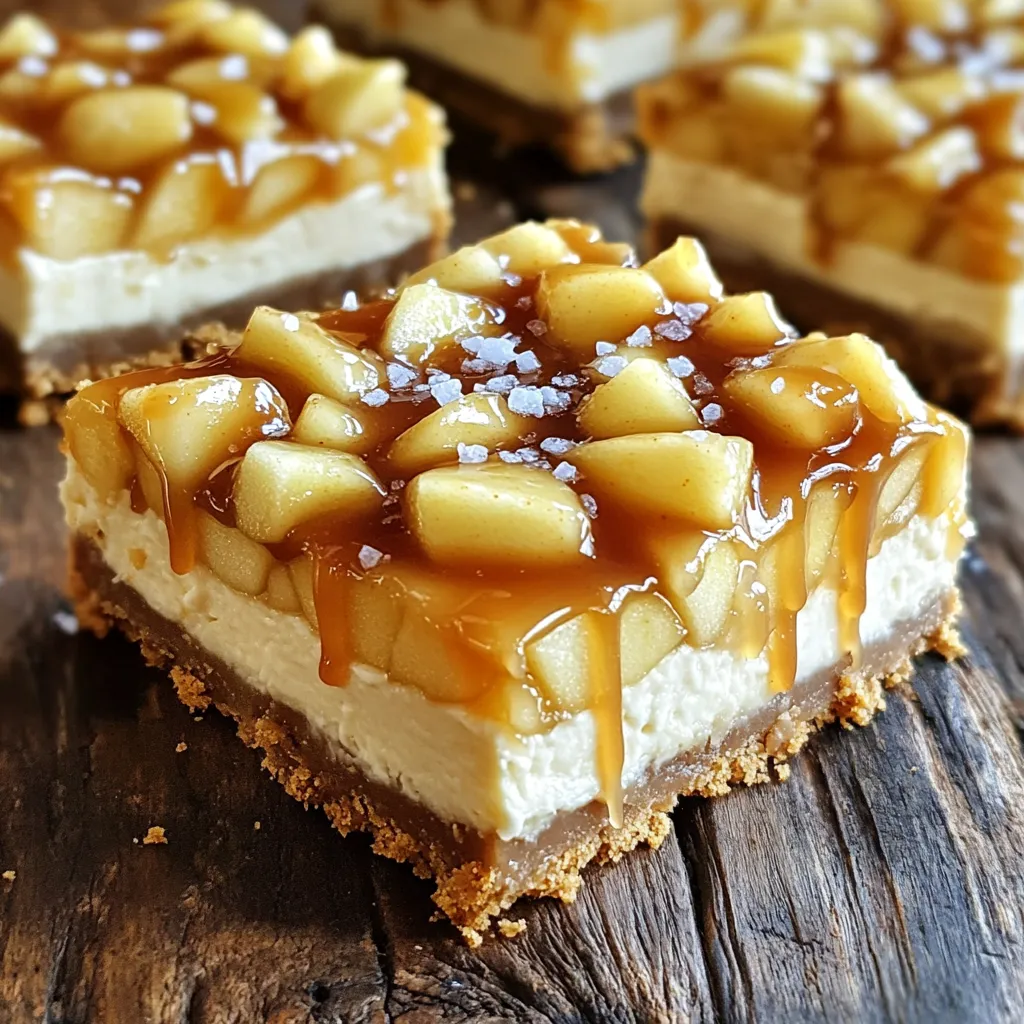
Are you ready for a delicious treat that combines sweet and salty flavors? Salted Caramel Apple Cheesecake Bars are the
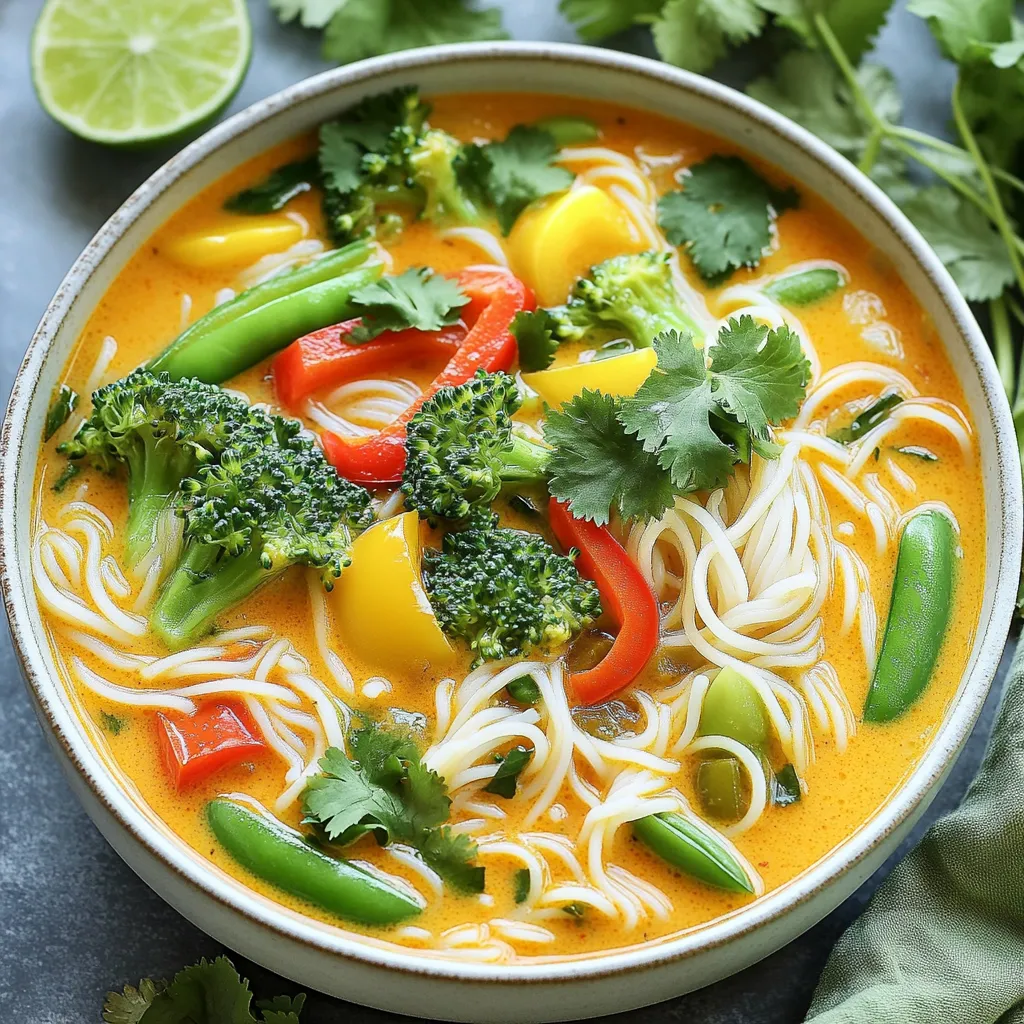
Are you ready to dive into the rich and creamy world of Thai Coconut Curry Noodle Soup? Today, I’ll show