Craving something sweet and fun? This Delicious Chocolate Hazelnut Crepe Cake Recipe is your answer! You’ll impress friends and family with layers of thin crepes and rich chocolate hazelnut goodness. Don’t worry if you’re new to crepes; I’ll guide you step-by-step. Let’s dive into the world of crepes and create a dessert that’s not just delicious, but also easy to make. Ready to satisfy your chocolate cravings? Let’s get started!
Why I Love This Recipe
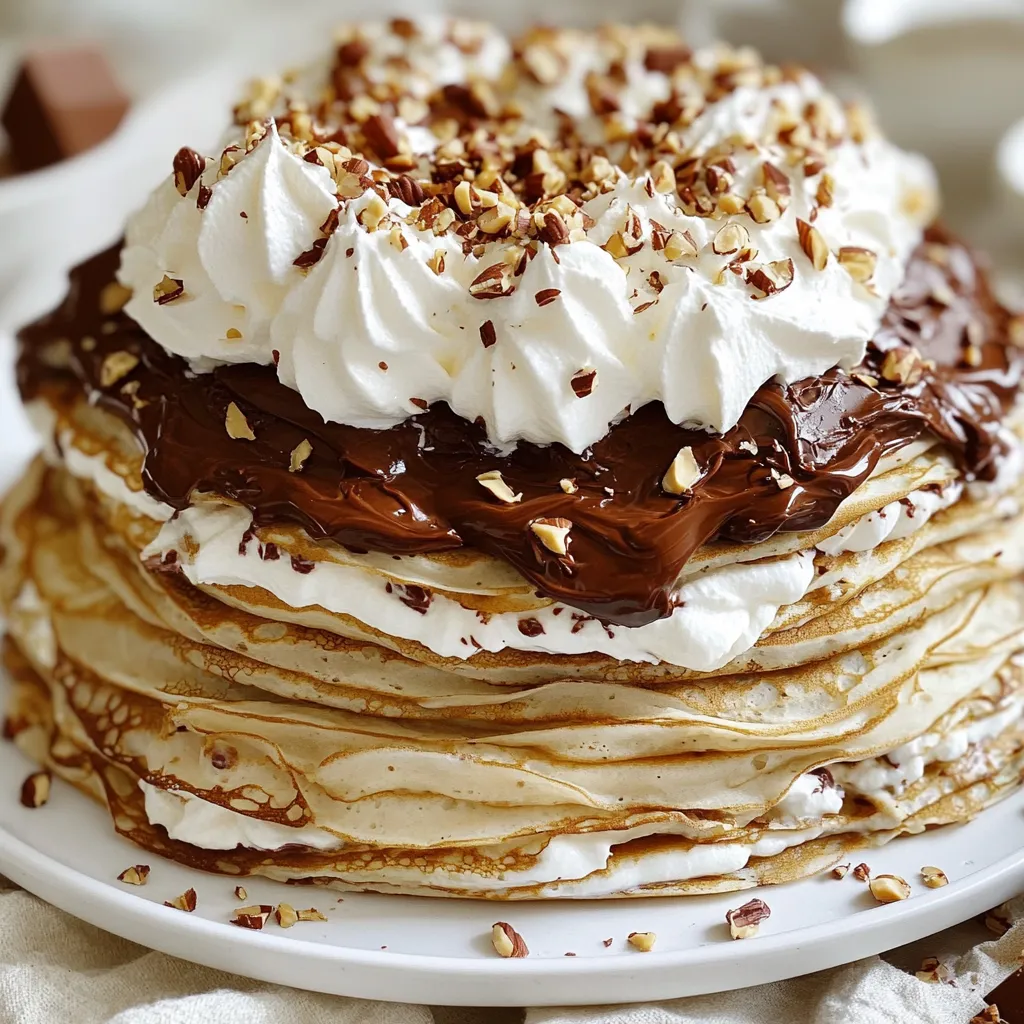
- Delicious Layers: This crepe cake features delicious layers of chocolate hazelnut spread and whipped cream, creating a delightful combination of flavors and textures.
- Stunning Presentation: The tall, layered structure of the cake makes it a stunning centerpiece for any occasion, impressing guests with its elegance.
- Easy to Customize: You can easily customize this recipe by adding different flavors or toppings, such as fruits or other spreads, to cater to your taste.
- Perfect Make-Ahead Dessert: This cake can be made in advance and chilled, making it the perfect stress-free dessert for gatherings and celebrations.
Ingredients
List of Essential Ingredients
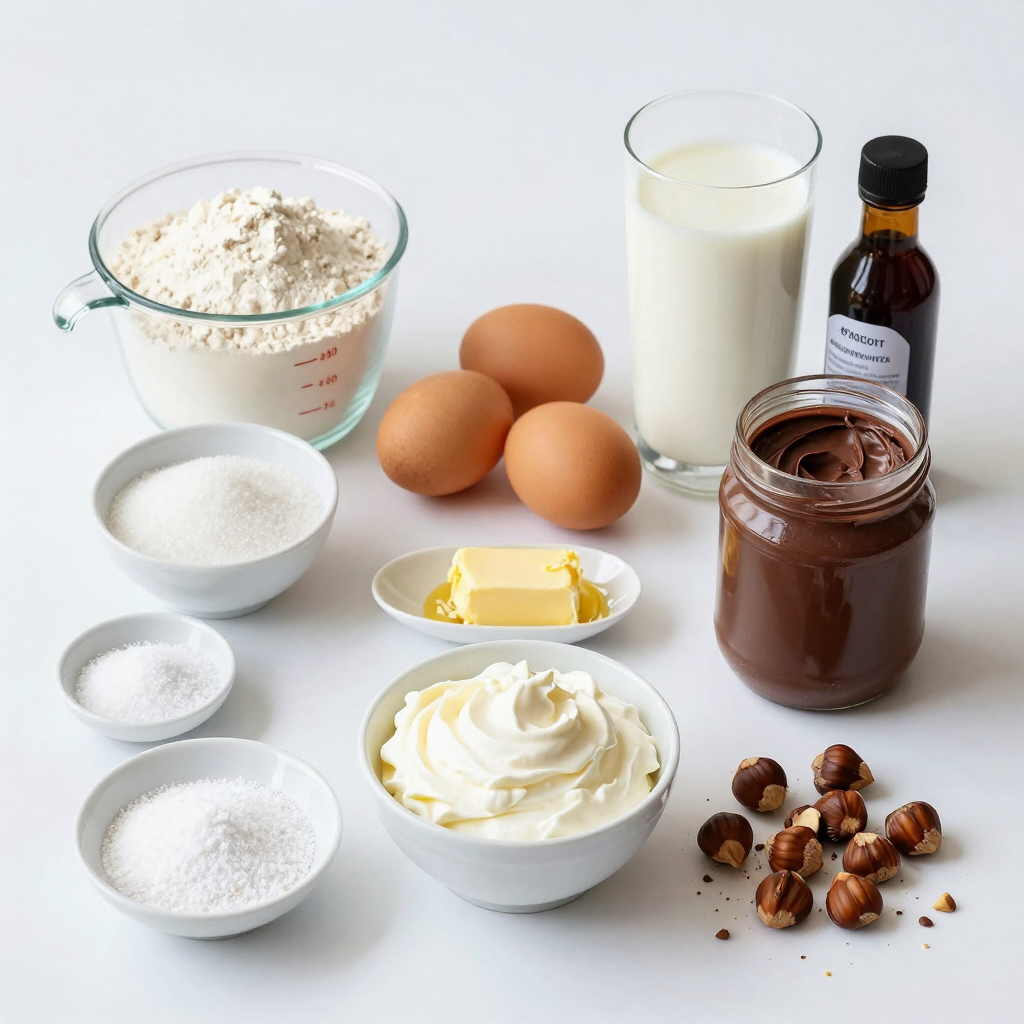
To make a delicious Chocolate Hazelnut Crepe Cake, you will need:
– 1 cup all-purpose flour
– 2 cups milk
– 3 large eggs
– 2 tablespoons sugar
– 1/4 teaspoon salt
– 1 tablespoon melted butter (plus more for cooking)
– 1 cup chocolate hazelnut spread (like Nutella)
– 1 cup heavy cream
– 2 tablespoons powdered sugar
– 1/2 teaspoon vanilla extract
– Chopped hazelnuts for garnish
These ingredients form the base of your cake. Each one plays a key role in making this dessert rich and tasty.
Optional Ingredients for Variations
You can tweak the recipe with these optional ingredients:
– Cocoa powder for a more chocolatey flavor
– Espresso powder to add depth
– Different nuts, like almonds or walnuts, for garnish
– Fresh fruits like strawberries or bananas for layers
Feel free to get creative! These options can make your cake even more special.
Suggested Tools and Equipment
To prepare your Chocolate Hazelnut Crepe Cake, gather these tools:
– Mixing bowls
– Whisk or electric mixer
– Non-stick skillet or crepe pan
– Spatula for flipping crepes
– Measuring cups and spoons
– Serving plate for stacking crepes
Having the right tools will help you make this cake easily and efficiently. Happy cooking!
Step-by-Step Instructions
How to Prepare the Crepe Batter
To start, gather your ingredients. In a mixing bowl, add:
– 1 cup all-purpose flour
– 2 cups milk
– 3 large eggs
– 2 tablespoons sugar
– 1/4 teaspoon salt
– 1 tablespoon melted butter
Whisk these together until the batter is smooth. Make sure there are no lumps. Let the batter rest for 30 minutes. This helps the gluten relax. A rested batter will give you soft crepes.
Cooking the Crepes Perfectly
Now it’s time to cook! Heat a non-stick skillet over medium heat. Add a little butter to coat the surface. Pour in about 1/4 cup of batter. Swirl the pan to cover the bottom evenly. Cook for 1 to 2 minutes. You’ll see the edges lift. The bottom should turn light brown. Flip the crepe and cook for another minute.
Repeat this until you use all the batter. Stack the cooked crepes on a plate. Keep them warm as you cook more.
Creating the Whipped Cream
For the whipped cream, take a bowl and add:
– 1 cup heavy cream
– 2 tablespoons powdered sugar
– 1/2 teaspoon vanilla extract
Using an electric mixer, whip the mixture until you see soft peaks. This means the cream is ready. The whipped cream will add a light texture to the cake. It balances the rich chocolate hazelnut spread.
Now you have your crepes and whipped cream ready!
Pro Tips
- Rest the Batter: Letting the crepe batter rest for 30 minutes allows the gluten to relax, resulting in tender and flexible crepes.
- Even Cooking: Ensure your skillet is at the right temperature before adding the batter. A medium heat allows for even cooking without burning the crepes.
- Layering Technique: Spread the chocolate hazelnut spread and whipped cream evenly to prevent the crepes from sliding apart when stacked.
- Chill for Best Texture: Refrigerating the assembled cake for at least an hour helps it set, making it easier to slice and enhancing the flavors.
Tips & Tricks
Common Mistakes to Avoid
Making crepe cake can be fun but tricky. Here are some common mistakes:
– Batter Resting: Skipping the resting time can make crepes tough. Always let the batter rest for 30 minutes.
– Too Much Heat: Cooking on high heat can burn crepes. Use medium heat for even cooking.
– Not Enough Butter: Lack of butter can cause sticking. Always grease the pan lightly before each crepe.
How to Achieve Perfectly Thin Crepes
Thin crepes are key to a great cake. Here’s how to get them just right:
– Batter Consistency: The batter should be thin, like heavy cream. If it’s too thick, add a little milk.
– Swirling Technique: Pour the batter into the center of the pan. Quickly swirl to coat the bottom evenly.
– Watch for Edges: Cook until the edges lift. This means it’s ready to flip.
Tips for Assembling the Cake
Assembling your chocolate hazelnut crepe cake is fun. Follow these tips for the best results:
– Layering: Use a crepe as the base. Spread a thin layer of chocolate hazelnut spread, then a layer of whipped cream. Repeat this until you stack all crepes.
– Finish Strong: End with whipped cream on top. It makes the cake look pretty and inviting.
– Chill to Set: Refrigerate the cake for at least an hour. This helps the layers hold together.
By following these tips, you will create a stunning cake that tastes as good as it looks!
Variations
Nut-Free Alternative
To make a nut-free version of this cake, swap the chocolate hazelnut spread for chocolate spread made from cocoa. Look for a brand that does not include nuts. You can also use vanilla frosting as a tasty option. This keeps the cake creamy and sweet without nuts.
Flavor Additions and Enhancements
You can play with flavors in this cake. Try adding a layer of raspberry or strawberry jam between the crepes. This adds a fruity touch that pairs well with chocolate. You might also mix in some coffee or espresso powder into the whipped cream for a mocha flavor. A dash of cinnamon can also bring warmth and spice to the dessert.
Seasonal Fruit Pairings
Seasonal fruits can elevate your crepe cake. Use fresh berries like strawberries, blueberries, or raspberries to top the cake. In fall, sliced apples or pears with a sprinkle of cinnamon work well. In summer, try peaches or cherries. Just place the fruit on top or between the layers for a bright, fresh taste.
Storage Info
How to Store Leftovers
Store leftover chocolate hazelnut crepe cake in an airtight container in the fridge. This keeps it fresh for up to three days. If you have extra whipped cream, store it separately in a small bowl. Make sure to cover it well to avoid drying out.
Freezing Tips for Crepes
You can freeze crepes for later use. Place parchment paper between each crepe to prevent sticking. Wrap them tightly in plastic wrap, then place them in a freezer bag. They can last up to two months in the freezer. When ready to eat, thaw them in the fridge overnight.
Best Practices for Serving After Refrigeration
After chilling in the fridge, the crepe cake tastes best when served cold. If it seems too firm, let it sit at room temperature for about 10 minutes. This helps soften it for easier slicing. For a nice touch, drizzle more chocolate hazelnut spread on top before serving. Sprinkle extra chopped hazelnuts for a crunchy finish.
FAQs
Can I Make Crepes in Advance?
Yes, you can make crepes ahead of time. Cook the crepes and let them cool completely. Then, stack them with parchment paper in between. Place them in an airtight container. Store in the fridge for up to three days. You can also freeze them. Just separate layers with parchment paper. They can last for up to two months in the freezer. When ready to use, simply thaw and assemble your cake.
What to Serve with Chocolate Hazelnut Crepe Cake?
This crepe cake pairs well with many treats. You can serve it with fresh berries like strawberries or raspberries. Ice cream, especially vanilla or hazelnut, makes a great side. A drizzle of chocolate sauce adds extra sweetness. For a crunchy touch, sprinkle more chopped hazelnuts on top. These sides enhance the cake’s rich flavors and create a lovely dessert display.
How to Customize the Recipe for Dietary Restrictions?
You can easily adjust this recipe for different needs. For a gluten-free option, use a gluten-free flour blend instead of all-purpose flour. To make it dairy-free, substitute almond or oat milk for regular milk. Use a dairy-free chocolate hazelnut spread too. For a vegan version, replace eggs with flax eggs and use coconut cream for whipped cream. These tweaks keep the essence of the cake while meeting dietary needs.
To make a great Chocolate Hazelnut Crepe Cake, start with key ingredients and tools. Follow step-by-step instructions for the batter, cooking, and whipped cream. Use tips to avoid mistakes and achieve thin crepes. Explore fun variations with seasonal fruits and nut-free options. Proper storage keeps leftovers fresh. You can even make crepes ahead and customize them. Enjoy your baking journey and the tasty results!