Introduction
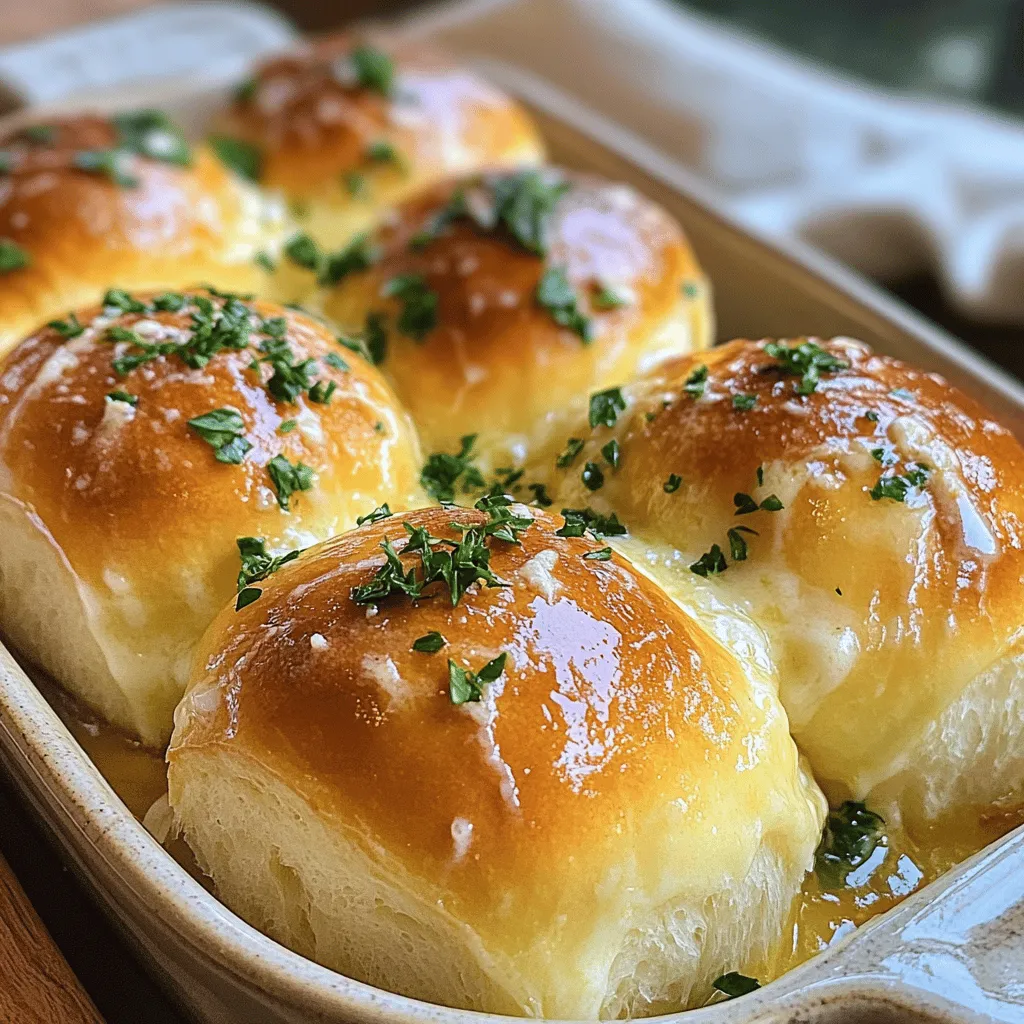
There’s something undeniably special about the aroma of homemade dinner rolls wafting through your kitchen. As the warm, golden-brown rolls emerge from the oven, they evoke a sense of comfort and nostalgia, inviting everyone to gather around the table. Dinner rolls are the unsung heroes of any meal; they can elevate a simple dinner into a feast, making every occasion feel a little more special. Whether it’s a holiday gathering, a weekend family dinner, or a casual weeknight meal, these fluffy, buttery rolls are sure to impress.
What sets these garlic butter dinner rolls apart is their rich flavor profile, thanks to the addition of garlic butter. This delightful mixture infuses the rolls with a savory taste that complements a variety of dishes, from roasted meats to hearty soups. Garlic butter not only enhances the rolls’ flavor but also adds a beautiful sheen and a hint of sophistication, making them irresistible.
Moreover, these rolls are incredibly versatile. They pair wonderfully with Italian cuisine, serve as a delightful accompaniment to a Thanksgiving turkey, or simply stand alone as a savory snack. With their soft texture and rich flavor, garlic butter dinner rolls are destined to become a staple in your culinary repertoire.
Understanding the Ingredients
All-Purpose Flour
The foundation of any great bread recipe begins with flour, and all-purpose flour is the star of this show. It strikes a perfect balance between protein content and gluten formation, giving the rolls the ideal texture—soft, chewy, and just the right amount of fluffiness. When kneaded, the proteins in the flour develop gluten, enabling the dough to rise beautifully and hold its shape. For the best results, choose a high-quality brand of all-purpose flour to ensure your rolls turn out perfect every time.
Instant Yeast
Yeast is the magical ingredient that transforms simple dough into light, airy rolls. Instant yeast is favored in this recipe for its quick-acting properties, allowing for faster rising compared to active dry yeast. Unlike traditional yeast, which requires proofing in water, instant yeast can be mixed directly with dry ingredients, making the preparation process quicker and more convenient. This means you can enjoy homemade rolls in a fraction of the time typically required, perfect for those last-minute dinner plans.
Salt and Sugar
Salt and sugar may seem like mere seasonings, but they play crucial roles in bread-making. Salt not only enhances the overall flavor of the rolls, but it also regulates yeast activity, ensuring a controlled fermentation process. Too much salt can inhibit yeast growth, while too little can lead to overly rapid fermentation. Sugar, on the other hand, serves as food for the yeast, promoting fermentation and contributing to the rolls’ subtle sweetness. Together, these ingredients create a balanced flavor that elevates the taste of the rolls.
Warm Milk
Milk is another essential ingredient in this recipe, providing moisture and richness. The temperature of the milk is critical when it comes to activating the yeast. Ideally, it should be warmed to around 110°F (43°C)—a temperature that encourages yeast activation without killing it. Warm milk also helps to create a tender crumb in the rolls, enriching their flavor and texture.
Butter
Butter adds richness and flavor, making the rolls soft and delicious. In this recipe, both melted and softened butter are used to achieve the desired consistency and flavor. Melted butter is incorporated into the dough, contributing to its tenderness, while softened butter is used in the garlic butter topping, infusing the rolls with a rich, savory garlic flavor. Choosing high-quality, unsalted butter allows you to control the saltiness of your rolls, ensuring the perfect balance of flavors.
Garlic and Parsley
The final touch to these rolls comes from the garlic and parsley. Fresh garlic, when mixed with melted butter, creates a decadent garlic butter that soaks into the warm rolls, imparting a rich and savory flavor. The addition of parsley not only enhances the taste but also adds a pop of color, making the rolls visually appealing. Together, garlic and parsley create a flavor profile that is both comforting and sophisticated, making these rolls the perfect accompaniment to any meal.
Step-by-Step Instructions for Garlic Butter Dinner Rolls
Activating the Yeast
To ensure your garlic butter dinner rolls rise beautifully, it is crucial to activate the yeast properly. Begin by measuring out the warm milk and adding the sugar to it. Stir gently until the sugar dissolves, then sprinkle the instant yeast over the surface of the milk. Allow the mixture to sit for about 5 minutes. During this time, you should see small bubbles forming and the mixture becoming frothy. This indicates that the yeast is alive and ready to work its magic in your dough. If the mixture doesn’t froth, it may mean the yeast is old or the milk was too hot, so it’s best to start over with fresh ingredients.
Making the Dough
Once the yeast is activated, it’s time to make the dough. In a large mixing bowl, combine the all-purpose flour and salt. Create a well in the center of the flour mixture, and pour in the activated yeast mixture along with the melted butter. Using a wooden spoon or a spatula, mix the ingredients together until a shaggy dough forms. The goal here is to combine the ingredients without overworking the dough. Once combined, it should be slightly sticky but cohesive.
Kneading the Dough
After the dough has come together, transfer it to a lightly floured work surface. Begin kneading the dough by folding it over itself and pushing it down with the palms of your hands. Rotate the dough a quarter turn after each fold. Kneading is essential to develop gluten, which gives the rolls their structure and chewiness. Continue kneading for about 8 to 10 minutes until the dough is smooth and elastic. You can test for the right texture by performing the “windowpane test”: take a small piece of dough and stretch it gently. If it stretches without tearing and forms a thin, translucent membrane, it’s ready for the next step.
First Rise
Once the dough is kneaded to perfection, place it in a lightly greased bowl, covering it with a damp cloth or plastic wrap. This first rise allows the dough to double in size, which usually takes about 1 to 1.5 hours, depending on the ambient temperature. For optimal rising conditions, place the bowl in a warm, draft-free area. A turned-off oven with the light on is a great spot. You’ll know the dough is ready when it has roughly doubled in size and leaves an indentation when poked gently.
Shaping the Rolls
After the first rise, it’s time to shape the rolls. Gently punch down the dough to release any air bubbles, then transfer it to a floured surface. Divide the dough into equal portions—typically, you can make about 12 rolls from this recipe. Shape each piece into a smooth ball by tucking the edges towards the center and rolling it on the counter with your palm. This technique creates tension on the surface of the dough, which helps the rolls maintain a nice round shape during the second rise.
Second Rise
Place the shaped rolls on a greased baking sheet, ensuring they are evenly spaced to allow for expansion. Cover the rolls with a clean kitchen towel or plastic wrap, and let them rise again for about 30 to 45 minutes. This second rise is crucial for achieving the fluffy texture we all love in dinner rolls. You’ll know they’re ready when they have puffed up noticeably and are touching each other slightly.
With the foundation laid and the rolls ready for baking, you’re on the verge of enjoying the warm, buttery goodness that is garlic butter dinner rolls. The next steps will guide you through the final touches and baking process, ensuring your rolls come out perfectly golden and irresistible. Stay tuned!
Preheating the Oven
Proper oven temperature is crucial for baking perfect garlic butter dinner rolls. A well-preheated oven ensures that the rolls rise appropriately and develop a beautiful golden-brown crust. Preheat your oven to 375°F (190°C), as this temperature allows the rolls to bake evenly. While your oven is heating, it’s a good idea to use an oven thermometer to guarantee accuracy; many ovens can be off by several degrees. An accurate temperature will prevent the rolls from becoming doughy inside or overly brown outside.
Preparing the Garlic Butter
Garlic butter is the star of this recipe, enhancing the flavor profile of your dinner rolls. To make the garlic butter, melt ½ cup (1 stick) of unsalted butter in a small saucepan over low heat. Once melted, add 4-5 cloves of minced garlic, depending on how garlicky you want your rolls to be. Allow the garlic to sauté gently for about 2-3 minutes until fragrant but not browned, as burnt garlic can introduce an unpleasant bitterness.
For an extra layer of flavor, consider adding a pinch of salt and a teaspoon of fresh chopped parsley or dried Italian herbs to the butter mixture. This not only enhances the taste but also adds a pop of color to your finished rolls. Mix well and set aside; the garlic butter will be used for brushing on the rolls before and after baking.
Brushing and Baking
Once your dough has risen and you’ve shaped your rolls, it’s time to brush them with the prepared garlic butter. Use a pastry brush to apply a generous layer of the garlic butter on top of each roll, ensuring even coverage. This step not only adds flavor but also contributes to the rolls’ golden-brown appearance during baking.
Place the rolls in the preheated oven and bake for 15-20 minutes. Keep an eye on them during the last few minutes; visual cues for doneness include a golden color and a firm, slightly springy surface. If you find they are browning too quickly, you can tent them with aluminum foil to prevent over-browning while allowing the centers to bake through.
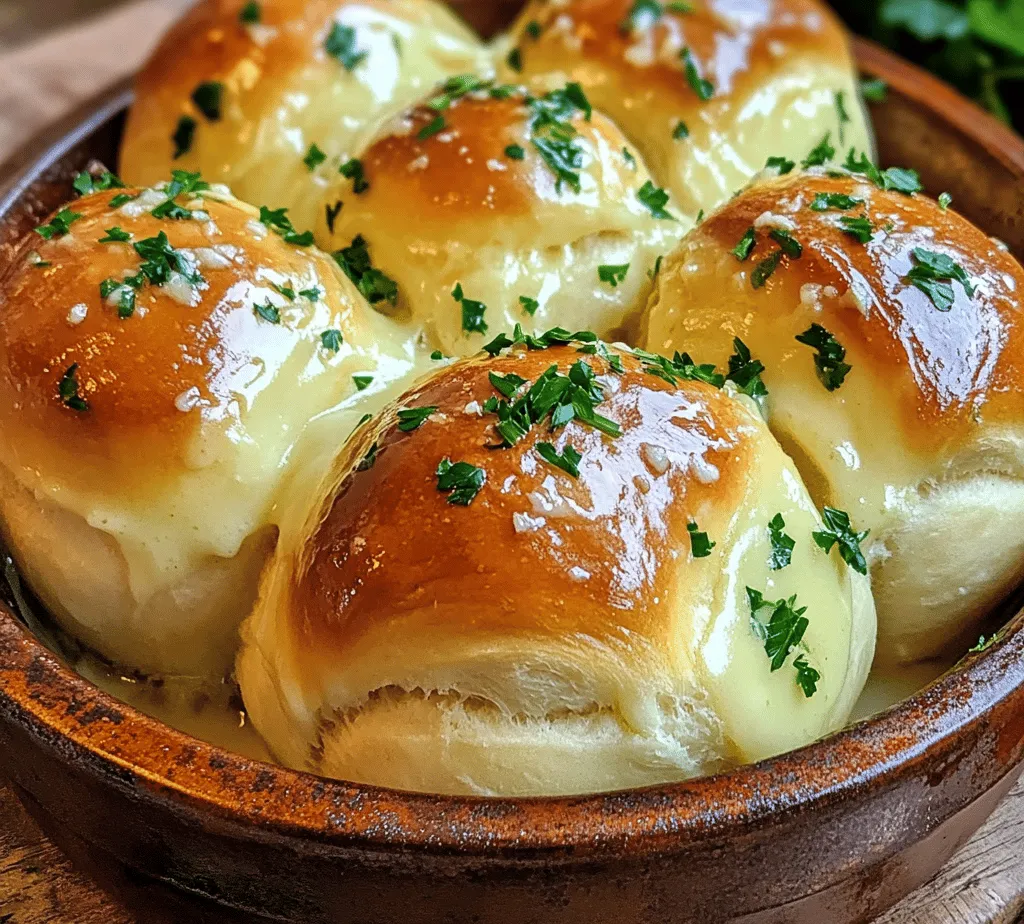
Garnishing
Presentation is key when serving your garlic butter dinner rolls. Once the rolls are out of the oven, immediately brush them again with the remaining garlic butter for an extra burst of flavor. For an appealing touch, sprinkle a pinch of sea salt and some freshly chopped parsley over the top. This adds color and enhances the overall aroma, making them irresistible. Serve the rolls warm, either in a bread basket lined with a cloth napkin for warmth or on a decorative platter to impress your guests.
The Science Behind Perfect Dinner Rolls
Yeast Fermentation
Yeast is a living organism that plays a critical role in the fermentation process, leading to the rise of your dinner rolls. As the yeast consumes sugars present in the dough, it produces carbon dioxide gas, which gets trapped in the gluten network, causing the dough to rise. This not only creates a light and airy texture but also develops the flavors that make your rolls delicious. Allowing the dough to rise in a warm environment enhances fermentation, so consider placing it in a slightly warm oven (turned off) or covering it with a damp cloth to keep the moisture in.
Gluten Development
Kneading is essential for gluten development, which provides structure to the dough. When you knead your dough, you’re encouraging the proteins glutenin and gliadin to combine and form gluten. This process creates a network that traps the gases produced by the yeast, allowing the dough to rise. After kneading, it’s equally important to let the dough rest. This resting period allows the gluten to relax, making the dough easier to shape and resulting in tender rolls.
Baking Reaction
The baking reaction transforms your dough into fluffy rolls. As the rolls bake, the heat causes the water in the dough to steam, further expanding the rolls. The Maillard reaction occurs when the surface sugars caramelize, creating a beautiful golden-brown crust. This reaction not only adds flavor but also gives your rolls an inviting aroma that will fill your kitchen.
Serving Suggestions and Pairings
Garlic butter dinner rolls are versatile and can complement a variety of meals. Here are some meal ideas that pair perfectly with these delectable rolls:
– Hearty Soups: Serve them alongside a bowl of creamy tomato soup or a rich chicken noodle soup for a comforting meal.
– Salads: Pair with a fresh garden salad or a Caesar salad to balance the richness of the rolls.
– Main Courses: These rolls are excellent with roasted meats, like herb-crusted chicken or glazed ham. They can also accompany pasta dishes, adding a delightful touch to your dinner table.
– Charcuterie Boards: Include them as part of a charcuterie board, offering guests a delicious option to pair with cheeses and cured meats.
Storing and Reheating
To keep your garlic butter dinner rolls fresh, store them at room temperature in an airtight container for up to 2 days. If you want to save them longer, consider freezing the rolls. Allow them to cool completely, then place them in a freezer-safe bag. They can be stored in the freezer for up to 3 months.
When ready to enjoy, thaw the rolls at room temperature, then reheat them in a 350°F (175°C) oven for about 10 minutes to restore their warmth and softness. You can also microwave them for about 10-15 seconds, but be cautious as this method can sometimes lead to chewy rolls if overheated.
Common Mistakes and How to Avoid Them
Not Activating Yeast Properly
One of the most common mistakes in bread-making is failing to activate the yeast correctly. If your yeast doesn’t bubble or foam after mixing it with warm water and a pinch of sugar, it may be inactive. Always check the expiration date on your yeast and ensure the water temperature is between 100°F to 110°F (37°C to 43°C) for optimal activation. If your yeast is inactive, you’ll need to start over with fresh yeast.
Over-Kneading
While proper kneading is essential for gluten development, over-kneading can lead to dense, tough rolls. If you notice your dough becoming too elastic and hard to shape, you may have over-kneaded it. Aim for a soft and pliable dough that is smooth to the touch. Generally, kneading for 8-10 minutes by hand or 5-7 minutes in a stand mixer should be sufficient.
Incorrect Oven Temperature
An inaccurate oven temperature can ruin your baking efforts. Investing in an oven thermometer can help you monitor the temperature to ensure it aligns with the set temperature. If the oven is too hot, your rolls may brown on the outside before cooking through; too cool, and they may not rise properly. Always preheat your oven fully before placing your rolls inside.
Conclusion
Baking homemade garlic butter dinner rolls is a rewarding experience that brings comfort and joy to any meal. The combination of warm, fluffy rolls paired with the rich taste of garlic butter creates an irresistible treat that everyone will love. Not only do these rolls enhance the dining experience, but they also fill your kitchen with an inviting aroma that makes the effort worthwhile.
Encourage your family and friends to join you in the baking process; it’s a great way to bond over a shared love of good food. As you experiment with this recipe, feel free to adjust the garlic and herb ratios to suit your taste. Enjoy the process of baking, and relish the satisfaction of serving warm, homemade garlic butter dinner rolls to your loved ones.