
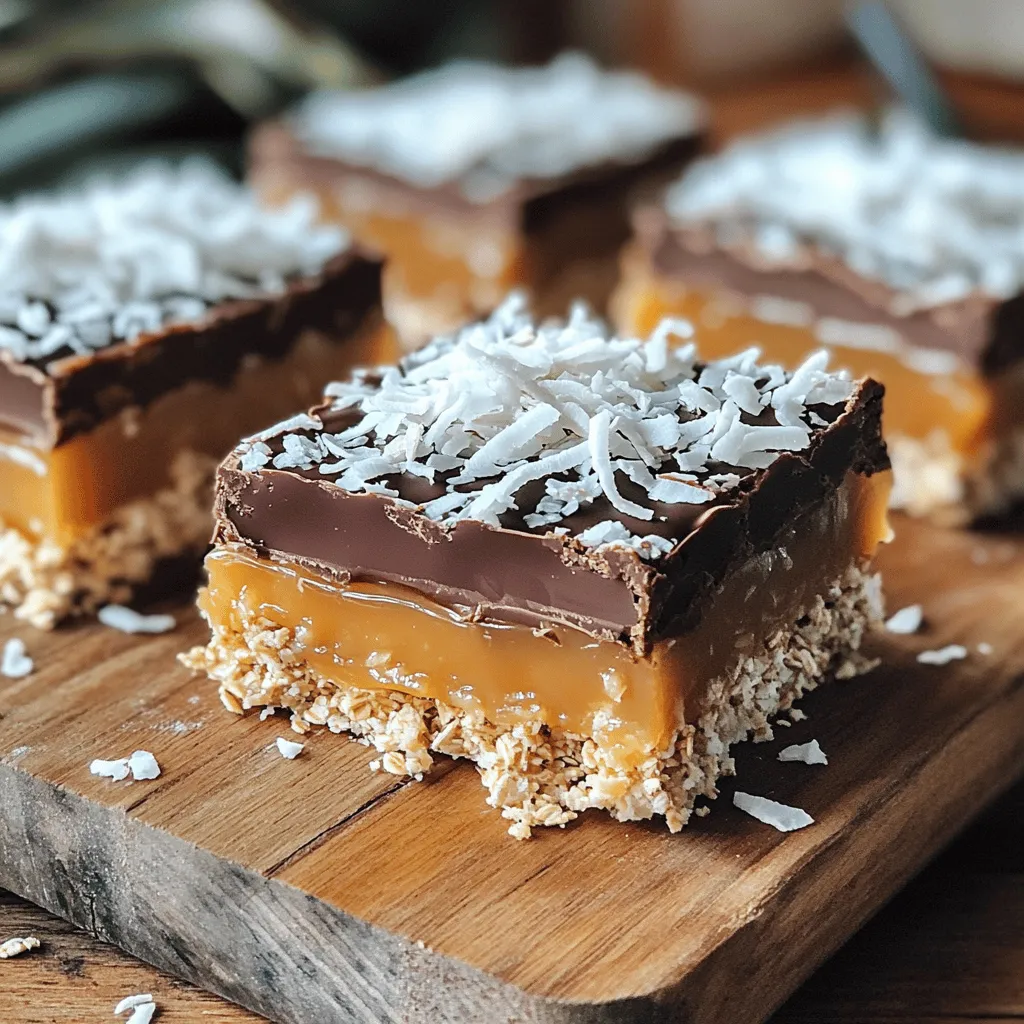
Looking for a sweet treat that’s quick and easy? These No Bake Caramel Coconut Bars are just what you need! With just a handful of simple ingredients, you can whip up a delicious snack that satisfies your sweet tooth, all without turning on the oven. Follow my easy steps to create these tasty bars that are perfect for any occasion. Let’s dive in and make your new favorite treat!
Why I Love This Recipe
- Quick and Easy: This recipe requires no baking and can be prepared in just 15 minutes, making it a perfect treat for busy days.
- Healthy Ingredients: With rolled oats, almond butter, and coconut, these bars are packed with nutrients and energy-boosting ingredients.
- Customizable: You can easily swap ingredients like nut butters and sweeteners to suit your taste preferences or dietary needs.
- Decadent Flavor: The combination of rich chocolate and chewy coconut offers a deliciously satisfying treat that feels indulgent without the guilt.
Ingredients
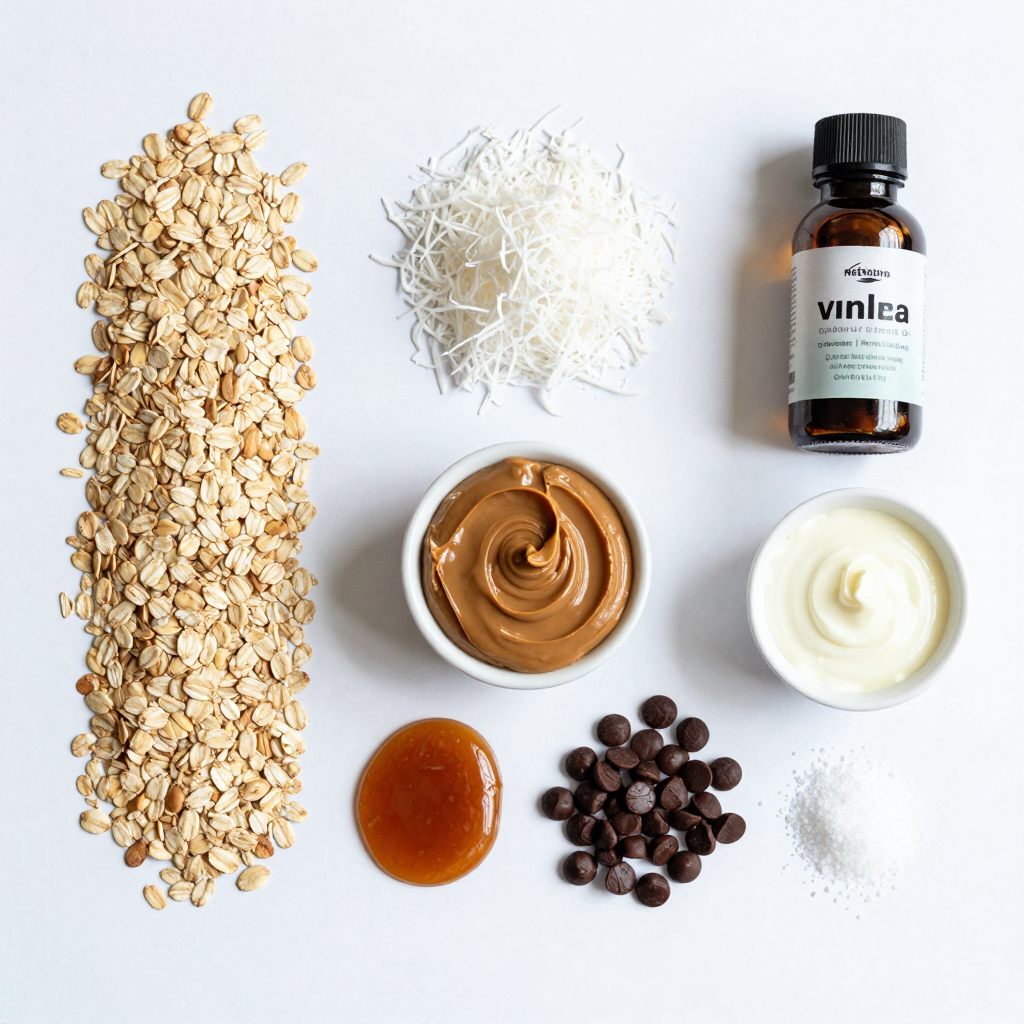
List of Main Ingredients
– 2 cups rolled oats
– 1 cup shredded coconut (sweetened or unsweetened)
– 1/2 cup almond butter (or peanut butter)
– 1/2 cup maple syrup (or honey)
– 1/2 cup dark chocolate chips
– 1/4 cup coconut oil
– 1 tsp vanilla extract
– Pinch of salt
The main ingredients in these No Bake Caramel Coconut Bars are simple. They offer great flavor and texture.
First, rolled oats give the bars a chewy base. They add fiber and nutrients too. You can use either sweetened or unsweetened coconut. I recommend sweetened for extra flavor.
Almond butter adds creaminess and protein. If you prefer peanut butter, feel free to swap. Maple syrup sweetens the bars naturally. Honey works well too if you want a different taste.
Dark chocolate chips are a must for a rich topping. They melt beautifully and add sweetness. Coconut oil helps bind everything together and gives a nice shine.
Vanilla extract boosts the flavor, while a pinch of salt balances the sweetness.
Possible Substitutions
– Nut butter options
– Sweetener alternatives
– Coconut variations (different kinds of flakes)
You can easily change a few ingredients if you like. For nut butter, sunflower seed butter is another great choice. It’s nut-free and still creamy.
For sweeteners, agave syrup can replace maple syrup. It’s light and sweet. You could even use brown sugar, but it changes the texture a bit.
When it comes to coconut, there are many options. You can use coconut flakes, chips, or even shredded coconut. Each will give a different feel and look to your bars.
Feel free to mix and match these ingredients. You can create a bar that you will love!
Step-by-Step Instructions
Preparation Phase
– Combining dry ingredients
Start by taking a large mixing bowl. Add 2 cups of rolled oats and 1 cup of shredded coconut. Mix them well. This forms the base of your bars. The oats provide great texture, while coconut adds flavor.
– Preparing the wet mixture
Next, grab a small saucepan. Over low heat, combine 1/2 cup of almond butter, 1/2 cup of maple syrup, 1/4 cup of coconut oil, 1 teaspoon of vanilla extract, and a pinch of salt. Stir until the mixture is smooth and melted. This step is key for binding the bars together.
Assembling the Bars
– Pouring and mixing the wet ingredients with dry
Now, pour the warm mixture over the oats and coconut in your bowl. Stir carefully until all the dry ingredients are fully coated. This ensures every bite is delicious.
– Pressing into the baking pan
Line an 8×8 inch baking pan with parchment paper. This makes it easy to remove the bars later. Press the mixture firmly into the pan. Use a spatula or your hands to create an even layer. Make sure it’s packed well.
Adding the Chocolate Topping
– Melting the chocolate
In the same saucepan, melt 1/2 cup of dark chocolate chips over low heat. Stir until it’s smooth and glossy. This rich topping will add a sweet finish.
– Spreading chocolate over the bars
Pour the melted chocolate over your pressed mixture in the baking pan. Spread it evenly with a spatula. This adds a delightful layer of flavor to your no-bake bars.
Pro Tips
- Use Fresh Ingredients: Always opt for fresh rolled oats and coconut for the best flavor and texture in your bars.
- Experiment with Nut Butters: Try different nut butters like cashew or sunflower seed for a unique twist on the flavor.
- Chill for Best Results: Ensure you refrigerate the bars long enough for them to set completely, which enhances their texture and makes them easier to cut.
- Customize Your Toppings: Feel free to add toppings like chopped nuts or dried fruits on top of the chocolate layer for added texture and flavor.
Tips & Tricks
Achieving the Perfect Texture
To get the best bars, press the mixture firmly into the pan. This step is key. A good thickness helps keep them together. Use your hands or a spatula to pack it down well. For toppings, spread the melted chocolate evenly. This way, every bite has a touch of that rich chocolate flavor.
Avoiding Common Mistakes
One mistake is letting the bars become too crumbly. To avoid this, ensure you mix well before pressing it into the pan. Also, check the setting time in the fridge. If they are not set long enough, they might fall apart when you cut them. A full two hours should work well.
Serving Suggestions
When serving, stack the bars in a small tower. This adds height and looks appealing. A sprinkle of extra shredded coconut on top makes it pop. For a fun pairing, serve these bars with vanilla ice cream or fresh fruit. This combination adds a nice contrast to the rich flavors.
Variations
Flavor Variations
You can make these bars even more fun. Try adding nuts or seeds. Chopped almonds or sunflower seeds give a nice crunch. You can also mix in dried fruits. Dried cherries or raisins add a sweet kick.
Dietary Variations
If you need gluten-free options, use certified gluten-free oats. Most nut butters are also gluten-free. For vegan adaptations, use maple syrup instead of honey. This keeps your bars plant-based and delicious.
Seasonal Twists
Coconut and cranberry are perfect for the holidays. The tartness of cranberries pairs well with sweet coconut. For a tropical flair, try peanut butter and banana. This combination brings a sunny vibe to your snack.
Storage Info
Best Practices for Storage
To keep your No Bake Caramel Coconut Bars fresh, use an airtight container. This helps to keep moisture out and keeps the bars tasty. You can store them in the fridge for up to one week. If you prefer a firmer texture, refrigeration is best. Avoid using a non-airtight container, as this can lead to drying out.
Freezing Instructions
If you want to save some bars for later, freezing is a great option. Cut the bars into squares before freezing. Wrap each piece in plastic wrap or foil. Then, place them in a freezer-safe bag or container. They can last for up to three months in the freezer. When you’re ready to eat them, thaw the bars in the fridge overnight for the best texture. This keeps them nice and chewy.
Signs of Spoilage
Check your bars for signs of spoilage. Look for any changes in color or smell. If they develop an off smell or mold, it’s time to toss them. Fresh bars should smell sweet and coconutty. If they feel hard or dry, they may have lost their goodness. Always trust your senses; when in doubt, throw it out!
FAQs
Can I use different types of nut butter?
Yes, you can use any nut butter you like. Almond butter and peanut butter work best. Cashew butter or sunflower seed butter are good choices too. They all add flavor and help bind the bars together. Just keep in mind, the taste may change with different nut butters.
How long do these bars last in the fridge?
These bars stay fresh for about one week in the fridge. Make sure to store them in an airtight container. This helps keep them moist and tasty. If you want them longer, consider freezing them for up to three months.
Can I make these bars without chocolate?
Absolutely! You can skip the chocolate if you prefer. The bars will still taste great with the caramel and coconut flavors. You can even add extra nuts or seeds for crunch. If you want a sweet touch, drizzle some honey on top after they set.
What can I do if my mixture is too dry?
If your mixture feels dry, add a bit more maple syrup or nut butter. Start with one tablespoon at a time. Mix well after each addition. This will help bind the ingredients together. You want a sticky consistency, so don’t be shy with the liquid!
You learned how to make delicious bars using simple ingredients. We covered each step, from mixing dry and wet items to adding the chocolate topping. Remember to press firmly for the best texture and avoid common mistakes. Feel free to explore variations for different flavors and dietary needs. Store them well for freshness, and enjoy them as a tasty snack. With these tips, you can create your perfect treat!


