
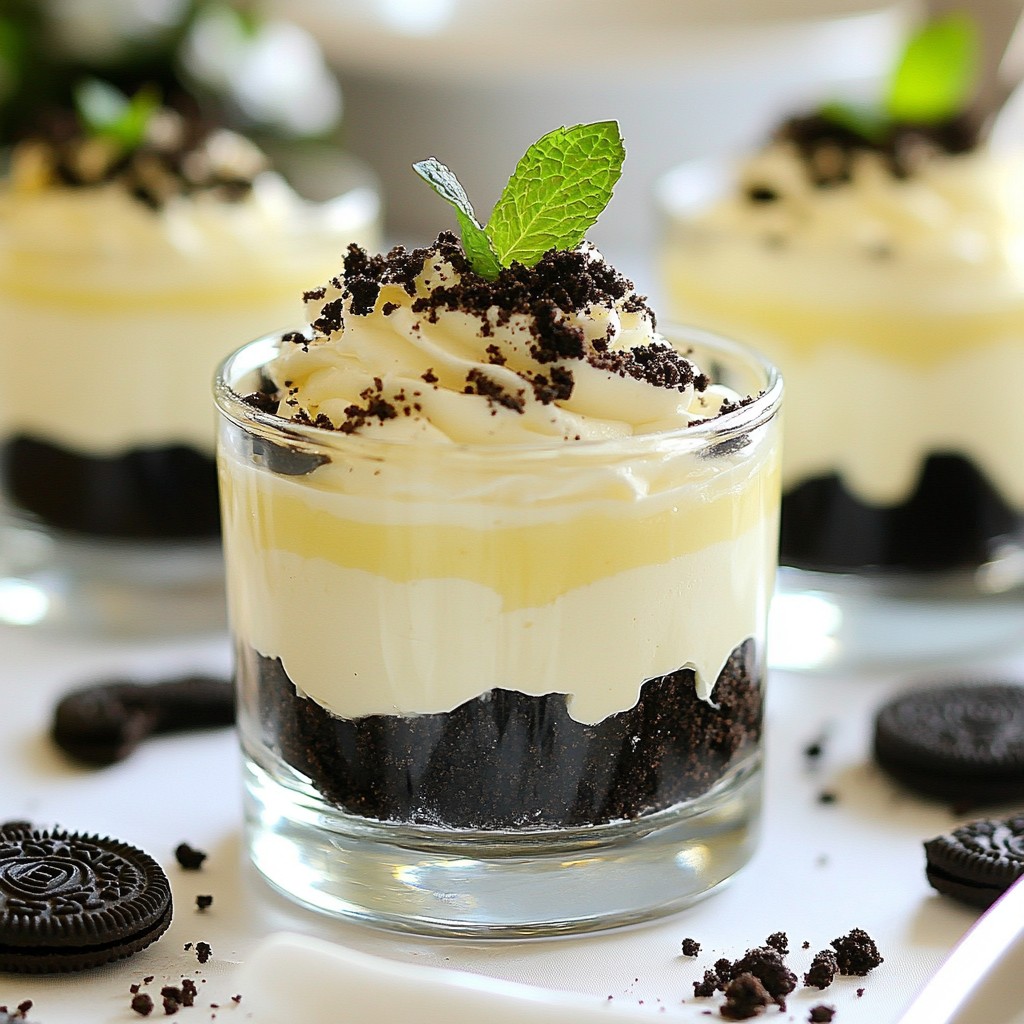
Are you ready for a sweet treat that’s easy to make and oh-so-delicious? No-Bake Oreo Cheesecake Cups are here to save your day! With just a few simple ingredients, you can whip up this divine dessert that will impress family and friends. Follow along with me as I share step-by-step instructions, tips, and even fun variations. Let’s dive into the world of creamy, Oreo-filled bliss!
Why I Love This Recipe
- Deliciously Indulgent: This no-bake Oreo cheesecake cups are a heavenly treat that combines the rich flavors of cream cheese and Oreo cookies, making each bite a delightful experience.
- Easy to Prepare: No baking required! This recipe is quick and straightforward, perfect for anyone looking to whip up a dessert without the hassle of an oven.
- Perfect for Any Occasion: Whether it’s a casual family dinner or a special celebration, these cheesecake cups are sure to impress your guests and satisfy your sweet tooth.
- Customizable Delight: Feel free to add your creative twist with different toppings or flavors, making this recipe versatile for any dessert lover.
Ingredients
List of Ingredients
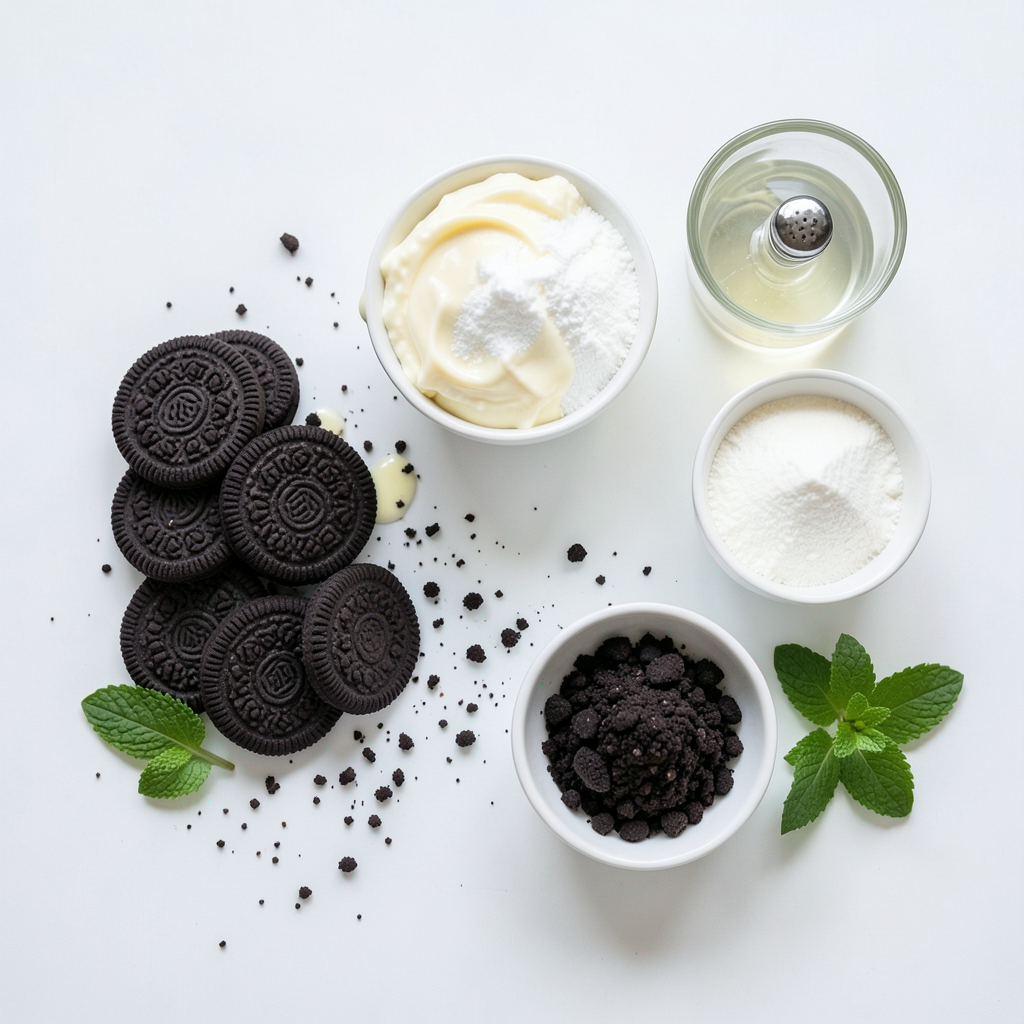
- 1 package (15 oz) Oreo cookies, crushed
- 4 tablespoons unsalted butter, melted
- 2 (8 oz) packages cream cheese, softened
- 1 cup powdered sugar
- 1 teaspoon vanilla extract
- 1 cup heavy cream
- 1/2 cup Oreo cookie crumbs for topping
- Fresh mint leaves for garnish (optional)
Ingredient Substitutions
You can try a few swaps for this recipe. For a dairy-free version, use vegan cream cheese. Coconut cream works well instead of heavy cream. If you want a lower-sugar option, use a sugar substitute for powdered sugar. You can also use gluten-free Oreo cookies if needed.
Tips for Choosing Quality Ingredients
When making this dessert, quality matters. Opt for fresh cream cheese, as it gives the best taste and texture. Use real butter for a rich flavor. Choose Oreos that are fresh, with a crisp texture. Check the expiration dates to ensure they are at their best. For the cream, look for heavy cream labeled "whipping cream." This makes the cheesecake light and fluffy.
Step-by-Step Instructions
Preparation of the Oreo Crust
To start, grab a medium bowl. Add one package of crushed Oreo cookies and four tablespoons of melted butter. Mix them well. You want the cookies to be coated in butter. It should look like wet sand. Now, take about two tablespoons of this mixture and press it into the bottom of each cup. This will be your crust. Make sure it's firm and even. This crust holds everything together.
Making the Cheesecake Filling
Next, get a large mixing bowl. Add two packages of softened cream cheese. Beat it with an electric mixer until it is smooth. This step is key for a creamy filling. Gradually add in one cup of powdered sugar and one teaspoon of vanilla extract. Mix until they blend well. In another bowl, whip one cup of heavy cream until stiff peaks form. This means it should hold its shape well. Gently fold the whipped cream into the cream cheese mixture. Be careful not to deflate the whipped cream; you want it fluffy.
Assembling the Cups
Now, it’s time to put it all together. Spoon the cheesecake mixture over the Oreo crust in each cup. Fill them about three-quarters full. This allows room for toppings. Next, sprinkle half a cup of Oreo cookie crumbs on top. This adds a nice crunch and flavor. Finally, refrigerate the cups for at least four hours, or until they set. If you want, you can add fresh mint leaves on top for a pop of color before serving. Enjoy your delightful dessert!
Tips & Tricks
Ensuring the Perfect Consistency
To get the best texture for your no-bake Oreo cheesecake cups, follow these steps:
- Cream Cheese: Make sure your cream cheese is at room temperature. This helps it mix smoothly.
- Whipping Cream: Whip the cream until stiff peaks form. This creates a light and airy texture.
- Folding: Gently fold the whipped cream into the cream cheese mix. This keeps the mixture fluffy.
Mixing too fast or too hard can make it heavy. Take your time to get it right.
Common Mistakes to Avoid
There are some common pitfalls to watch out for when making these cheesecake cups:
- Too Much Mixing: If you overmix the cream cheese, it can turn runny. Mix just until smooth.
- Skipping Chill Time: Don’t skip the refrigeration step. The cups need time to set properly.
- Not Measuring: Be sure to measure your ingredients accurately. Too much or too little can change the outcome.
Avoiding these mistakes will help you create a perfect dessert every time.
Decorating Your Cheesecake Cups
A little decoration goes a long way in making your cheesecake cups look great:
- Oreo Crumbs: Sprinkle extra Oreo crumbs on top for added crunch and flavor.
- Mint Leaves: Add a fresh mint leaf for a pop of color. It also adds a nice aroma.
- Presentation: Serve in clear cups. This allows everyone to see those tasty layers.
These simple decorations can make your dessert look as good as it tastes!
Pro Tips
- Chill the Cream Cheese: For a smoother cheesecake filling, ensure the cream cheese is at room temperature before mixing.
- Use Fresh Whipping Cream: Fresh heavy cream will whip up better and provide a richer texture than shelf-stable alternatives.
- Layering Technique: When layering, use a piping bag for the cheesecake mixture for a neater and more professional look.
- Flavor Variations: Experiment with different flavors by adding a tablespoon of cocoa powder or melted chocolate to the cheesecake mixture.
Variations
Flavor Additions
You can change the flavor of your no-bake Oreo cheesecake cups easily. Try adding different types of chocolate. Dark chocolate adds richness, while white chocolate gives a sweet touch. You can also mix in fruit for a fresh twist. Chopped strawberries or blueberries blend well with the creamy filling. For a fun twist, add a splash of coffee or mint extract. Each addition brings a new taste to the classic recipe.
Alternative Toppings
Toppings make your cheesecake cups even more fun. You can use nuts for a crunchy bite. Chopped almonds or pecans work great. If you love whipped cream, add a dollop on top for extra creaminess. You can also sprinkle more Oreo crumbs for texture. For a touch of elegance, add fresh mint leaves. This adds color and a cool flavor to your dessert.
Serving Suggestions for Different Occasions
These cheesecake cups fit any event. For birthdays, serve them with colorful sprinkles on top. If it’s a holiday, use themed decorations. You can even layer different flavors for a festive look. For casual gatherings, use mason jars for a rustic touch. Make mini versions for a fun party treat. Always remember to serve them chilled for the best taste and texture.
Storage Info
Best Practices for Storing Cheesecake Cups
To keep your No-Bake Oreo Cheesecake Cups fresh, store them in the fridge. Use an airtight container to avoid odors and moisture. If you don't have a container, cover the cups with plastic wrap. Keep them chilled until you are ready to serve. This helps maintain their creamy texture and flavor.
Freezing Guidelines for Leftovers
If you want to save some cups for later, you can freeze them. First, let them chill in the fridge for a few hours. Then, cover each cup tightly with plastic wrap. Place them in a freezer-safe container or bag. When you're ready to enjoy them, move them to the fridge to thaw overnight. Avoid refreezing after thawing, as it affects the texture.
How Long They Will Last in the Fridge
These cheesecake cups will stay fresh in the fridge for up to five days. Make sure to check for any changes in smell or texture before eating. If they start to look or smell off, it's best to toss them. Enjoy these sweet treats within this time for the best taste!
FAQs
Can I use low-fat cream cheese?
Yes, you can use low-fat cream cheese. It will still blend well in this recipe. Just keep in mind that the texture might be a bit different. Your cheesecake may be less rich but still tasty. If you want a creamier feel, stick to regular cream cheese.
How do I make a gluten-free version?
To make a gluten-free version, choose gluten-free Oreo cookies. Many brands offer gluten-free options. Just remember to check the label. Follow the same steps for making the crust and filling. Your cheesecake will be just as good and safe for those with gluten sensitivities!
What can I substitute for heavy cream?
If you need a substitute for heavy cream, you can use coconut cream. It adds a nice flavor and works well in this recipe. Another option is to use evaporated milk. Just know that the texture may not be as rich. Whipping the substitutions may be less effective, so adjust your expectations.
In this blog post, we covered how to make delicious cheesecake cups. We discussed the best ingredients, how to prepare the crust and filling, and tips to avoid common mistakes. You can also explore different flavor variations and topping ideas. Storing your cheesecake cups correctly will keep them fresh longer. With the right choices, your dessert can shine for any occasion. Keep these tips in mind, and enjoy creating your tasty treats!


